Category: Sublimation

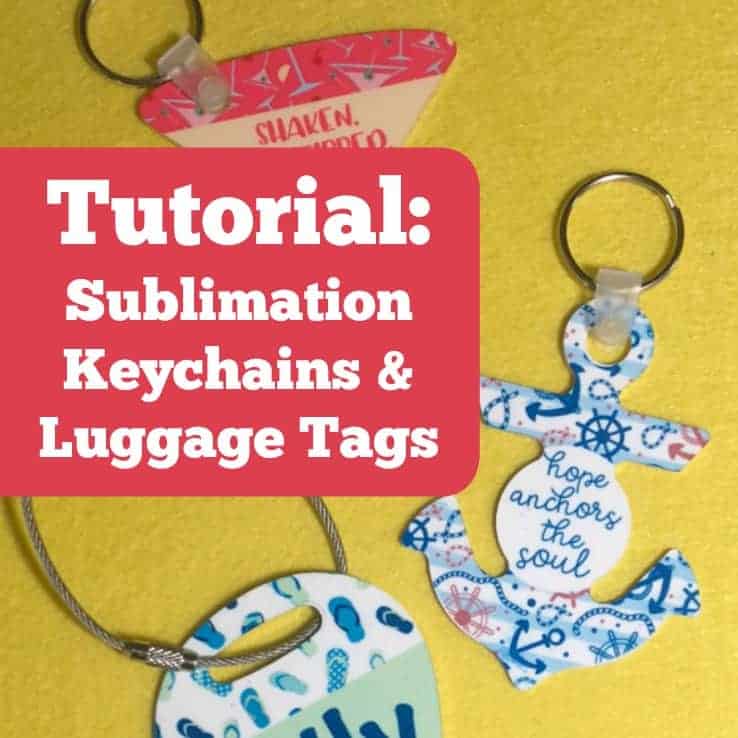
  • Tutorial: Sublimation for Keychains & Luggage Tags

    I love making keychains with adhesive vinyl and my Silhouette or Cricut! What I don’t love is that the vinyl tends to get knicked and dinged up by my keys. When I set out the other day to make some keychains, I remembered that I had some blank sublimation keychains. I thought to myself that they would be a great alternative to vinyl on keychains because the sublimation printing can take getting beat up and thrown into my purse better than adhesive vinyl. Today, I’m sharing the process I used to create keychains (and a luggage tag).

    Tutorial: How to Create Sublimation Keychains and Luggage Tags

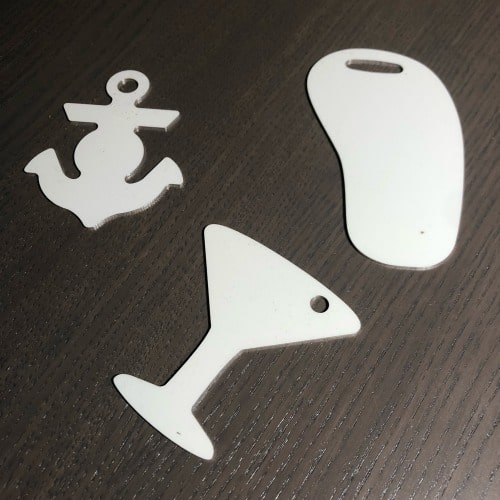
    1. Order some supplies. Pick up some blank Unisub keychains or luggage tags. Unisub is the manufacturer and doesn’t sell direct to the public, however, you can pick up sublimation keychains at this link. If you are looking for luggage tags, head to this linkTutorial: Sublimation for Keychains & Luggage Tags - by cuttingforbusiness.com
    2. Grab the templates. Unisub offers templates for all the products they manufacture. I have a tutorial showing how to use the templates with Silhouette Studio in this blog post.
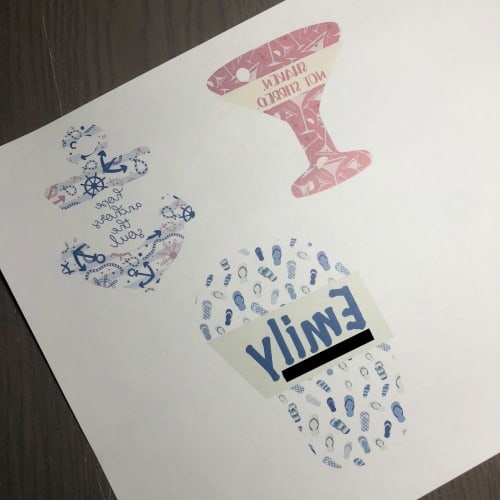
    3. Create your designs. Use your favorite software (Silhouette Studio, Cricut Design Space, Adobe Illustrator, Inkscape, or whatever you like best!) to create some designs. I stuck to simple with my designs and used colorful themed backgrounds with some text. I picked up commercial use backgrounds from stock photo sites. Be sure to mirror your design before printing. Tutorial: Sublimation for Keychains & Luggage Tags - by cuttingforbusiness.com
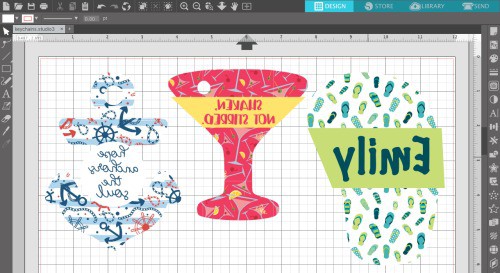
    4. Print your design on heat transfer paper. Here is a link to the paper I’ve been using. (My phone number is blacked out in the photo below so thousands of people don’t call me!)Tutorial: Sublimation for Keychains & Luggage Tags - by cuttingforbusiness.com
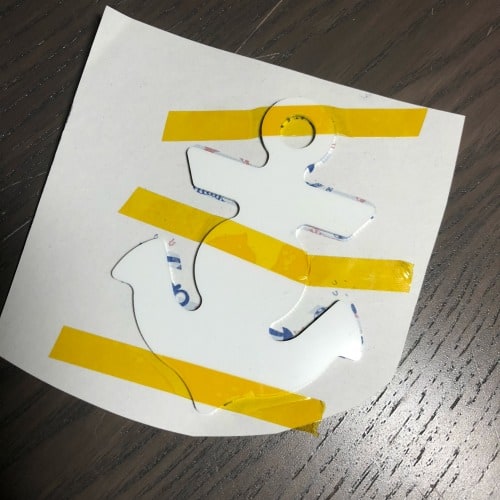
    5. Line up your design with your blank keychain and tape it into place. I use this heat resistant tape. You will see that I made the design slightly larger than the keychain. This is referred to as a ‘bleed’. This ensures that your entire keychain is covered with your design. Be sure that no important details are in the bleed area.Tutorial: Sublimation for Keychains & Luggage Tags - by cuttingforbusiness.com
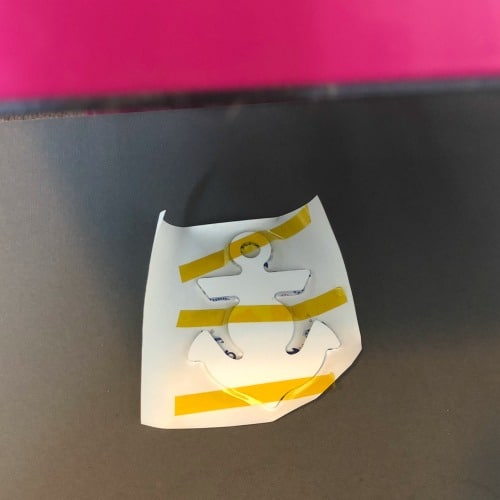
    6. Press the design. I pressed for 180 seconds at 375 degrees Fahrenheit and got great color. I used my handy little pink heat press that I talked about in this post. As a quick reminder, the keychains are metal and they really heat up in the press! Be cautious taking them out and allow them to cool before touching them.Tutorial: Sublimation for Keychains & Luggage Tags - by cuttingforbusiness.com
    7. Add the hardware. The keychains I have (martini glass, 4666 and anchor, 4731 came with a keychain ring and plastic connector) the luggage tag (flip flop, 4729) did not include hardware.

    That’s it! I think sublimation makes for great keychains and luggage tags! Wondering what else you can do with sublimation? I’ve got a tutorial for jewelry at this link, mugs at this link, and a whole beginners series on what exactly sublimation is that starts at this link.

    Love this project? Save the image below to Pinterest.
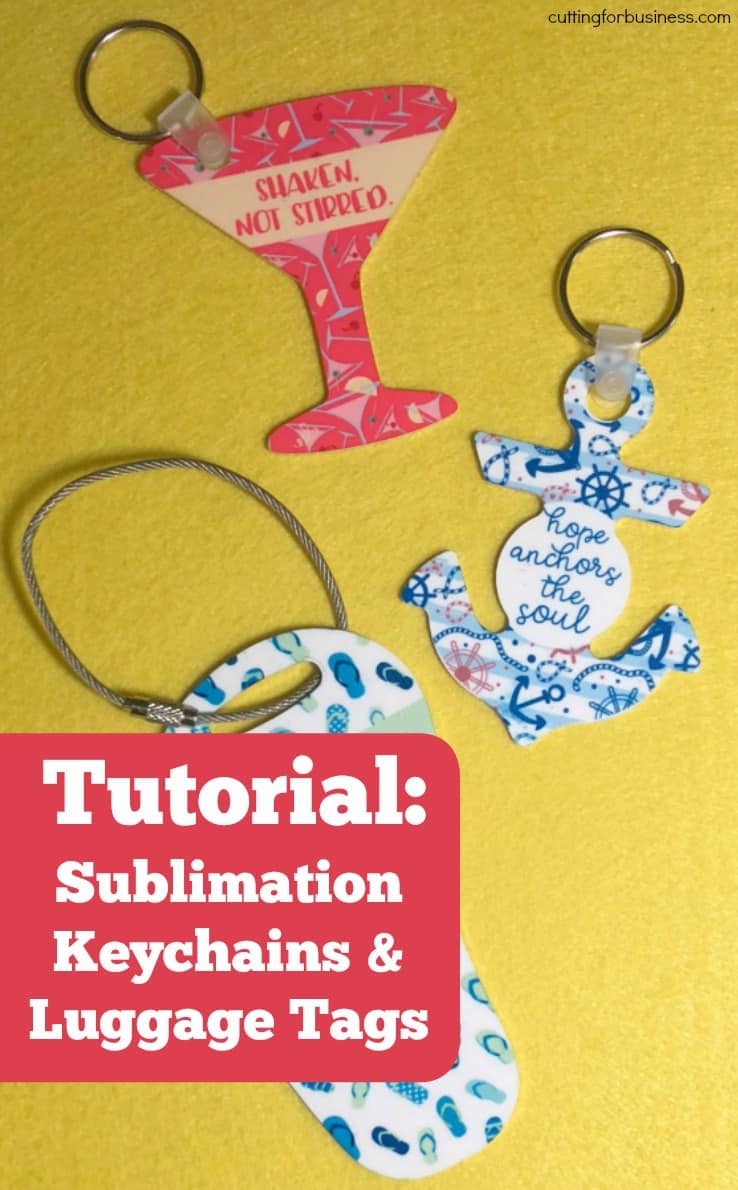
    Tutorial: Sublimation for Keychains & Luggage Tags - by cuttingforbusiness.com

  • Tutorial: How to Use Sublimation Markers

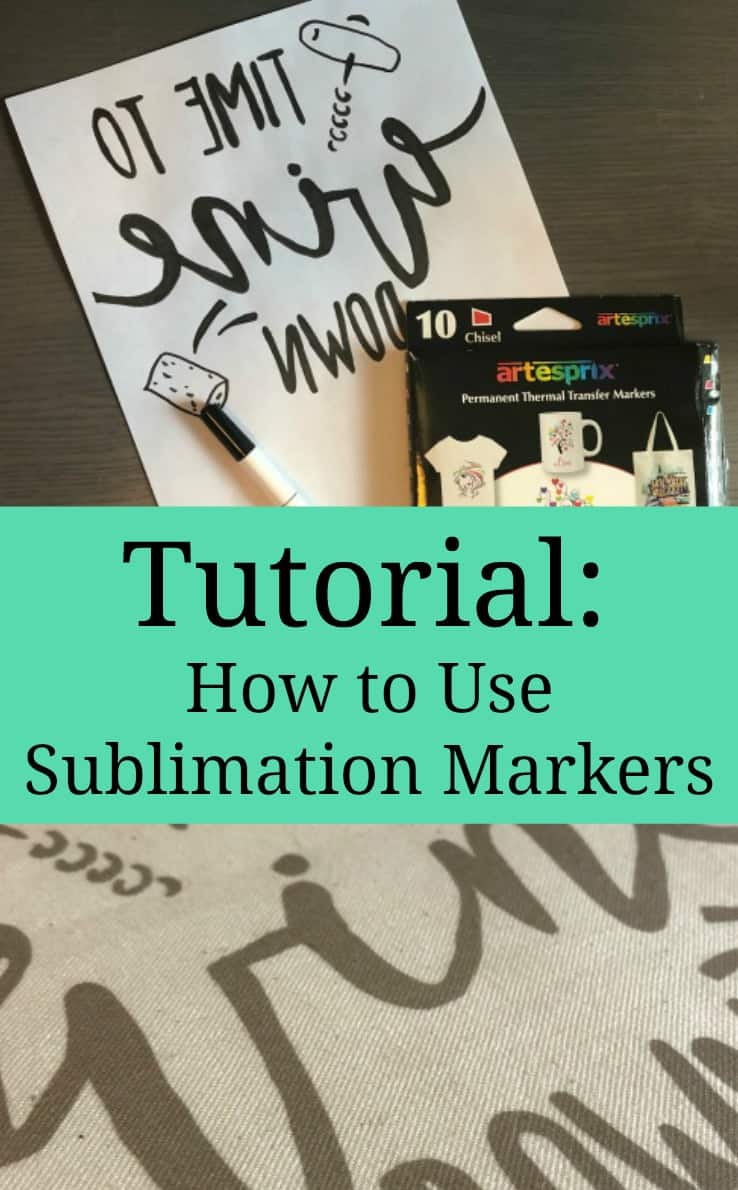
    I’ll be honest, before Clay from Coastal Business Supplies reached out and offered to send me some sublimation markers – I had never heard of them. But, once the package arrived I couldn’t wait to try them out! Today I’m sharing some information and a tutorial on how to use sublimation markers.

    What are Sublimation Markers?

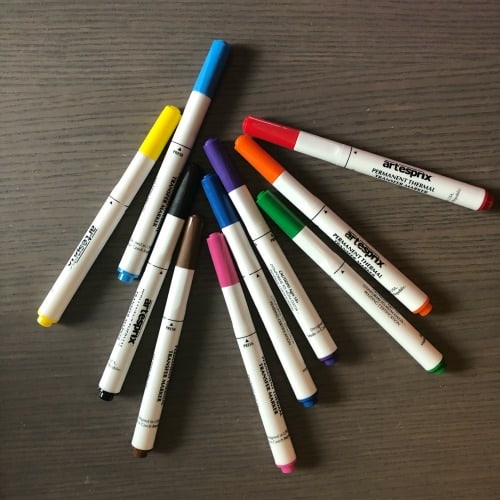
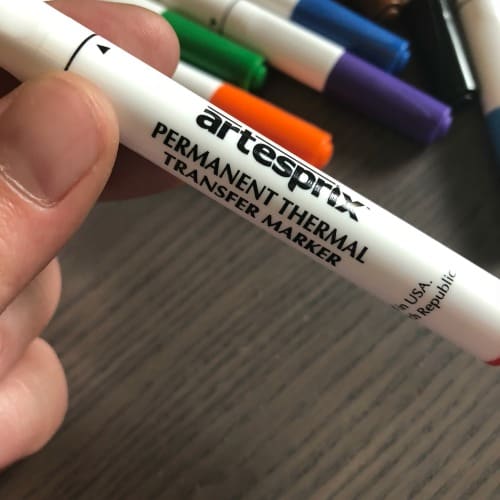
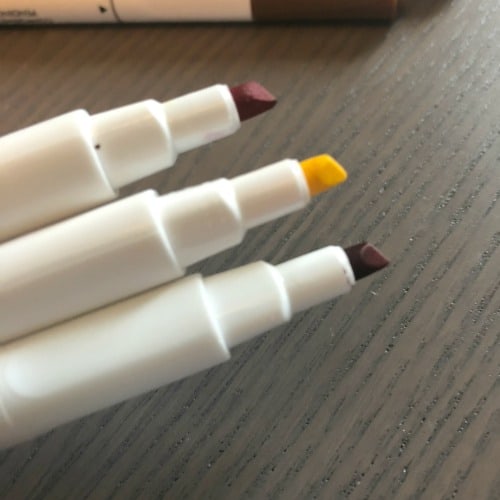
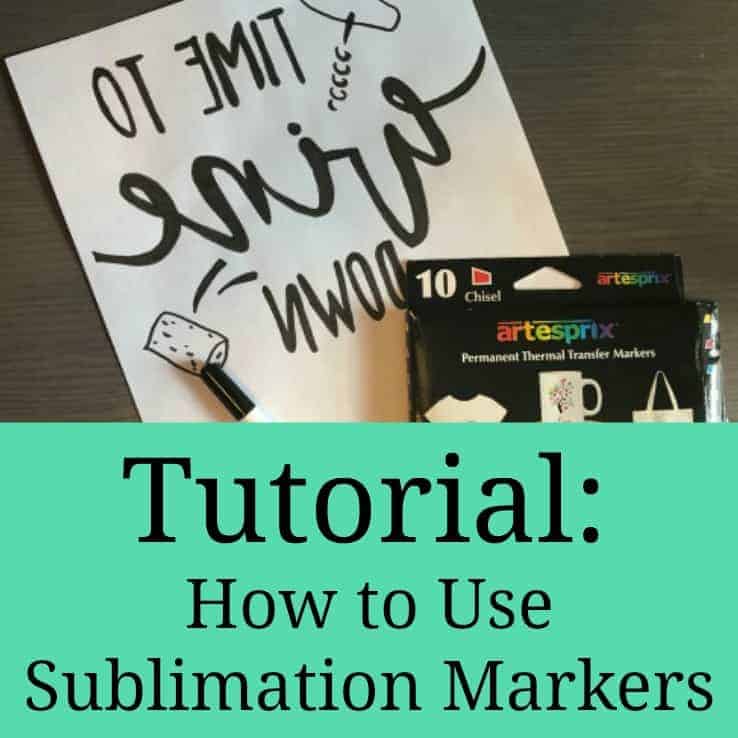
    Sublimation markers are markers that have sublimation ink inside of them. They look and work like a regular marker. The markers I received are made by Artesprix and had 10 markers in the package.

    Tutorial: How to Use Sublimation Markers - by cuttingforbusiness.com
    Tutorial: How to Use Sublimation Markers - by cuttingforbusiness.com
    Tutorial: How to Use Sublimation Markers - by cuttingforbusiness.com

    Stop! If you aren’t familiar with the process of sublimation, head to this post first. Good news for those wanting to use the sublimation markers? You don’t need any sublimation supplies, just a heat press or iron, plain paper, and the sublimation markers.

    Tutorial: How to Use Sublimation Markers

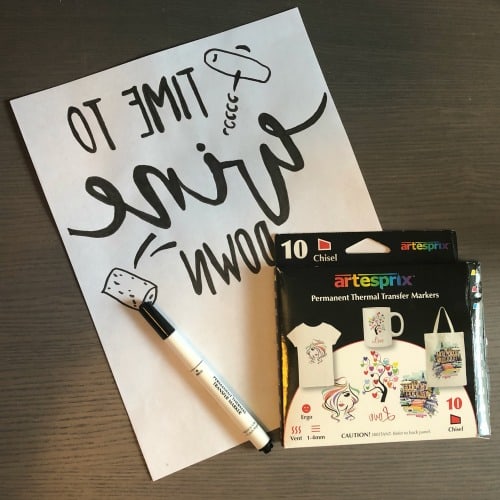
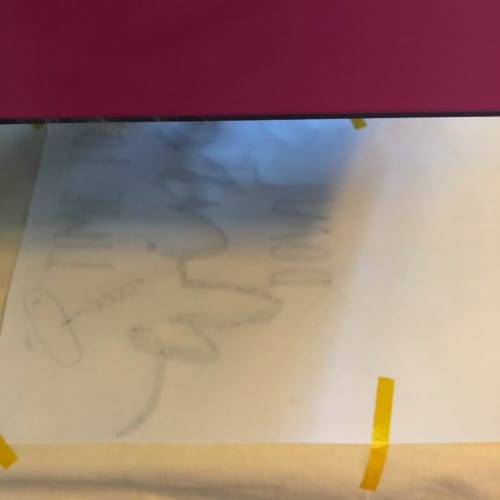
    1. Draw a design on a blank piece of plain paper using the sublimation markers. I used white printer paper. When drawing, remember that your design will be pressed onto your blank item and it will be a mirror image of whatever you draw. (This means that if you are writing text, your text will need to be written backwards!) I’m no artist, so I purchased this design and traced it mirrored with the markers. If you do handlettering or calligraphy though – these are a must buy for you! Tutorial: How to Use Sublimation Markers - by cuttingforbusiness.com
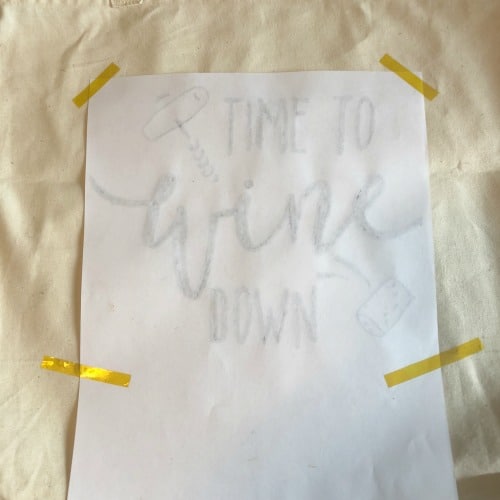
    2. Place the design onto your blank product. You must use a polyester blank or a specially prepared sublimation blank. I taped my design in place with heat transfer tape so that it wouldn’t slide around when I closed my Happy Crafters Pink PressTutorial: How to Use Sublimation Markers - by cuttingforbusiness.com
    3. Press the design. Now, the marker box instructions say to press for 45 to 300 seconds with a heat press or iron at 350 to 400 degrees. I settled with 100 seconds – but there was no logic to this. I actually think I should have pressed longer to get brighter colors. Tutorial: How to Use Sublimation Markers - by cuttingforbusiness.com
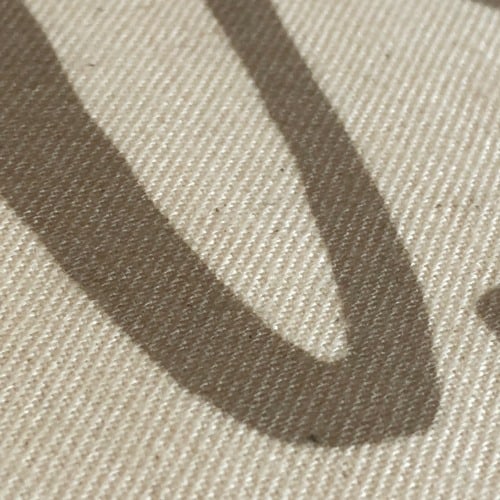
    4. Remove the paper and tape and admire your work! Tutorial: How to Use Sublimation Markers - by cuttingforbusiness.com
      Tutorial: How to Use Sublimation Markers - by cuttingforbusiness.com
      Tutorial: How to Use Sublimation Markers - by cuttingforbusiness.com

    Originally, when I knew these markers were being sent to me I had planned on letting my kids draw on paper and press the design onto something for them. The back of the box states to ‘Keep out of reach of children’, so I gave that a pass – but might supervise them while drawing and see how that goes.

    Using the sublimation markers was quick, easy, and fun. I plan to experiment with them more in the future.

    If you love this idea or tutorial, save the image below to Pinterest.
    Tutorial: How to Use Sublimation Markers - by cuttingforbusiness.com

  • Tutorial: How to Make Photo Jewelry using Silhouette Studio & Sublimation

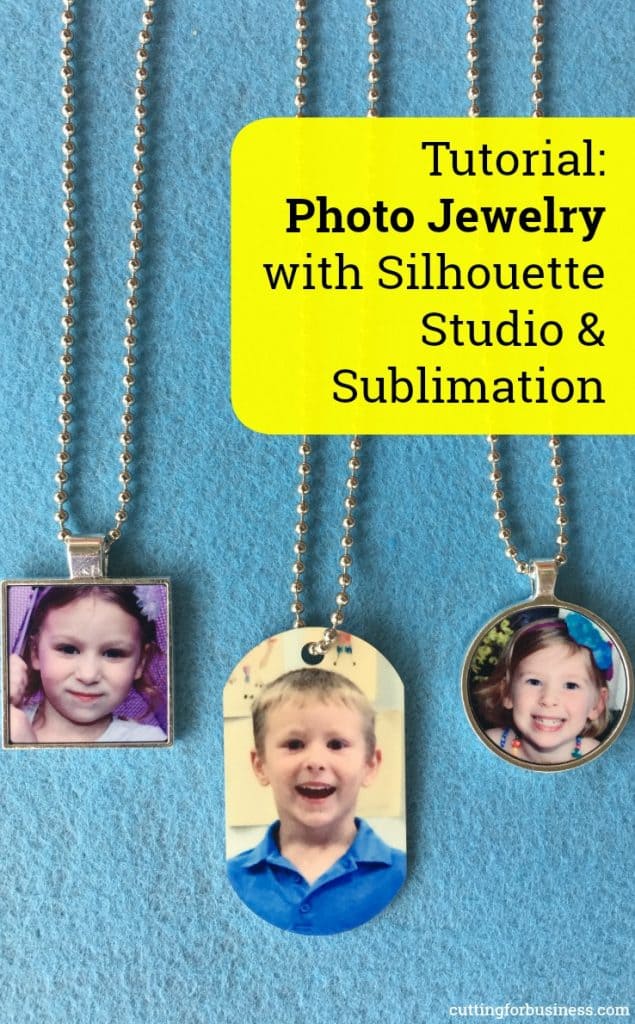
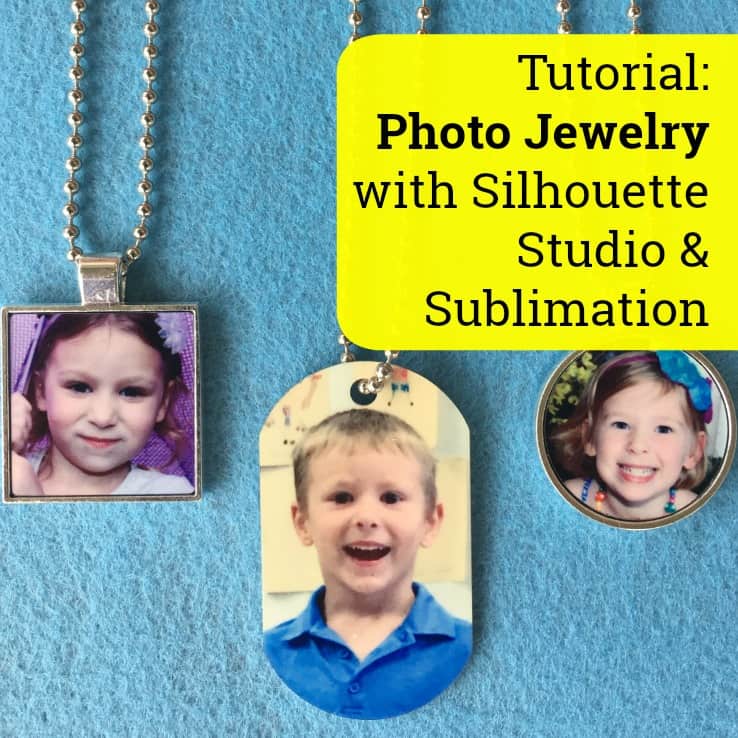
    I’m pretty sure that many Silhouette users don’t realize how powerful Silhouette Studio is – and it is free! If you sew or embroider, you’ll know that not only are the machines are expensive – but you often have to pay separately for the software to use the machine. As you’ve seen me do in other posts, you can use Silhouette Studio and sublimation to create products. Today, I’m going to show you how to create custom made photo jewelry.

    Need a refresher on sublimation? Here’s a list of previous posts:

    Now, onto the tutorial.

    Supplies Needed

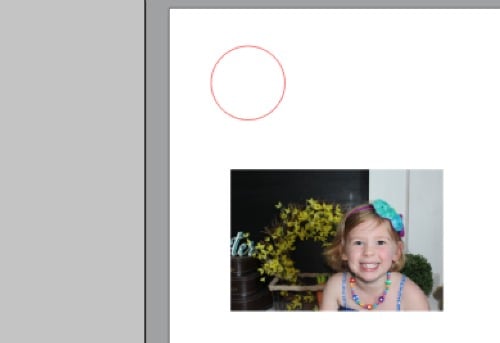
    1. Draw a shape in Silhouette Studio that is slightly larger than your pendant. In this case, I’m using a one inch circle blank and I made my shape 1.2 inches.Tutorial: How to Make Photo Jewelry using Silhouette Studio & Sublimation - by cuttingforbusiness.com
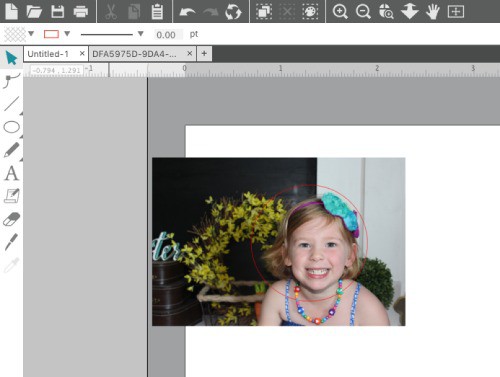
    2. Open your photo in Silhouette Studio and copy it to your canvas with the circle template. Tutorial: How to Make Photo Jewelry using Silhouette Studio & Sublimation - by cuttingforbusiness.com
    3. Send the photo to the back layer (right click, then ‘Send to back’) and resize it to fill your circle template.Tutorial: How to Make Photo Jewelry using Silhouette Studio & Sublimation - by cuttingforbusiness.com
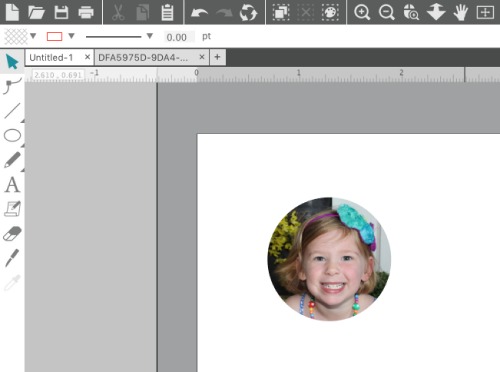
    4. To save ink, I’m going to subtract the circle from my picture. Simply select the photo, then hold down the shift key and select the circle. Then, go to ‘Object’, ‘Modify’, and ‘Crop’. Tutorial: How to Make Photo Jewelry using Silhouette Studio & Sublimation - by cuttingforbusiness.com
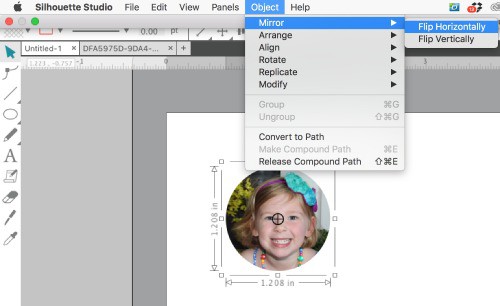
    5. Mirror your image by going to ‘Object’, ‘Mirror’, ‘Flip Horizontally’. Tutorial: How to Make Photo Jewelry using Silhouette Studio & Sublimation - by cuttingforbusiness.com
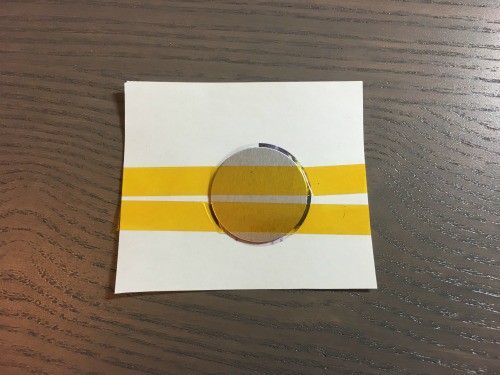
    6. Next, you are ready to print on your heat transfer paper. After printing, line up your blank with the white side down and tape into place using heat resistant tape.Tutorial: How to Make Photo Jewelry using Silhouette Studio & Sublimation - by cuttingforbusiness.com
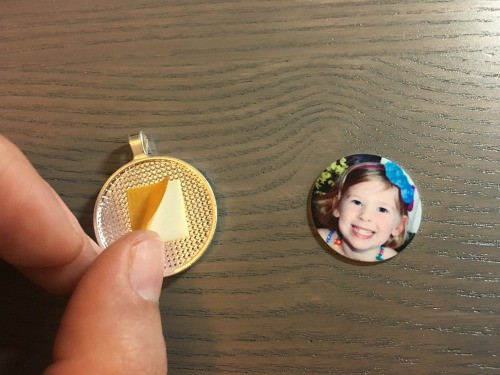
    7. Press your jewelry blank at 400 degrees Fahrenheit for 60 seconds with heavy pressure. After pressing, remove the blank carefully from the paper. The metal sublimation blank will be VERY HOT. Be extra cautious or use heat resistant gloves to protect your fingers. You’ll now be able to mount your photo charm into the bezel holder with the included tape square. Tutorial: How to Make Photo Jewelry using Silhouette Studio & Sublimation - by cuttingforbusiness.com

    Available Unisub Jewelry Blanks

    Unisub is the manufacturer of the sublimation jewelry blanks and does not sell direct. Instead, you’ll have to purchase blanks from a distributor. My favorite sublimation distributor is Coastal Business Supplies. Here are links to the exact jewelry pieces shown in the photo below.

    Sharing is caring! Save the image below to Pinterest:

    Tutorial: How to Make Photo Jewelry using Silhouette Studio & Sublimation - by cuttingforbusiness.com

  • Tutorial: How to Use Unisub Sublimation Templates in Silhouette Studio

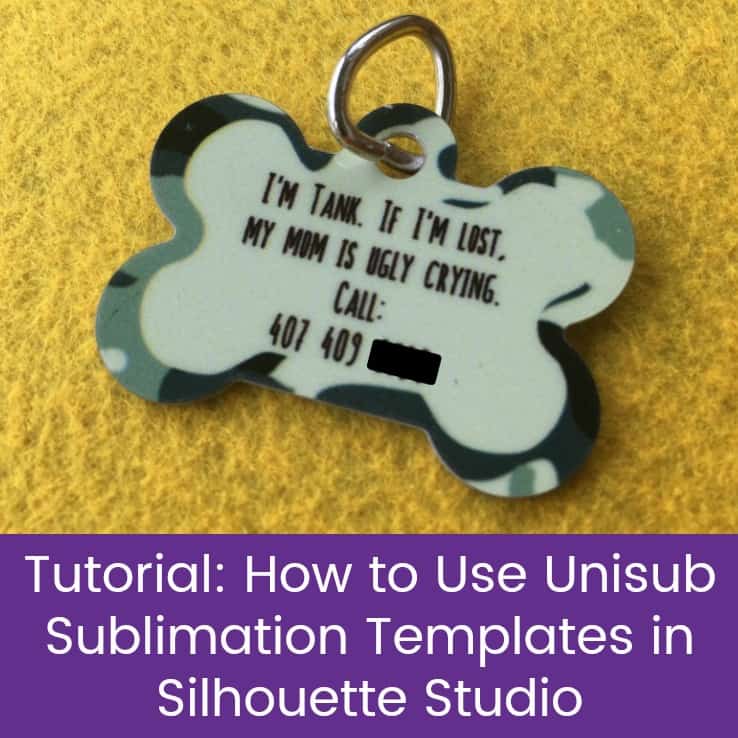
    Yesterday, I led you through a tutorial to create custom photo jewelry with Silhouette Studio and sublimation. Today, we are going to tackle odd shaped sublimation blanks – like a shaped pet tag – using templates provided by Unisub. Why do we need a tutorial? Unfortunately for Silhouette Studio users, Unisub provides templates in formats that Silhouette Studio doesn’t open. No worries though, through tracing you can still use them.

    How to Use Unisub Templates for Sublimation in Silhouette Studio

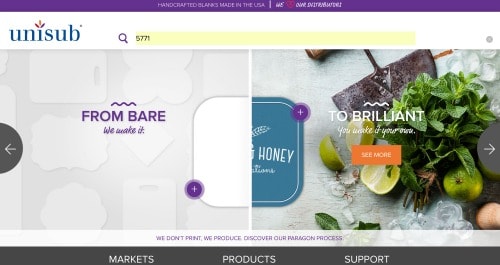
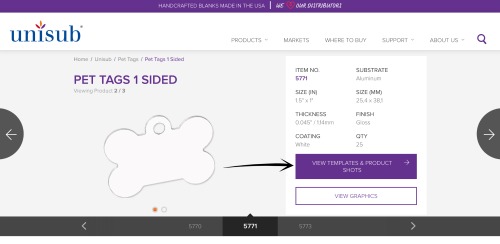
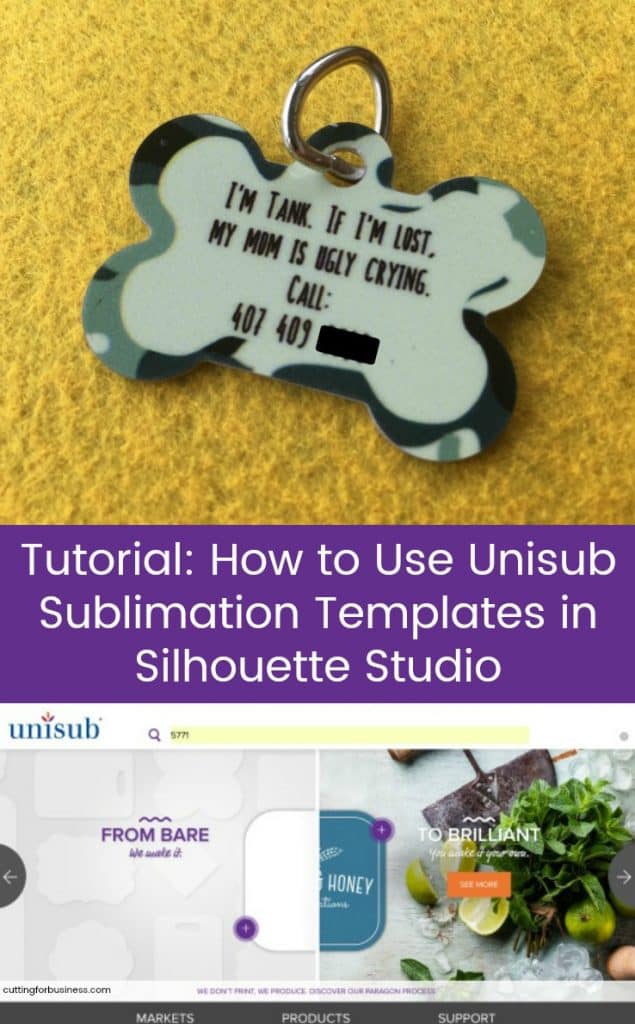
    1. Visit unisub.com and enter the SKU of your sublimation blank into the search bar at the top of the website. In this case, I’m using 5771 – a bone shaped pet tag. (Want to buy pet tags for sublimation? Click here.)Tutorial: How to Make Custom Pet Tags with Silhouette Studio & Sublimation - by cuttingforbusiness.com
    2. After locating your shape, click the “View Templates & Product Shots” button.Tutorial: How to Make Custom Pet Tags with Silhouette Studio & Sublimation - by cuttingforbusiness.com
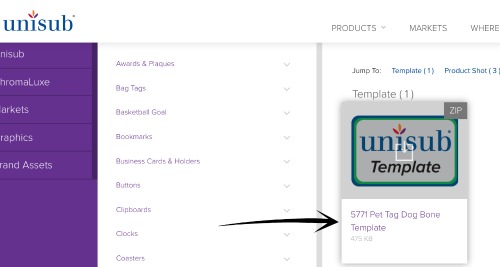
    3. Click the template to download it. Tutorial: How to Make Custom Pet Tags with Silhouette Studio & Sublimation - by cuttingforbusiness.com
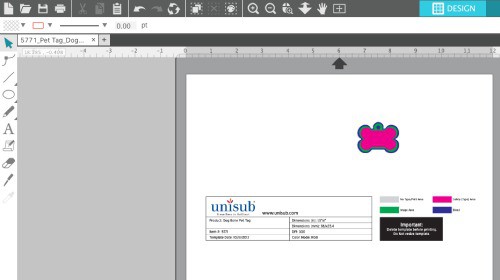
    4. Once unzipped, open the .JPG version in Silhouette Studio. Tutorial: How to Make Custom Pet Tags with Silhouette Studio & Sublimation - by cuttingforbusiness.com
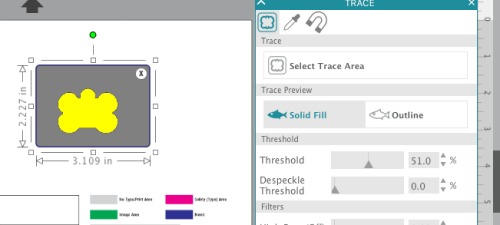
    5. From the ‘Trace’ panel, trace the template (‘Panels’, then ‘Trace). Tutorial: How to Make Custom Pet Tags with Silhouette Studio & Sublimation - by cuttingforbusiness.com
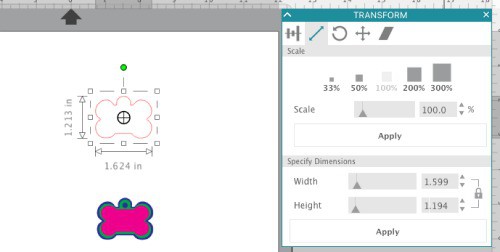
    6. Now, you’ll resize the template according to the sizing listed on unisub.com. Go to the ‘Transform’ panel, then click on the ‘Scale’ tab. For the bone shaped pet tag, it’s 1.5″ by 1″. I made my template slightly larger in case I made an error lining it up.Tutorial: How to Make Custom Pet Tags with Silhouette Studio & Sublimation - by cuttingforbusiness.com
    7. Now, you can create your design, print, and press! A step by step tutorial was featured in yesterday’s post.
    Did you know: Unisub offers templates for every product they manufacture and they are free on their website.

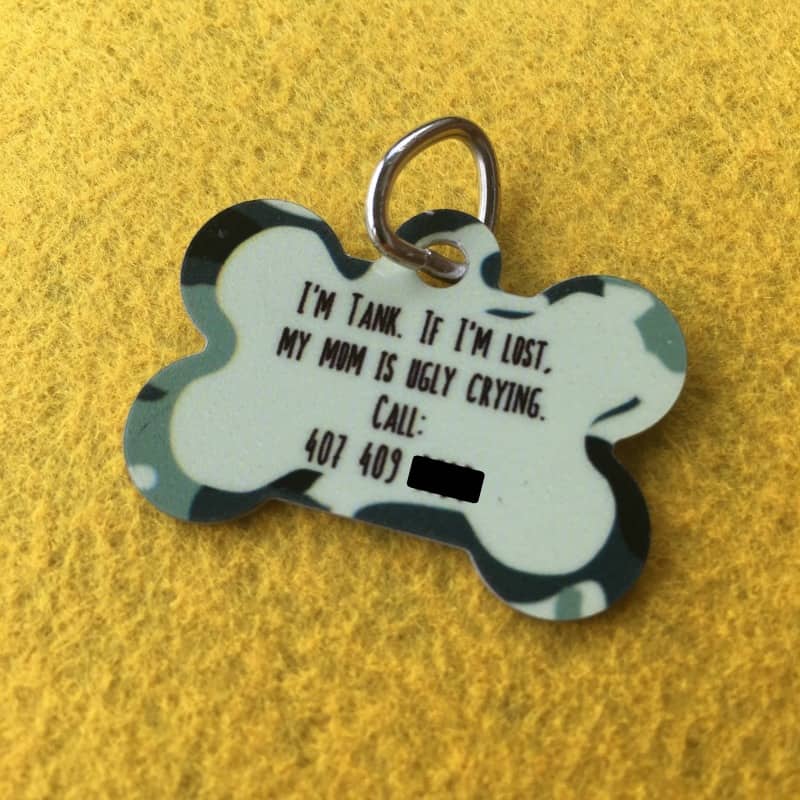
    Here’s a peek at my dog’s new tag:

    Tutorial: How to Make Custom Pet Tags with Silhouette Studio & Sublimation - by cuttingforbusiness.com

    You can pick up pet tags for sublimation here.

    Like this post? Save the image below to Pinterest:

  • Sublimation Roundup for Silhouette & Cricut Owners

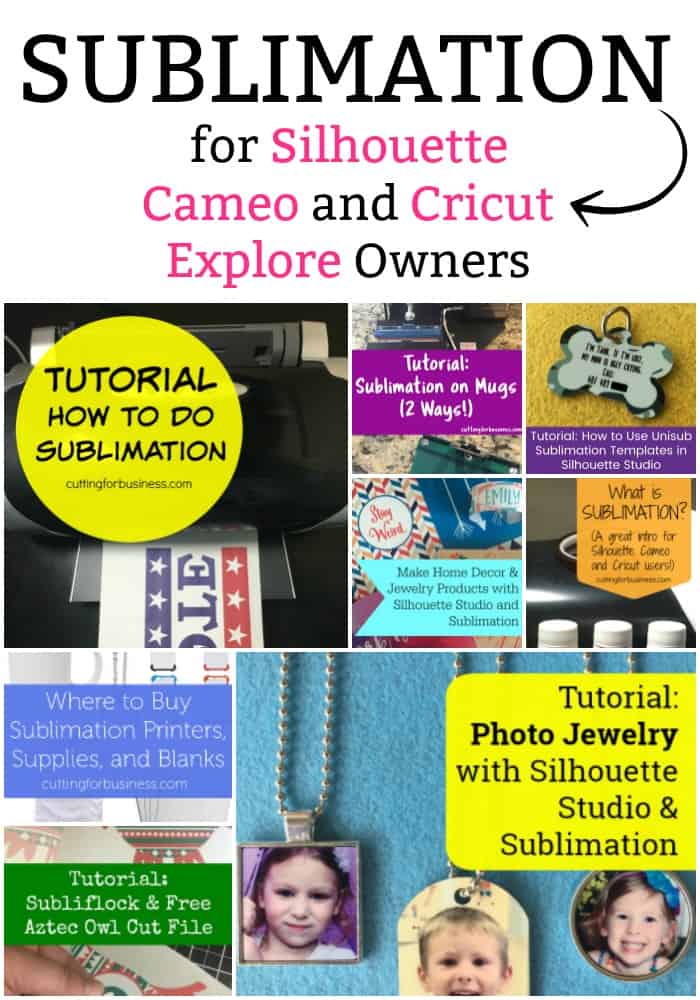
    One of the topics I am emailed about most is sublimation. Why? First, there isn’t a lot of information online about sublimation. Second, some of the information shared online is – well – inaccurate! Today, I’m compiling everything sublimation related on Cutting for Business in one post so you can easily find it – and SHARE IT!

    Click any picture to read the post.
    First, the basics: What is sublimation?

    What is Sublimation? A great intro for Silhouette Cameo and Cricut small business owners - by cuttingforbusiness.com

    Sublimation on shirts or soft products:

    Sublimation on mugs, tumblers, cups:

    Tutorial: How to Sublimate Mugs - Two ways - A great intro for Silhouette Cameo and Cricut crafters - by cuttingforbusiness.com

    Where to buy sublimation products and equipment (plus a cheap way to get started):

    Sublimation for home decor:

    Use Silhouette Studio to Create Home Decor and Jewelry with Sublimation - by cuttingforbusiness.com

    How to use specialty sublimation materials:

    Photo jewelry using sublimation:

    Tutorial: How to Make Photo Jewelry using Silhouette Studio & Sublimation - by cuttingforbusiness.com

    Using Unisub templates in Silhouette Studio for sublimation:

    Tutorial: How to Use Unisub Sublimation Templates in Silhouette Studio to Make a Custom Pet (Dog or Cat) Tag - by cuttingforbusiness.com

    Don’t have a sublimation printer but still want to try it out? Learn about these sublimation markers:

    Tutorial: How to Use Sublimation Markers - No sublimation printer needed! - by cuttingforbusiness.com

    Interested in making keychains or luggage tags? Find out how in this post:

    Tutorial - Sublimation Keychains & Luggage Tags - by cuttingforbusiness.com

    Want to spread the word about sublimation? Just save the image below on Pinterest!

    Sublimation Round Up for Silhouette Cameo and Cricut Explore Maker Crafters - by cuttingforbusiness.com

  • Tutorial: How to Use Subliflock & Free Cut File

    A few weeks ago, my inbox filled up with questions about how Etsy sellers were selling intricate iron on transfers. Here’s two of the links that were sent to me: fox and flowers.
    Today, I’ll show you how to create these using subliflock heat transfer material, a sublimation printer (read my sublimation series here), a heat press, and print and cut with a Silhouette Cameo.

    Step by Step Subliflock Tutorial

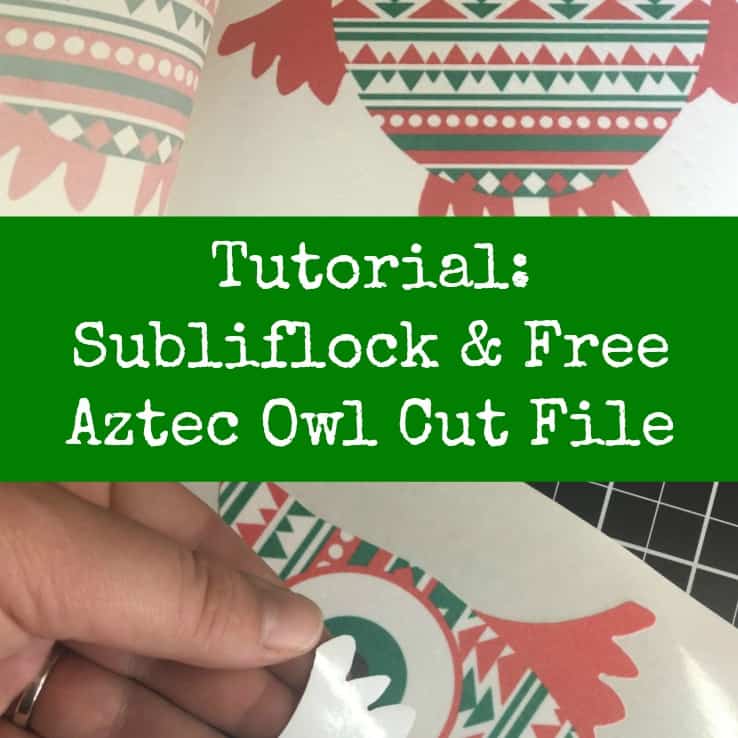
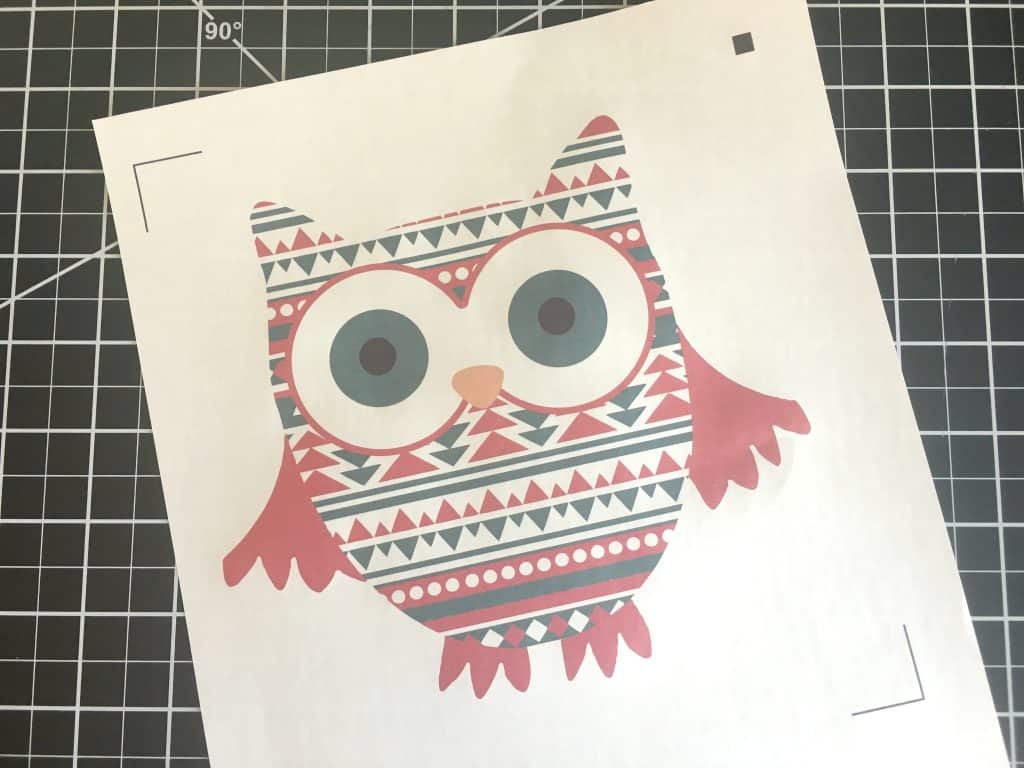
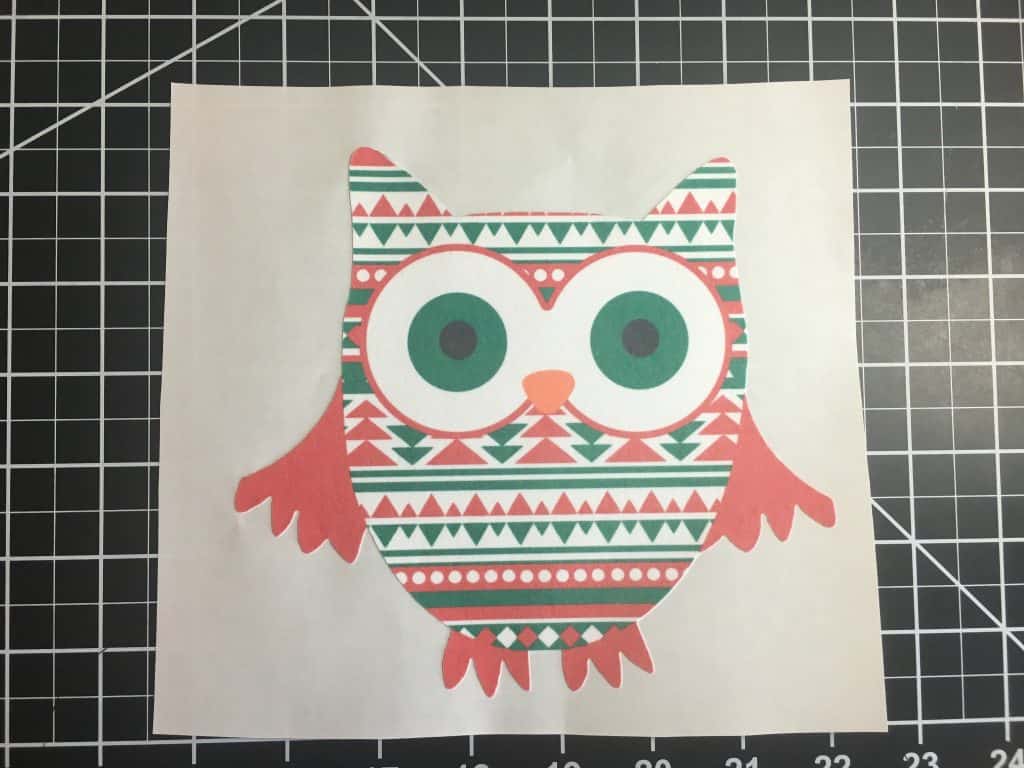
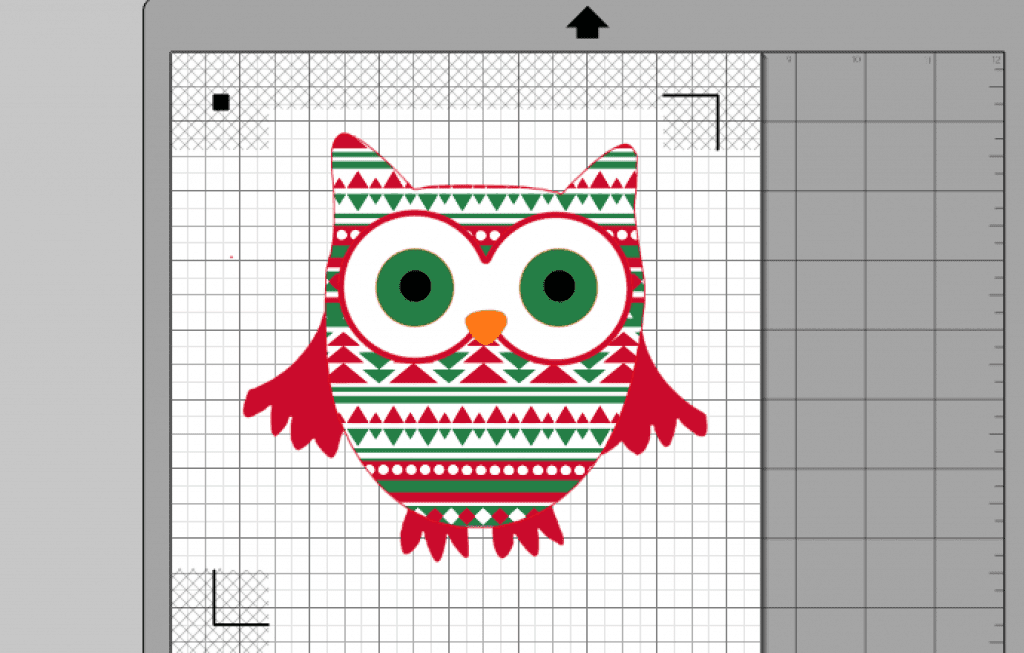
    1. Create your design in Silhouette Studio. I’m using an Aztec Christmas owl (a request by my 5 year old)! Be sure to turn on registration marks.Tutorial: How to Use Subliflock & Free Silhouette Cameo Cut File by cuttingforbusiness.com.
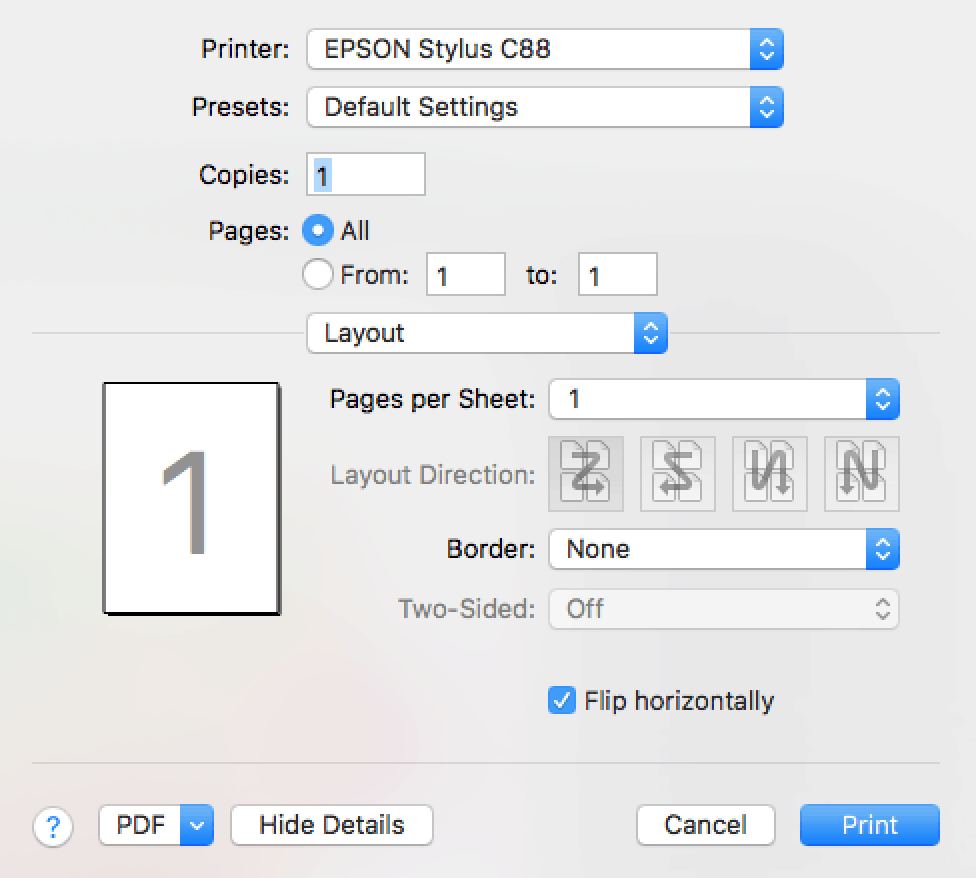
    2. Print your design onto sublimation transfer paper. You’ll need to mirror the design, but don’t mirror it in Silhouette Studio. Instead, mirror the entire page using your printer utility so that the registration marks are also mirrored. On my computer (Mac) the window that pops open is shown below. All I did was check the box that reads “Flip horizontally”.Tutorial: How to Use Subliflock & Free Silhouette Cameo Cut File by cuttingforbusiness.com.
      Tutorial: How to Use Subliflock & Free Silhouette Cameo Cut File by cuttingforbusiness.com.
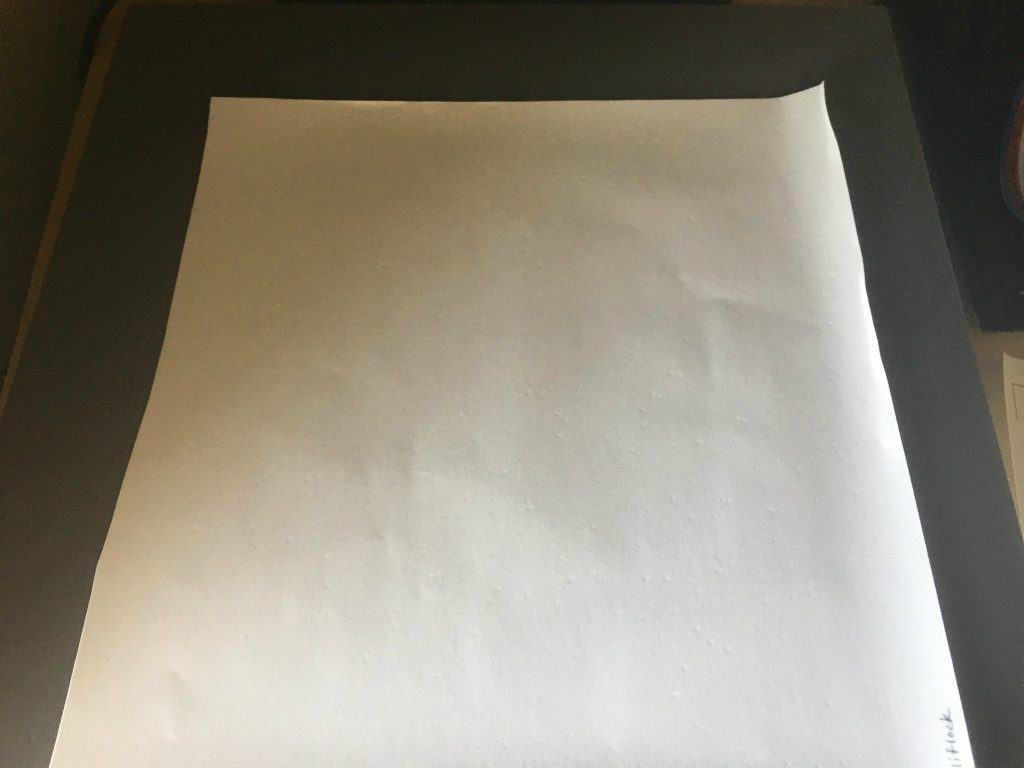
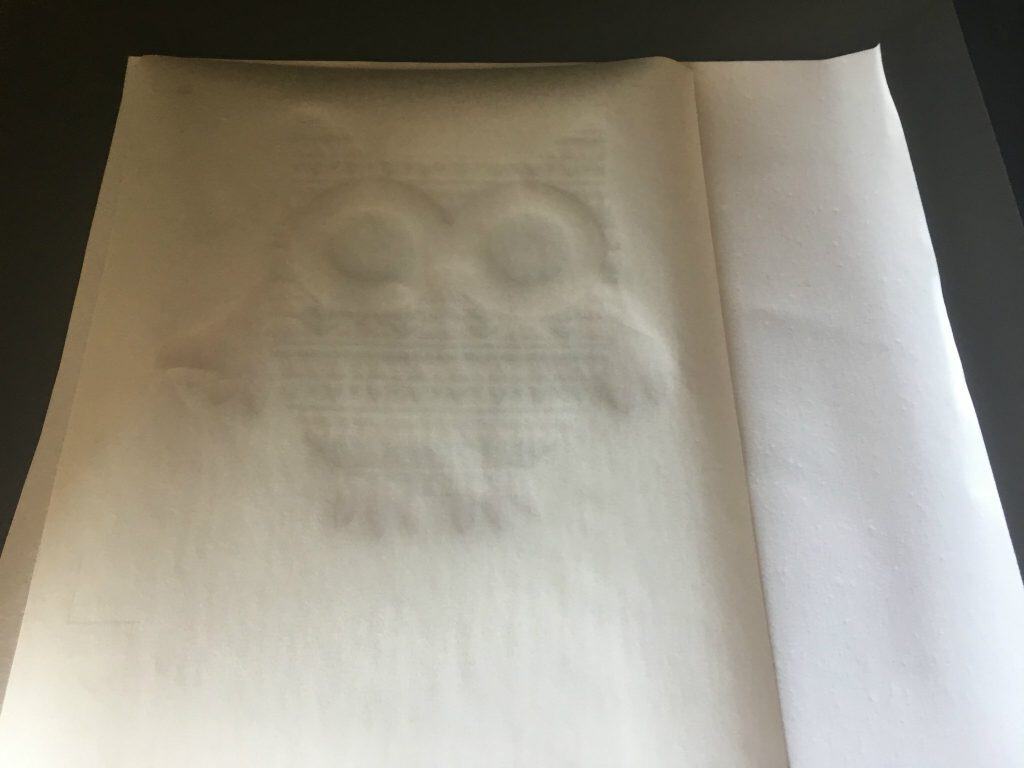
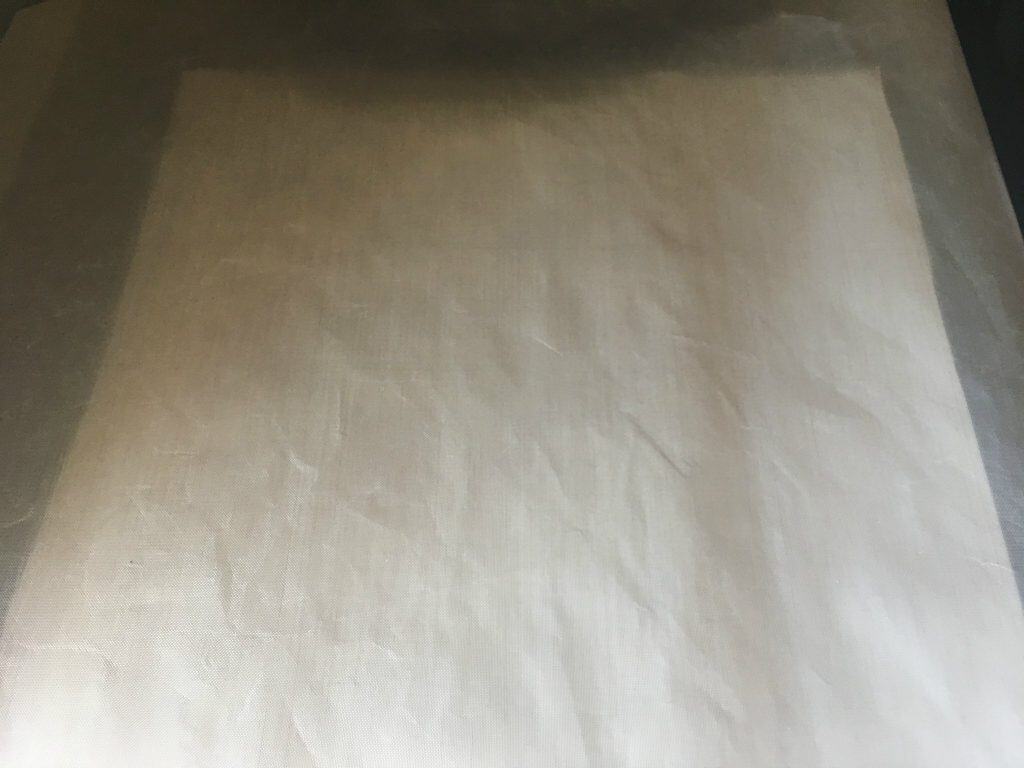
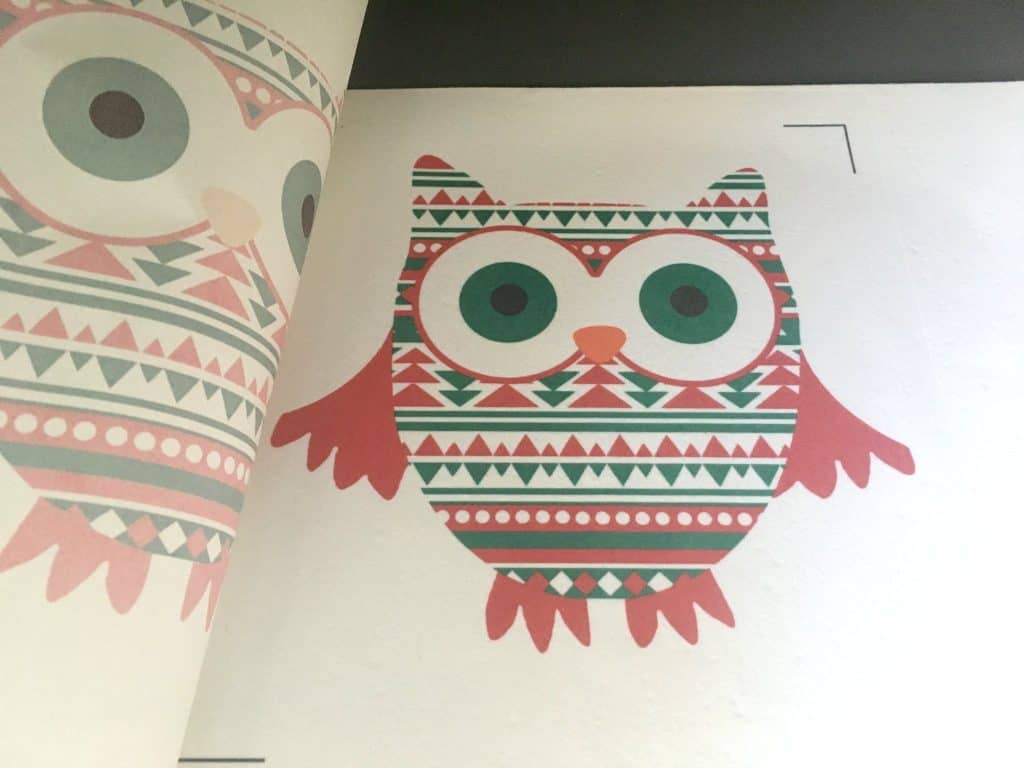
    3. After you print your design, you’ll transfer it to your subliflock. Put the subliflock (fuzzy side up) into your heat press. Put your printed design (ink side down) on top of the subliflock and cover it with a teflon sheet. Press at 375 degrees for 45 seconds. When you peel the sublimation transfer paper off, your design (and registration marks) will be on the subliflock.Tutorial: How to Use Subliflock & Free Silhouette Cameo Cut File by cuttingforbusiness.com.
      Tutorial: How to Use Subliflock & Free Silhouette Cameo Cut File by cuttingforbusiness.com.
      Tutorial: How to Use Subliflock & Free Silhouette Cameo Cut File by cuttingforbusiness.com.
      Tutorial: How to Use Subliflock & Free Silhouette Cameo Cut File by cuttingforbusiness.com.
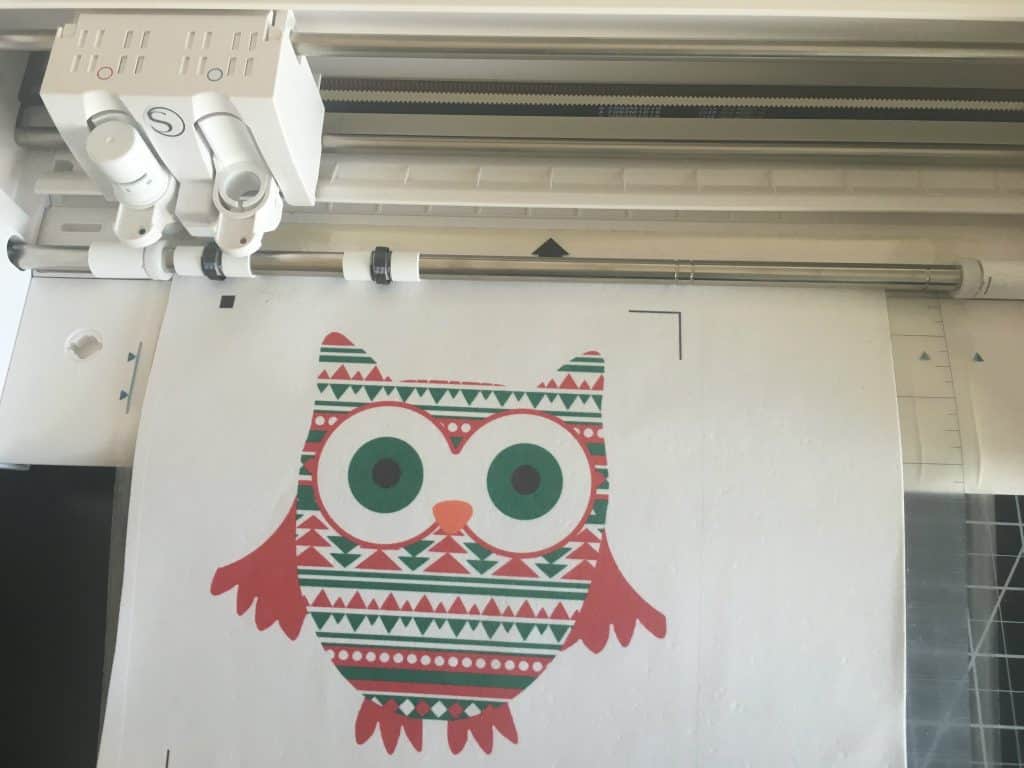
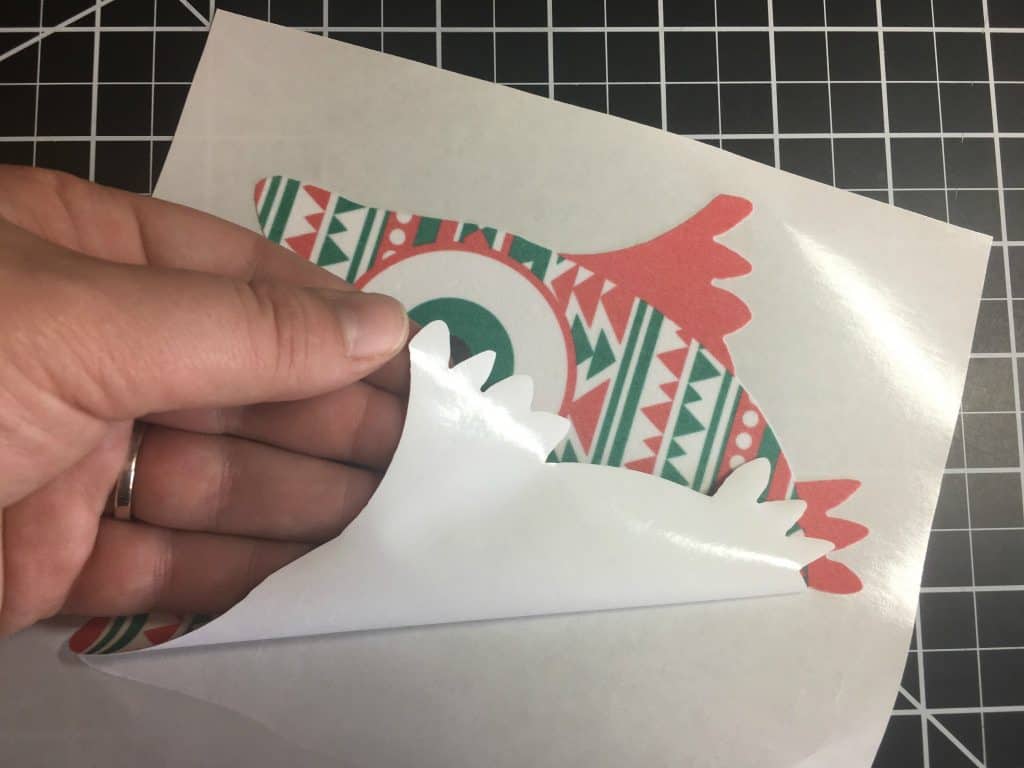
    4. Now, load the subliflock into your Silhouette Cameo and using the registration marks, cut around the outside edge. Tutorial: How to Use Subliflock & Free Silhouette Cameo Cut File by cuttingforbusiness.com.
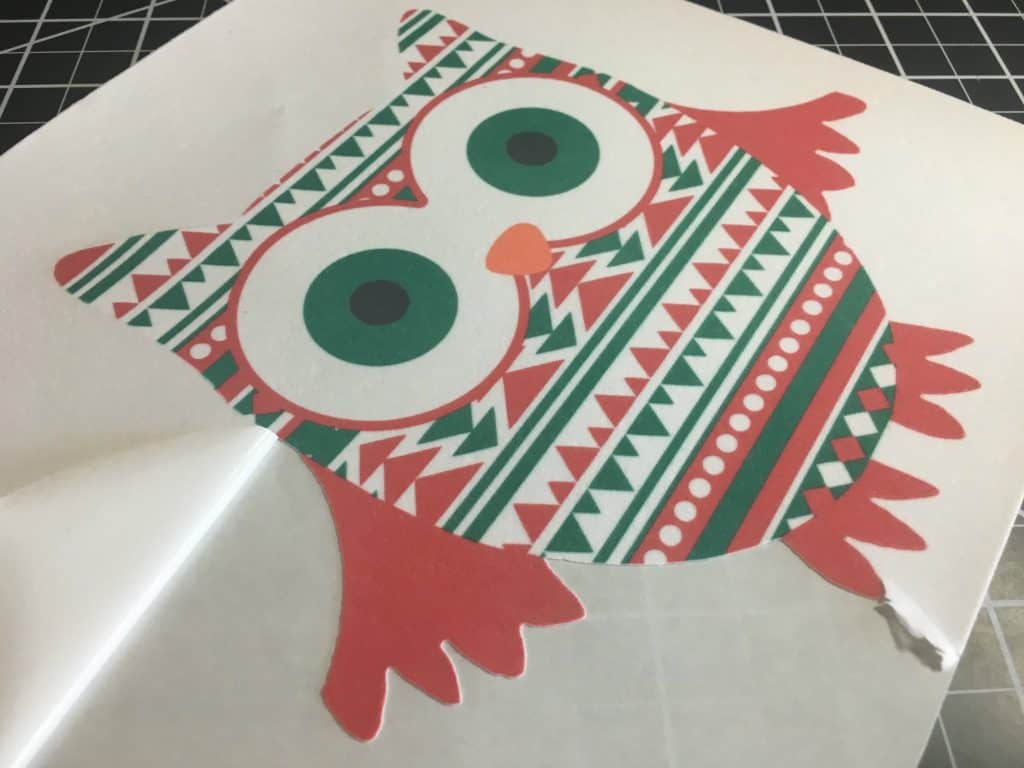
    5. Now, you’ll need to weed the excess vinyl. Subliflock weeds easily! Tutorial: How to Use Subliflock & Free Silhouette Cameo Cut File by cuttingforbusiness.com.
      Tutorial: How to Use Subliflock & Free Silhouette Cameo Cut File by cuttingforbusiness.com.
    6. You can either sell the design as an iron on, or apply it to apparel. If you sell the design, be sure to include application instructions for your customer to apply it with a heat press or iron.
    7. To apply the design to apparel, simply peel off the paper backing, put it in place and press at 325 degrees for 15 seconds. Tutorial: How to Use Subliflock & Free Silhouette Cameo Cut File by cuttingforbusiness.com.
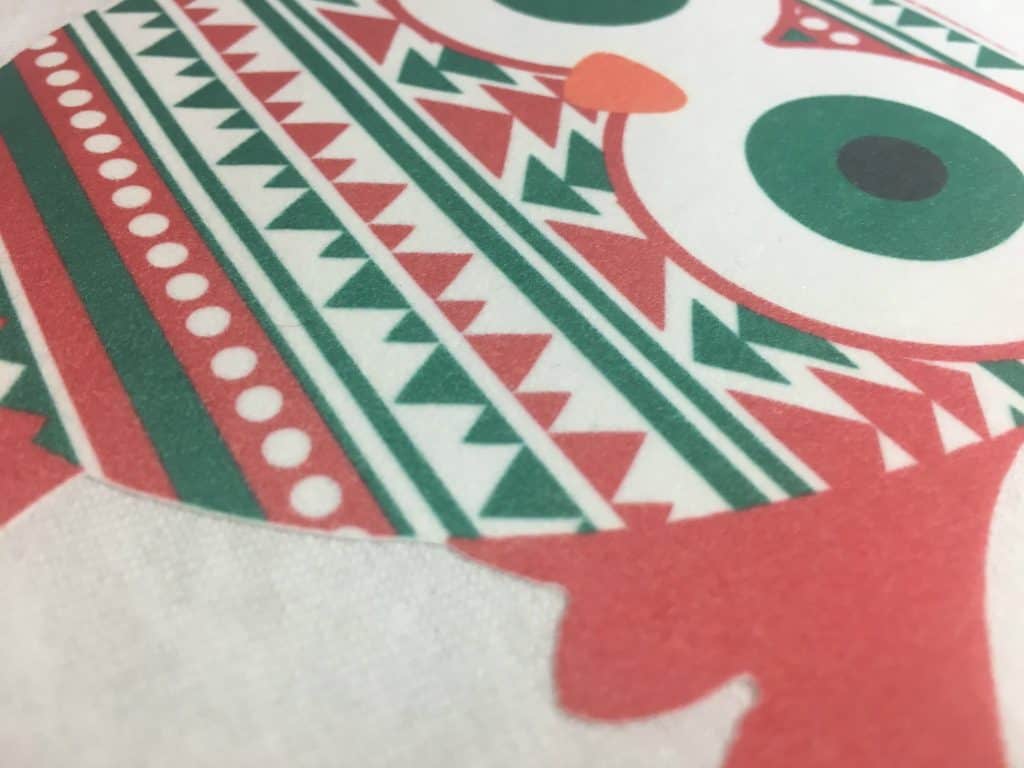
    8. Here’s a closeup of the subliflock pressed onto a shirt. You’ll notice how it is slightly fuzzy! Tutorial: How to Use Subliflock & Free Silhouette Cameo Cut File by cuttingforbusiness.com.

    Want my aztec Christmas owl cut file for Silhouette? Download it here.

    What do you think of subliflock? Let me know in the comments!

    Save this post to Pinterest:

    Tutorial: How to Use Subliflock & Free Silhouette Cameo Cut File by cuttingforbusiness.com.

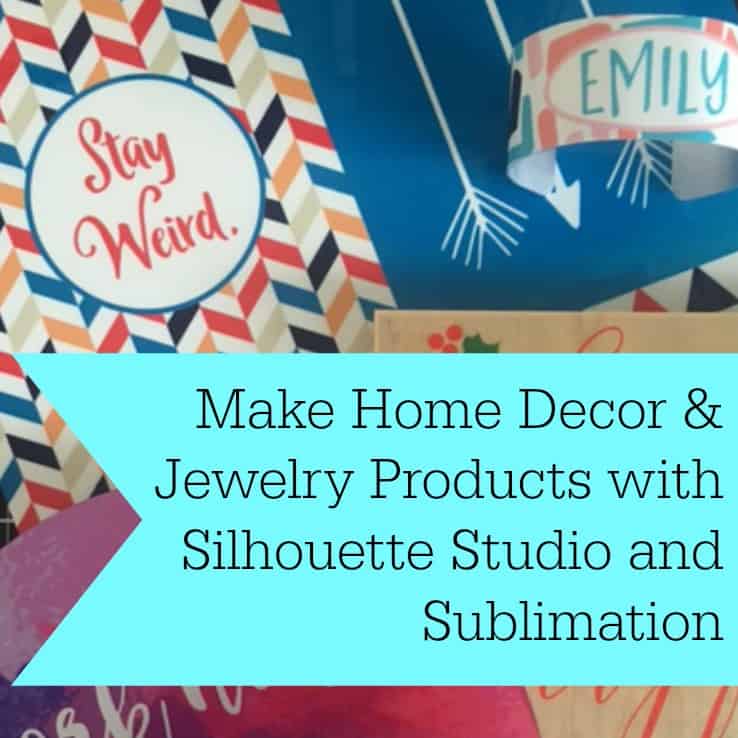
  • Use Silhouette Studio to Create Home Decor and Jewelry with Sublimation

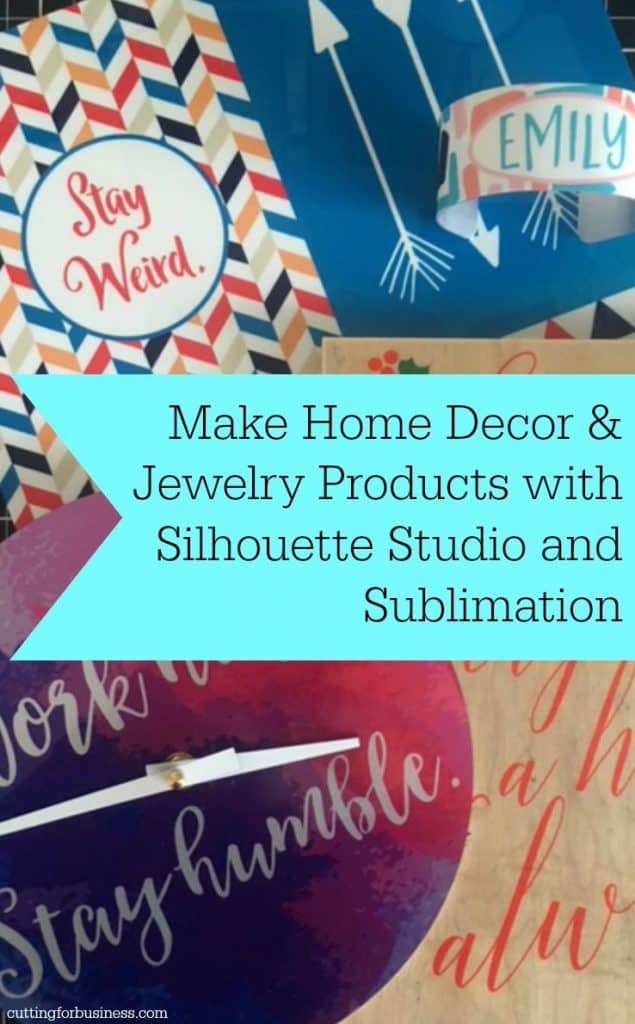
    A few months back, I shared a beginner’s series on sublimation. In some cases, I think that sublimation is a better choice than vinyl. For example: When you use sublimation on coffee mugs, the design becomes permanent and won’t wash off – unlike vinyl. (Learn how to do sublimation on mugs here.) Today, I’m sharing a few quick sublimation products that Unisub sent over to me. If you aren’t familiar with Unisub, they are a manufacturer of hard goods for sublimation. Their product line is extensive and includes: wood and metal photo blanks, jewelry blanks, clipboards, tags, puzzles, serving trays, and much more. Unisub doesn’t sell to the public, but you can find distributors at this link.

    Quick and Easy Bracelets with Sublimation

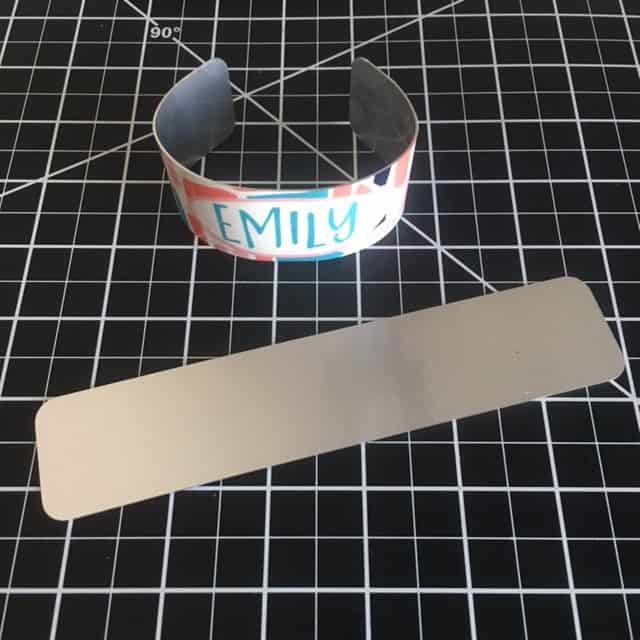
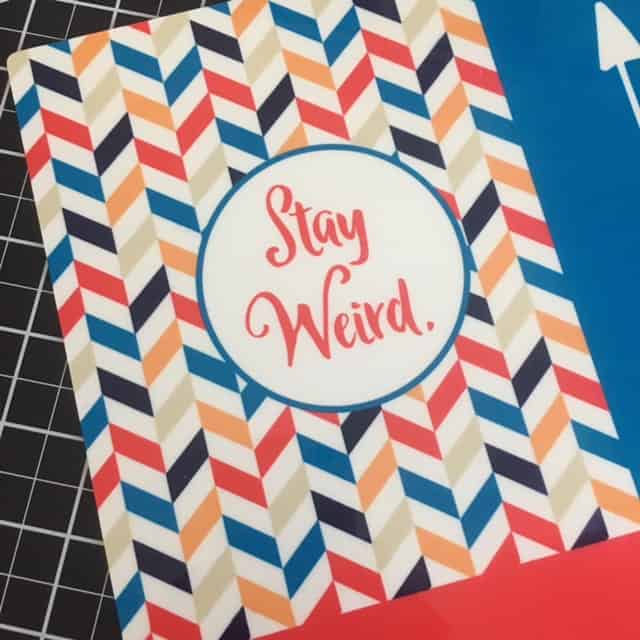
    I used a Unisub Standard Cuff Bracelet (Unisub Product Number 4636) to create a cuff bracelet. I first designed the image in Silhouette Studio, printed it on my sublimation transfer paper, then used a heat press to transfer the design.

    After transferring the image, I used an EZ Bender Tool (Unisub Product Number 4656) to bend the bracelet into a curve.

    Use Silhouette Studio to Create Home Decor and Jewelry with Sublimation - by cuttingforbusiness.com

    Wooden Sign Home Decor Without the Mess of Paint

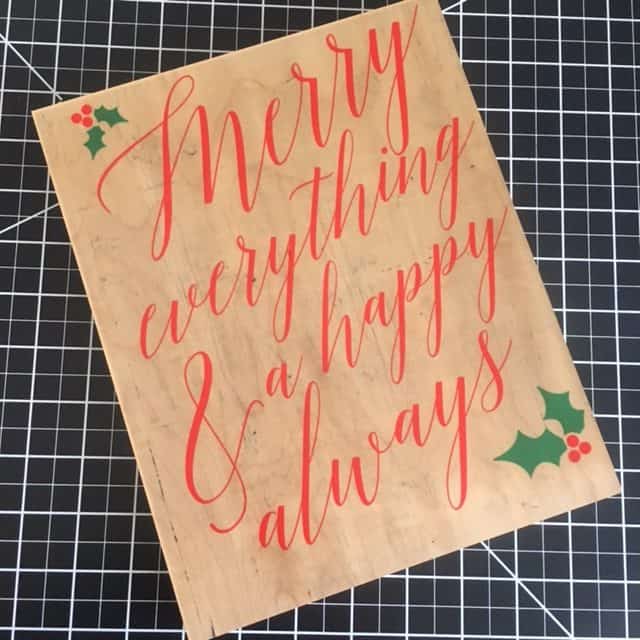
    I created a Christmas home decor sign using Unisub ChromaLuxe Natural Wood Print (Unisub Product Number 5882). After designing the image in Silhouette Studio, again, I just printed it onto sublimation transfer paper and applied it with my heat press. (If you missed this cut file on the blog last week, download it here.)

    Use Silhouette Studio to Create Home Decor and Jewelry with Sublimation - by cuttingforbusiness.com

    Tween Friendly Clock with Sublimation

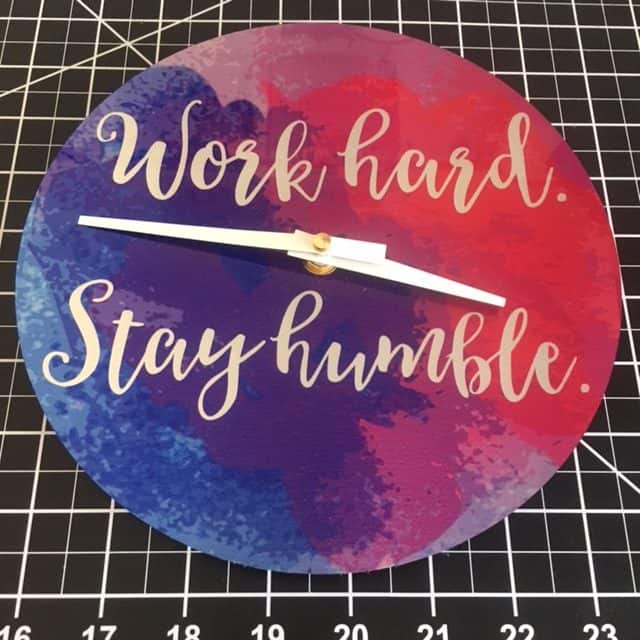
    We’ve recently been making over Emily’s room as she is headed towards tweendom! I used Unisub Silver Wall Clock (Unisub Product Number 5823) to create a clock. Again, I designed the image in Silhouette Studio. Pick up wall clocks at this link.

    Use Silhouette Studio to Create Home Decor and Jewelry with Sublimation - by cuttingforbusiness.com

    Metal Memo Board with Sublimation

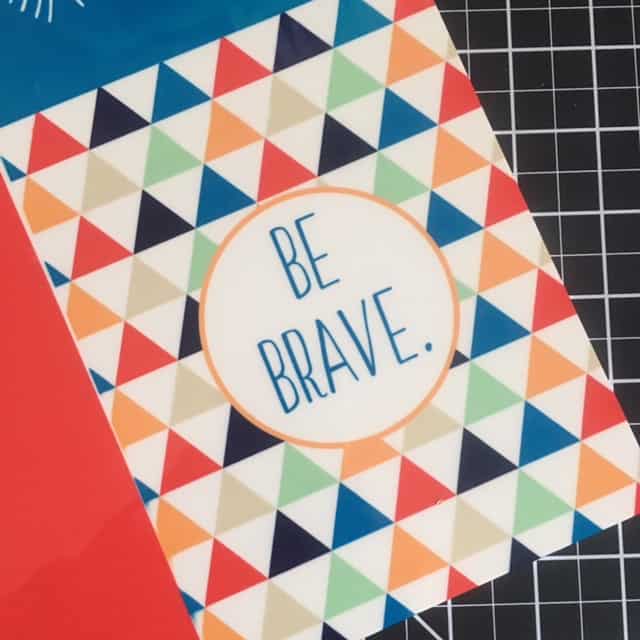
    Using Unisub ChromaLuxe Gloss White Metal Print (Unisub Product Number 5882), I was able to easily create a metal memo board to finish out the decor in Emily’s updated room. Looking for metal blanks? Grab them at this link.

    Use Silhouette Studio to Create Home Decor and Jewelry with Sublimation - by cuttingforbusiness.com
    Use Silhouette Studio to Create Home Decor and Jewelry with Sublimation - by cuttingforbusiness.com

    This post highlights some of the products that you can quickly make using Silhouette Studio, a sublimation printer, Unisub blanks, and your heat press.

    Ready to give it a try? Unisub has provided a goodie box (with a retail value of over $200!) full of sublimation products for me to give to a Cutting for Business reader. Enter for your chance to win:

    a Rafflecopter giveaway

    After you enter the giveaway, save this post to Pinterest:

    Use Silhouette Studio to Create Home Decor and Jewelry with Sublimation - by cuttingforbusiness.com
  • A Guide to Sublimation for Crafters

    Why is sublimation on a blog focused on using your Silhouette or Cricut in your business? Sublimation is a natural progression from using vinyl and is a great way to handle larger orders.

    A Guide to Sublimation - cuttingforbusiness.com

    A Guide to Sublimation

    What Exactly is Sublimation?

    Sublimation, or dye sublimation printing, is a process where you use a special printer, special inks, and special paper to create a design to put on a variety of blank products. You then use a heat press to transfer the design onto a specially coated product blank.

    For my science nerd blog readers (that includes me!): This process works because sublimation ink can go from a solid to a gas without a liquid form – much like dry ice.

    FAQ About Sublimation

    Q: Will any printer work?
    A: No, you must have a sublimation printer with sublimation ink and use sublimation paper.

    Q: Will any blank product work?
    A: No, you must use specially coated blank products. You cannot easily coat blank products yourself.

    Q: Why would I use sublimation instead of vinyl?
    A: In cases of adhesive vinyl, the vinyl can ultimately be peeled off. When you sublimate a design, it becomes part of the product and is permanent. In cases of heat transfer vinyl, sublimation gives you more possibilities including using photos and completing intricate designs without weeding or intensive layering.

    What Products Can You Make with Sublimation?

    There is a wide range of products that you use with sublimation, including:

    • Apparel: Tee shirts, tank tops, hoodies, sweat pants, shorts.
    • Baby items: Bibs, clothing, hats, blankets.
    • Winter gear: Hats, ear warmers, scarves.
    • Accessories: Socks, hats, bandanas, tote bags, shoulder bags.
    • Home decor: Blankets, throw pillows, towels, clocks.
    • Kitchen goods: Cutting boards, mugs, steins, water bottles, tiles, coasters, aprons.
    • Electronics accessories: Phone cases, tablet cases, mouse pads, laptop cases.
    • Other: Pet bowls, picture frames, jewelry, magnets, license plates, keychains, puzzles.
    • …and much more!

    Now, move on and see how sublimation works.


  • Tutorial: How to Sublimate T-shirts or Apparel

    Yesterday we talked about what sublimation is and today I’m showing you how to sublimate onto tee t-shirts, apparel, or other soft goods.

    Tutorial: How to Sublimate T-shirts or Apparel - cuttingforbusiness.com

    Supplies Needed

    Tutorial: How to Sublimate T-shirts or Apparel

    Step 1) Create a design. For this tutorial, I used Silhouette Studio, but you can use any photo editor you have.

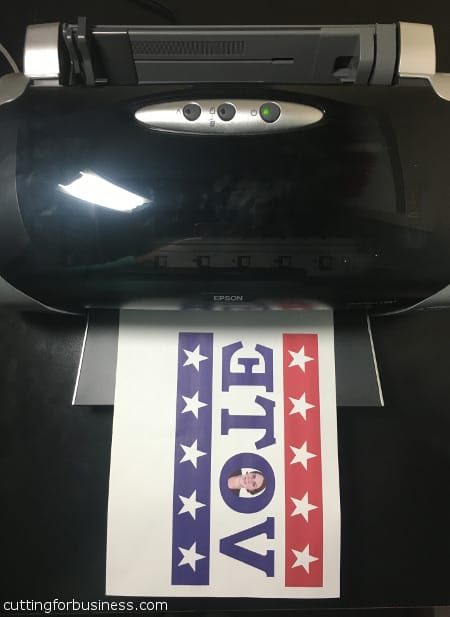
    Step 2) Mirror your design and print it on your sublimation printer.

    Tutorial: How to do Sublimation on Tee Shirts or Apparel - Great for Silhouette Cameo and Cricut small business owners - by cuttingforbusiness.com

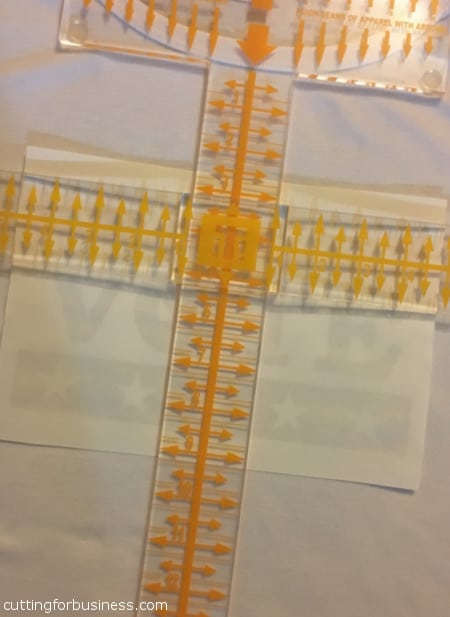
    Step 3) Line your up your design. I use a Tee Square It, but feel free to line it up however you’d like.

    Tutorial: How to do Sublimation on Tee Shirts or Apparel - Great for Silhouette Cameo and Cricut small business owners - by cuttingforbusiness.com

    Step 4) Press your design onto your apparel using a heat press. Your transfer paper should have recommended pressing times and temperatures. I pressed with medium pressure at 385 degrees for 35 seconds.

    Step 5) Remove the transfer paper.

    sub6

    That’s it – it’s so easy!

    Sublimation Versus Vinyl

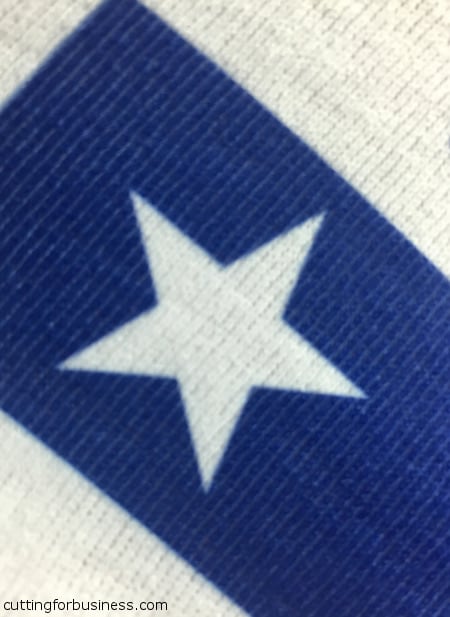
    I took a few closeup photos for you to see how sublimation looks. Unlike vinyl, the design becomes part of the apparel. This means that when the fabric stretches; the design stretches!

    Tutorial: How to do Sublimation on Tee Shirts or Apparel - Great for Silhouette Cameo and Cricut small business owners - by cuttingforbusiness.com
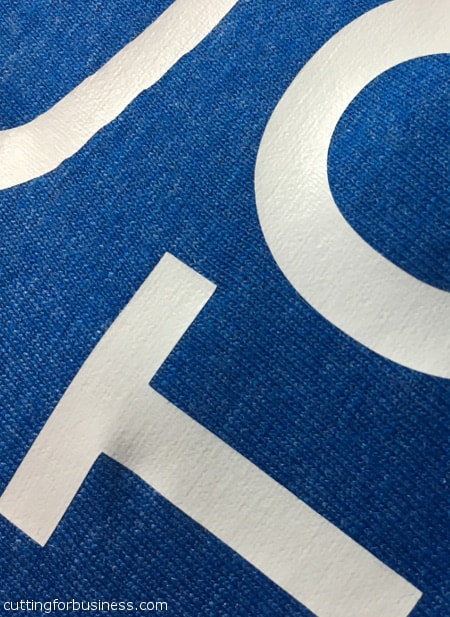
    Tutorial: How to do Sublimation on Tee Shirts or Apparel - Great for Silhouette Cameo and Cricut small business owners - by cuttingforbusiness.com

    This photo shows how vinyl compares to sublimation. Notice how the vinyl design sits on top of the apparel.

    Tutorial: How to do Sublimation on Tee Shirts or Apparel - Great for Silhouette Cameo and Cricut small business owners - by cuttingforbusiness.com

    More Sublimation Information & Tutorials

    Guide to Sublimation for Crafters
    Two Ways to Make Mugs Using Sublimation

    (Oh! Please get out and vote this year, but don’t write me in as a candidate. I’m pretty tied up with the blog.)

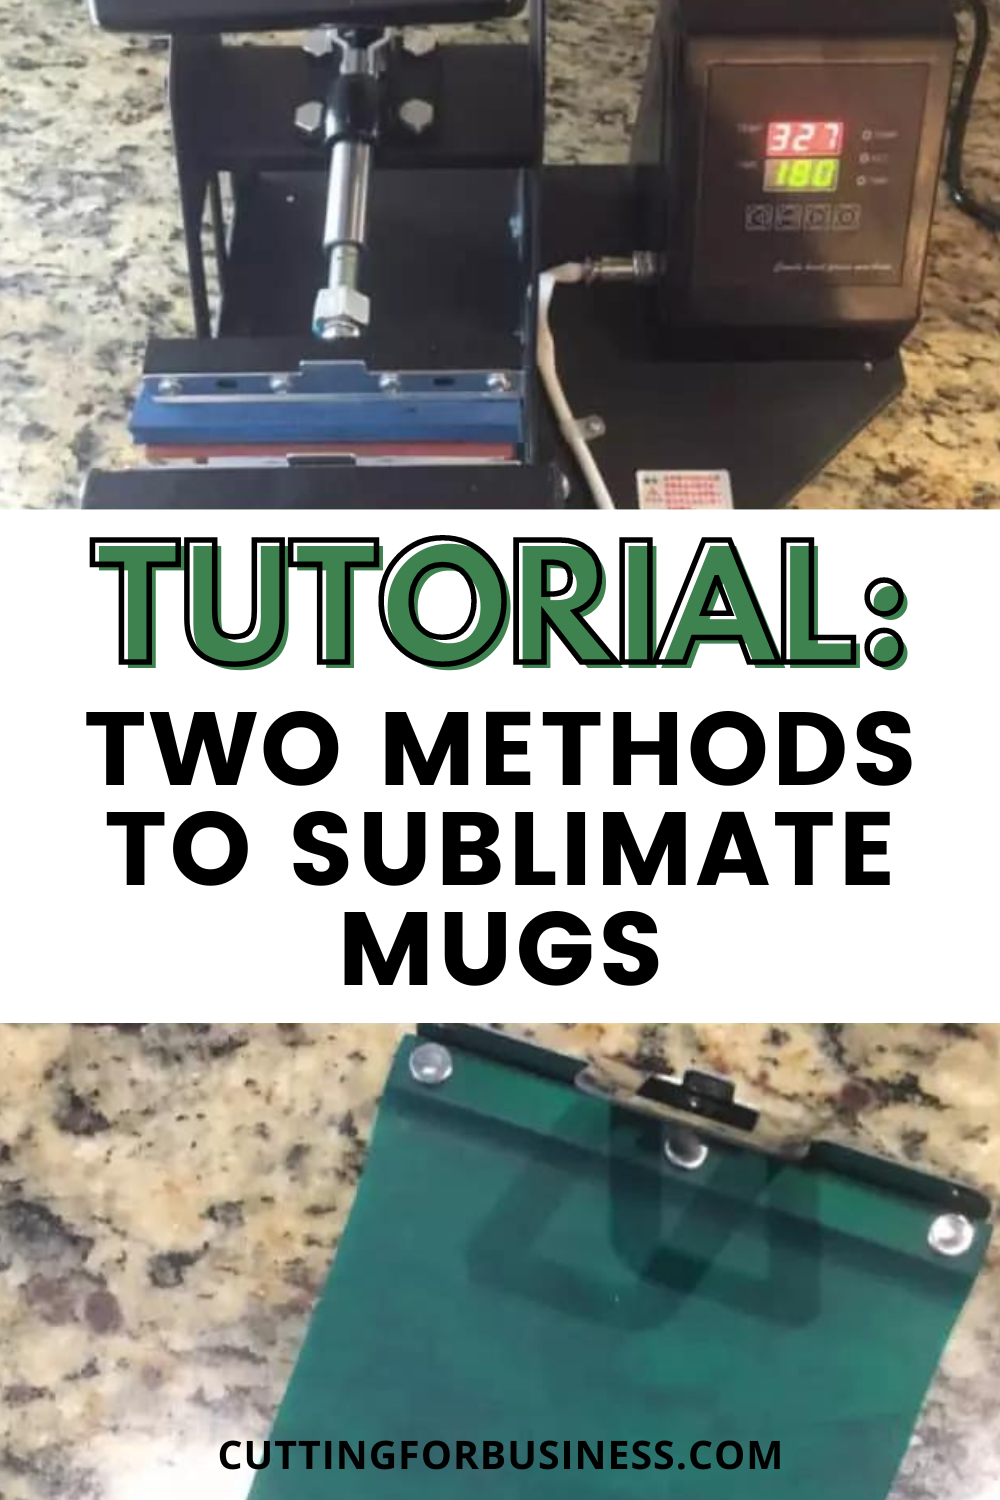
  • Tutorial: Two Methods to Sublimate Mugs

    Hey sublimation fans! We started with an introduction to sublimation, then a tutorial for sublimation on apparel, and today I’m showing you how to do sublimate mugs.

    Tutorial: Two Methods to Sublimate Mugs - cuttingforbusiness.com

    Supplies Needed

    Method 1: Sublimation with a Mug Press

    1) Create a design and print it on your sublimation printer (don’t forget to mirror!).

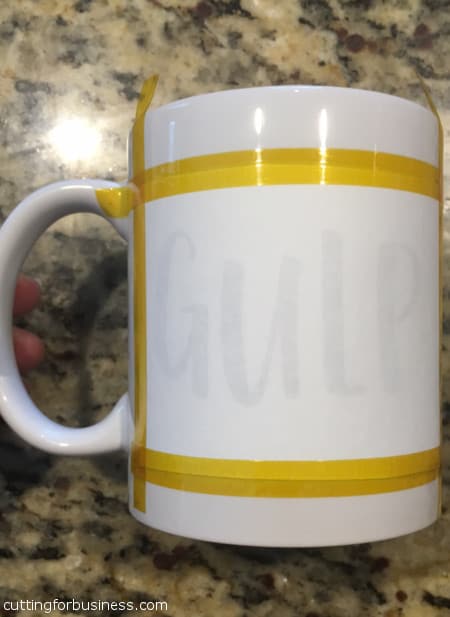
    2) Line up your design and tape into place with heat resistant tape.

    Tutorial: How to Sublimate Mugs - Two ways - A great intro for Silhouette Cameo and Cricut crafters - by cuttingforbusiness.com

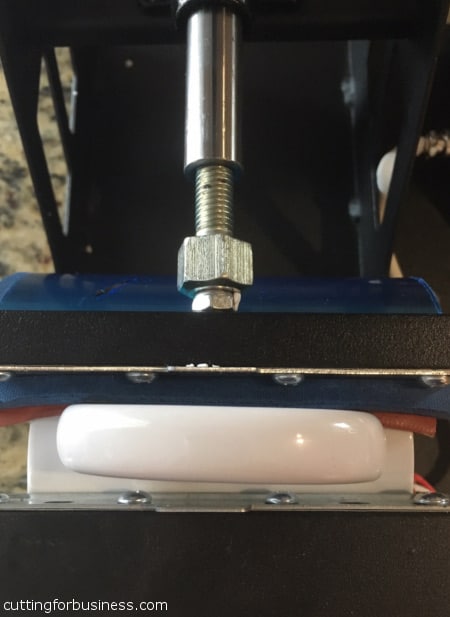
    3) Set up your mug press machine and load mug into your mug press. The actual operation of mug presses vary – follow the instructions that came with yours. (I bought this one. A quick note about buying a mug press: read, read, read. Some mug presses only work with certain sized mugs.)

    4) Press mug with firm pressure according to transfer paper and mug recommendations. I used 380/385 degrees for 185 seconds. When pressing, you’ll want to make sure that the handle of the mug isn’t touching the metal edges – that’s too much pressure.

    Tutorial: How to Sublimate Mugs - Two ways - A great intro for Silhouette Cameo and Cricut crafters - by cuttingforbusiness.com

    5) Using pot holders or gloves, remove the mug and transfer paper immediately. (These gloves worked much better than a pot holder – get 2.)

    6) Place the mug in warm water or place it in front of a fan to cool it off and prevent bleeding. Final product:

    Tutorial: How to Sublimate Mugs - Two ways - A great intro for Silhouette Cameo and Cricut crafters - by cuttingforbusiness.com

    That’s it! It’s pretty simple to use the mug press, but time consuming because each mug has to press for so long.

    Method 2: Sublimation with Mug Wraps

    1) Create a design and print it on your sublimation printer.

    2) Line up your design and tape into place with heat resistant tape.

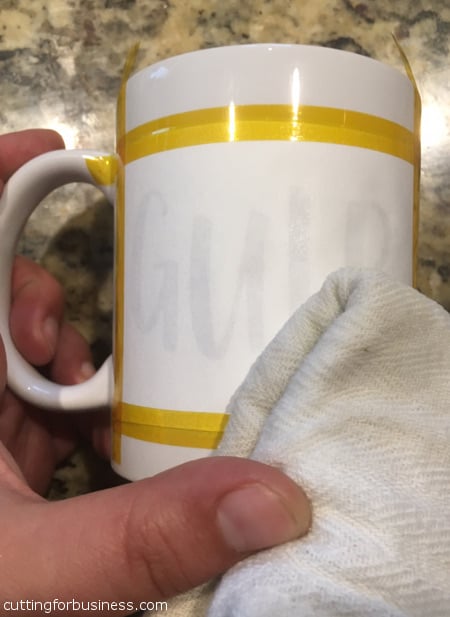
    3) Slightly dampen the transfer paper. I used a towel and it worked well.

    Tutorial: How to Sublimate Mugs - Two ways - A great intro for Silhouette Cameo and Cricut crafters - by cuttingforbusiness.com

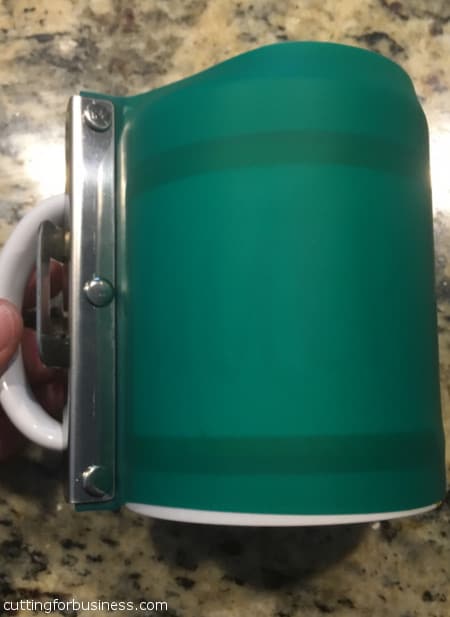
    4) Carefully place the mug wrap around the mug. Be careful not to wrinkle the transfer paper, and clamp it closed. Here is a link to the mug wraps.

    Tutorial: How to Sublimate Mugs - Two ways - A great intro for Silhouette Cameo and Cricut crafters - by cuttingforbusiness.com

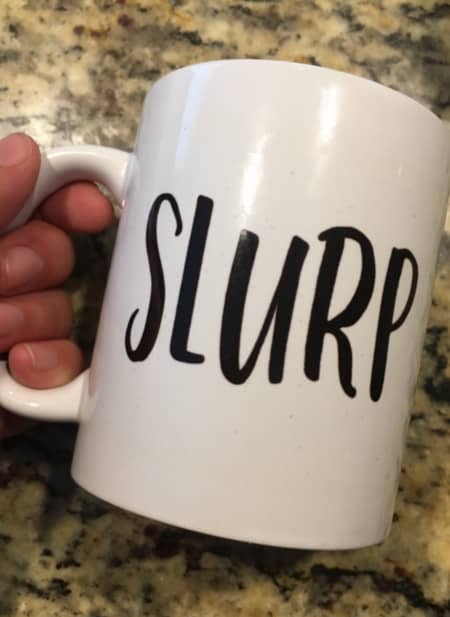
    5) Bake in oven (not a toaster oven or microwave!) according to the settings that came with your transfer paper. I baked for 14 minutes at 425 degrees. Final product:

    Tutorial: How to Sublimate Mugs - Two ways - A great intro for Silhouette Cameo and Cricut crafters - by cuttingforbusiness.com

    Both mugs are washable, can withstand scrubbing, and are dishwasher and microwave safe. If you plan to sell mugs, I’d highly recommend you choose sublimation over vinyl.

    Where to Buy Sublimation Supplies

    My favorite place to buy sublimation supplies is Heat Press Nation. Read why I love Heat Press Nation.