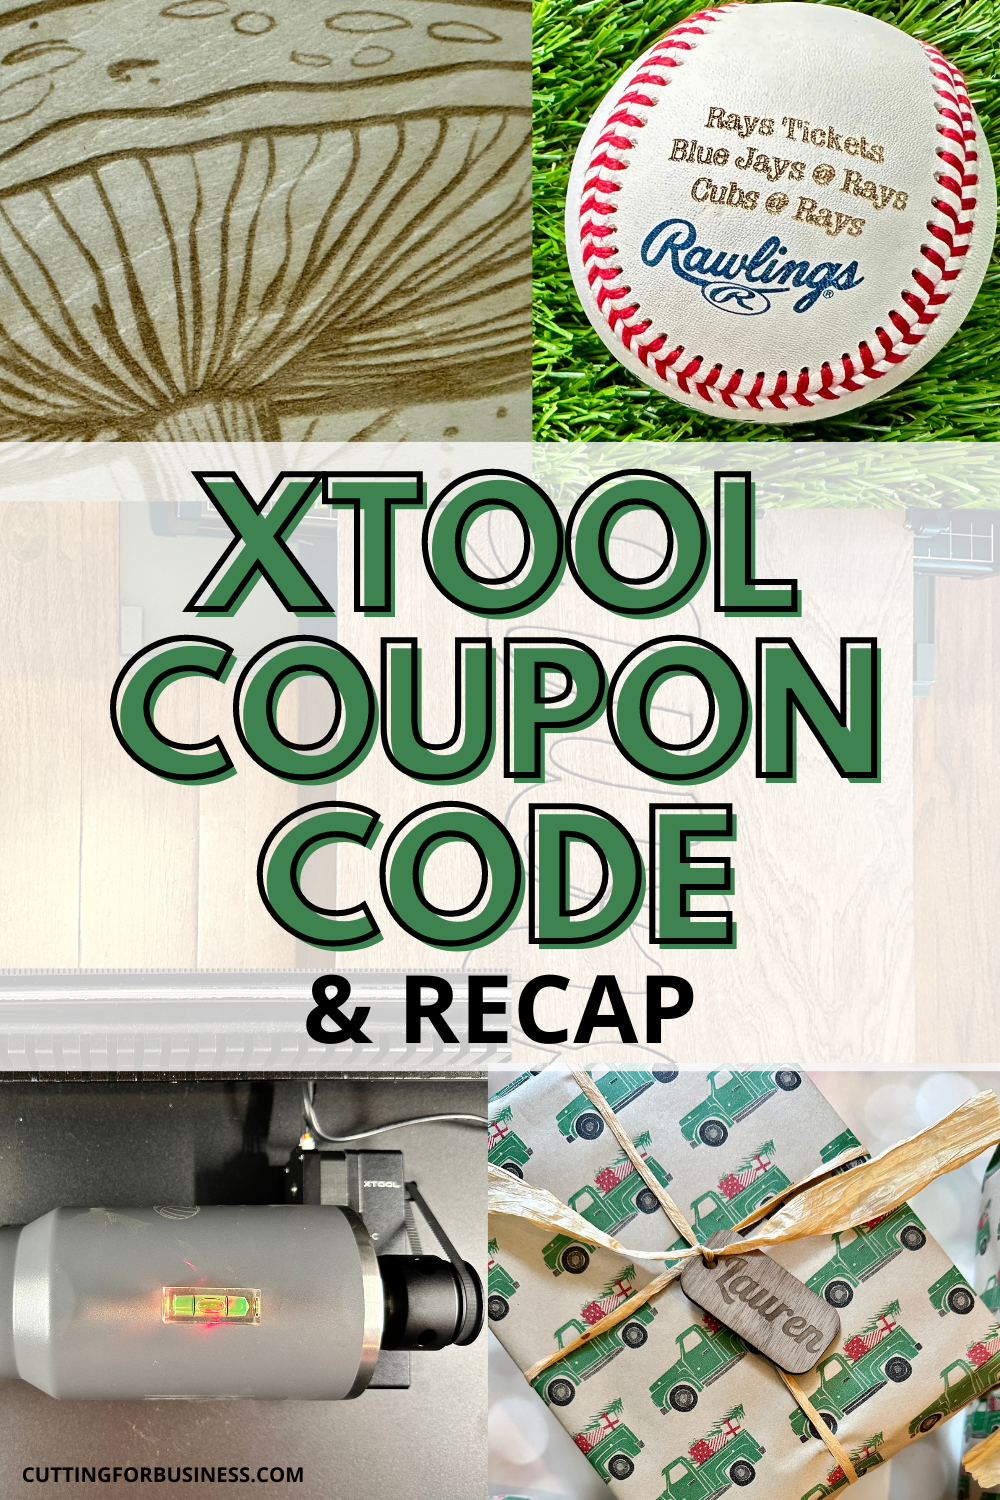
Thanks for following along with my articles and discussions on the xTool P2 for the last week.
I think it’s a pretty awesome machine that outperforms many of the other lasers on the market right now.
I feel that xTool has spent time innovating their product to include unique features like the Riser Base and the Rotary Attachment; while other companies are focused more on software and subscriptions.
An xTool P2 is a great addition to any craft room, workshop, or studio.
If you’ve been on the blog recently, you’ll know that I recently received an xTool M1 machine to try out and share a few projects. If you haven’t seen the first post, go back.
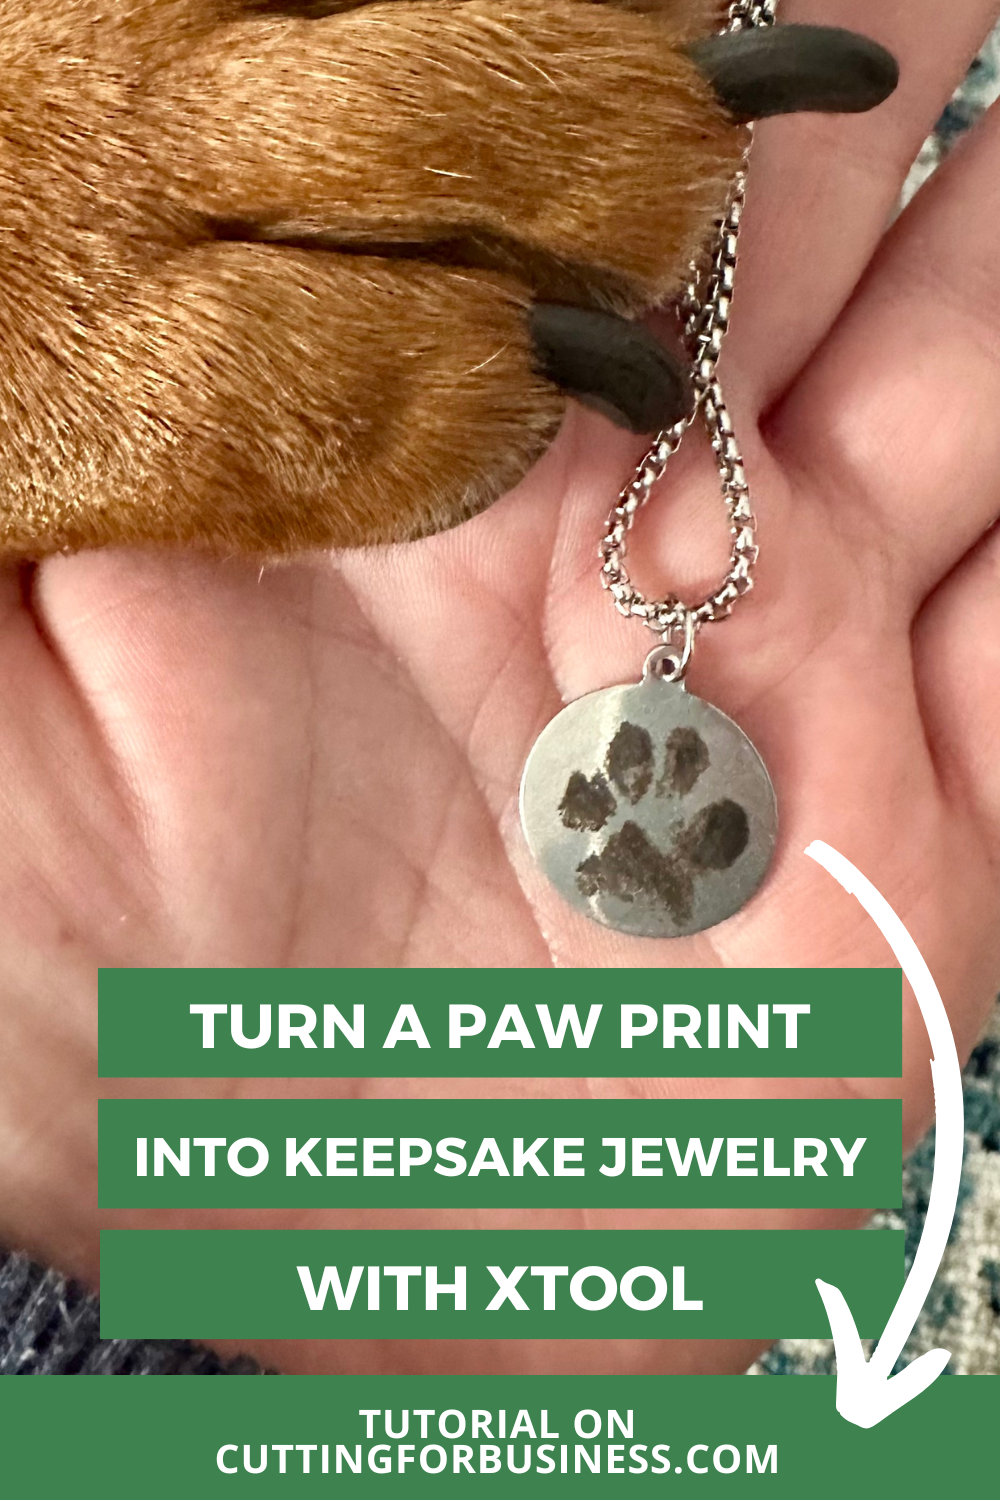
The first project I’m sharing is a step-by-step tutorial to create engraved paw print jewelry.
Tutorial: Paw Print Jewelry with xTool M1
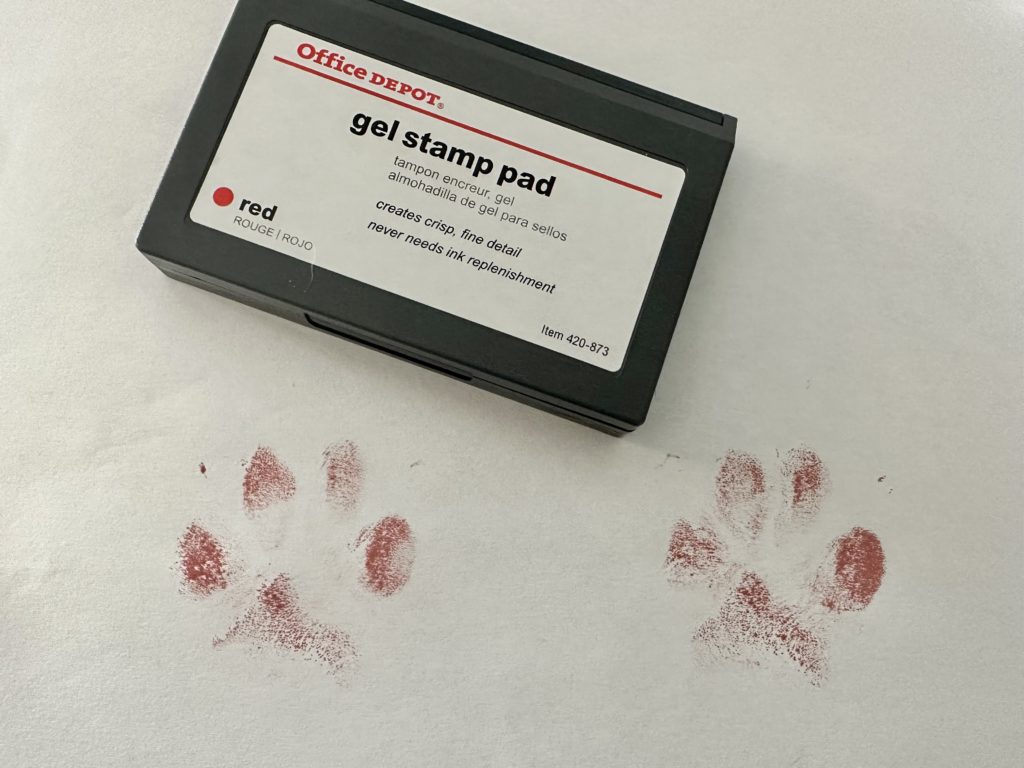
“Fingerprint” your pet. I used an ink pad, patted Tank’s paw onto the pad, stamped it onto a white sheet of printer paper, then washed his paw. I’d share a few photos of the process, but as you can imagine – Tank wasn’t incredibly helpful.
2. Scan the pawprint onto your computer. (I used the paw print on the right.) I no longer have a flatbed scanner, so I used a phone app TinyScanner, which did a pretty good job.
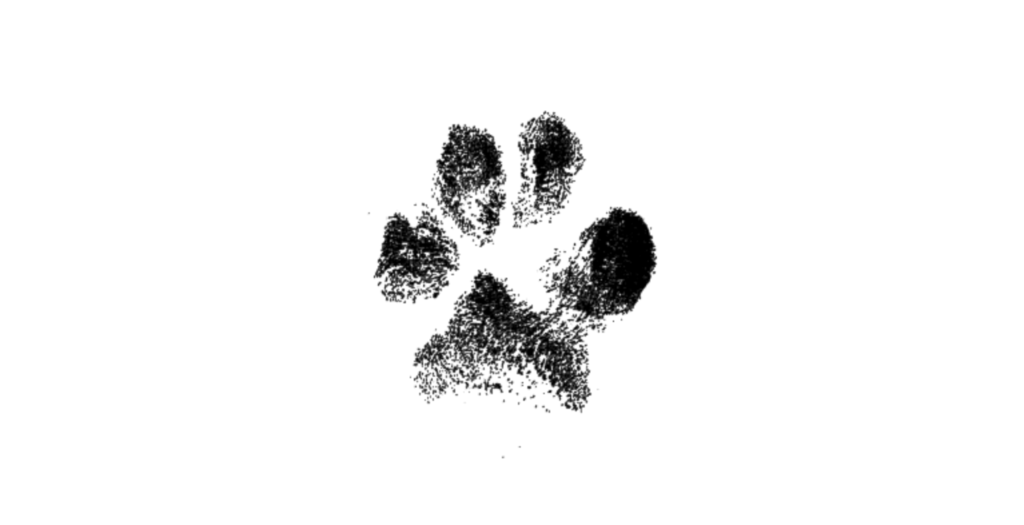
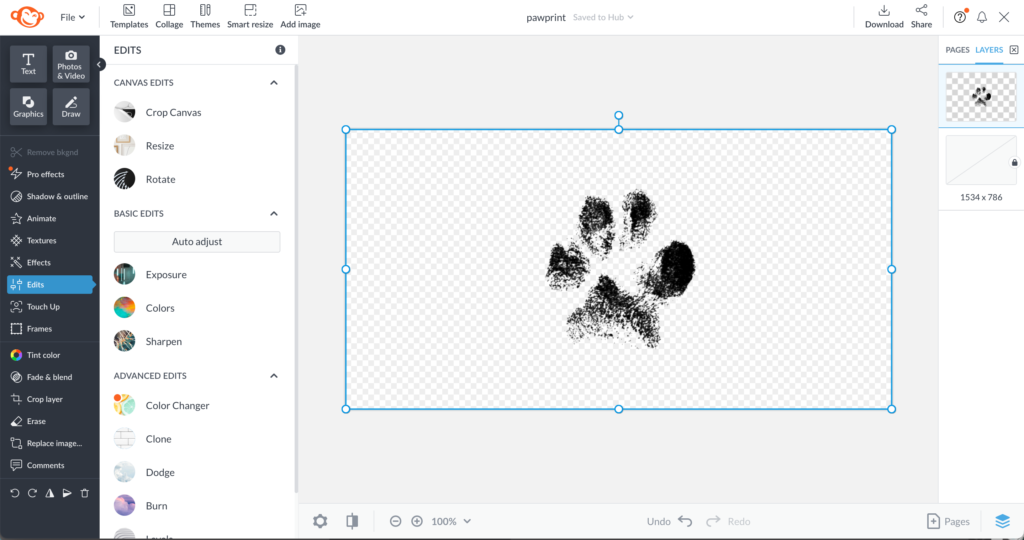
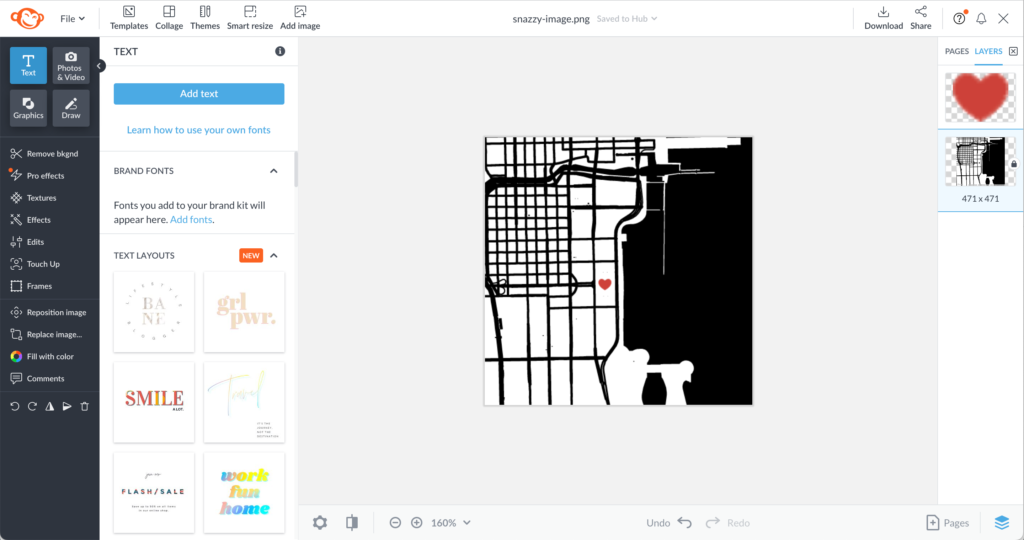
3. Use an online editor to remove the background. I used PicMonkey, but you could also use LunaPic or Canva.
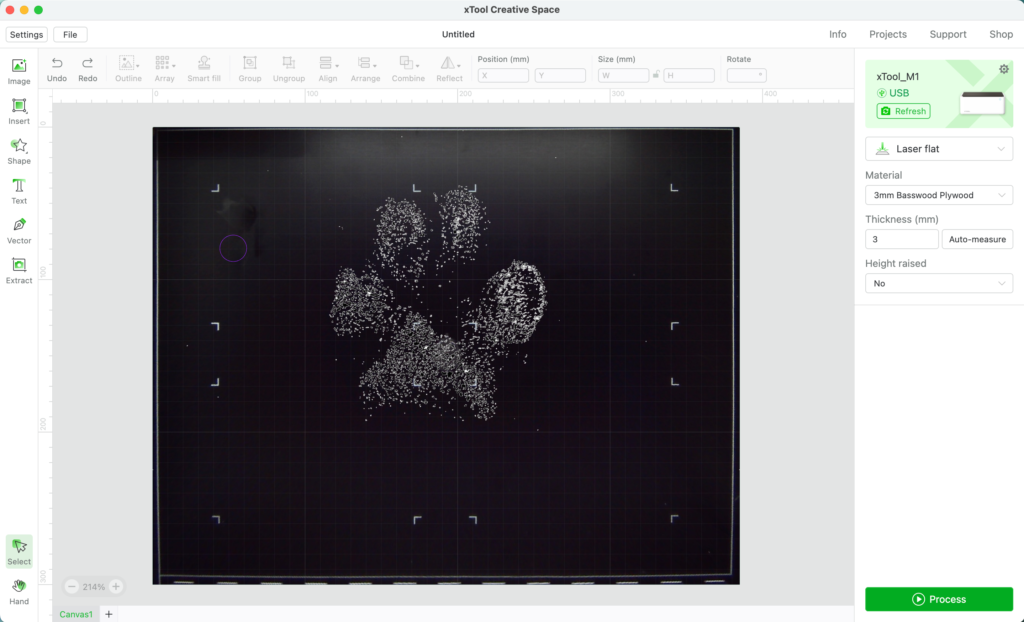
4. In the xTool software, click the ‘Image’ button to load your image.
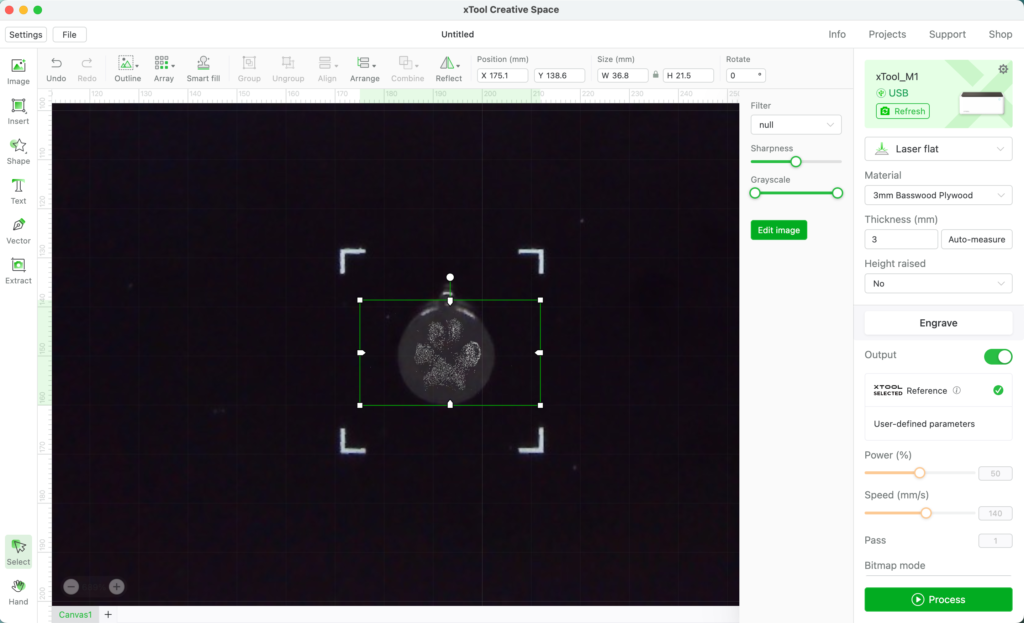
5. Resize the image and move it on top of the jewelry blank. You can pan the view around the screen with the ‘Hand’ tool on the left bottom corner.
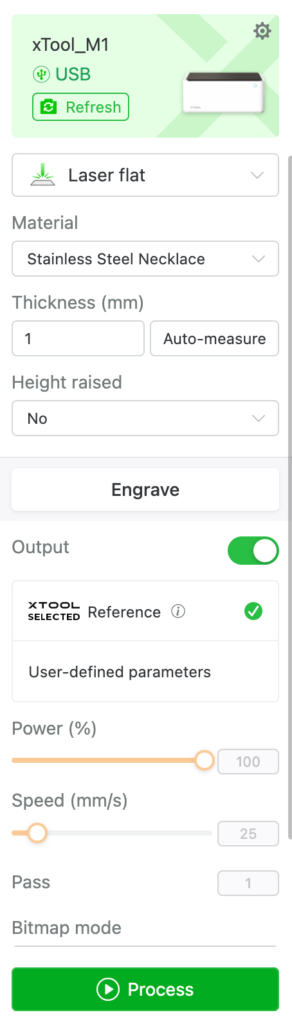
6. Input the correct settings. In this case, I chose ‘Laser flat’, ‘Stainless Steel Necklace’, and Height raised ‘No’. Click the ‘Process’ button.
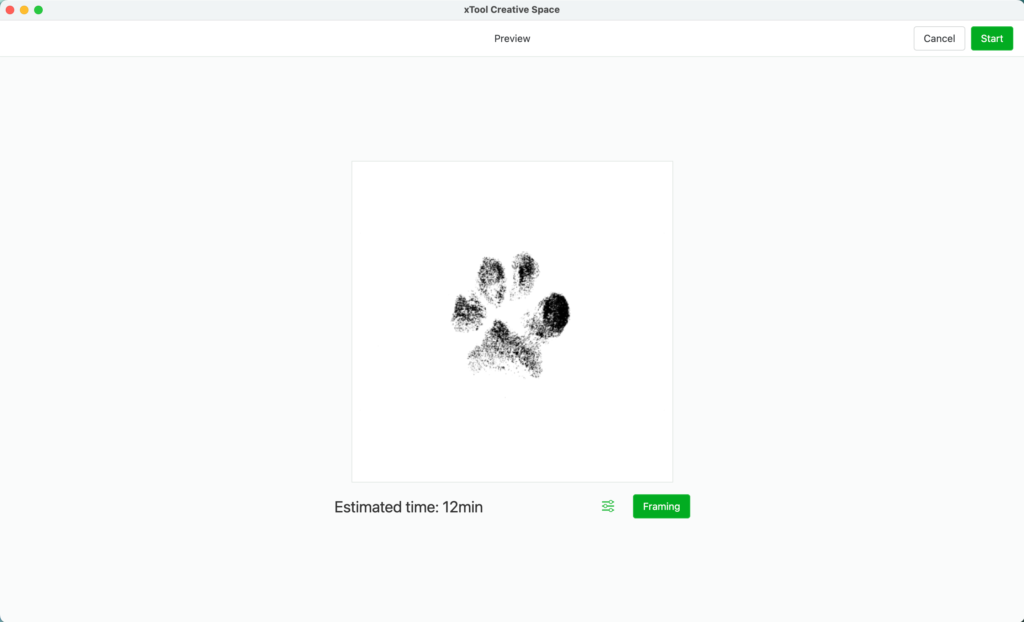
7. Turn on your xTool, the air assist fan, and then click the ‘Start’ button. The software states it’ll be about 12 minutes. Click the ‘Start’ button and then the button on your xTool.
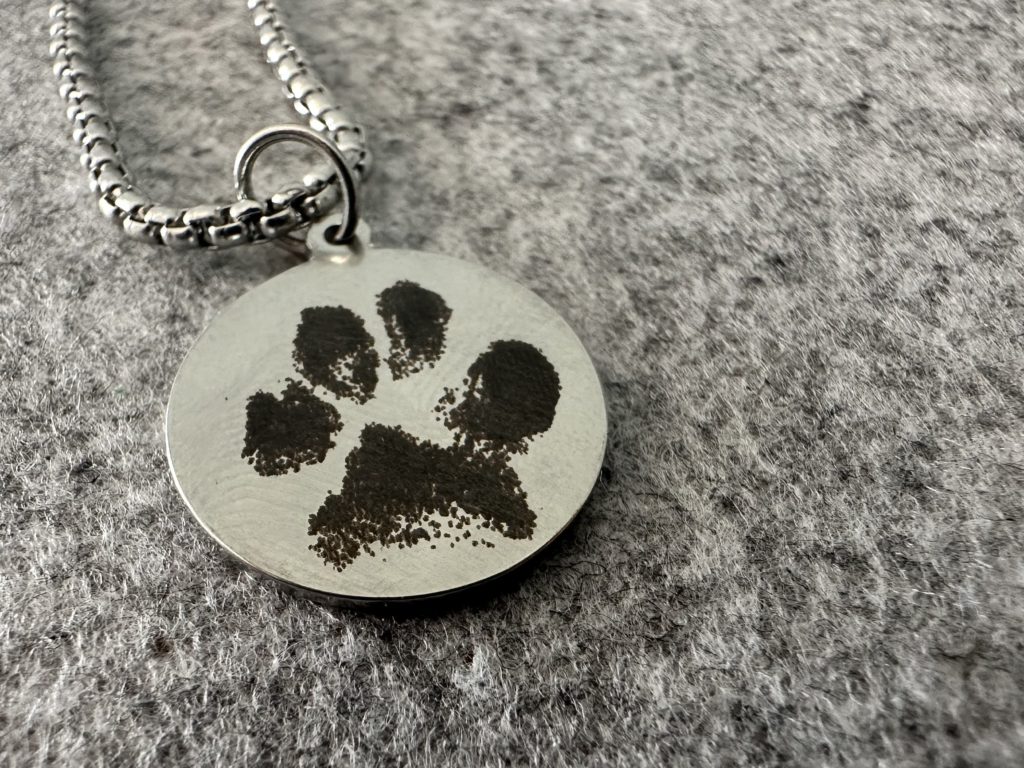
Here’s how it looks after engraving.
Fun and successful first xTool project! It’s a nice dark engrave on the stainless steel disk. I added a jump ring and put it on a necklace.
A Paw Print Jewelry Business Idea
You could create a niche out of paw print jewelry with the xTool M1. Here’s how I imagine this could work:
Customers buy a small kit on your website containing a piece of paper, a non toxic stamp pad, alcohol wipes, and directions for taking their pet’s paw print.
After the customer takes a print of their dog’s paw, they send it to you digitally – likely through email.
You use the xTool to engrave their jewelry.
Package the jewelry and send it off.
Thanks, Tank!
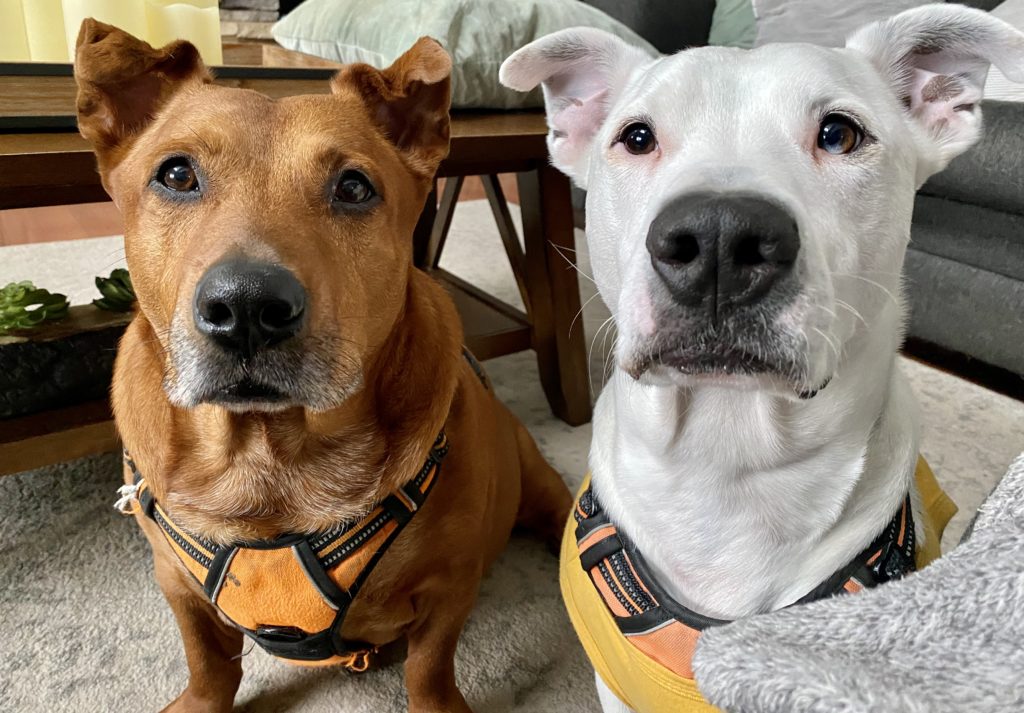
This tutorial wouldn’t be complete without a picture of Tank, who received a Milkbone for his cooperation. (Tank, left. Chopper, right.)
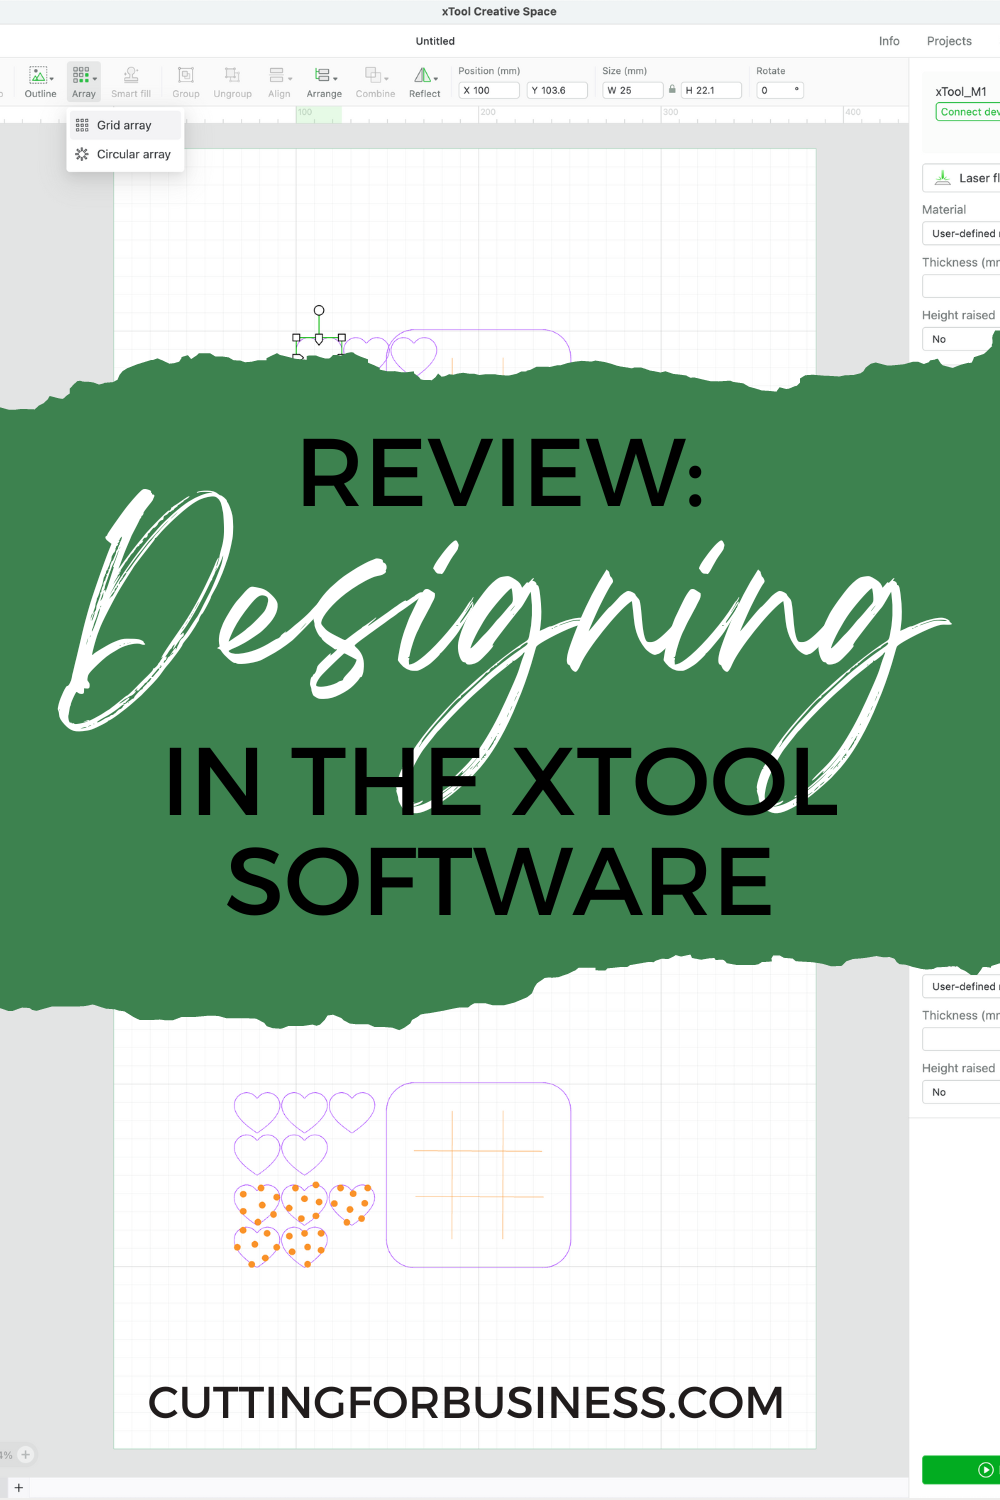
My first project with the xTool M1 was engraved paw print jewelry. Today, I’m experimenting with designing right inside the xTool software. Let’s design a Tic Tac Toe game with 10 markers.
As a reminder, I received the xTool M1 machine in exchange for a review. All experiences and opinions are mine.
Designing in the xTool Software
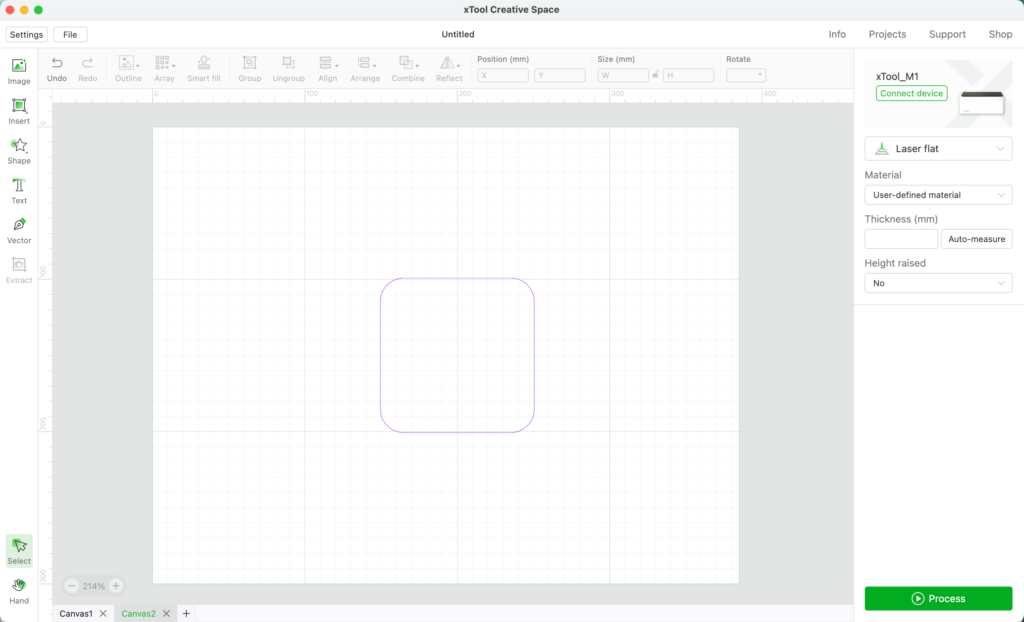
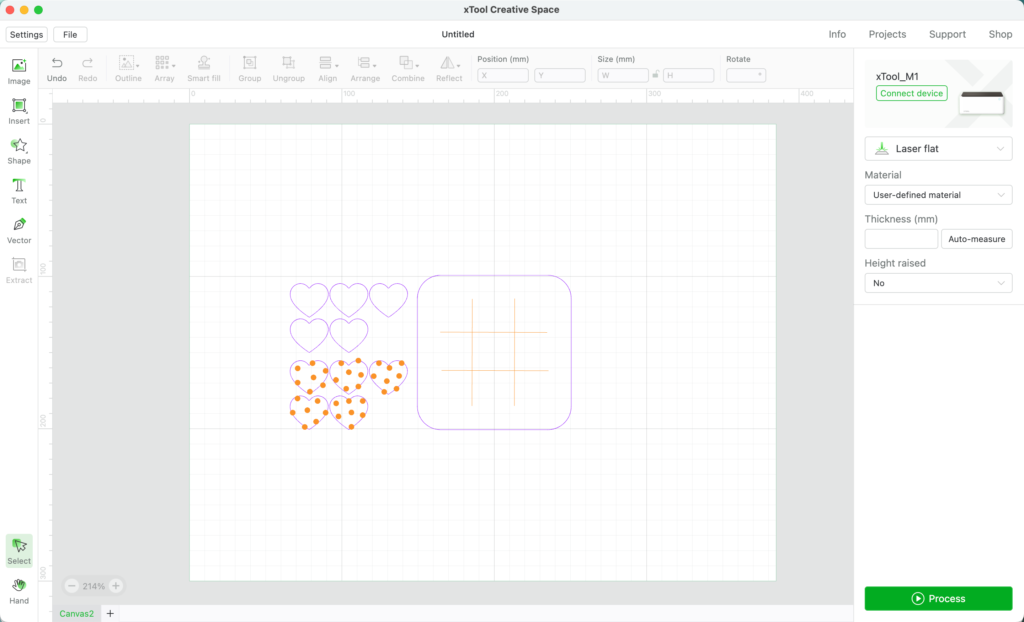
First, we will need a shape for the Tic Tac Toe game. I’ll use a square with rounded corners. The first small issue I ran into was I wasn’t quite sure how big my square was – as sizing is listed in millimeters. I quickly converted mm to inches on Google. 4 inches is about 101 millimeters.
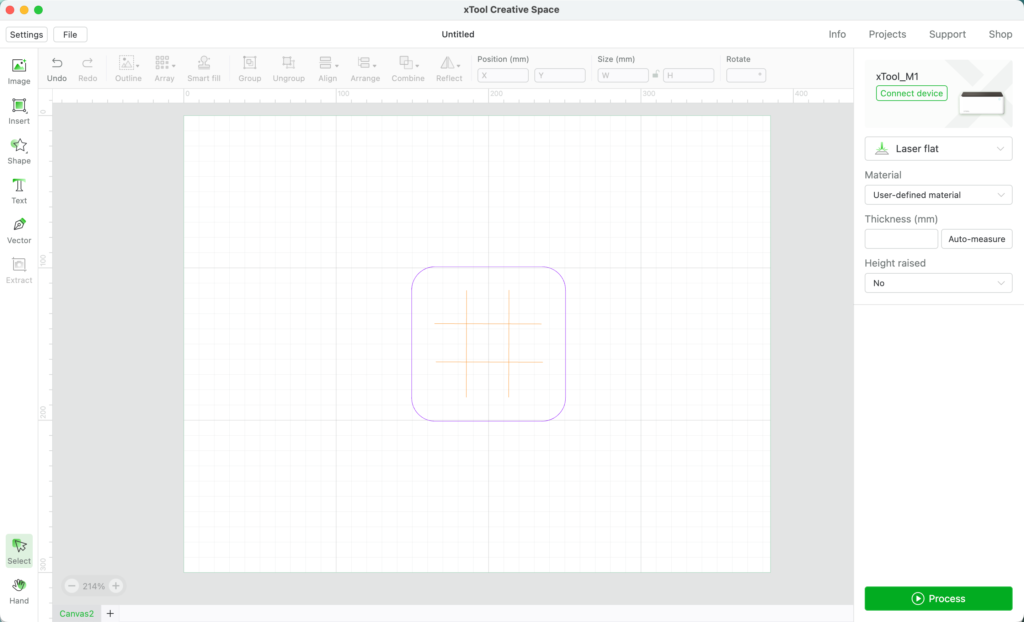
2. Next, I added lines for the board. I added these from ‘Insert’, ‘Line’. Spacing guides popped up when I was placing the lines. I was able to align the lines using the grid in the program.
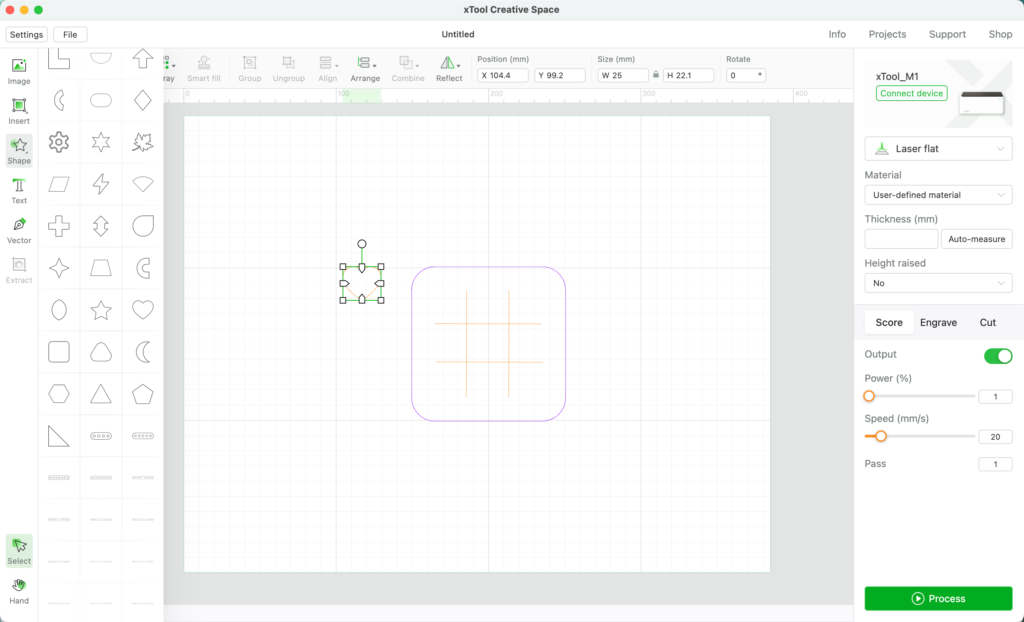
3. Next, let’s make the game markers. From the ‘Shape’ icon on the left, there are a large number of shapes. I chose a heart – that I made 1 inch (25mm).
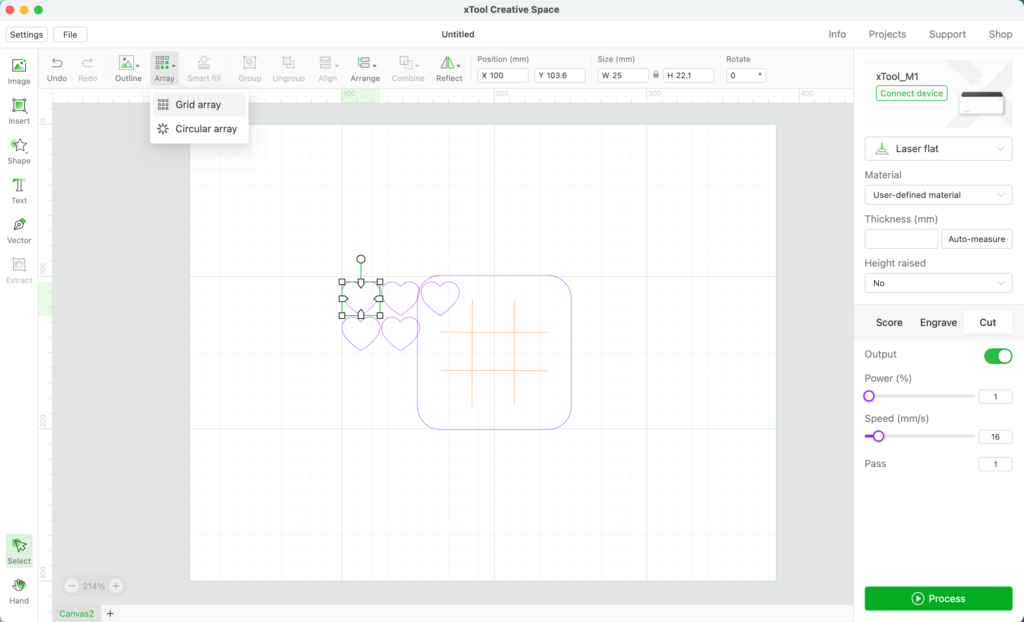
4. Copy and paste the marker 5 times. I was able to use the ‘Grid Array’ button to duplicate the heart 6 times – then I deleted one. Using copy and paste would have worked, too.
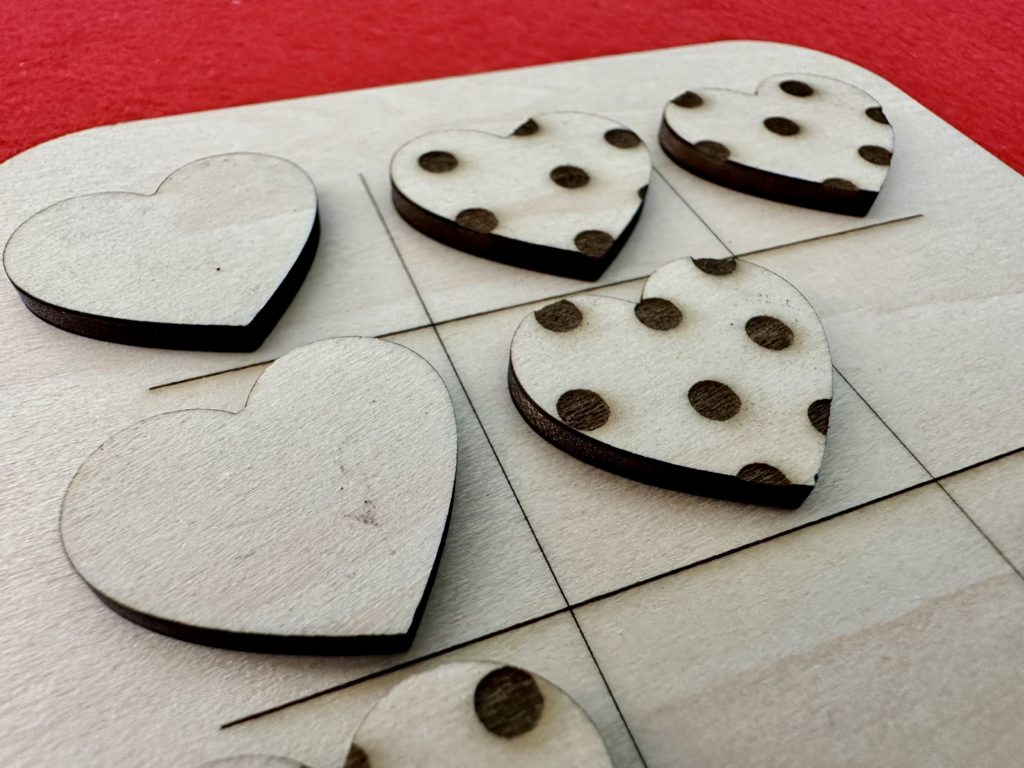
5. I didn’t find a second shape I liked for the marker, so I added 5 more hearts. I had wanted to fill them with a pattern, but didn’t find a way besides drawing the pattern myself. I added some circles on one set of heart markers to be able to tell them apart.
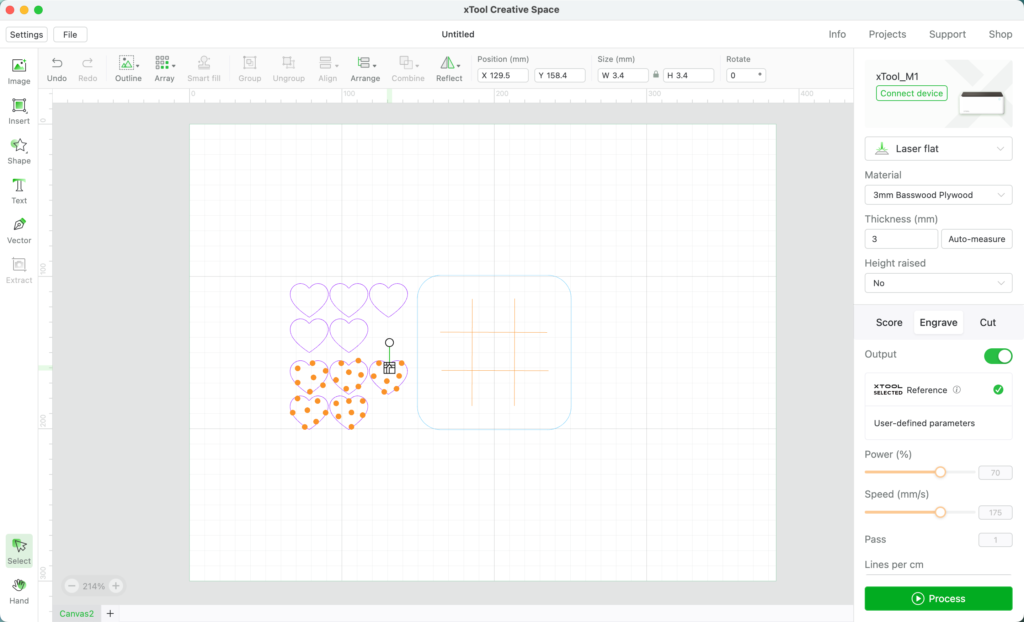
6. Next, I click on each element and choose either ‘Score’, ‘Engrave’, or ‘Cut’. The program turns the element orange for scoring and engraving and purple for cutting.
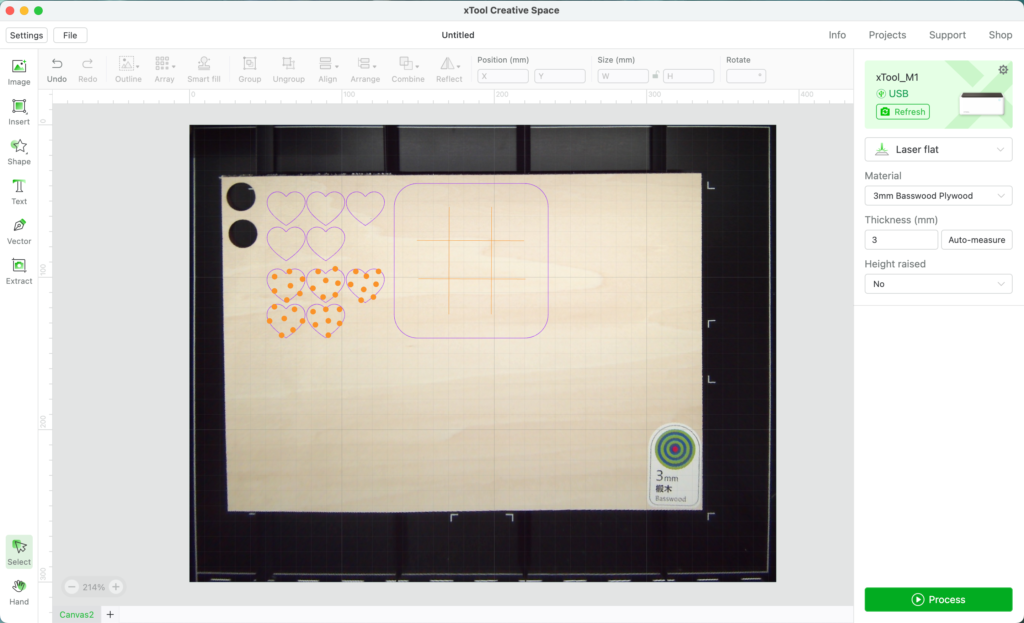
7. It’s time to connect the xTool M1, turn on the air assist fan, and process the design. I’m creating using sample material from xTool – specifically the 3mm Basswood Plywood. All other settings are already programmed into the software.
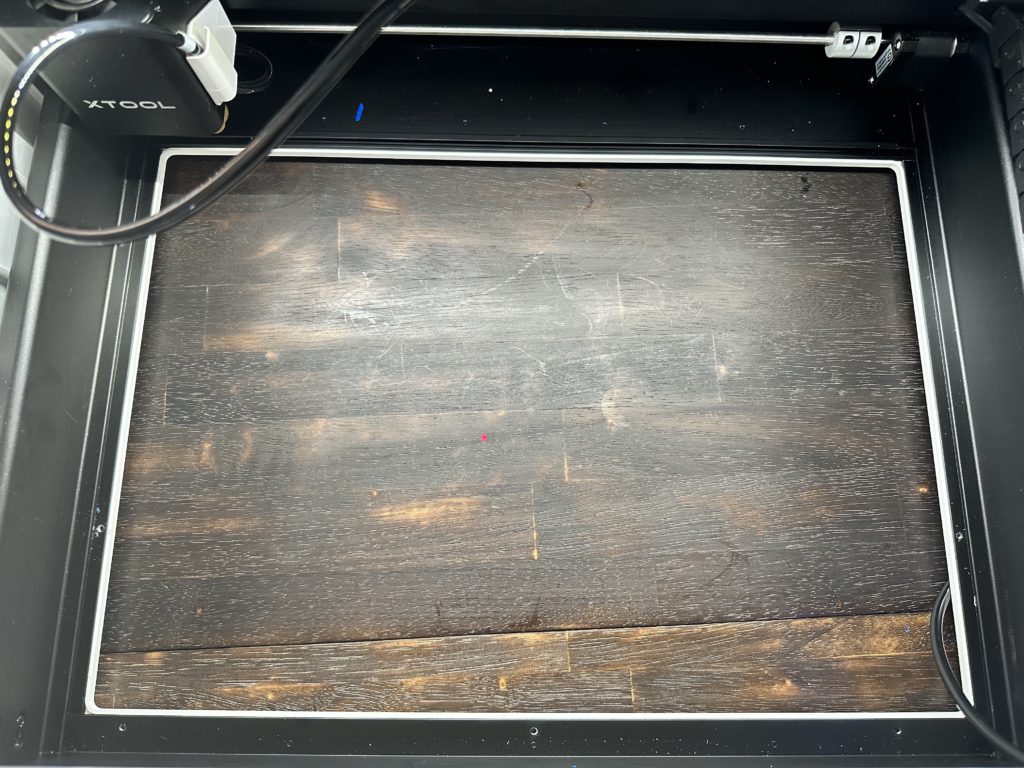
Since I am not masking the plywood, I added the triangle prism risers included with the machine below the material. (You can see the risers in the image below.)
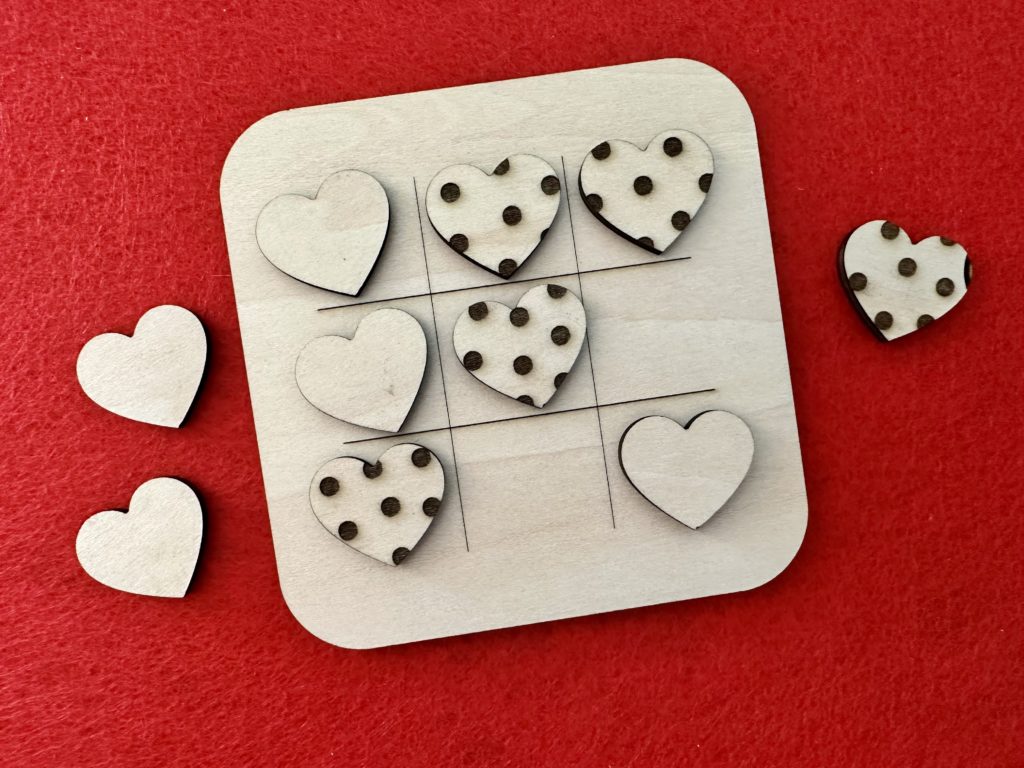
8. It took just under 13 minutes to process the design. Even without masking, there is no charring on the cut pieces and the board, and very little charring around the engraved dots.
There is one engraved spot on the heart on the far left that shouldn’t be there. It isn’t in the design, and shouldn’t be there. If I were selling this product, I’d have to recut that heart marker.
Opinions on Designing in the xTool Software
If you are interested in purchasing an xTool, I’d recommend using a different software to design your products. The xTool software is basic – and somewhat clunky to design in with limited options. However, after creating your design, the xTool software accepts many file formats, including: JPG, PNG, JPEG, BMP, TIFF, SVG, and DXF.
All week long, I’ve been sharing my thoughts, experiences, and opinions on the xTool M1 machine that was sent to me for review. As always, the opinions and experiences are my own.
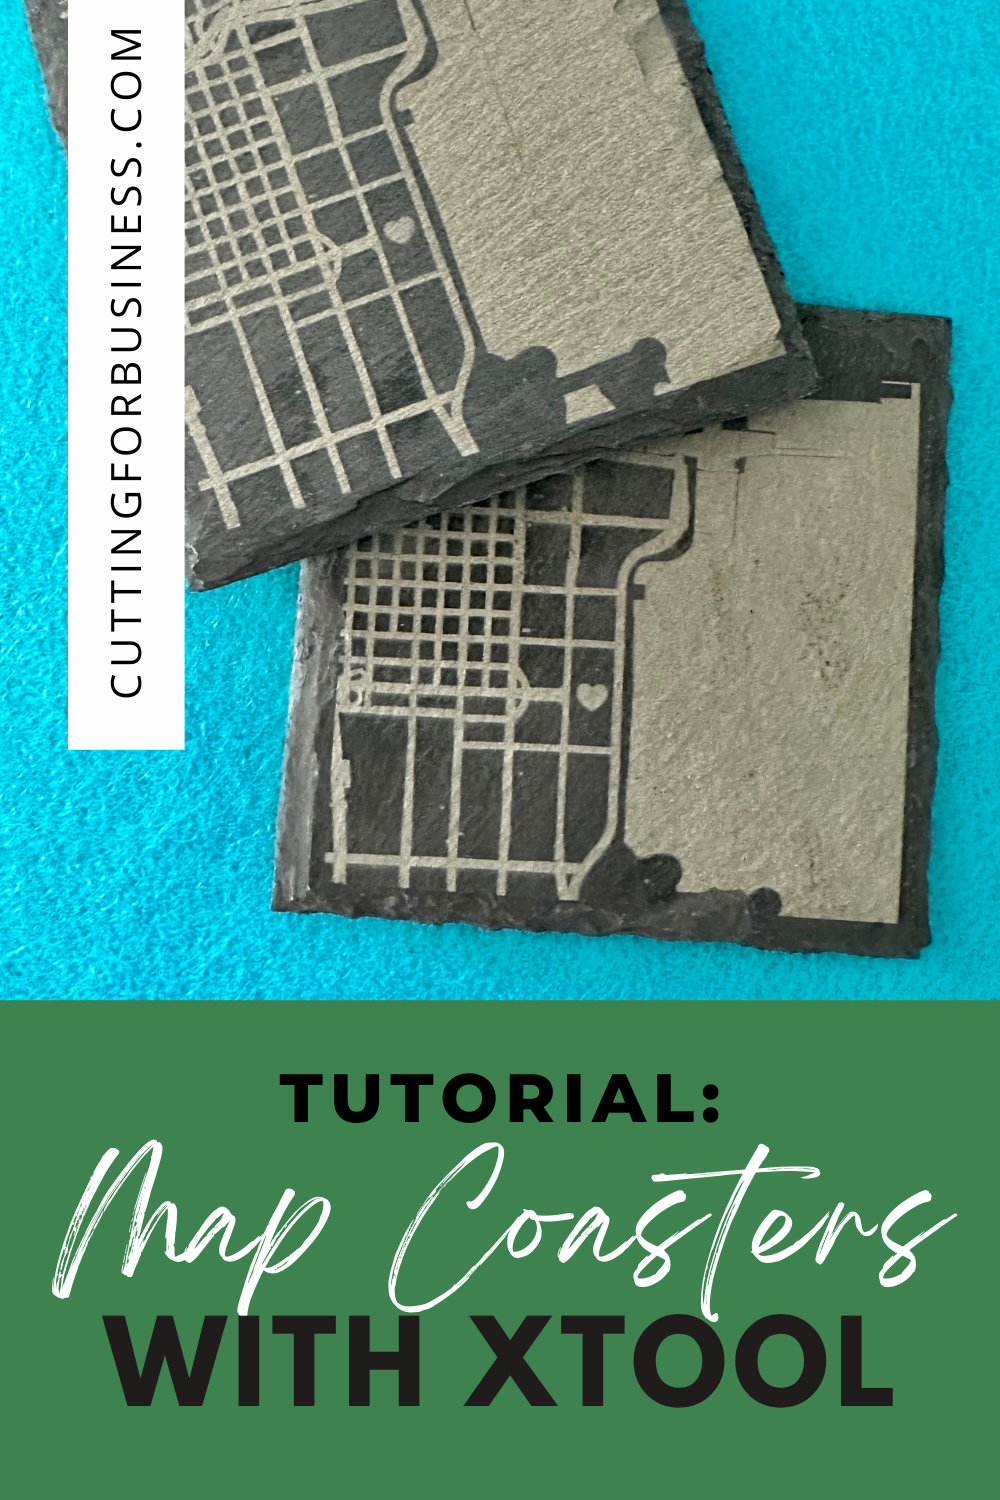
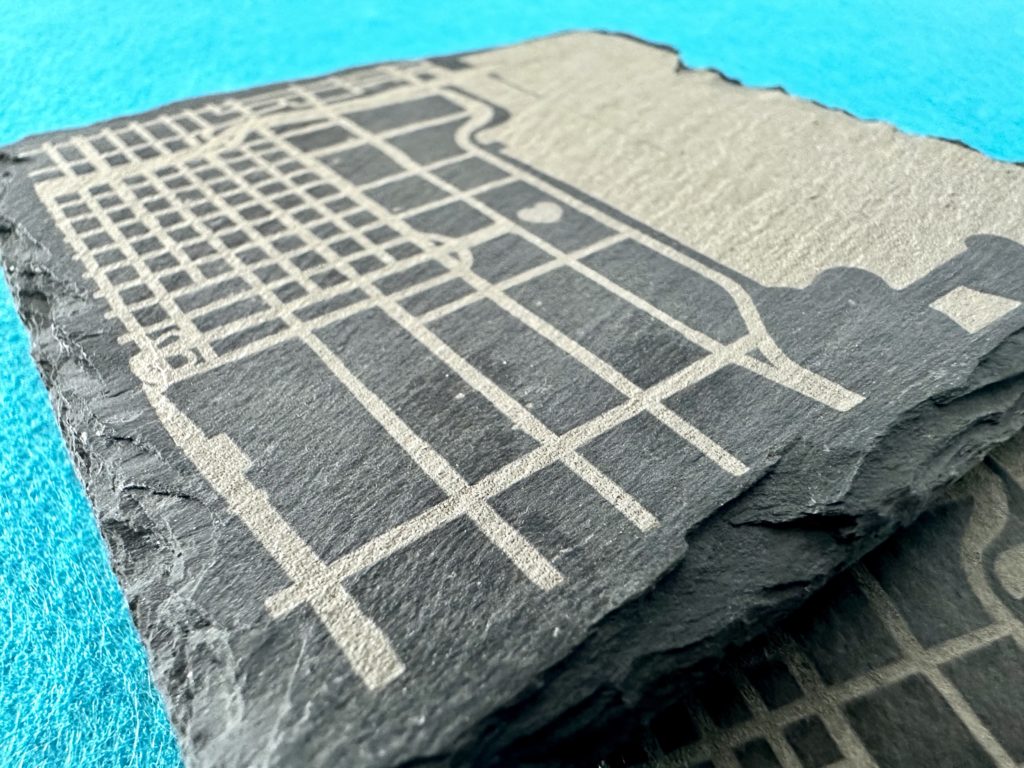
My xTool M1 came with a large package of starter materials. One thing I found interesting was the stone coasters. I think they would make a perfect anniversary gift for Mr. Cutting for Business – with whom I’ll be celebrating our 13th wedding anniversary this year.
Let’s take a look at how I created the engraved map coasters.
Tutorial: Engraved Map Coasters with xTool M1
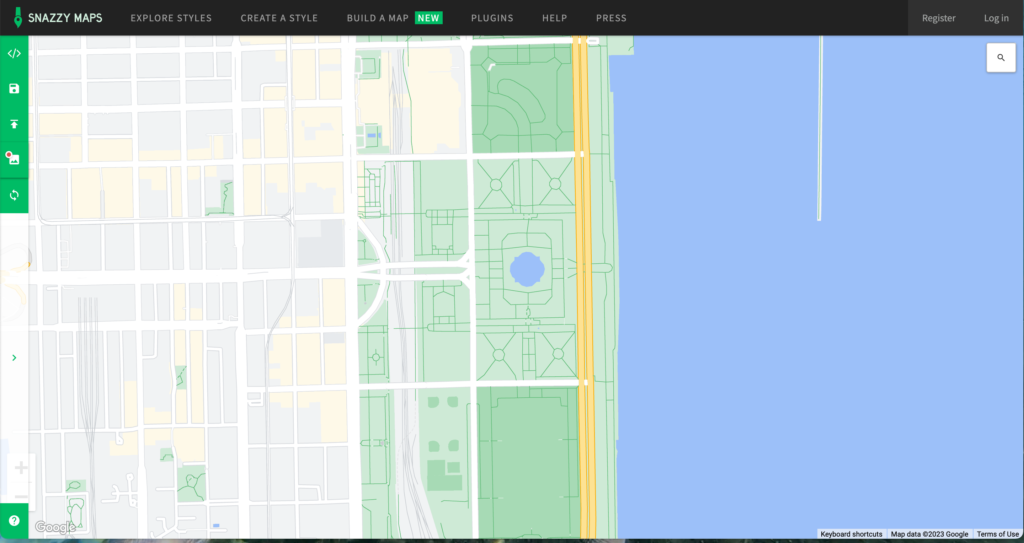
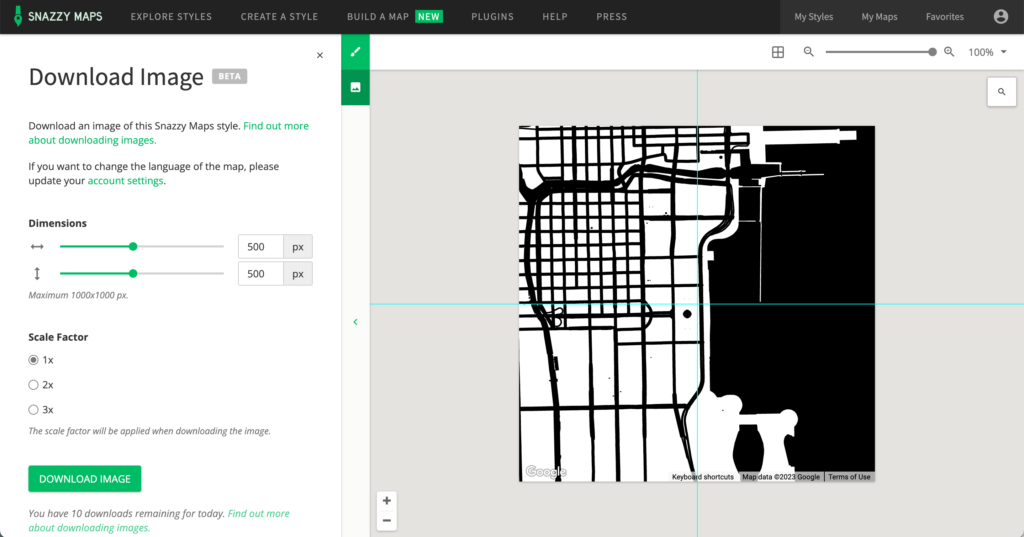
Decide on what you will engrave on the coasters. Since I’m creating this for an anniversary – I’m going to engrave a map of where we got married. The first step is to head over to Snazzy Maps and look up the location.
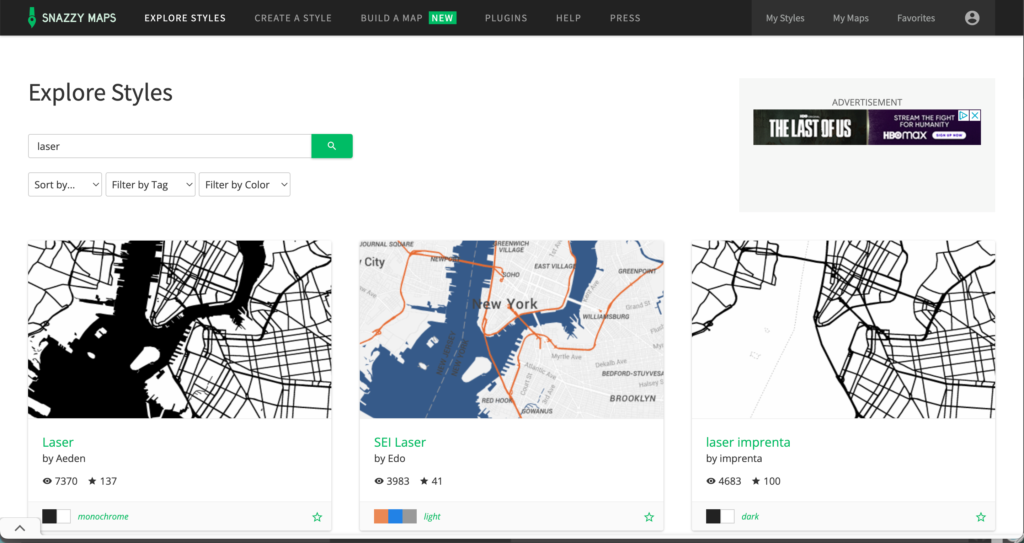
2. If you’ve never used Snazzy Maps, it’s a pretty cool site that allows you to view maps with different filters on it. Once you’ve got your location, click ‘Explore Styles’ on the navigation menu. Type ‘laser’ into the search box. After searching, you’ll find a few different laser styles. Click one of them. In this tutorial, I chose the first one.
3. Your map will now display with the style on it. Click the ‘Download image’ button, then download the map.
4. Open your downloaded map in your favorite photo editor. You’ll want to crop the image to remove the text at the bottom. I also added a heart at the spot we got married. Save the image.
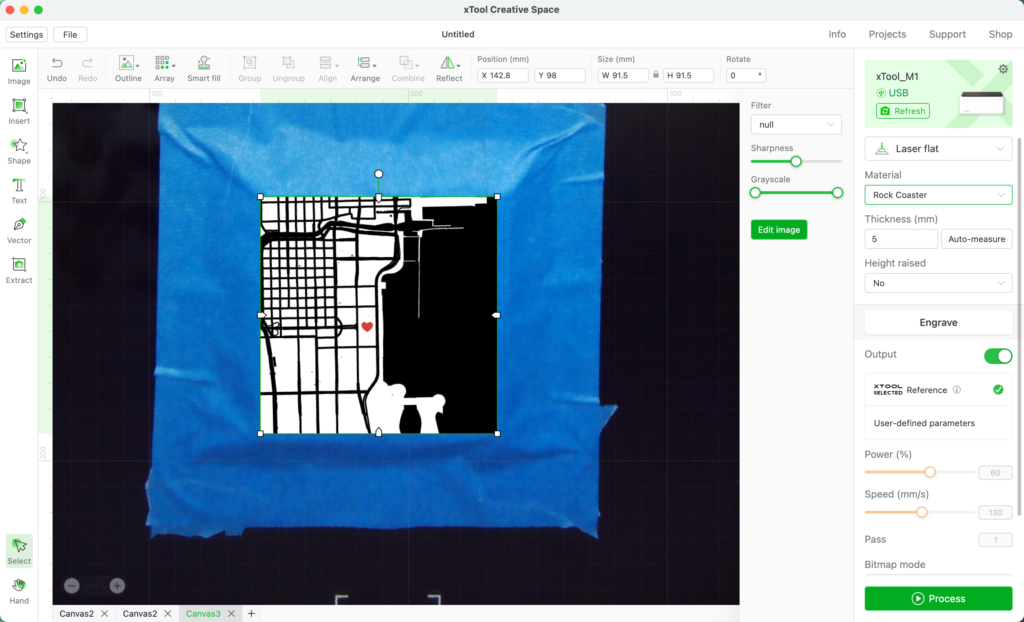
5. Open your image in the xTool software. Define your settings and process the design.
The finished coasters look nice with a clean engrave. They took about 40 minutes per 4 inch by 4 inch coaster. I think I’ll pair them with a nice whiskey set for our upcoming anniversary.
One aspect of the xTool M1 that I have only briefly touched on is that it is a hybrid machine. It contains both a diode laser and a blade. You can think of it as a laser and Silhouette or Cricut – all in one.
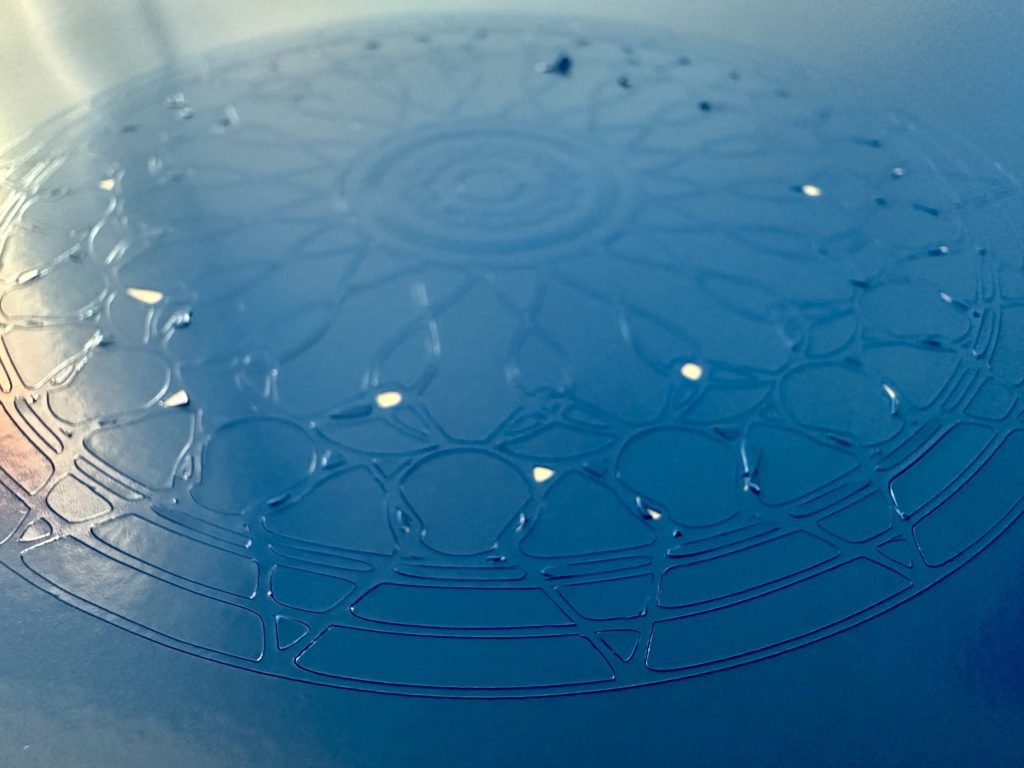
Today, I want to put that blade to the test and see about cutting vinyl with the xTool. I went through the files on my computer and found an intricate mandala I created while teaching my How to Design SVGs course.
Before we get started: It isn’t safe to ever cut vinyl in a laser cutter. The PVC based material releases gasses that can damage the machine and your lungs. I did notice that there is not a notice in the sample material package from xTool about this.
Tutorial: Cutting Vinyl with the xTool M1
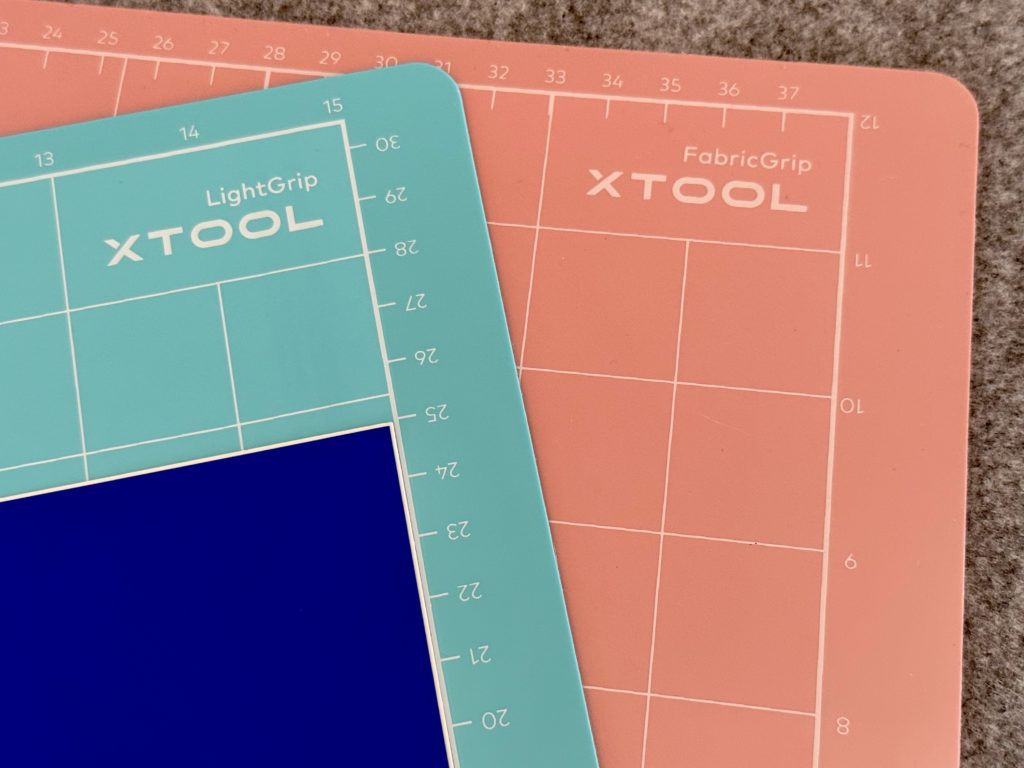
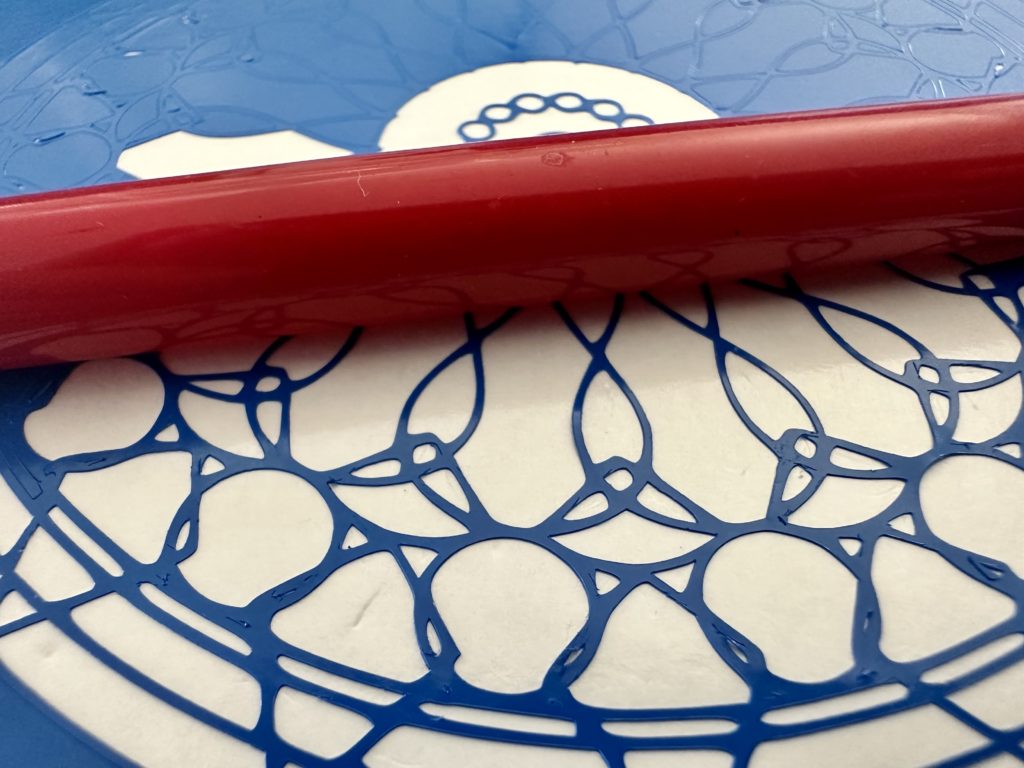
To cut vinyl, you’ll want to use one of the included sticky mats. If you’ve been around the craft world for a while, the mats look like Cricut mats but are thinner like Silhouette mats. Place your vinyl onto the mat. I’m using the LightGrip mat (blue).
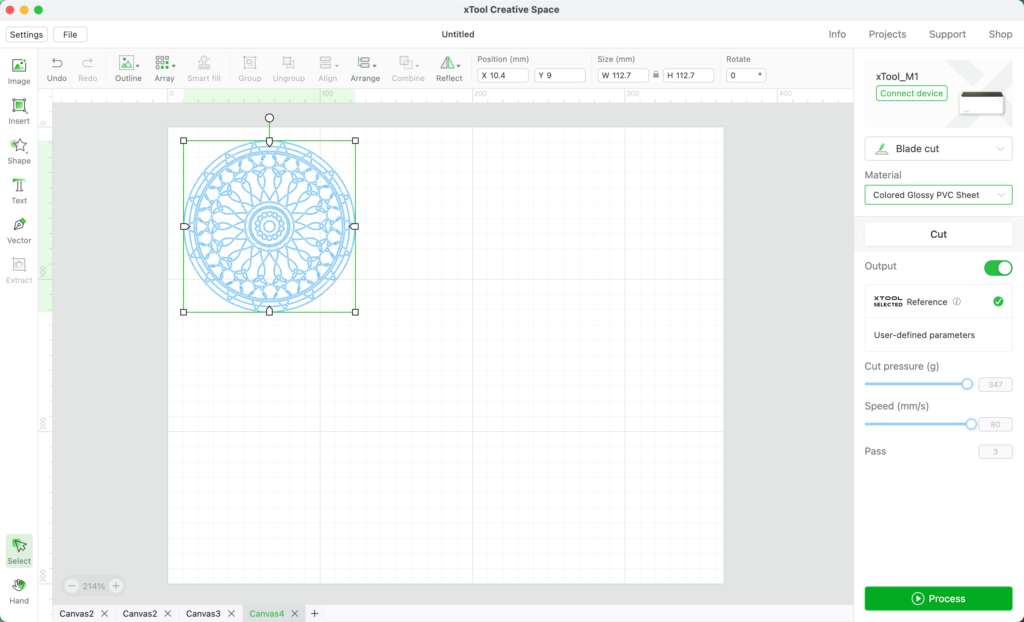
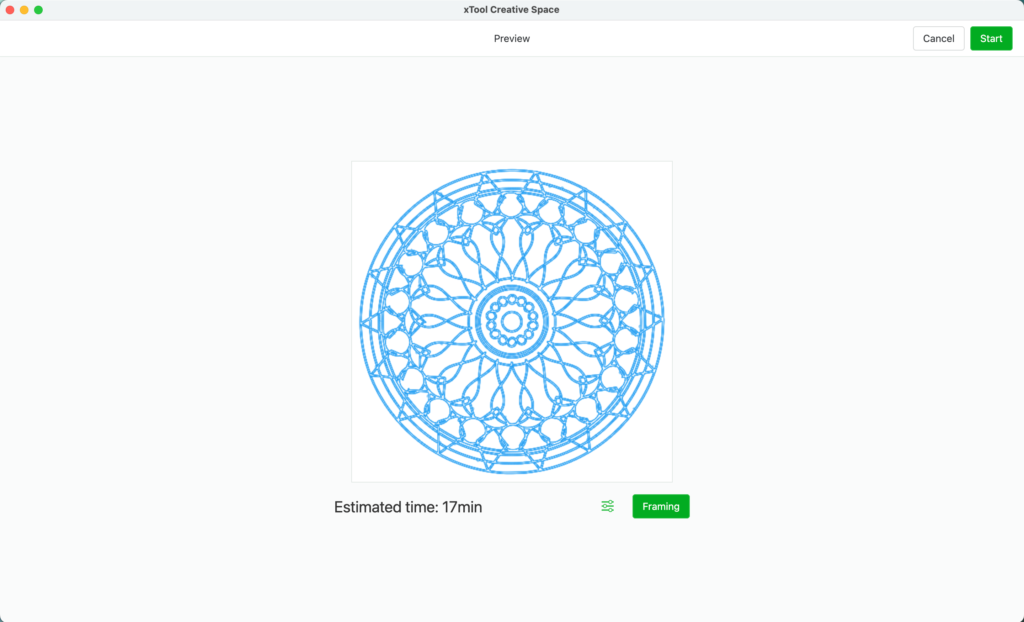
2. Load the design into the xTool software, and place the mat inside the machine. The mat is sticky on both sides, and must be adhered to the bottom of the machine. Choose your settings and process the design.
It took the xTool M1 about 20 minutes to cut the design. I lost a few small bits along the way, but the cut is similar to what any of my Silhouettes or Cricuts would cut. Weeding is very easy.
I’m pretty sure that if the xTool can handle this tiny, intricate cut – it will be fine with whatever vinyl you decide to cut using the blade.
Is the xTool Good for Vinyl Businesses?
If you only plan to cut vinyl, an xTool is going to be too expensive for your needs. Instead, stick with a Silhouette or a Cricut.
However, if you plan to mostly cut or engrave other materials with an occasional vinyl cut – the xTool might work for your needs.
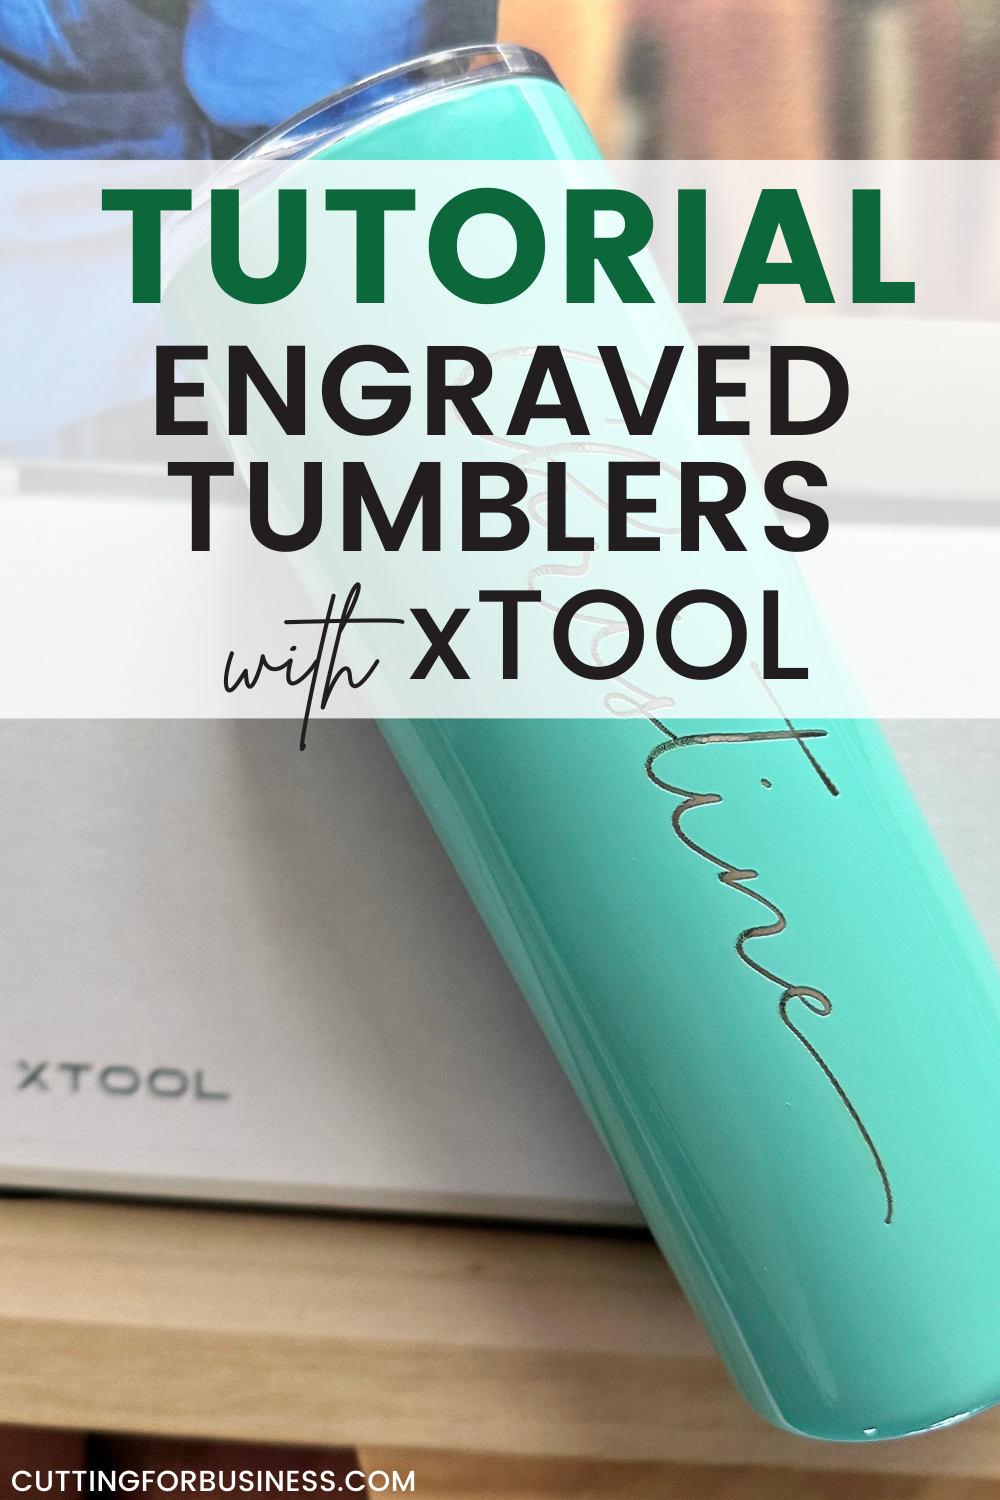
The aspect of the xTool M1 that excites me most is that it can engrave tumblers! Of all the machines I have (I have a lot of them! ), no other machine can engrave tumblers.
Before we get started, be sure to check back at the other projects I’ve already shared. Don’t forget: xTool provided me the machine for review purposes. The experiences and opinions are my own.
So, let’s take a look at how to create an engraved tumbler with xTool.
Tutorial: Engraved Tumbler with xTool M1
Remove the bottom of the xTool by removing the five screws.
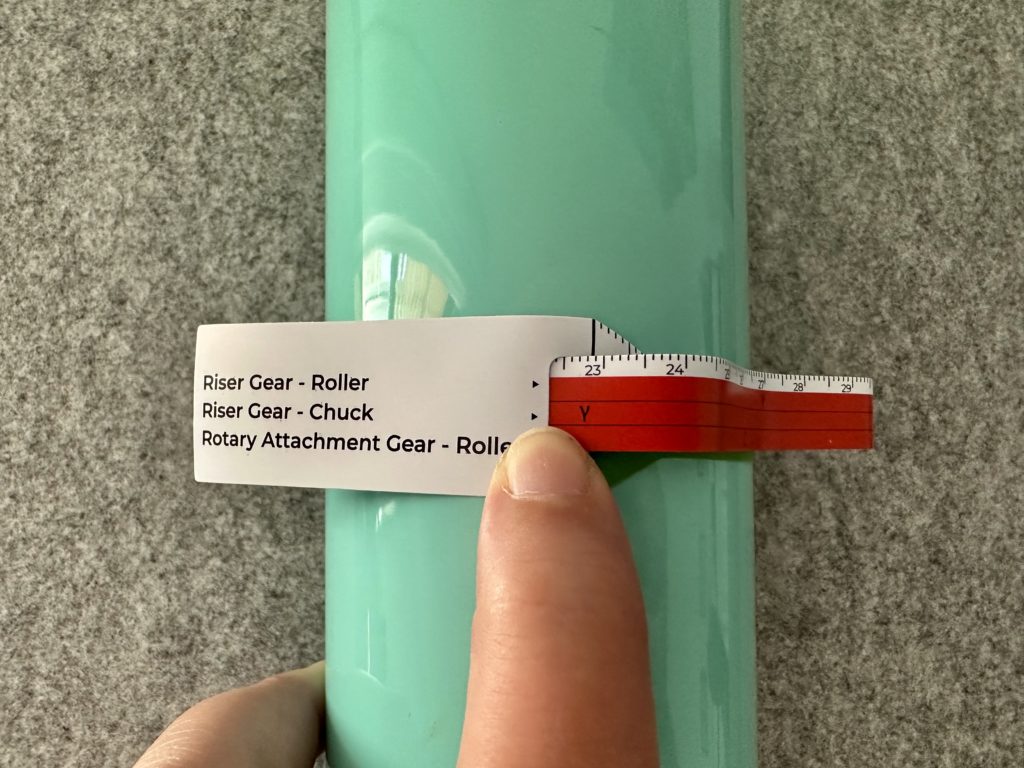
2. Measure around your tumbler with the included tape measure. The included tape measure gives you settings for the roller, chuck, and rotary attachment. Take note of each of the settings.
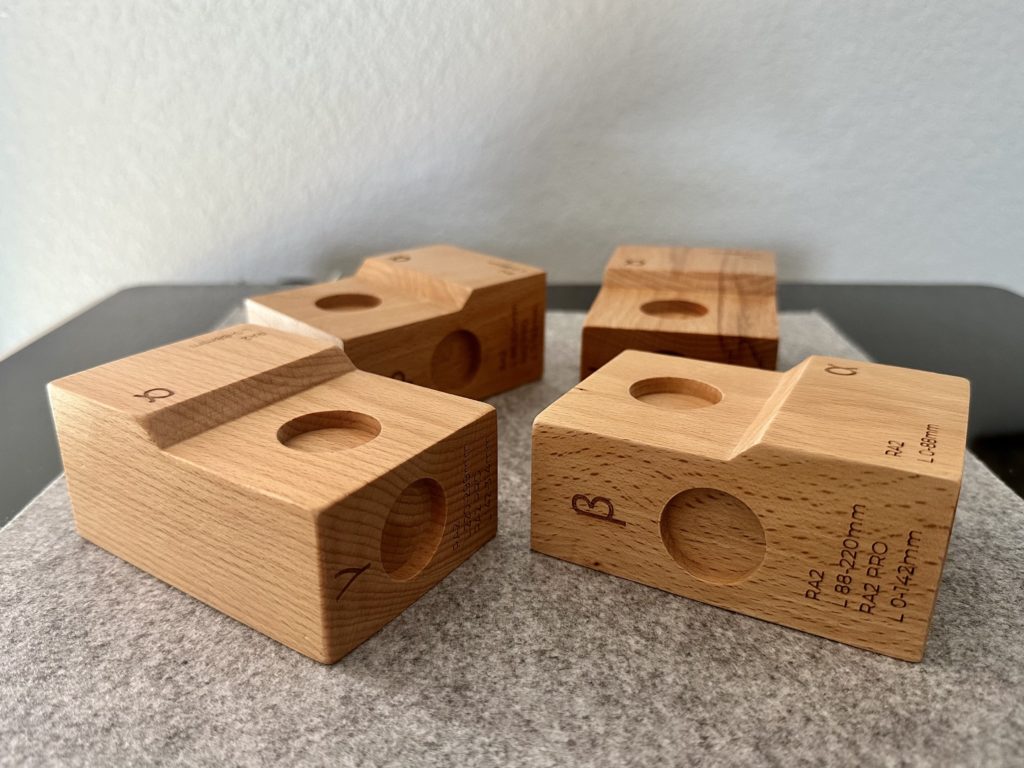
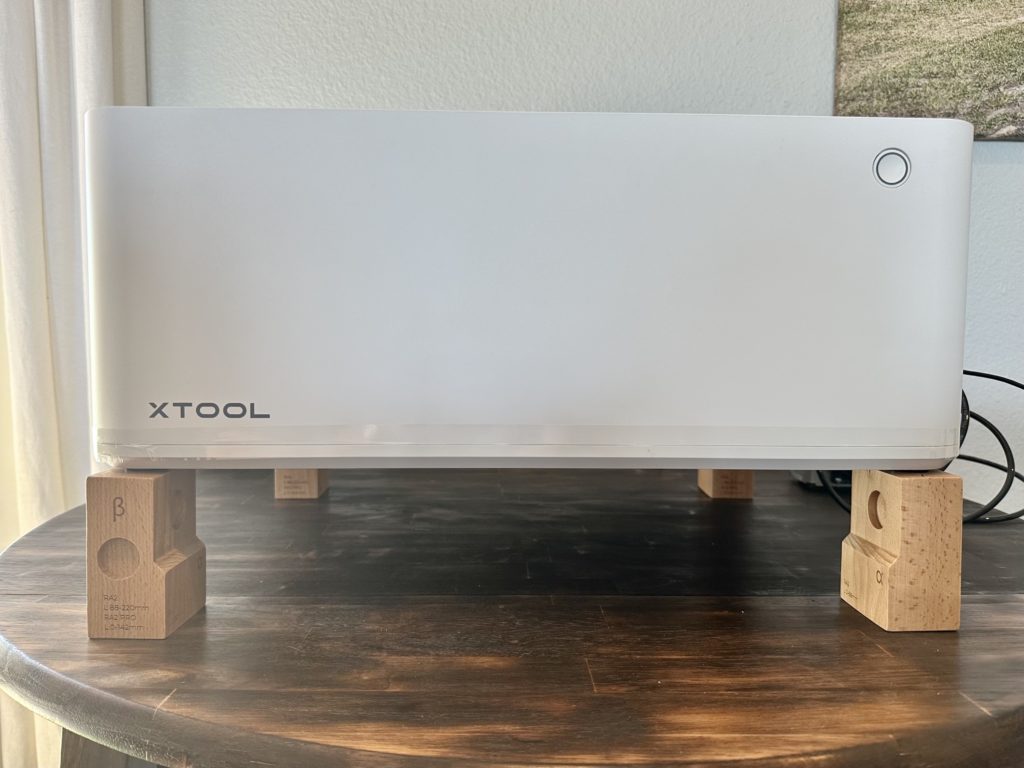
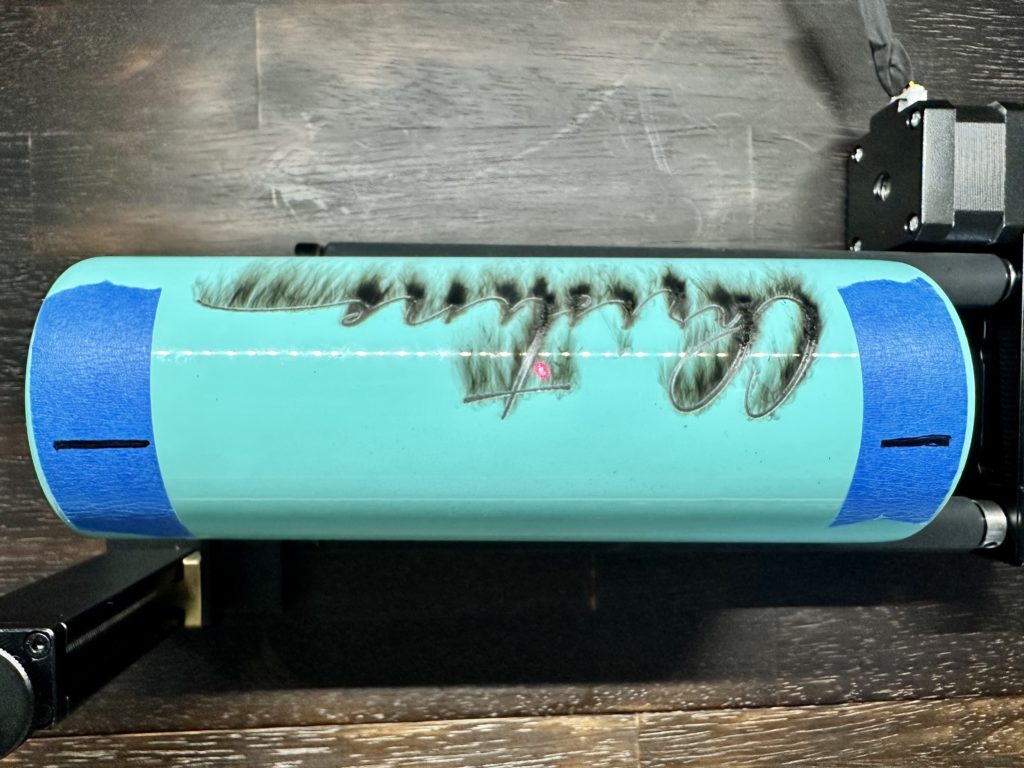
3. Place the chucks under each corner of the machine with the letter on the tape measure facing up. The machine needs to be raised because the laser has to be a certain distance from the item to be engraved. The only way to do this is through raising the machine.
If you don’t want to use the included chucks, xTool also sells a riser base.
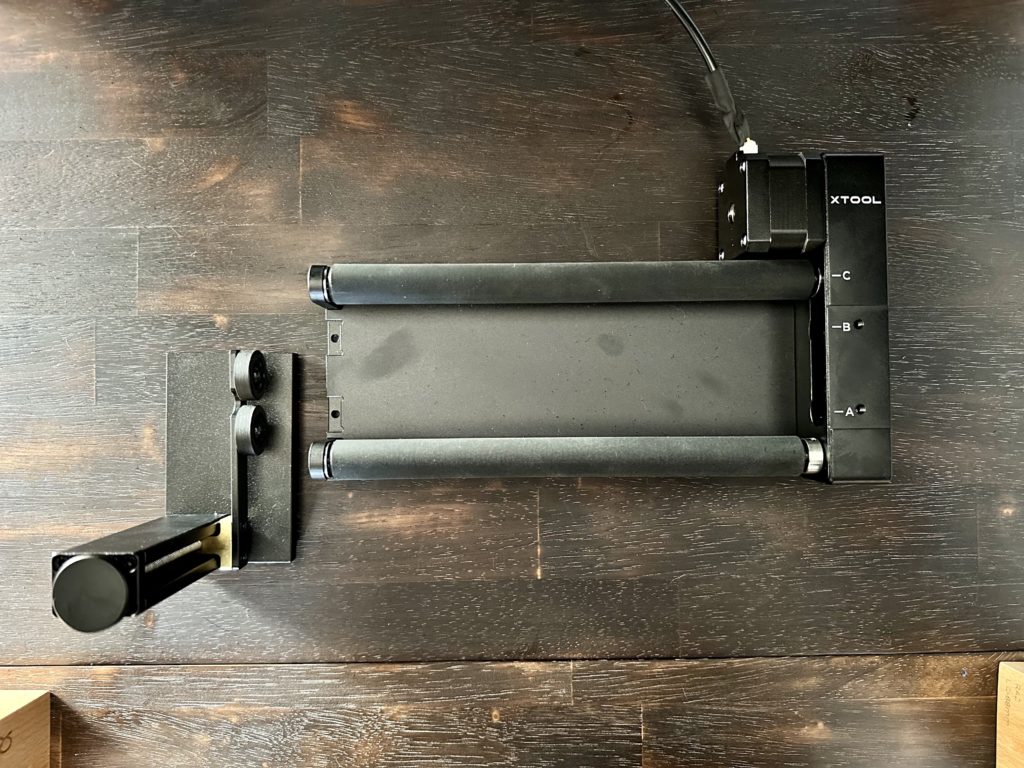
4. Place the rotary attachment inside the machine with the rollers adjusted to the letter shown on the tape measure. Connect it to the xTool.
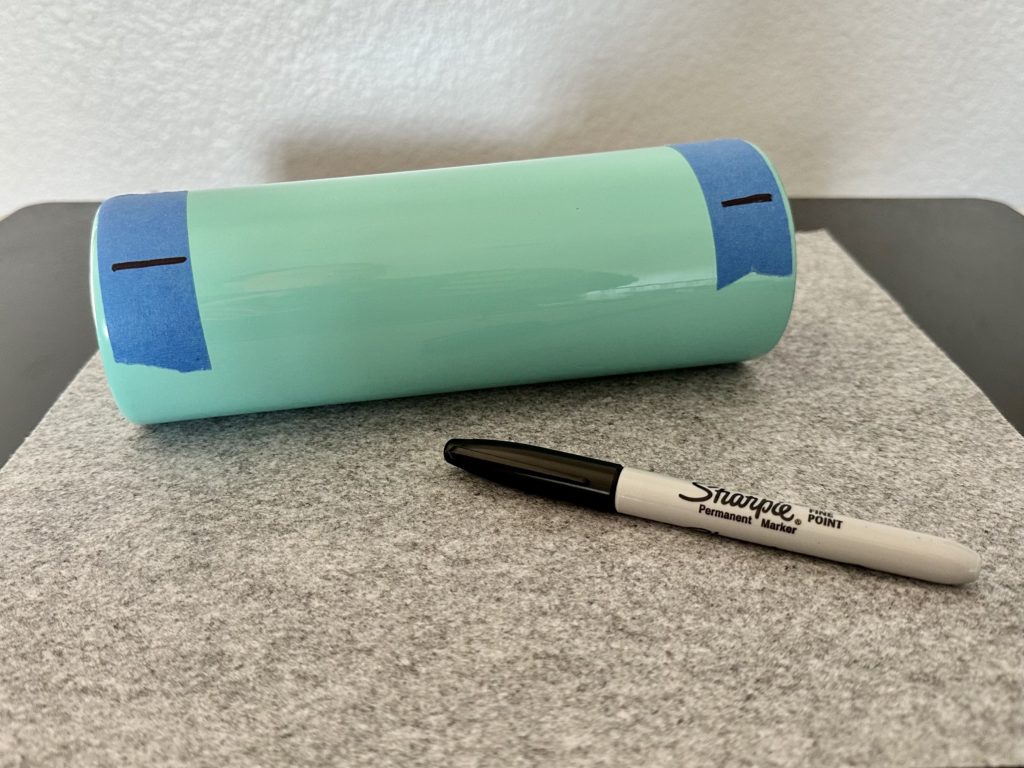
5. Using tape and a marker, measure and mark both the top and the bottom of where you want the engraving to start.
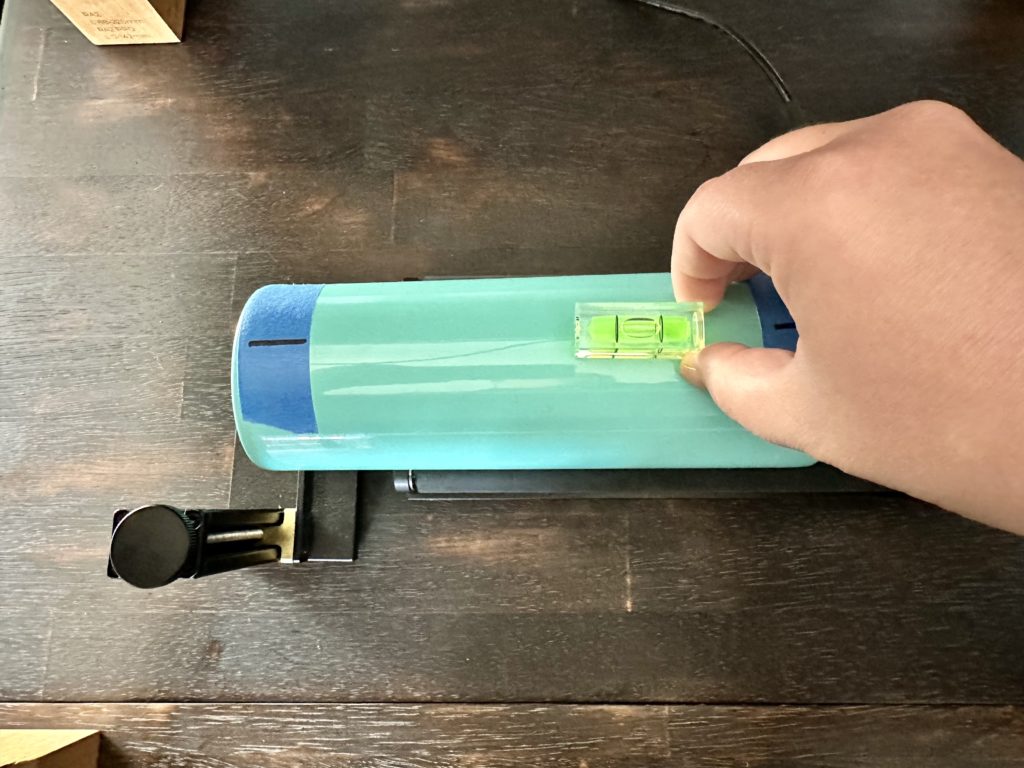
6. Place the on the rotary rollers. Using the included level, you’ll need to level the surface of the tumbler. Since my tumbler has a slight taper, I use the included support. Leveling with the support is easy: Turn the knob until the bubble lines up in the level.
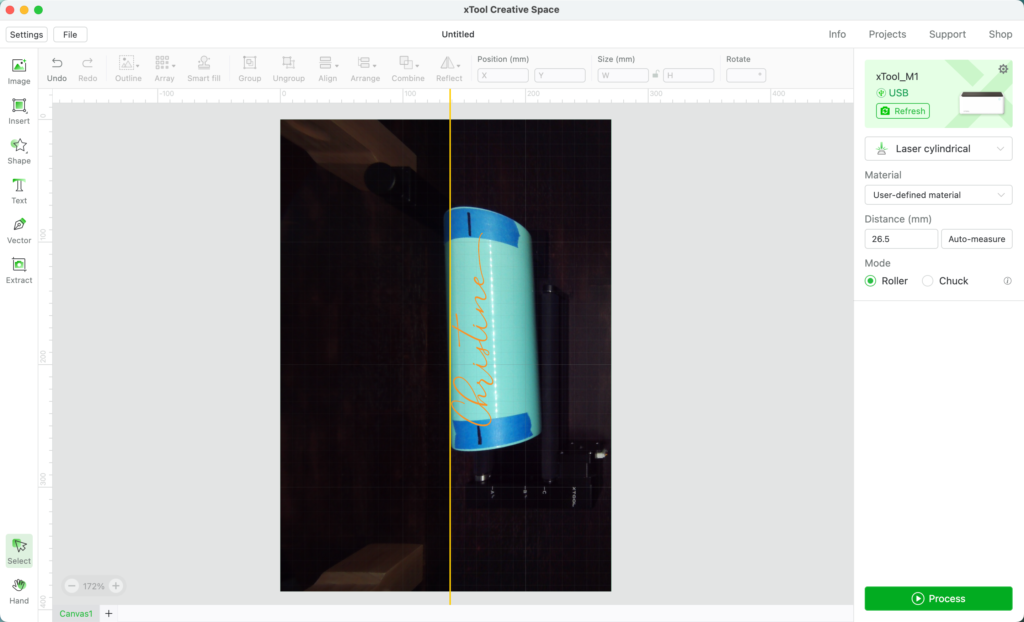
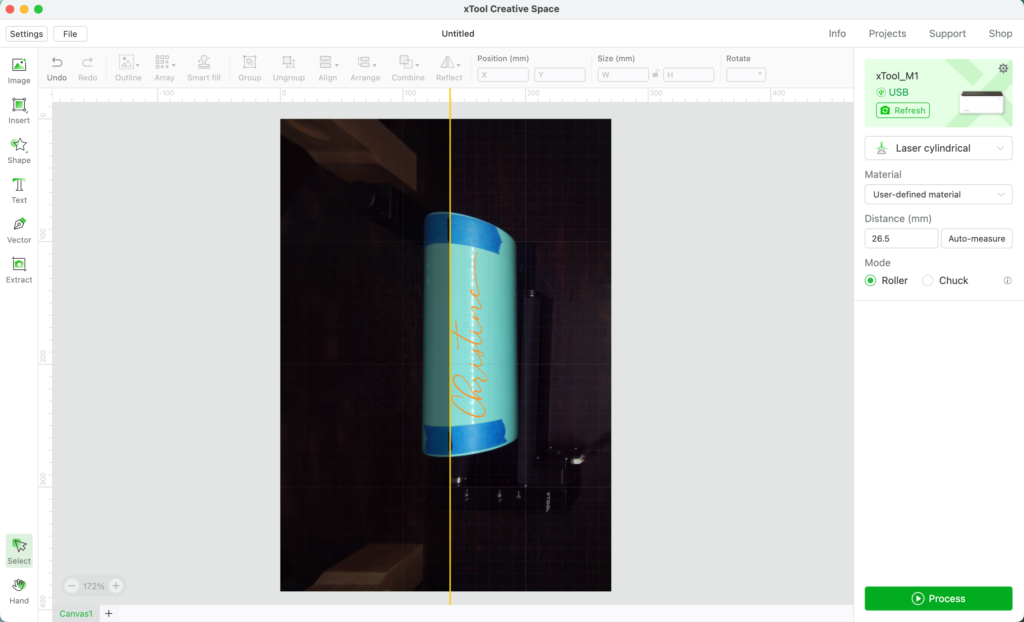
7. Turn on the xTool and open the software. Once the machine connects, you’ll see a slightly distorted view of the your tumbler.
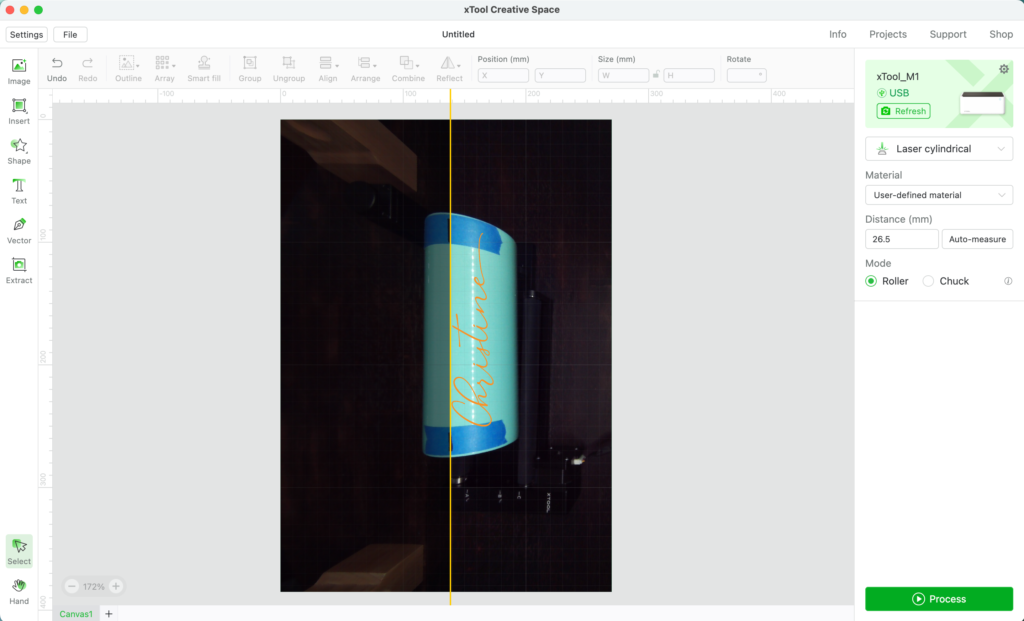
8. The yellow line down the center of the software is important: This is where the engraving will start. So, you’ll want to line up the marker lines you made with the yellow line by moving the tumbler and rollers. When I live it up, I don’t open the lid, I just reach under the machine – then click ‘Refresh’ in the software.
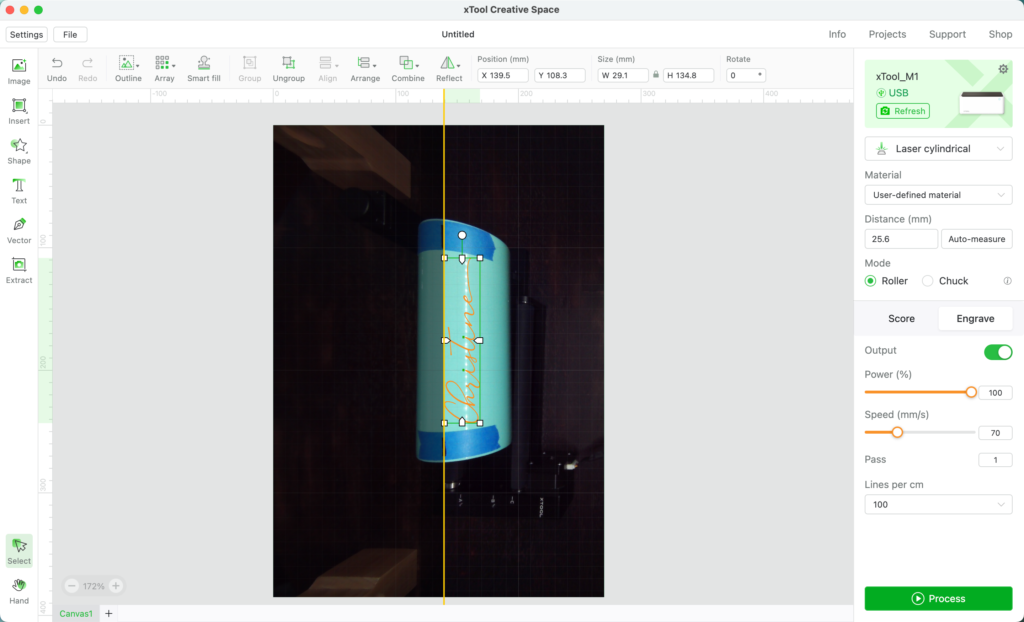
9. Adjust your artwork.
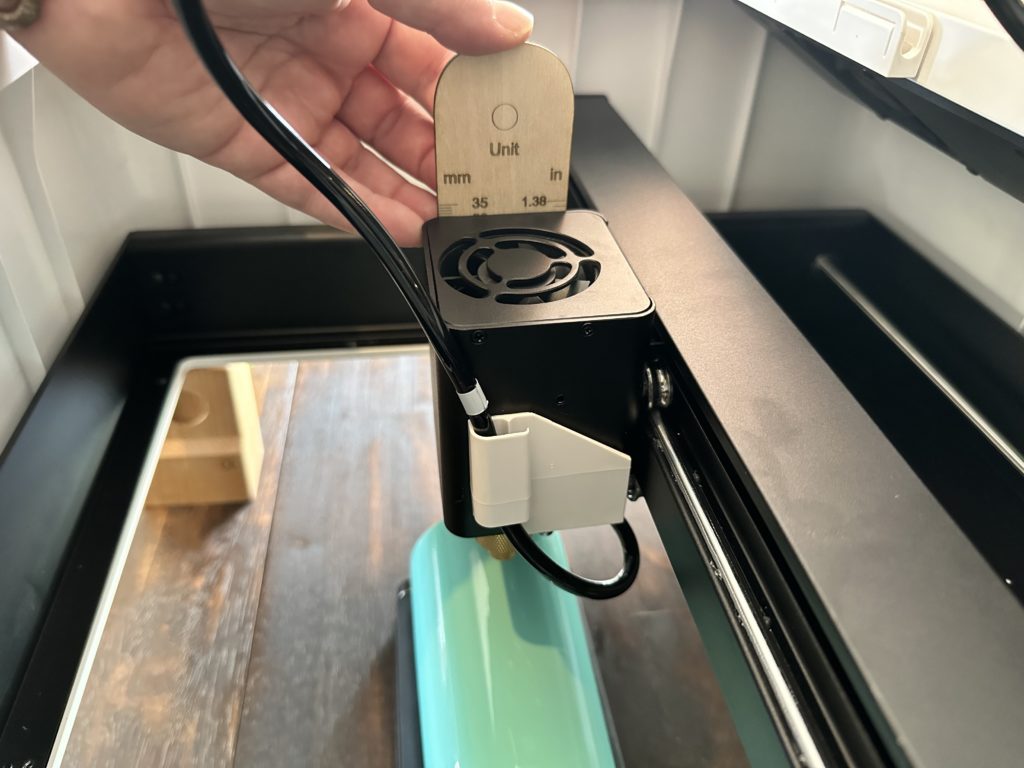
10. In the xTool software, click ‘Auto Measure’. The machine automatically measures my tumbler as 25.6mm. This is the distance between the tumbler and the laser. (Remember the discussion above about rising the machine? The laser beam is strongest right at the 30mm mark.)
In the event the item won’t measure, download a measuring tool from xTool. To use the measuring tool, cut it out, then place it on top of the item to be measured. Measure to the top of the laser unit and manually enter the value.
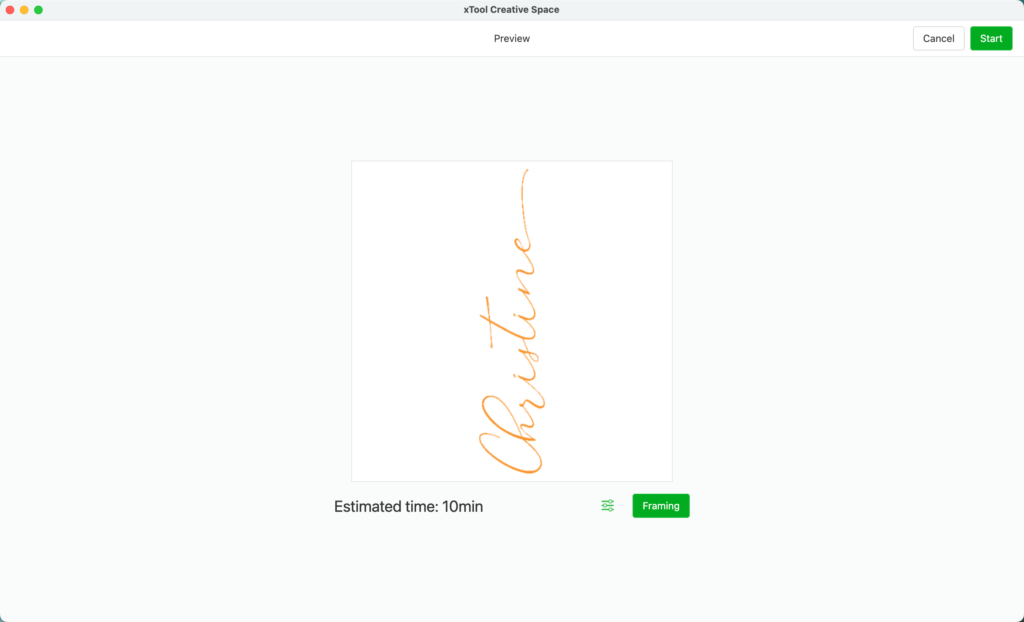
11. Adjust the settings in the software. I used 100% power and speed 70. Process the design.
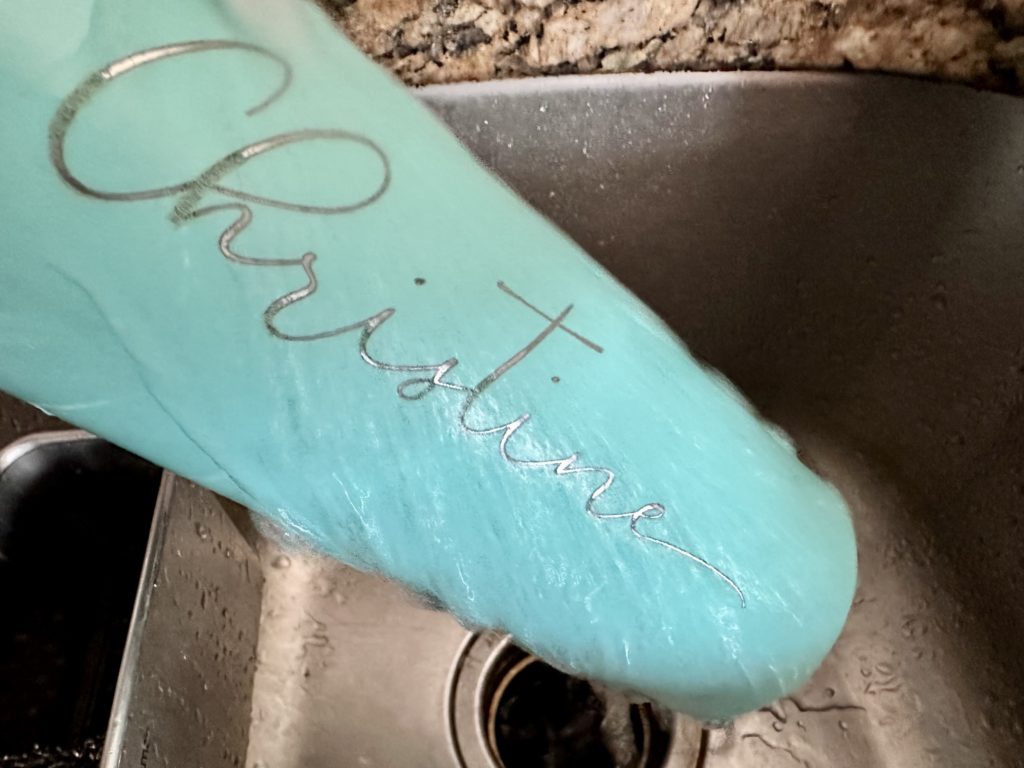
12. Take the tumbler out of the xTool and rinse it off.
Business Use
Do I think you could use the xTool M1 to engrave tumblers to sell in your craft business? Yes! You could engrave tumblers with company logos, names, bride/groom, sports teams, and more.
There are a lot of possibilities for engraved products with the xTool, because the product doesn’t have to fit inside the machine. This means you could engrave baseball bats or rolling pins, among a lot of other things.