Category: Photography & Mockups

  • Tutorial: How to Use Green Screens in Product Photos

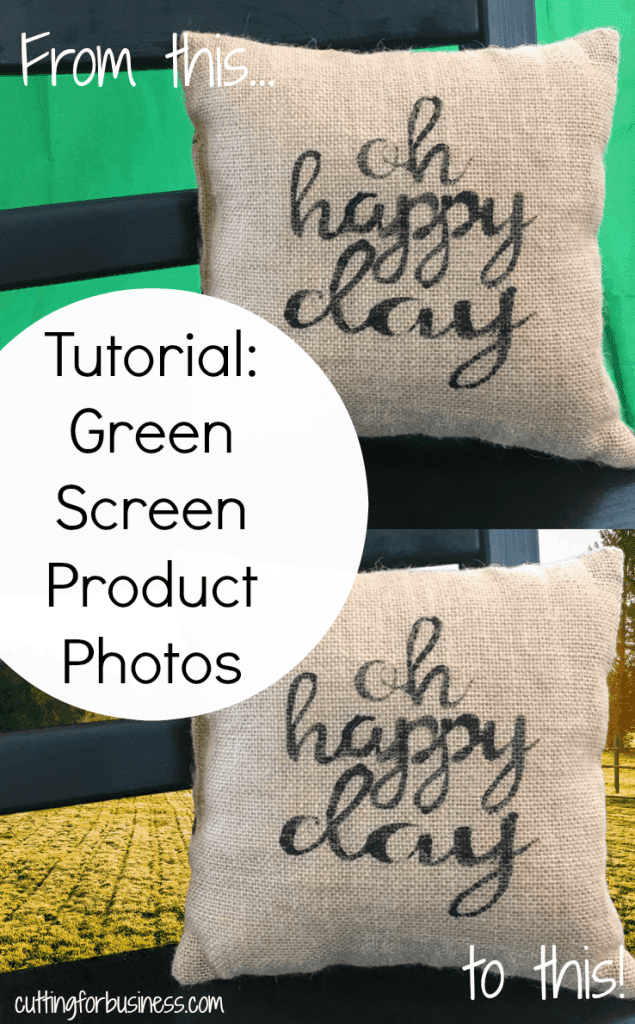
    I get a lot of Cutting for Business readers that ask about me about my blog photos. As I showed you several weeks ago, many of my photos are mockups that I create with stock photos. Others are green screen photos. Today, I am going to show you how to use a green screen in your product photos.

    If you aren’t familiar with green screen photography (actually called chroma keying) it is the process of photographing your products on a green screen and replacing the background. You can use anything that is green for the background – a piece of paper, a sheet, a shirt, or a green photography background. I had a hard time find anything green, so I opted for an inexpensive green photo background that I bought from this link at Amazon. Next, you’ll need a green screen app or photo editor. I tested several and found that Green Screen Wizard was the easiest to use.

    Tutorial to Create Green Screen Product Photos

    1. Take a photo of your product on a green surface.
    2. Open the Green Screen Wizard (or other green screen app). If using Green Screen Wizard, this screen opens: Tutorial: How to Use Green Screens in Product Photos - Great for SIlhouette Cameo or Cricut small business owners - by cuttingforbusiness.com
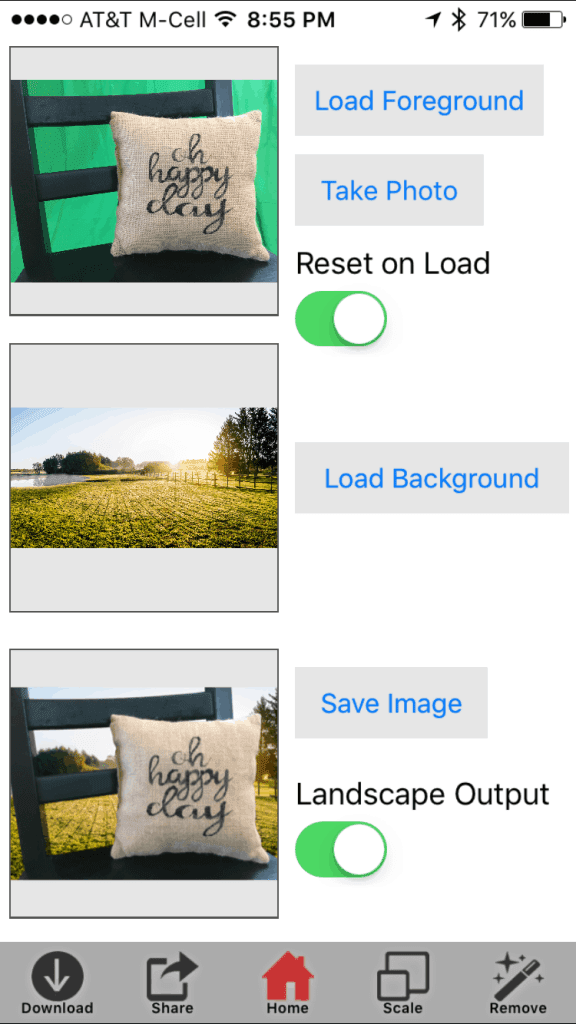
    3. Load your product photo into the foreground space.
    4. Load your background into the background space.
    5. Make any touchups that you need using the buttons in the bottom of the app. My biggest cautionary advice is to watch the scale of your foreground versus your background. Try to keep the scale equal to each other or your photo will look bad. Also, you can’t photograph a green product with a green screen, but you can use a blue background.
    6. Save your photo.

    Here’s a few of green screen examples:

    Start with this:
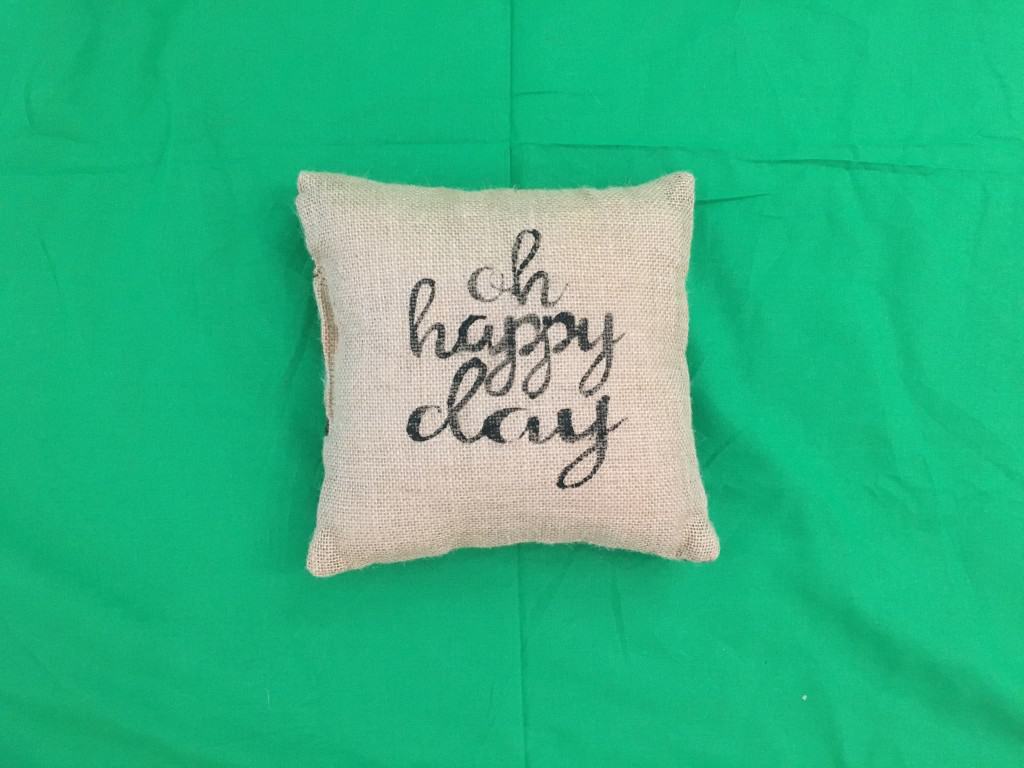
    Tutorial: How to Use Green Screens in Product Photos - Great for SIlhouette Cameo or Cricut small business owners - by cuttingforbusiness.com

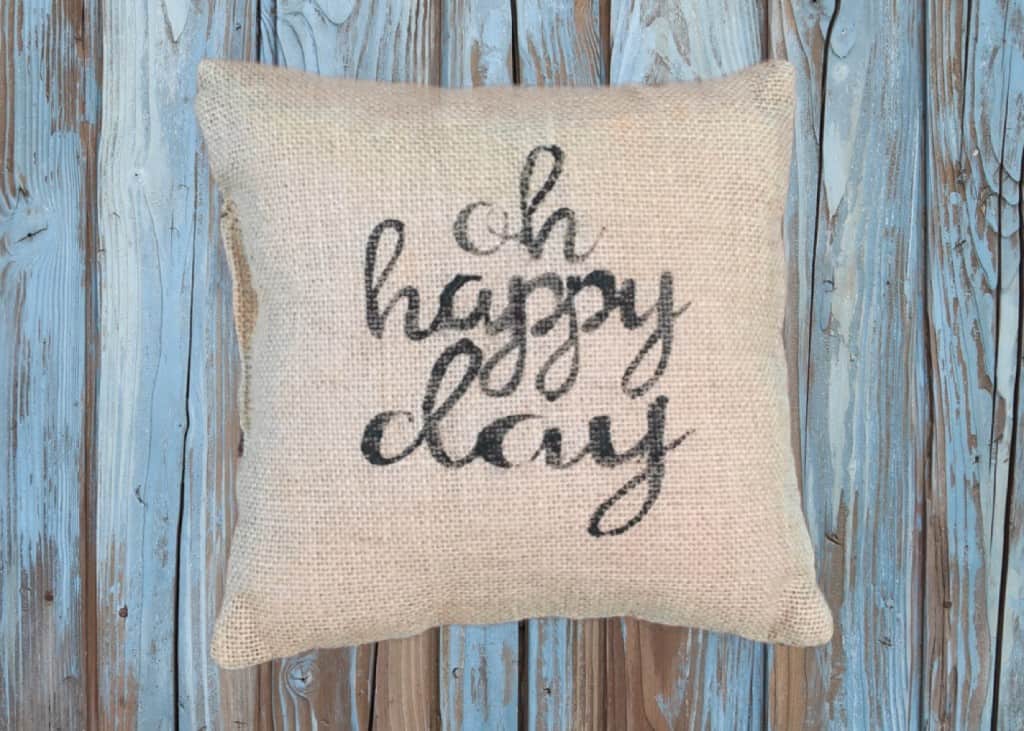
    Get this:

    Tutorial: How to Use Green Screens in Product Photos - Great for SIlhouette Cameo or Cricut small business owners - by cuttingforbusiness.com

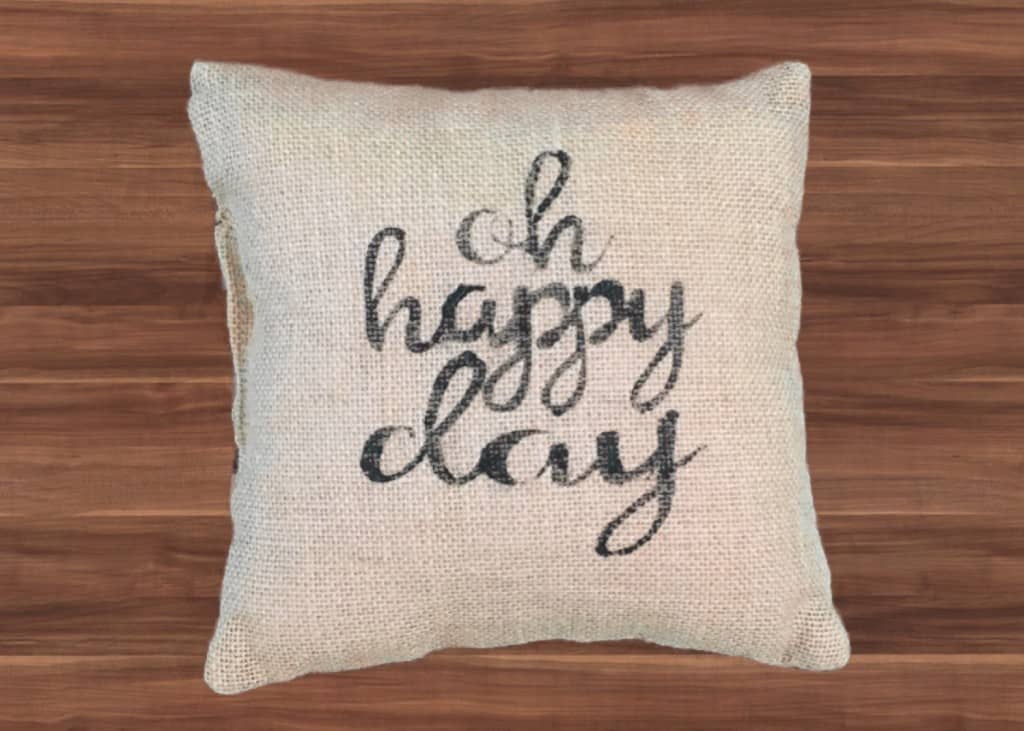
    Or this:

    Tutorial: How to Use Green Screens in Product Photos - Great for SIlhouette Cameo or Cricut small business owners - by cuttingforbusiness.com

    Or create a custom “watermark” background: Tutorial: How to Use Green Screens in Product Photos - Great for SIlhouette Cameo or Cricut small business owners - by cuttingforbusiness.com
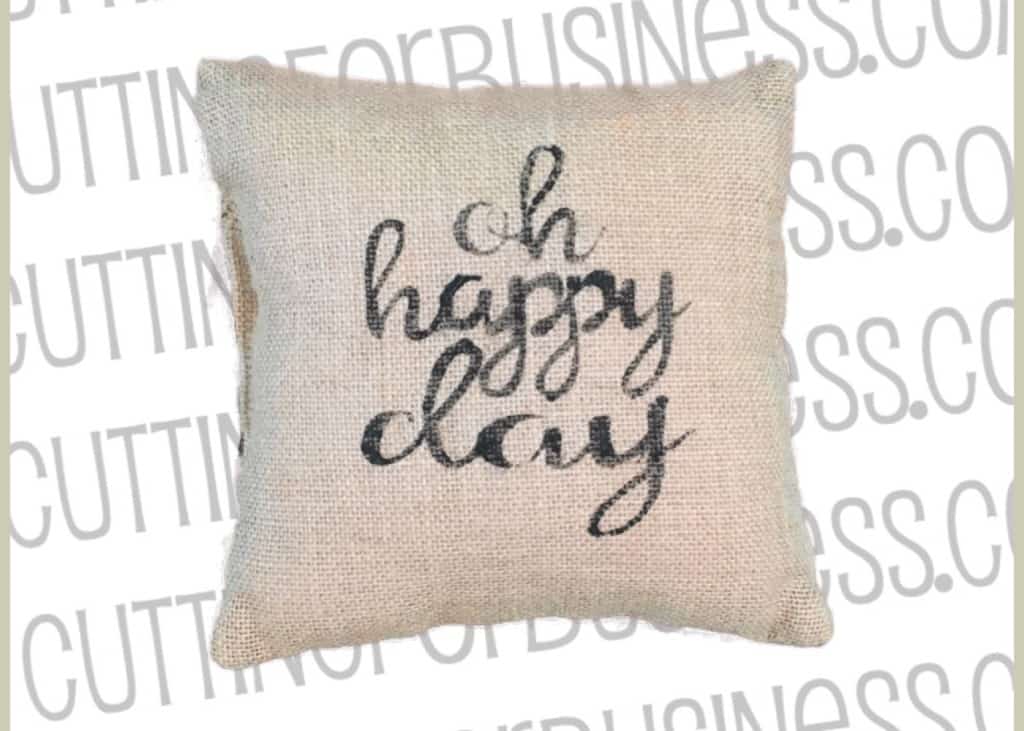
    Another example:

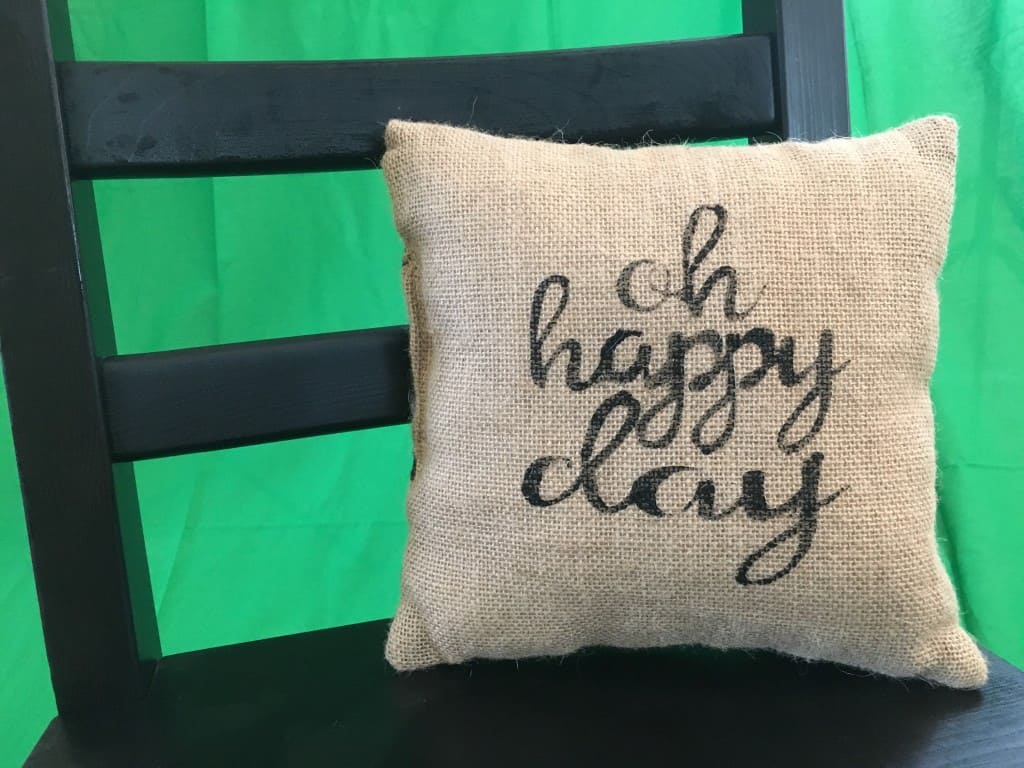
    Start with this:

    Tutorial: How to Use Green Screens in Product Photos - Great for SIlhouette Cameo or Cricut small business owners - by cuttingforbusiness.com

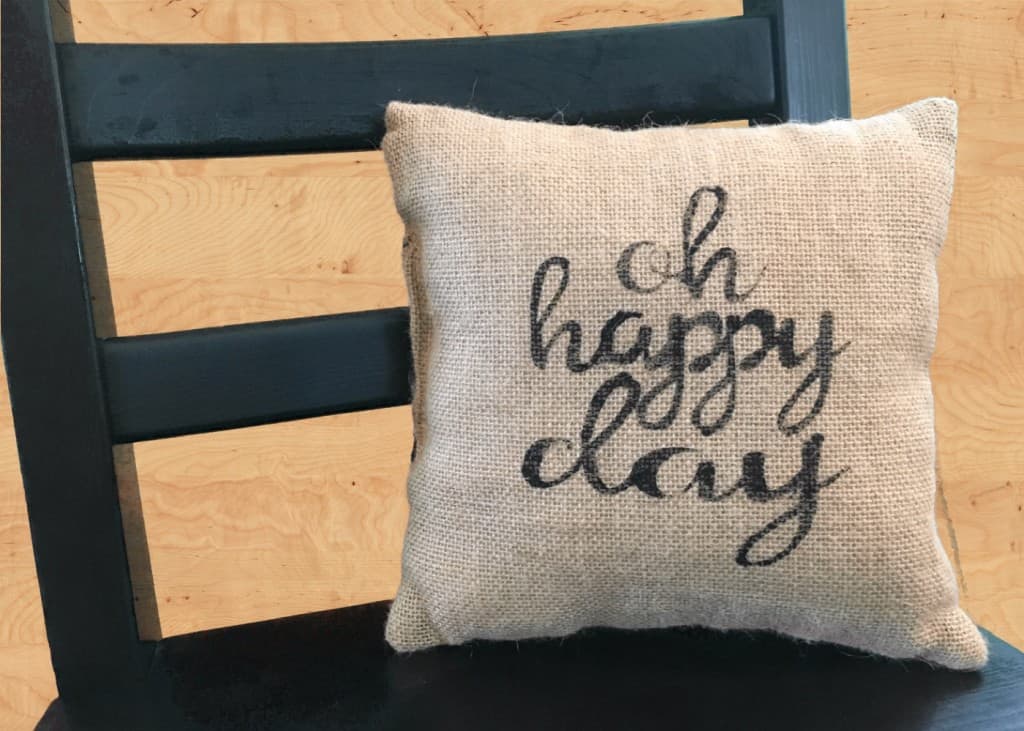
    And get this:
    Tutorial: How to Use Green Screens in Product Photos - Great for SIlhouette Cameo or Cricut small business owners - by cuttingforbusiness.com

    Or, set the mood to match your product. In this case, what’s better than sunrise over a farm to show off my rustic burlap pillow?
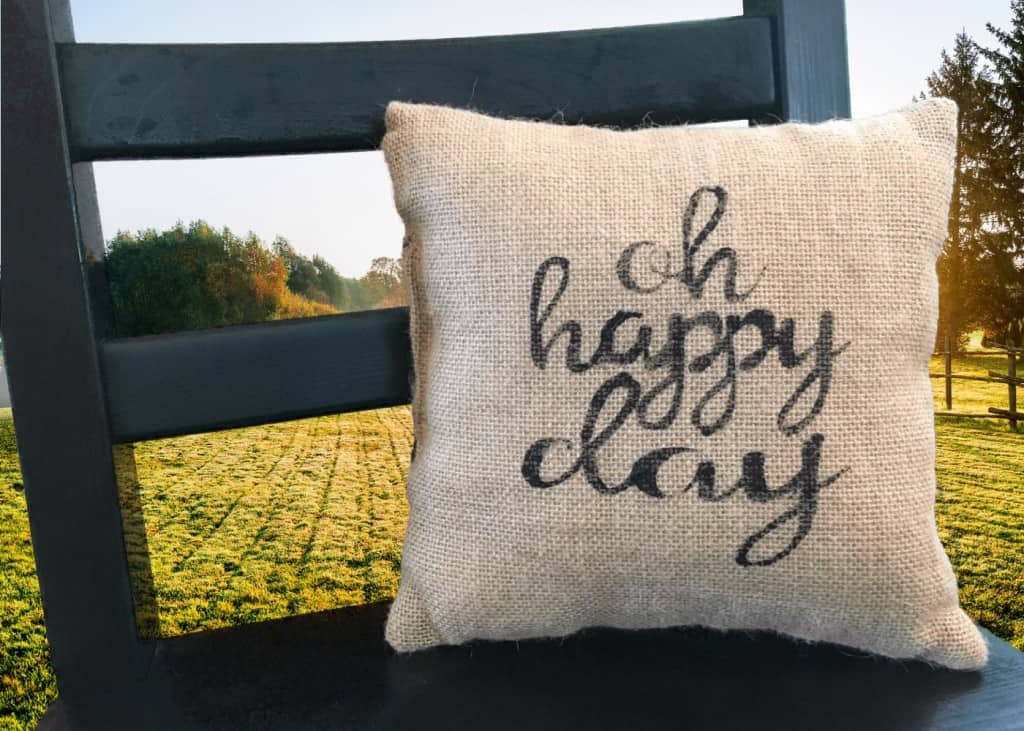
    Tutorial: How to Use Green Screens in Product Photos - Great for SIlhouette Cameo or Cricut small business owners - by cuttingforbusiness.com

    That’s it! It’s just that easy! If you are wondering, all images in this post came from Adobe Stock. If you’d like to try Adobe Stock with 10 free images, click the link banner below:
    I can’t wait to see what green screen product photos you will create! Don’t forget to share this tutorial on your favorite social media network by hovering over the photo below:

    Tutorial: How to Use Green Screens in Product Photos - Great for SIlhouette Cameo or Cricut small business owners - by cuttingforbusiness.com

  • How to Use Stock or Styled Photos for Advertising in Your Craft Business

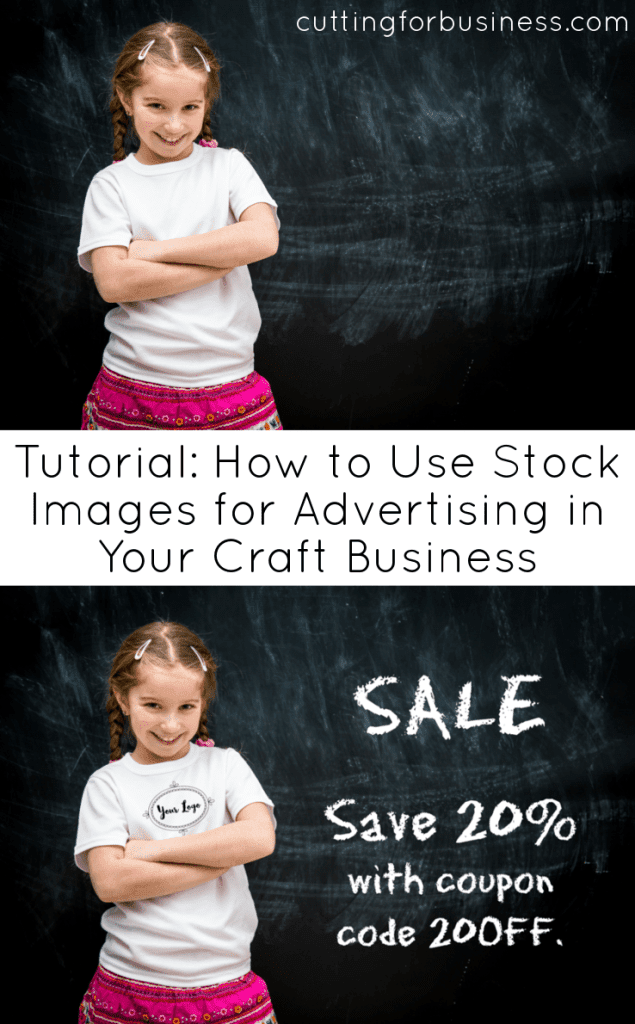
    This week we are going to look at creative ways to advertise your Silhouette or Cricut small business. If you aren’t a great photographer, consider using stock or styled photos or mockups for your advertising. I’ve showed you in the past how to create product mockups in Silhouette Studio, but today we are going to look at mockups for advertising.

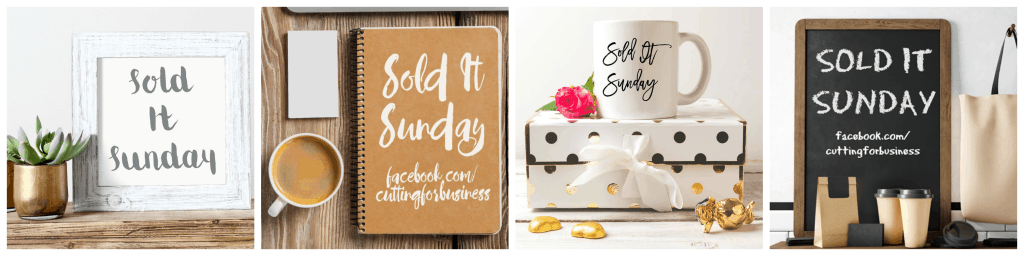
    I use mockups to advertise Sold It Sunday, and get asked about them regularly. Here’s a few sample images that you’ve probably seen on my Facebook page. Each of these images is a stock photo that I’ve added text to.

    How to Use Mockups for Advertising in Your Craft Business by cuttingforbusiness.com (Silhouette Cameo, Cricut)

    How to Create Mockup Images for Advertising

    Before you begin, you’ll need a stock image or styled photo in .jpg or .png format. You can find photos online or use an image of your own.

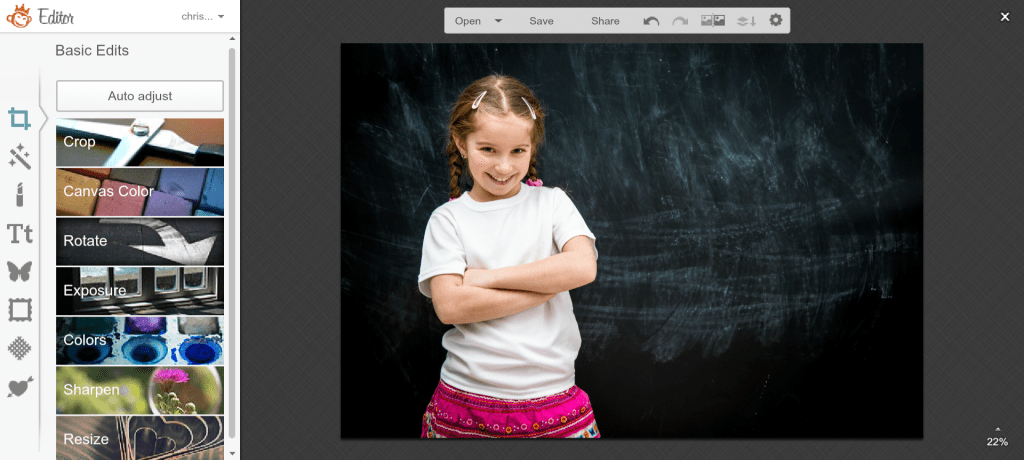
    • On Creative Market, search “Mockup”, “Styled Photo”, or “Stock Photo”. If you are looking for something in particular to use in an ad, search that term. For this tutorial, I searched the term “child”. The image I found is perfect to announce a sale for a children’s product line.
    • View mockups on The Hungry JPEG at this link.
    • Stock photo sites have lots of photos that you can use for mockups. My favorite stock photo site is Adobe Stock. If you’d like to try out Adobe Stock, click the banner below:

    Tutorial to Use Mockups or Styled Photos in Advertising

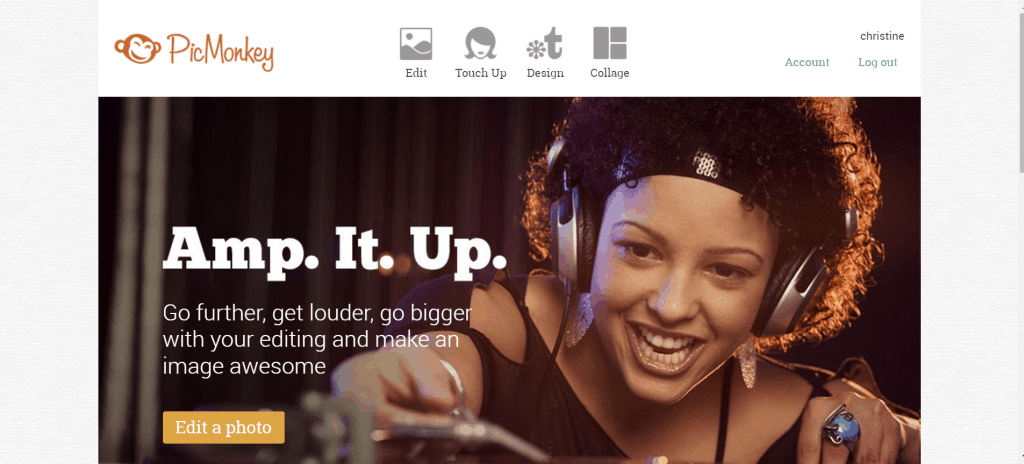
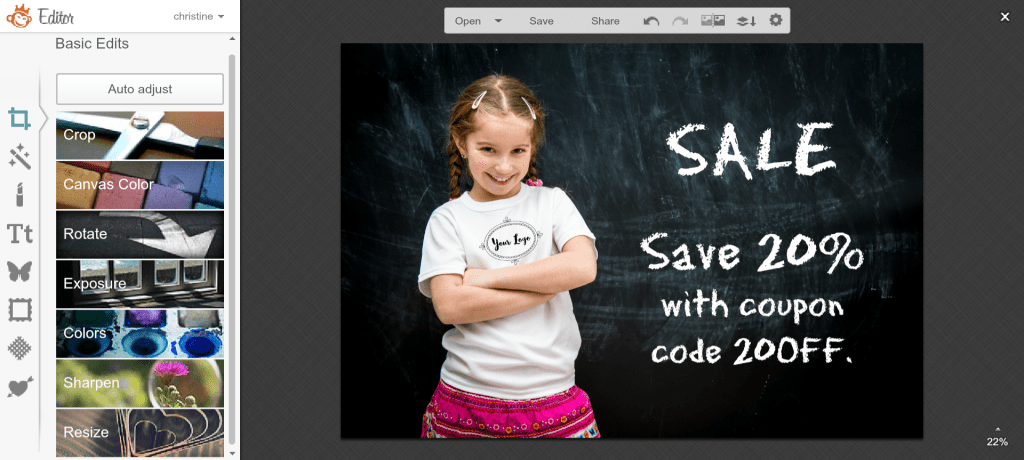
    1. You can use any photo editor, but this tutorial uses PicMonkey – which is free! Open PicMonkey and select “Edit” from the top menu. How to Use Mockups for Advertising in Your Craft Business by cuttingforbusiness.com (Silhouette Cameo, Cricut)
    2. Open your image in PicMonkey. How to Use Mockups for Advertising in Your Craft Business by cuttingforbusiness.com (Silhouette Cameo, Cricut)
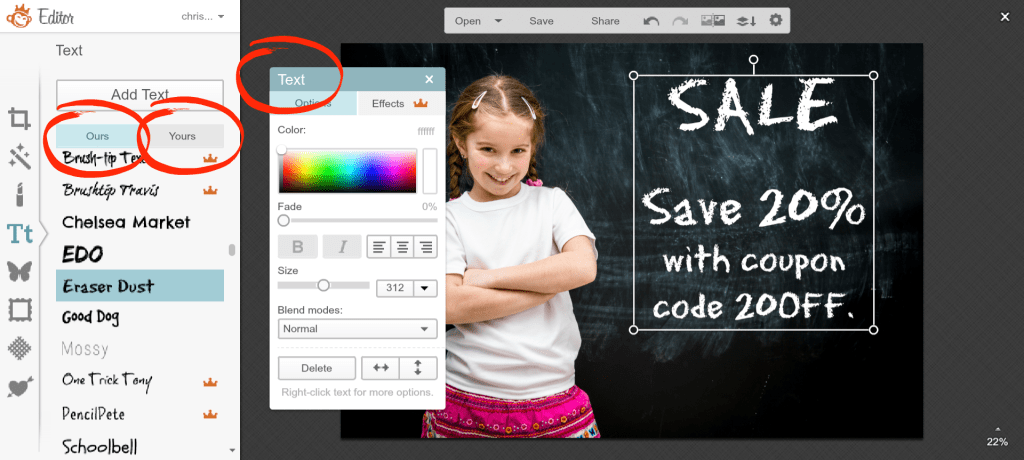
    3. From the left hand side, select the text tool by clicking on the “Tt”, then “Add Text”. Now, click anywhere on your image to add text. You can manipulate the text using the text pop out window as shown in the photo. You can also choose from the fonts on your computer or the fonts in PicMonkey (Yours – circled on the image below or Ours – also circled on the image). How to Use Mockups and Styled Photos for Advertising in Your Craft Business by cuttingforbusiness.com (Silhouette Cameo, Cricut)

    That’s it! After you are happy with your text, save the image by clicking “Save” at the top. Remember, keep your advertising text short and to the point.

    Bonus Steps: I purposely chose this photo because the girl is wearing a plain white shirt. I’m going to show you how to add a logo to her shirt. You’ll need a .png copy of your logo that has a transparent background.

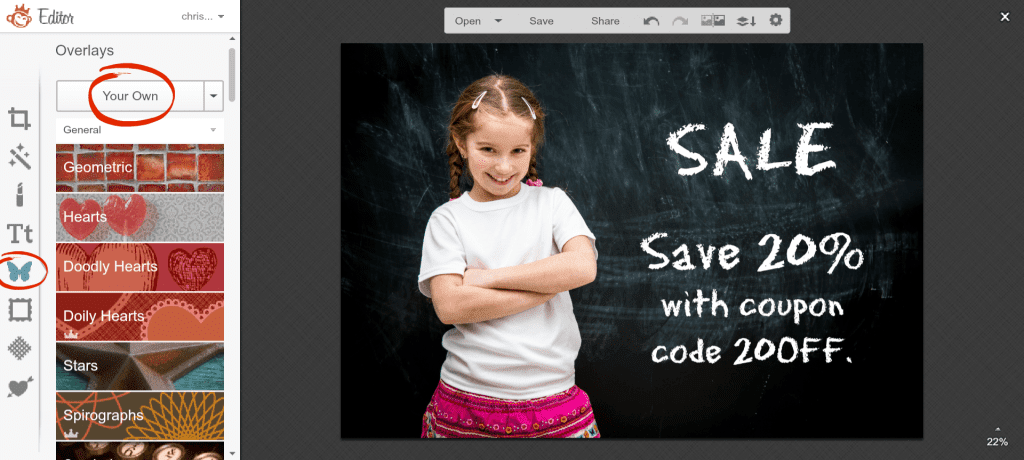
    1. From the menu on the left, click the butterfly icon, then click “Your Own”. How to Use Mockups and Styled Photos for Advertising in Your Craft Business by cuttingforbusiness.com (Silhouette Cameo, Cricut)
    2. Open your logo from your computer, and you’ll see it pop up on your image. Resize it and drag it into your desired location. Now, your photo is ready to use for advertising. How to Use Mockups and Styled Photos for Advertising in Your Craft Business by cuttingforbusiness.com (Silhouette Cameo, Cricut)

    Isn’t that easy? Did you like this tutorial? If so, be sure to share it on your favorite social media by hovering over the photo below.

    How to use stock or styled images for advertising in your craft business by cuttingforbusiness.com (Silhouette Cameo, Cricut)

  • Do’s and Don’ts of Watermarking Your Product Photos

    I’m sure you’ve seen one of those pictures on social media that asks you to share the image to see how far it goes, and it has hundreds of thousands of shares. This illustrates how fast one image can move around online.

    So what does that have to with your Silhouette or Cricut craft business? It shows that once you post an image online, it doesn’t matter where you post it, your image can potentially be seen by millions of people quickly.

    Clearly, it’s pretty important to protect your images.

    Watermarks are a great ‘first line of defense’ against theft of your images. But, there are a few rules to follow when watermarking images.

    Do's and Don'ts of Watermarking Your Product Photos - cuttingforbusiness.com

    What is a Watermark?

    A watermark is an image or text that is placed somewhere on your product pictures to claim ownership. Watermarks often detract other crafters from stealing your pictures and using them as their own.

    4 Watermarking Do’s and Don’ts

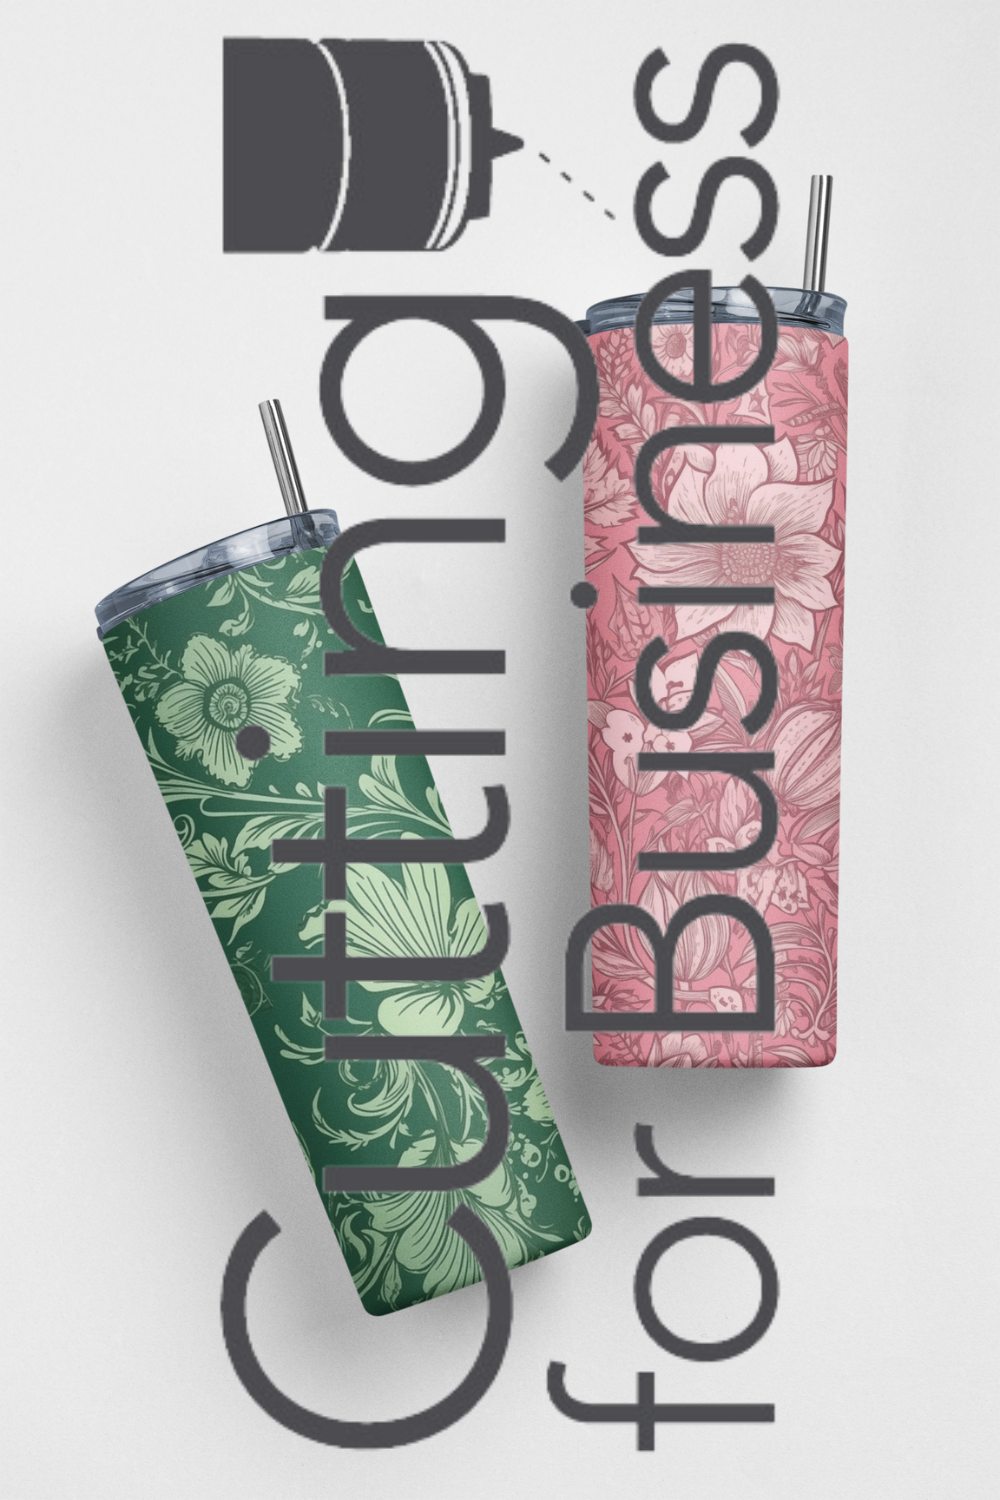
    Don’t let your watermark detract from your item. If your buyer cannot clearly see your item, they are likely to pass it up. This watermark is too distracting.

    Do's and Don'ts of Watermarking Your Product Photos - Example 1 - cuttingforbusiness.com

    Do make your watermark overlap a small portion of your item. It is easy to crop out a watermark that is in the background or the corner of your photo. To prevent people from doing this, simply overlap your watermark onto the edge of your item.

    Do's and Don'ts of Watermarking Your Product Photos - Example 2 - cuttingforbusiness.com

    Don’t make your watermark too light to read.

    Do's and Don'ts of Watermarking Your Product Photos - Example 3 - cuttingforbusiness.com

    Do use your business name or name in your watermark. Phrases like ‘Do Not Copy’ or ‘Not Your Picture’ don’t claim ownership. Read more about why you shouldn’t use generic watermarks.

    Do's and Don'ts of Watermarking Your Product Photos - Example 4 - cuttingforbusiness.com

    How Can You Create Watermarks?

    You can use any photo editor like Canva, PicMonkey, Photoshop, or similar to create watermarks. Additionally, there are several mobile apps available for adding watermarks – just check your app store.

    Alternatives to Watermarks

    I know that not every crafter likes watermarks. Read some of the concerns with watermarks and alternative methods to protecting your product photos.

  • How to Use Product Mockups for Custom Orders

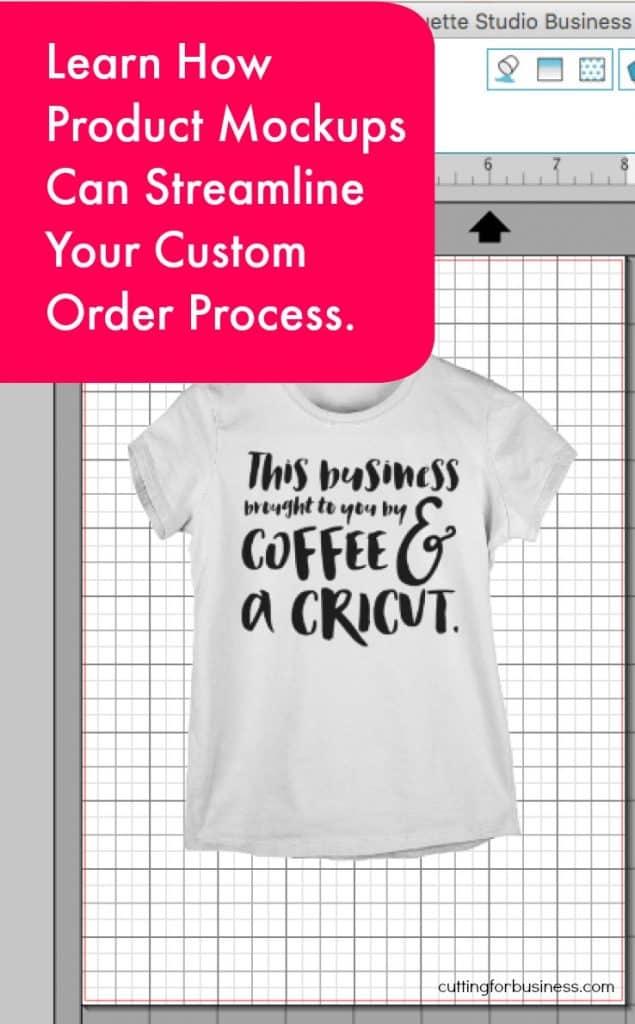
    In my last post, I shared a tutorial on how to use Silhouette Studio to create product mockups to help stock your store. Product mockups can also be used when you create custom items for your customers.

    Sometimes as crafters, it is difficult to get our ideas across to non-crafters. The next time you are creating a custom item for one of your customers, create a mockup in Silhouette Studio and email them a copy of the mockup – before you begin creating the item. Ask them to respond to the email with any changes they want before you actually begin creating the item, if there are no changes to be made, they would email you back stating that the design is what they wanted.

    4 Benefits to Using Mockups:

    1. In the event that a customer is unhappy with their item, you have written proof that they approved the design before you created it. This may help you in the event that they file a chargeback with their credit card company or any other type of claim against you.
    2. If the customer chooses to make design changes after the mockup is approved by them, you can charge them for your time to make the design changes.
    3. Mockups help the customer visualize the item before it is actually made – which can save on supplies, time, and redos.
    4. Using mockups, you can give them a choice of design variations. Feel free to send 2 or 3 mockups, and have them choose their favorite.

    Need a mockup management system? Read this post.

    Share this post on Pinterest:

    How to Use Product Mockups for Custom Orders in Your Silhouette Cameo or Cricut Small Business - by cuttingforbusiness.com