Category: Reviews

  • Create Room DreamBox Review & Coupon Code 2023

    If you have an unruly craft room, like I did, you are going to want to read this article on my brand new Create Room DreamBox.

    Create Room recently reached out to me to see if I’d like to review their DreamBox. In exchange for an honest Create Room DreamBox review, I received a DreamBox and a half set of totes. All upgrades were bought by me. Links in this article are affiliate links. This means if you purchase this product using my discount codes, I will receive a small commission.

    Today, I’ll tell you what I love about Create Room’s DreamBox – and what I don’t love.

    Create Room DreamBox Review and Coupon Code - cuttingforbusiness.com.

    What is a Create Room DreamBox?

    Create Room is a company that manufactures and sells all-in-one craft furniture. If you’ve been around the craft industry for a while, you may know Create Room and the DreamBox by a former name – The Original ScrapBox.

    My Craft Room – Before My Create Room DreamBox

    When we moved into our current home four years ago, I traded my craft room with four walls and a door for a loft space that overlooks our great room. While I love the location, the loft is visible from our front door and main living space. This means that every craft room mess I made was on display for anyone that walks into our house. The loft space also meant that I could no longer walk out and close the door to hide my mess.

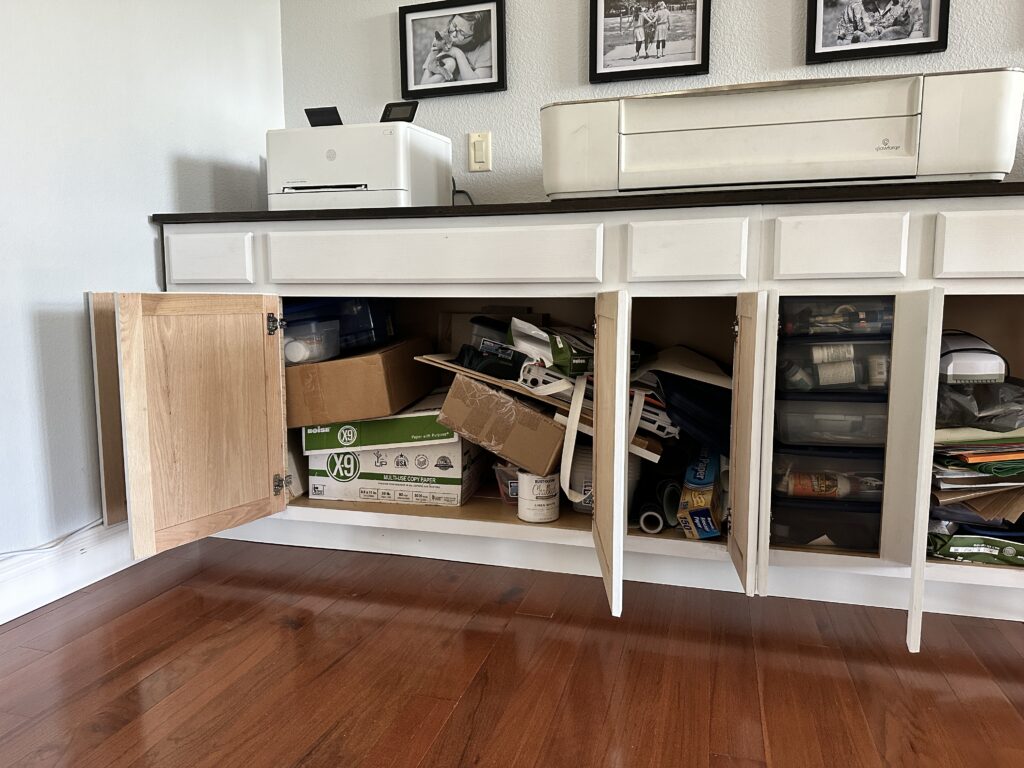
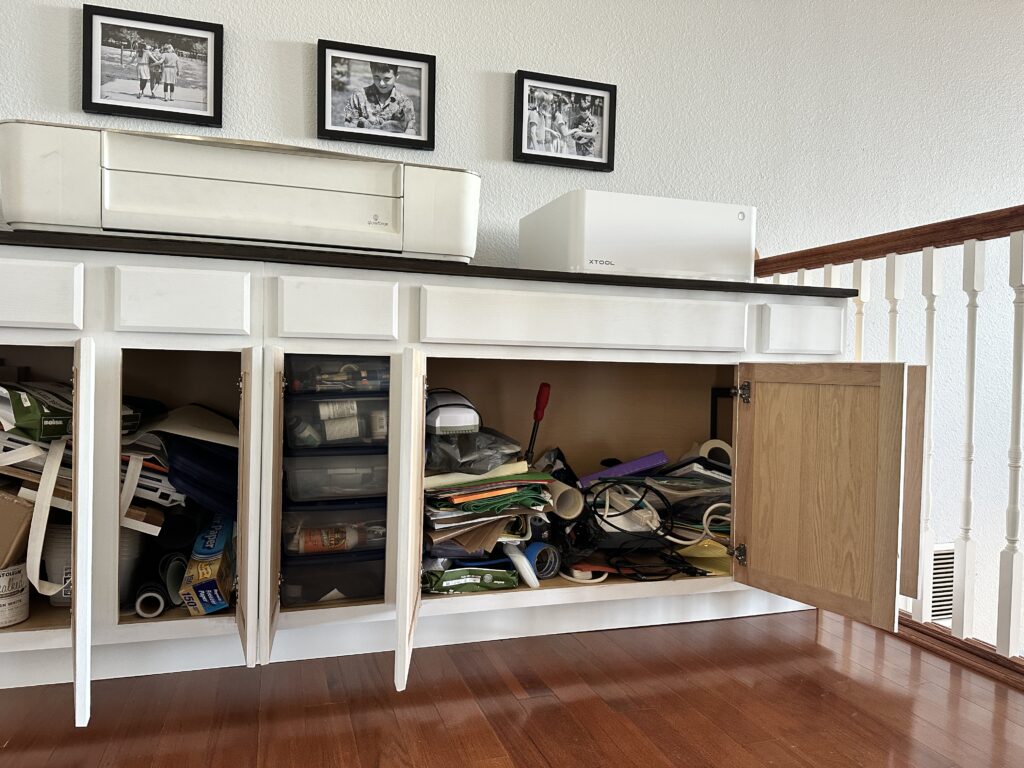
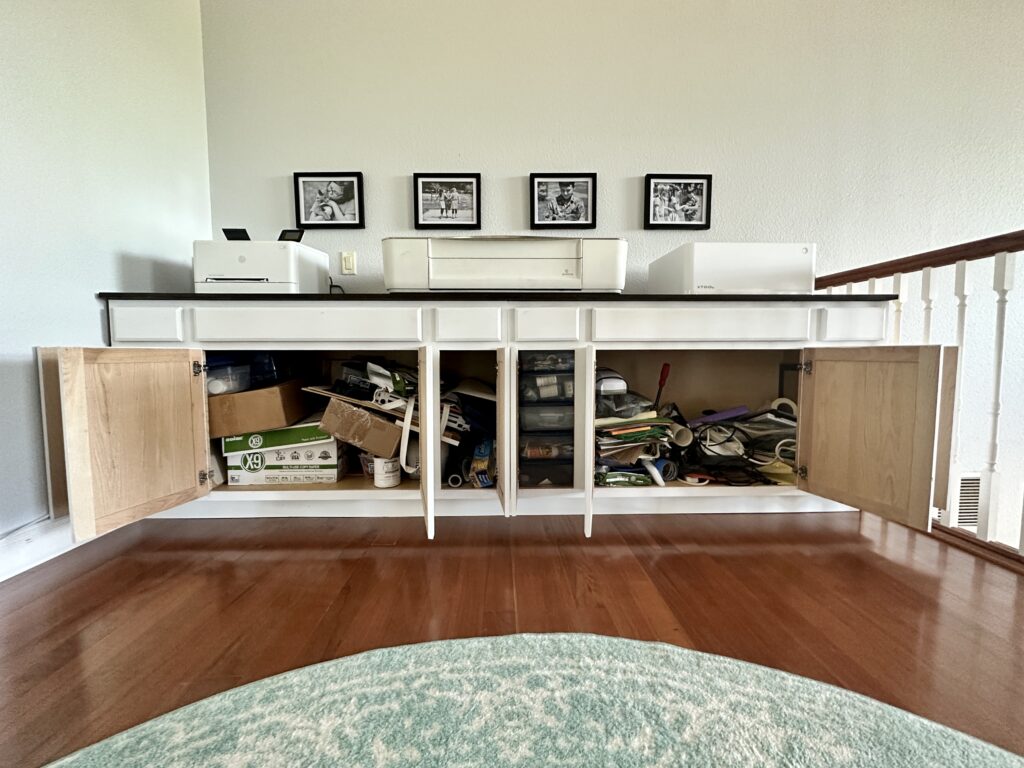
    On one side of the loft is a table and office chairs, with a long built in cabinet we created a few years ago. The cabinet itself is two double bathroom vanities attached with a wood top. On top, my laser machines and printer sit. Inside the cabinets all of my craft supplies are neatly shoved inside. This includes 30 plastic shoebox totes to hold the smaller items.

    Blue table and two leather work chairs in a craft room and office space - cuttingforbusiness.com.
    Messy craft cabinet - cuttingforbusiness.com.
    Messy craft cabinet, left side - cuttingforbusiness.com.
    Messy craft cabinet, right side - cuttingforbusiness.com.

    The other side of the loft is a school workstation that was set up in the early pandemic days. It was perfect to keep three elementary aged kids on task with online learning while I was working. However, my kids haven’t used the desk spaces in a long time.
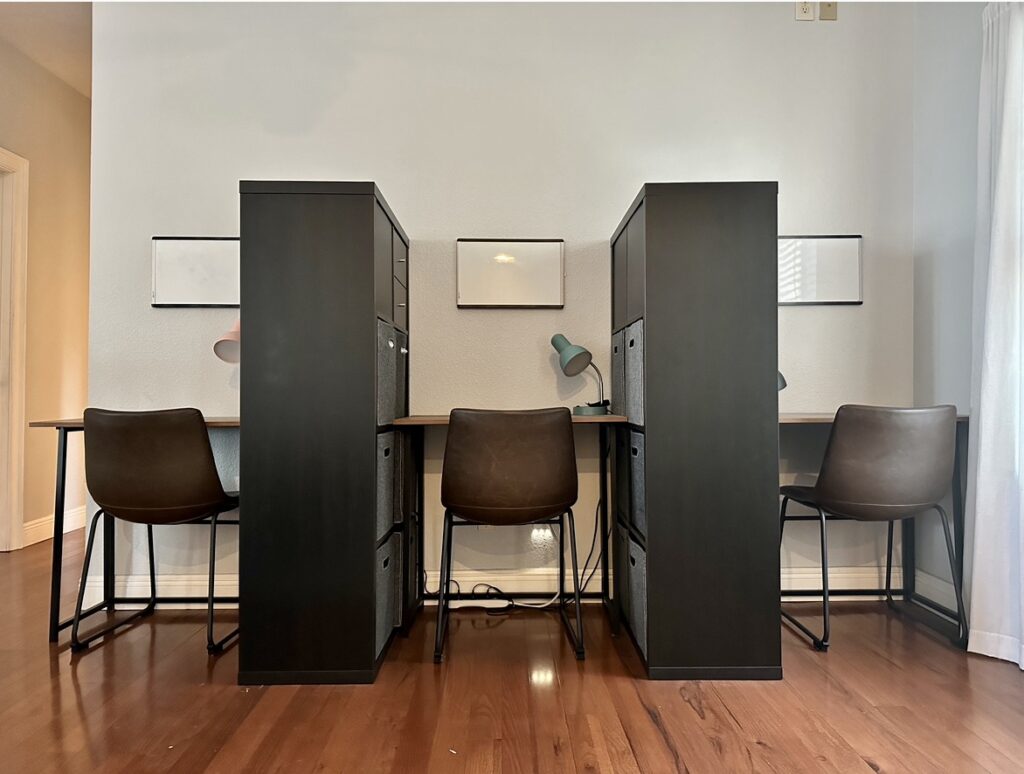
    Homework station - cuttingforbusiness.com.

    So, I decided it was time to say goodbye to the desks, and hello to a new Create Room DreamBox.

    My Craft Room – After the Create Room DreamBox
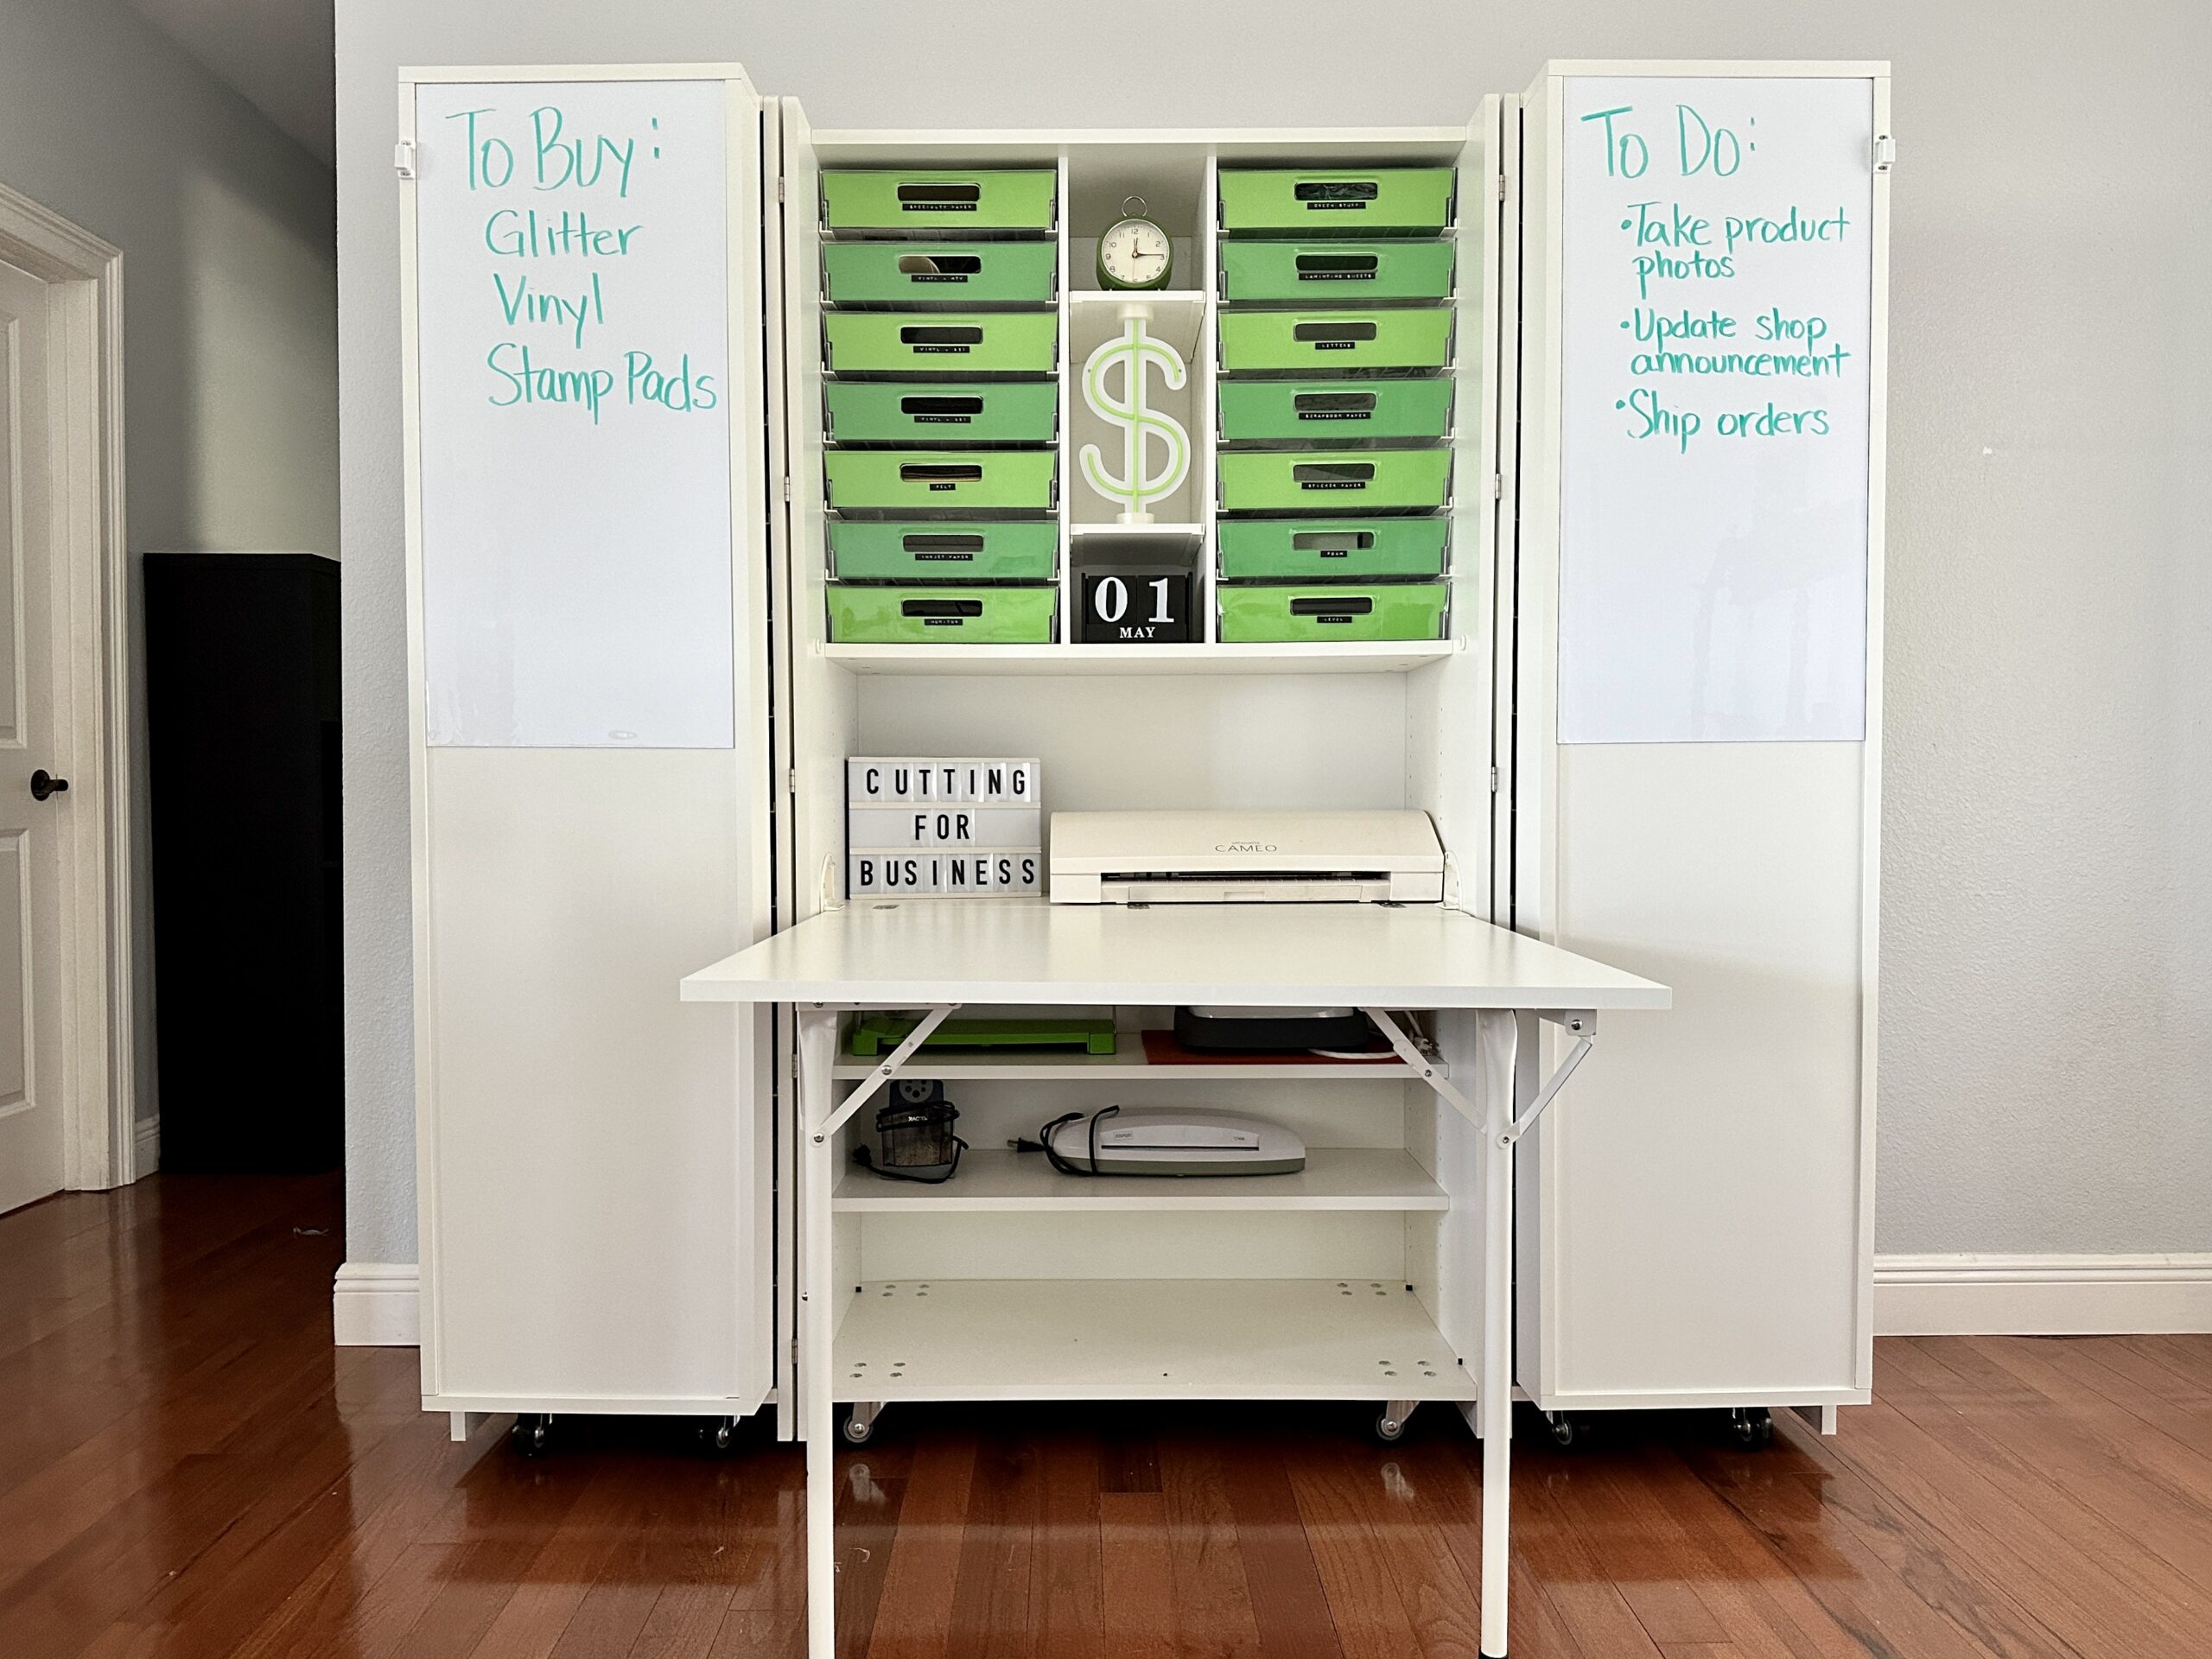
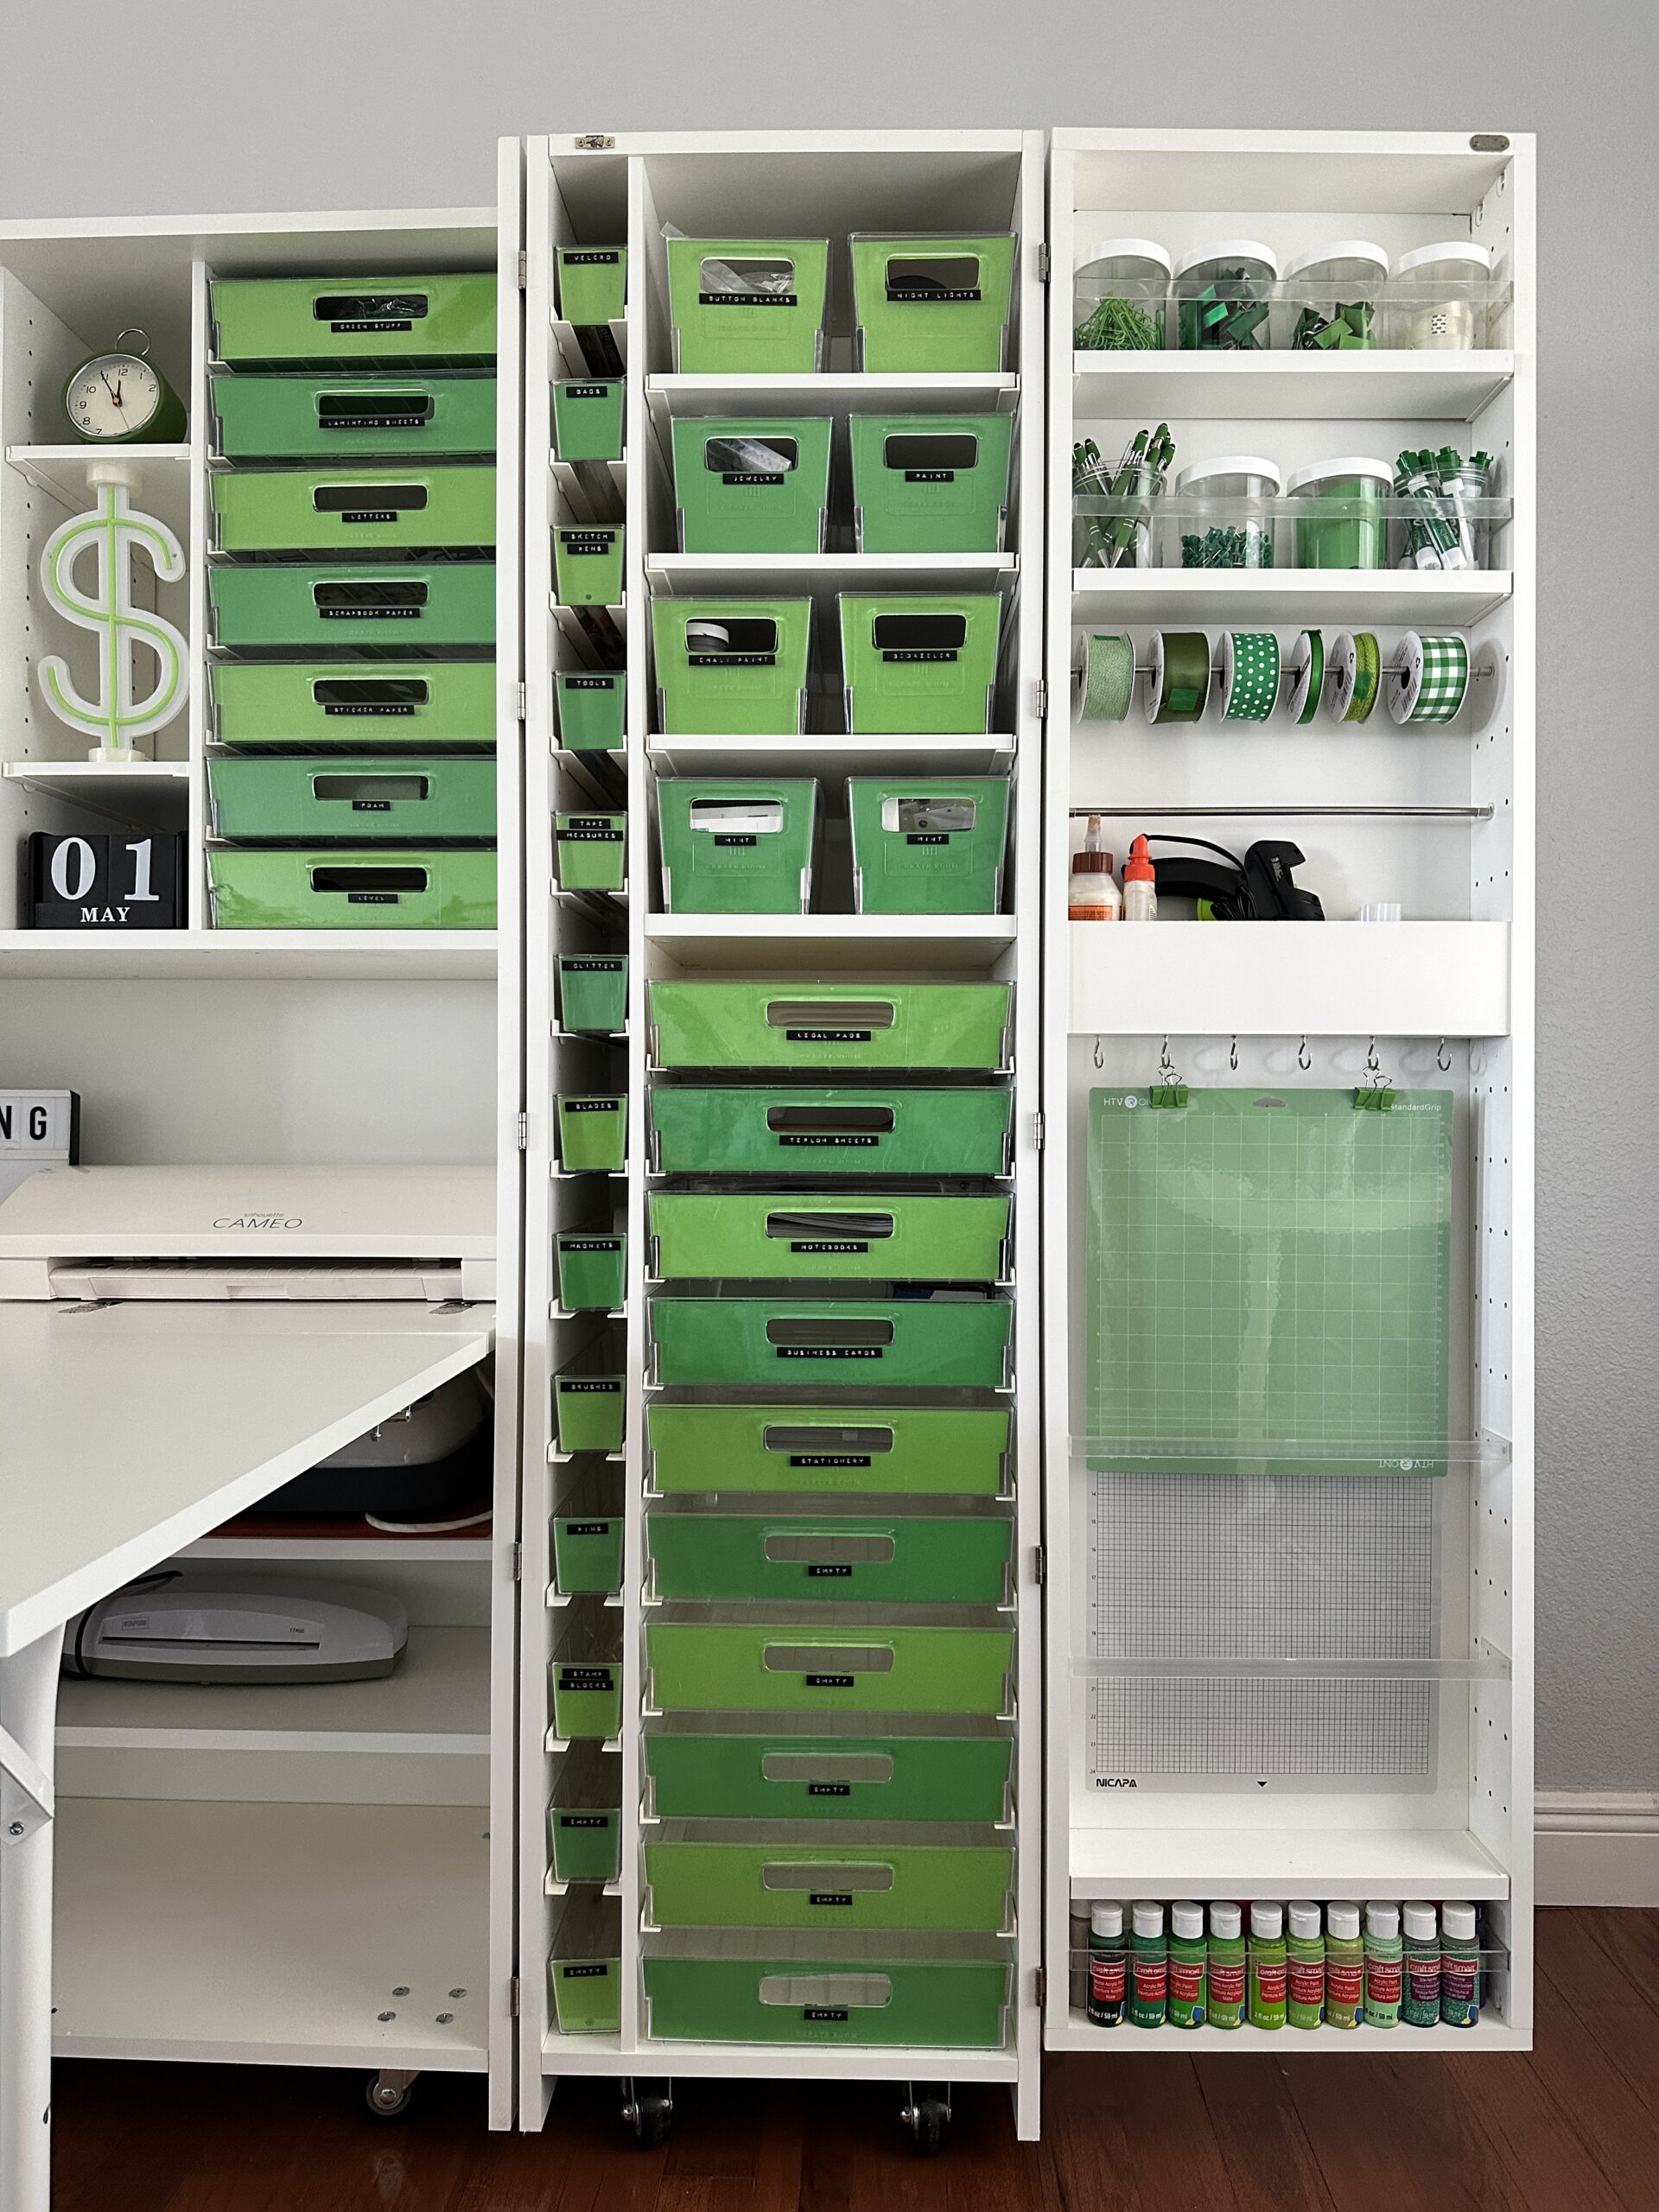
    Create Room DreamBox - partially open - cuttingforbusiness.com.
    Create Room’s DreamBox – Partially Open
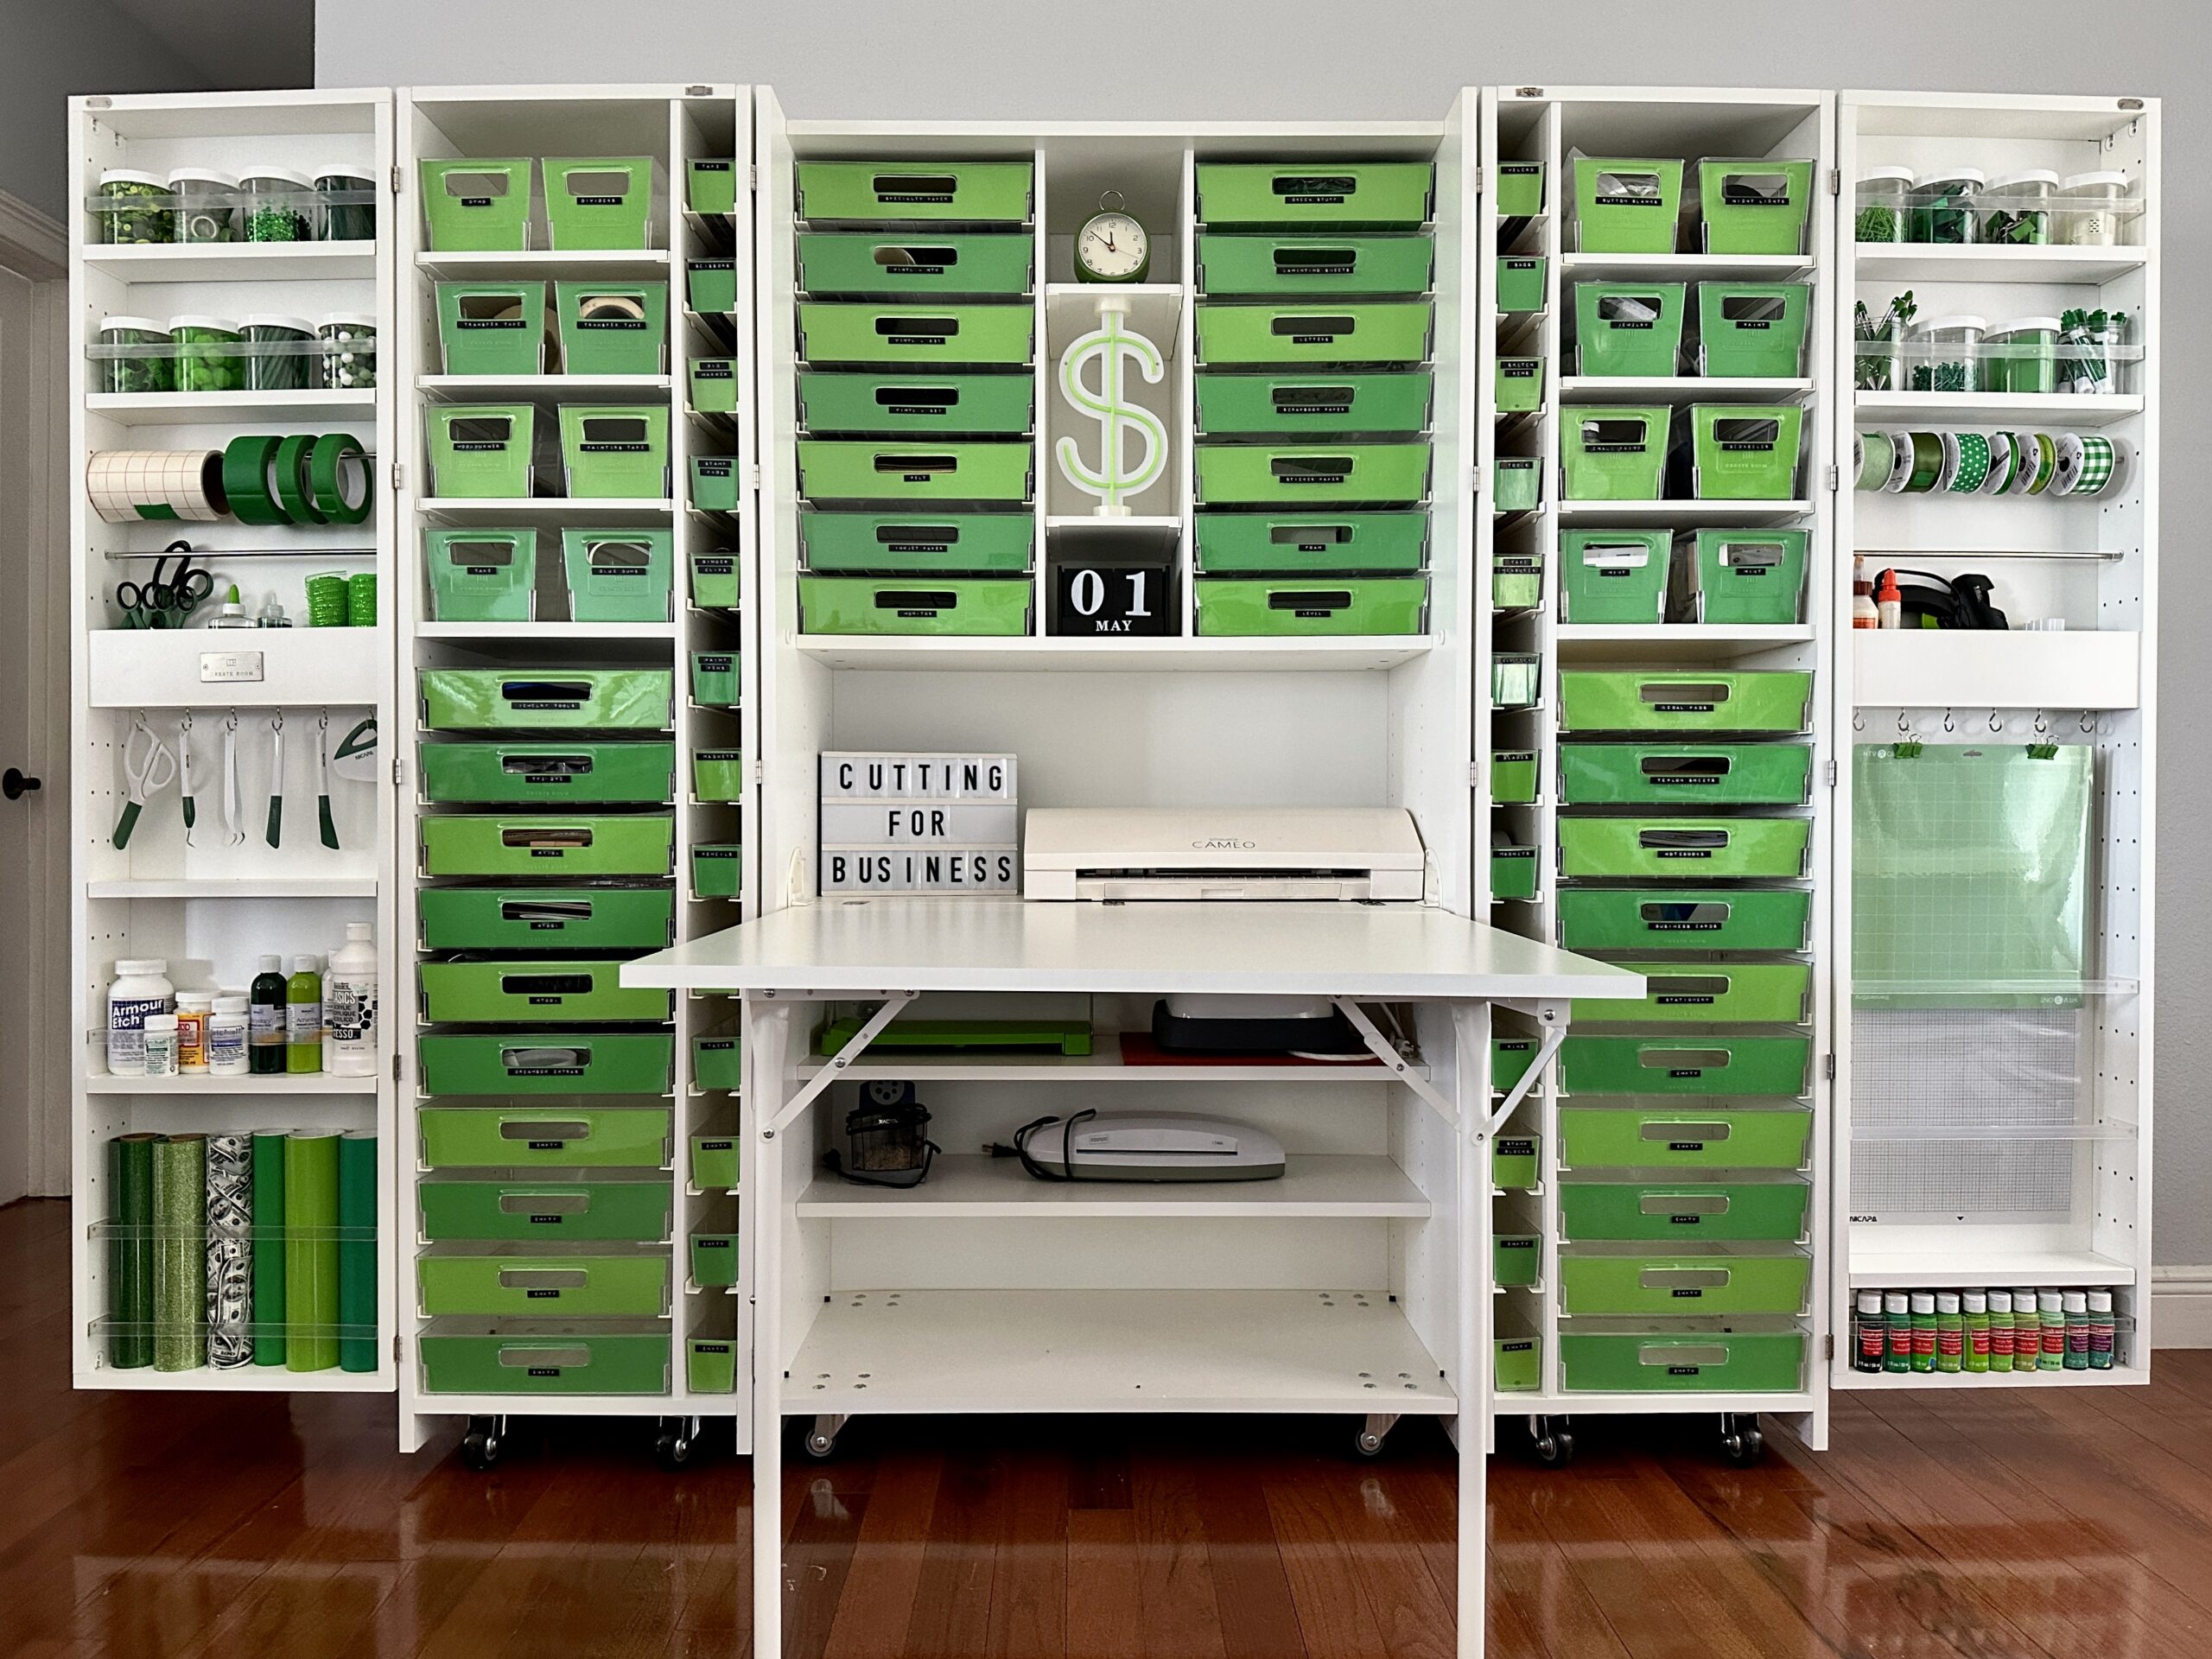
    Create Room DreamBox - fully open - cuttingforbusiness.com.
    Create Room DreamBox – Fully Open
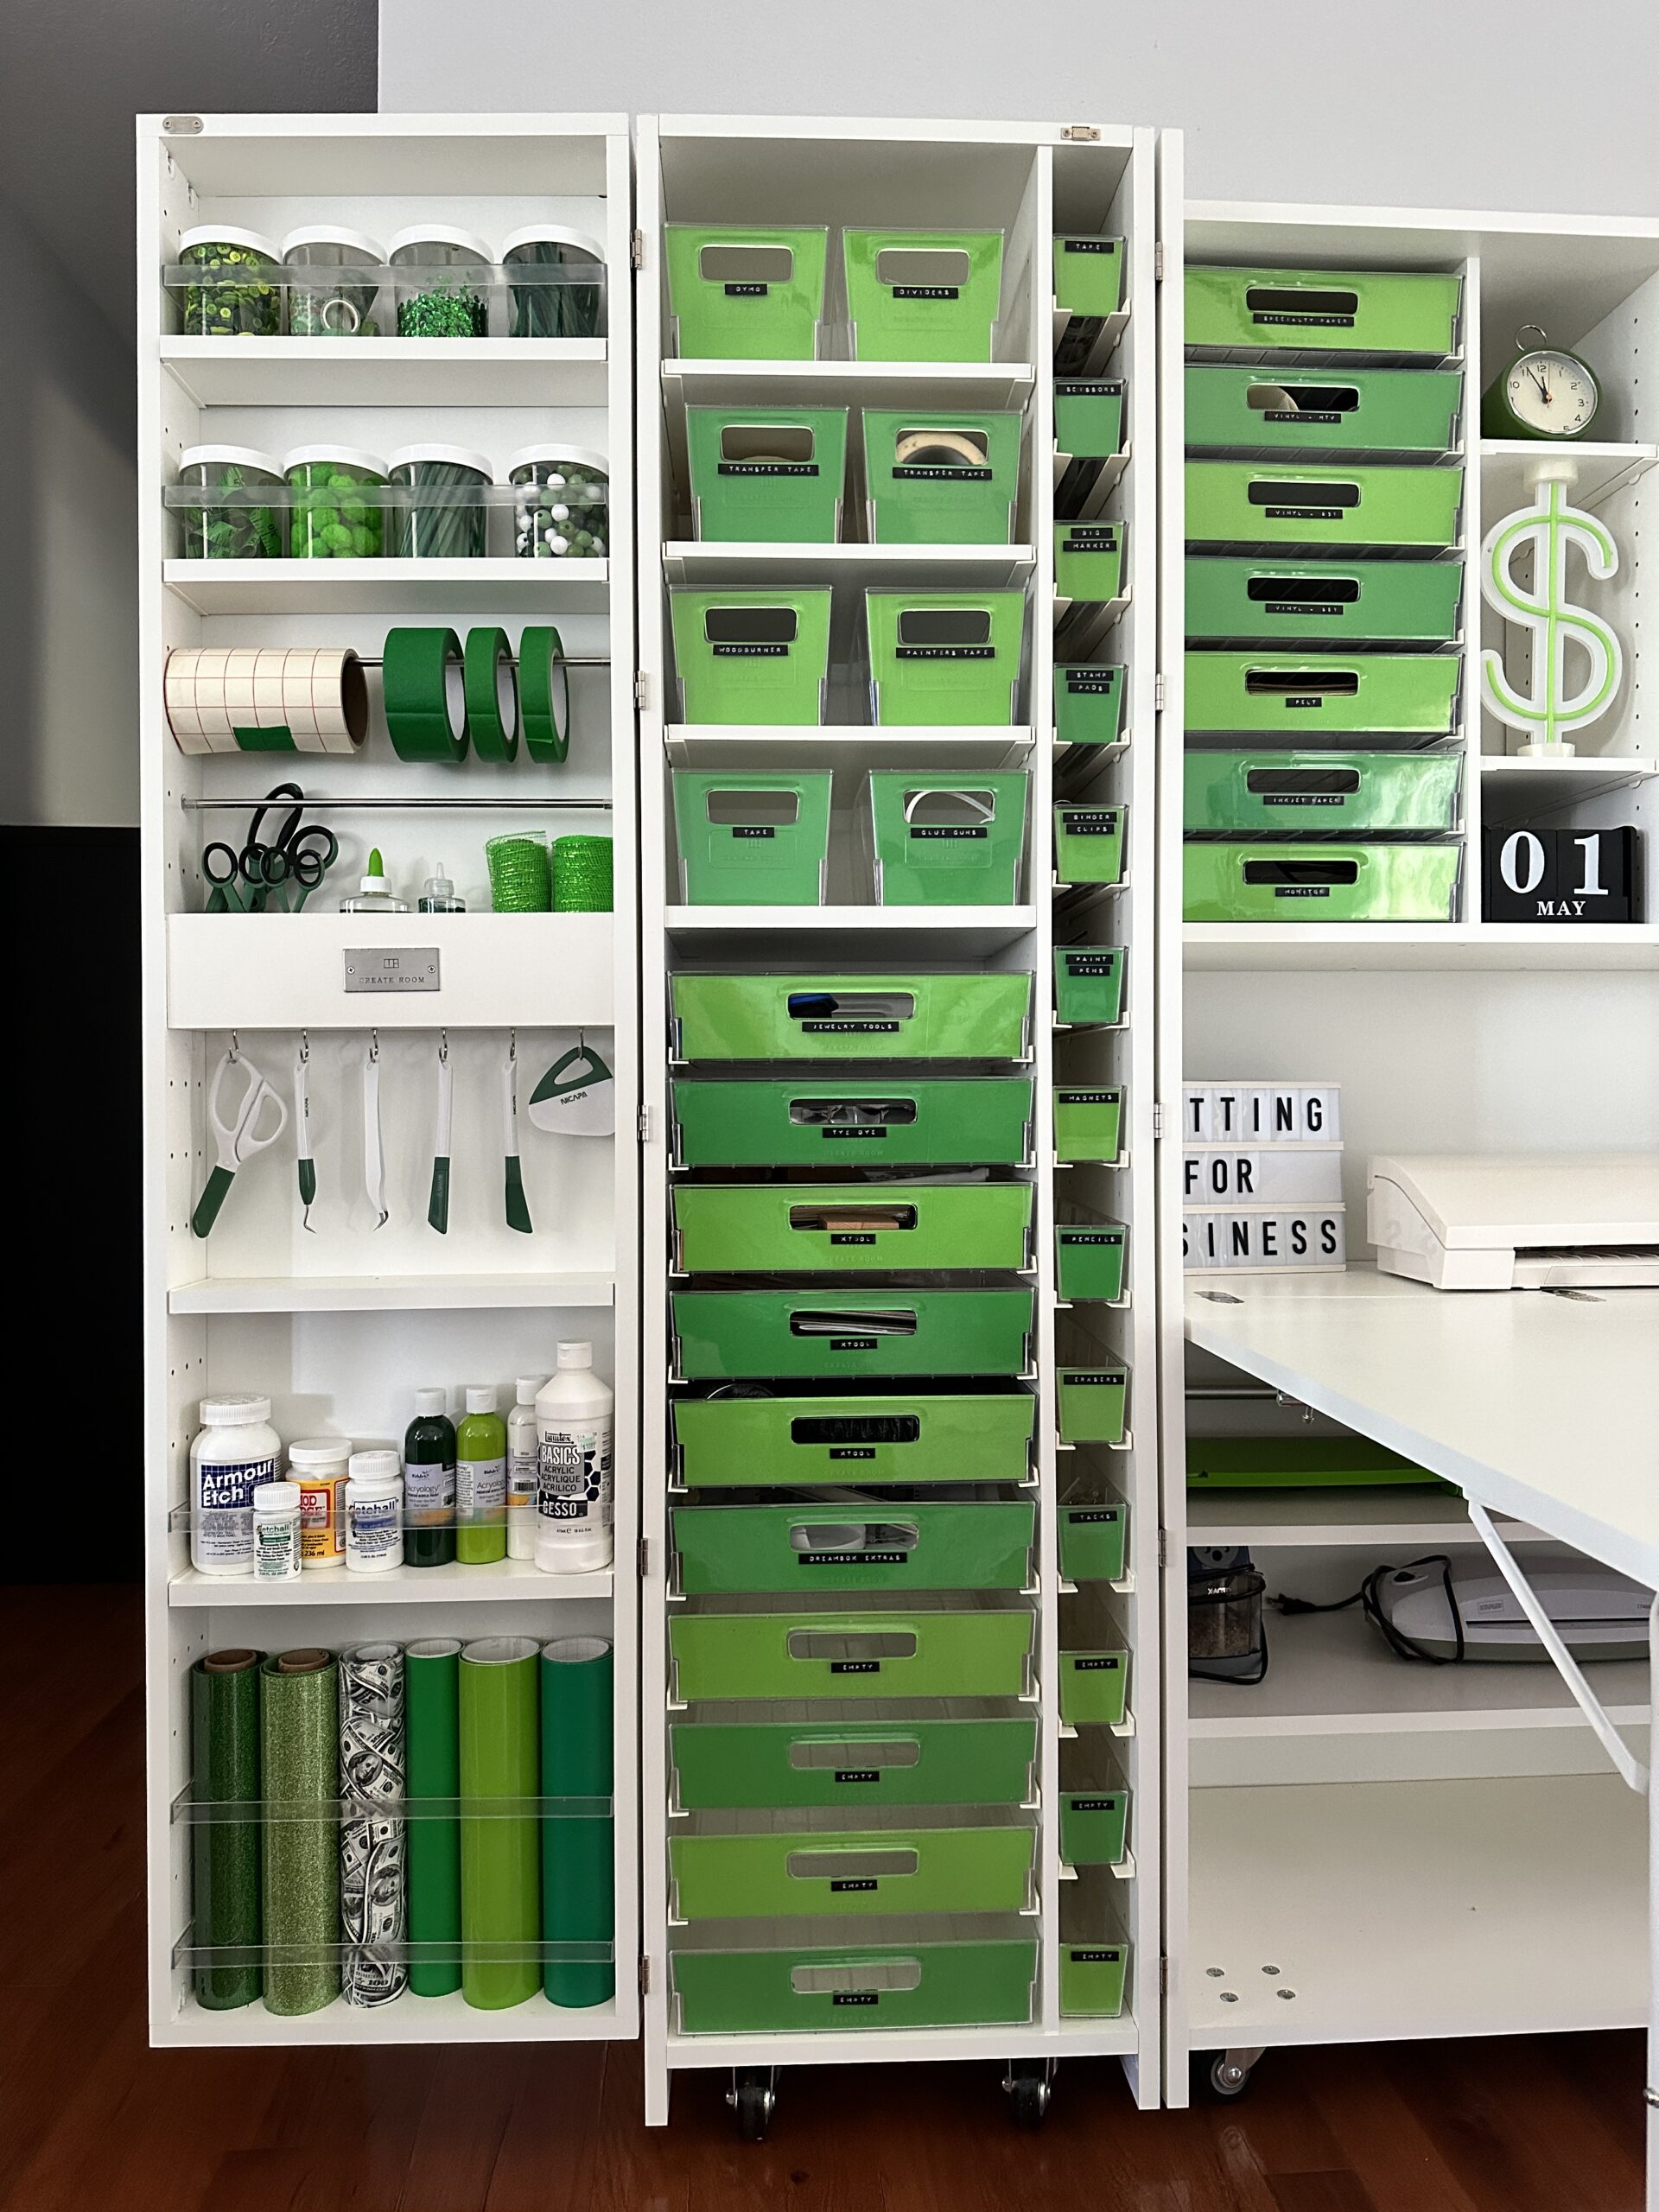
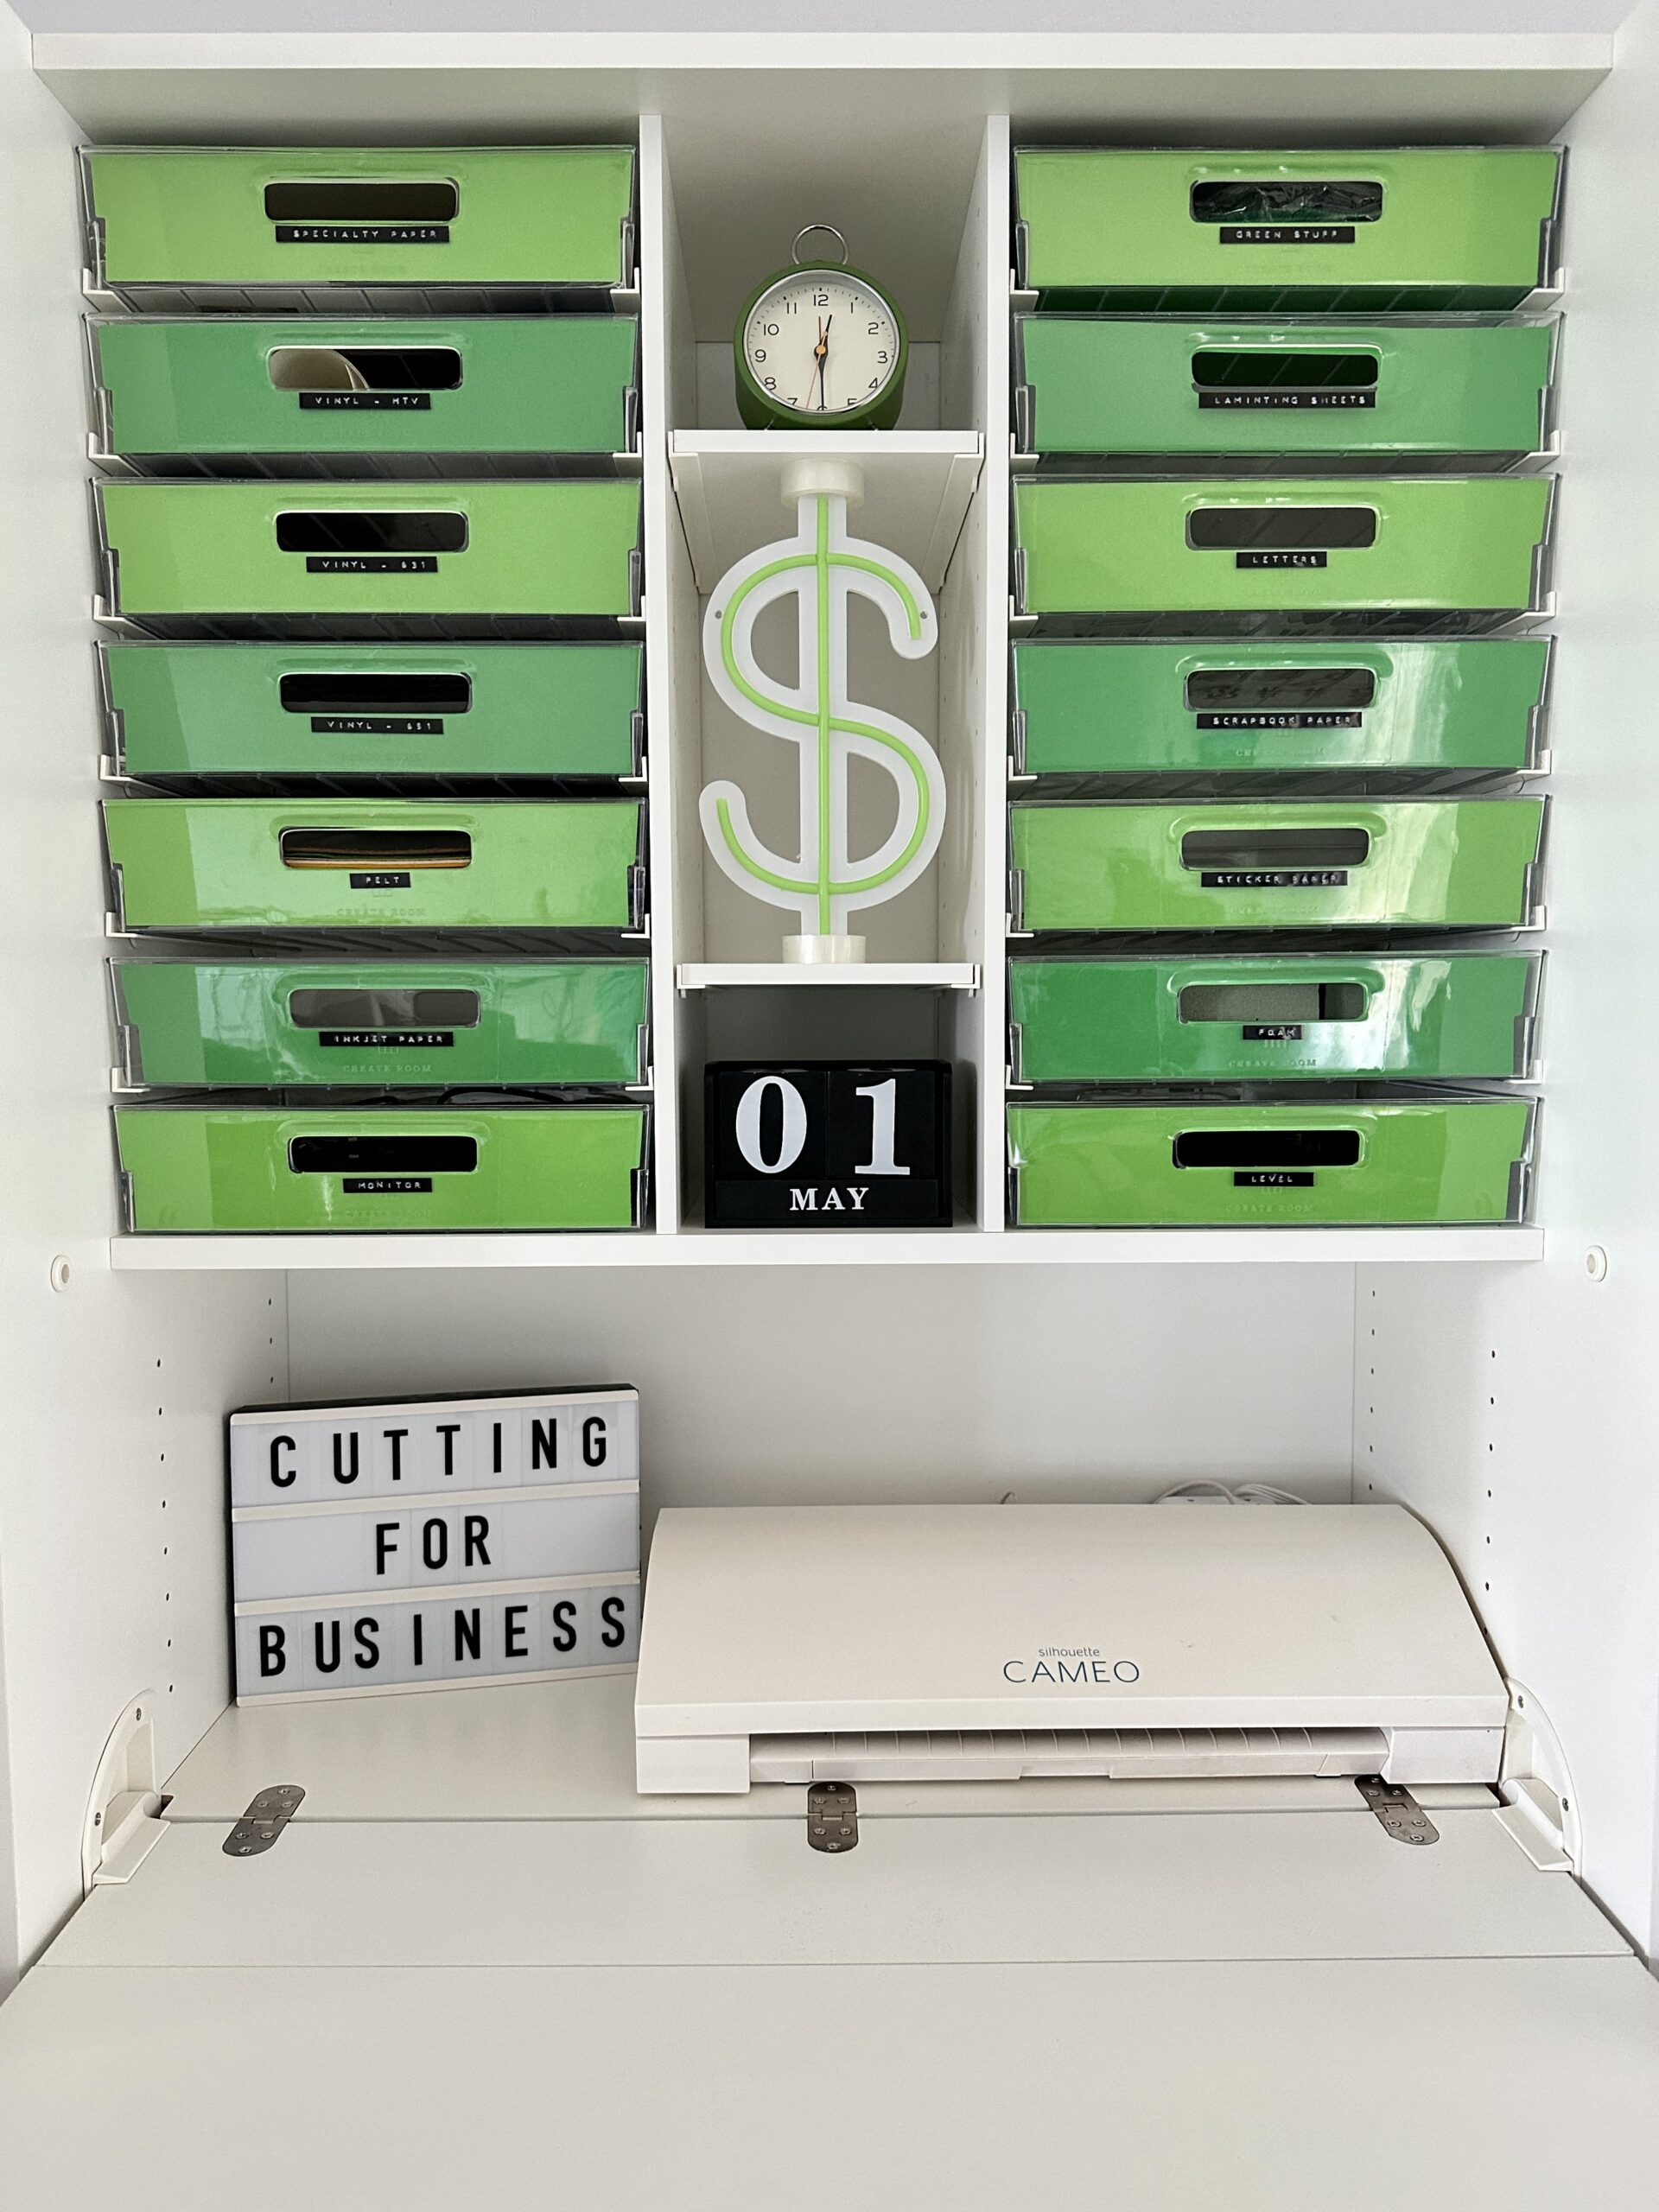
    Create Room DreamBox - left side - cuttingforbusiness.com.
    Create Room DreamBox – Left Side
    Create Room DreamBox - right side - cuttingforbusiness.com.
    Create Room DreamBox – Right Side
    Create Room DreamBox - center - cuttingforbusiness.com.
    Create Room DreamBox – Center
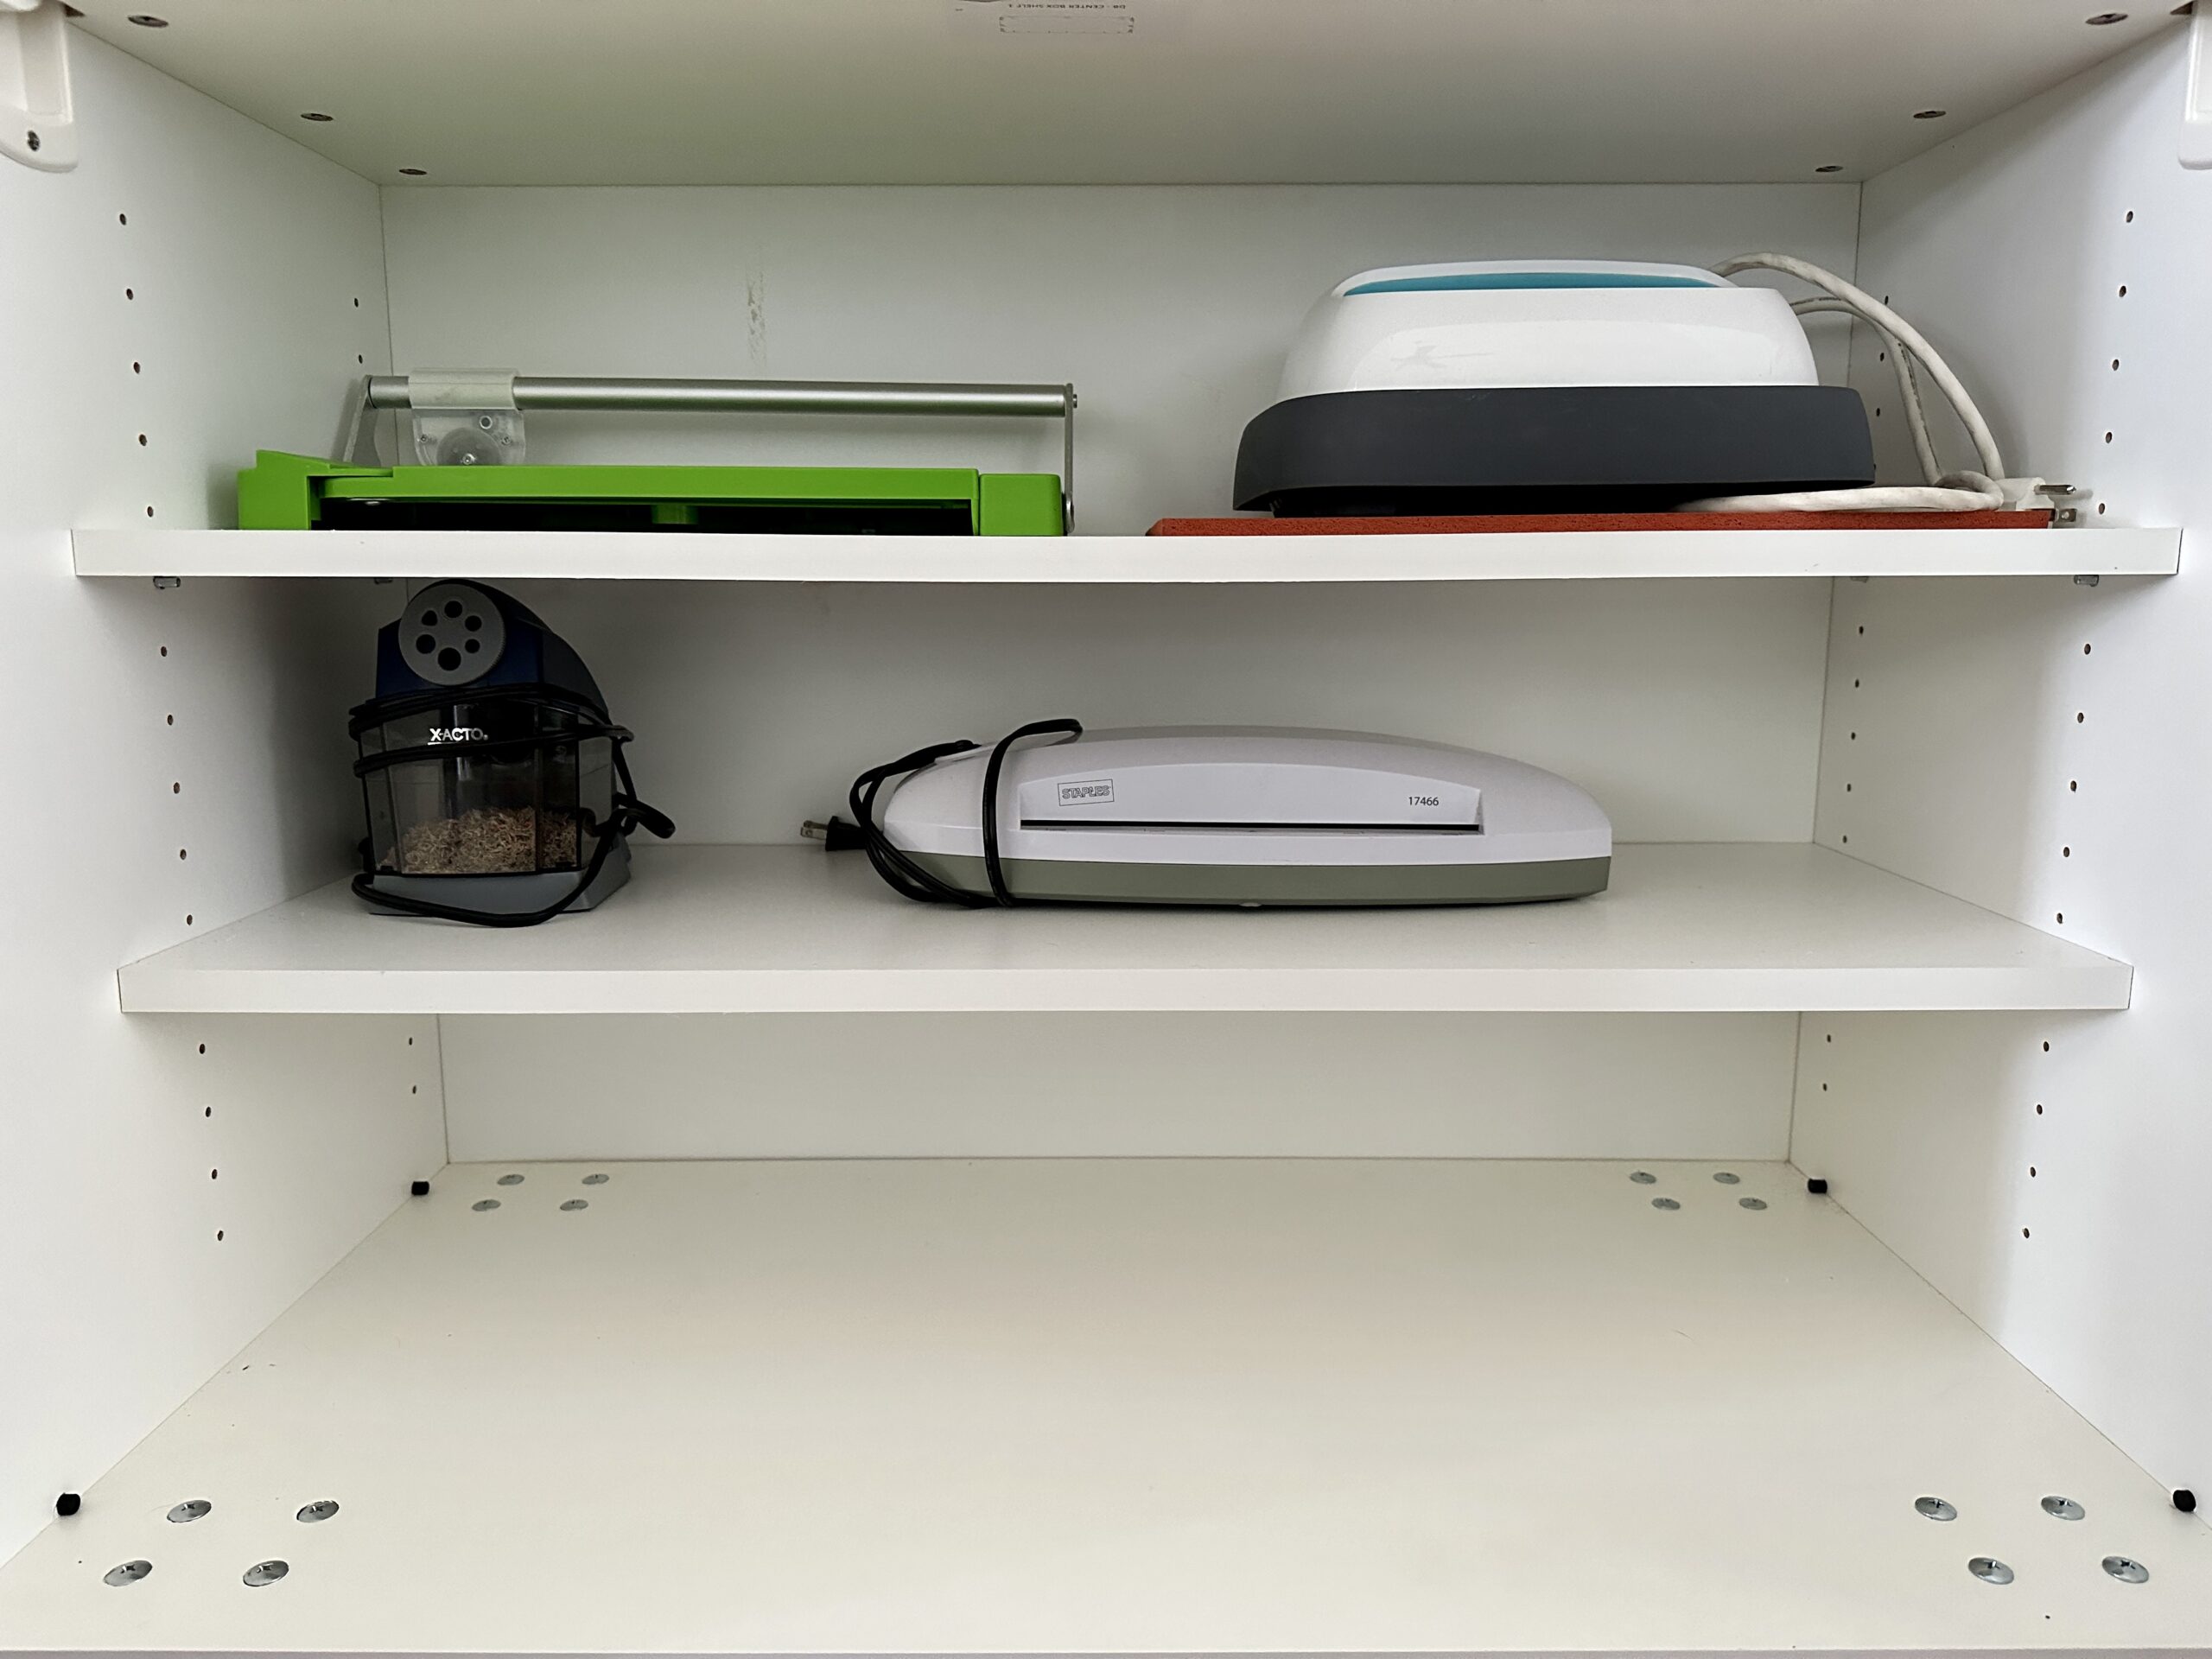
    Create Room DreamBox - under table - cuttingforbusiness.com.
    Create Room DreamBox – Under Table
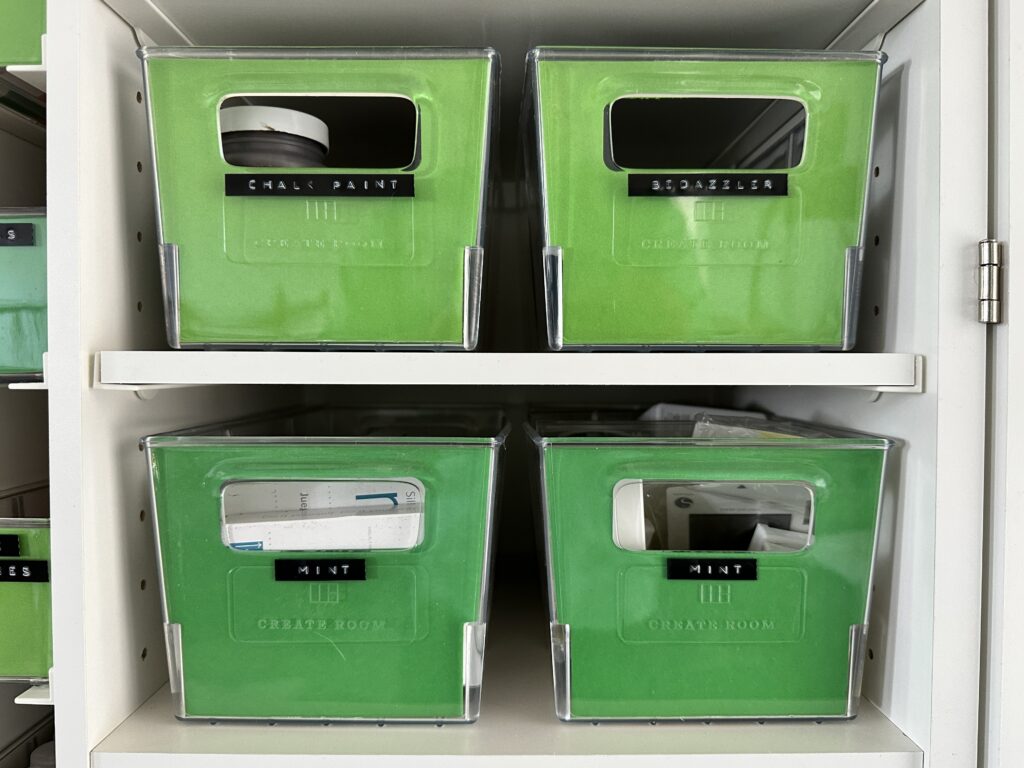
    Create Room DreamBox - close up - cuttingforbusiness.com.
    Create Room DreamBox – Close up of the Inview totes
    Create Room DreamBox - Inview tote - cuttingforbusiness.com.
    Create Room DreamBox – Top view of the Inview Totes

    4 Things I Didn’t Know About Create Room’s DreamBox

    1. The table can be adjusted to standing height, or sitting height. This is perfect for me, since I usually stand when using my heat press.
    2. The clear Inview totes are not rigid. Instead, they are a pliable acrylic blend. This means that they are less likely to crack pulling them in and out of the spaces.
    3. In Inview acrylic totes have removable dividers. In the smallest totes, I found these invaluable for small items that I don’t have a lot of – like scrapbooking brads.
    4. It’s heavier than I expected. Each side of the DreamBox weighs 140 pounds; while the center weighs 250 pounds. That’s a combined 530 pounds – empty!

    DreamBox Styling

    I styled my DreamBox in shades of green to match the colors of my blog – and, of course – money! However, the green you see in the photos is simply colored scrapbook paper that I cut with my Silhouette and slid into the front.

    For me, the colored paper blocks the clutter inside the clear totes. But, you may want to be able to see inside your totes. If so, skip the scrapbook paper.

    Since I can’t see into the totes, I labeled them with my embossing labeler. I love the look.
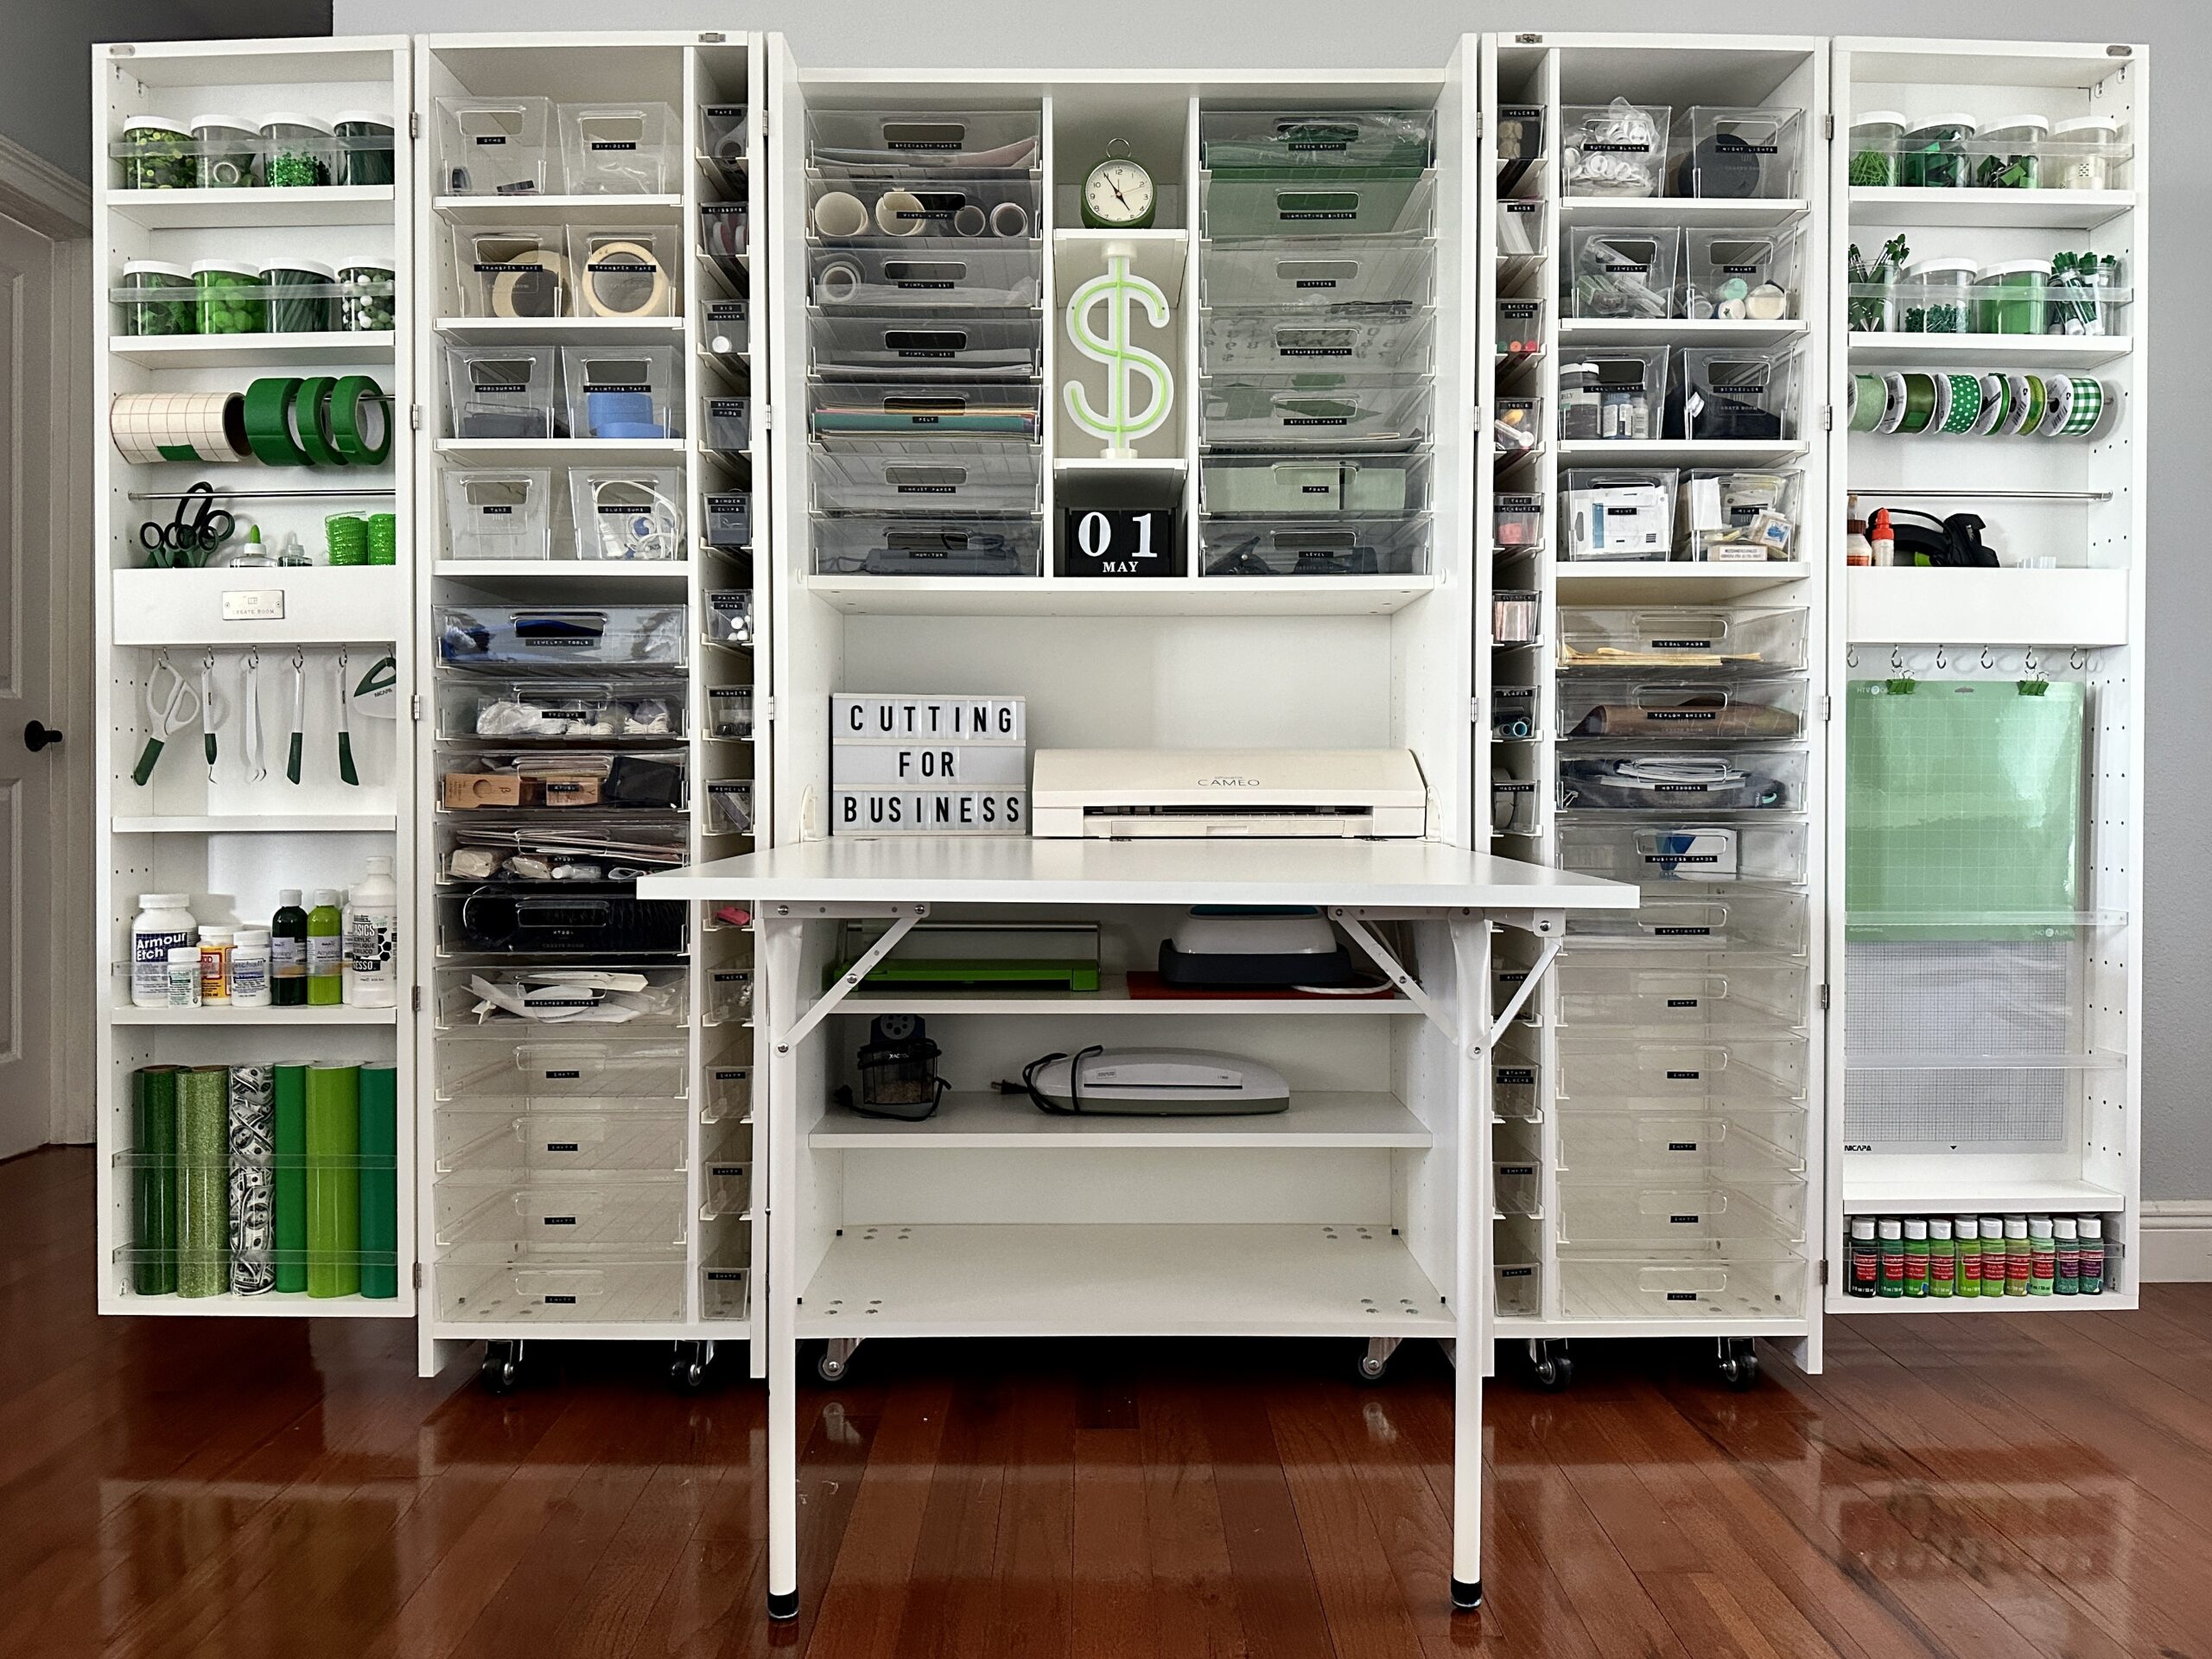
    Create Room DreamBox - without styling - cuttingforbusiness.com.

    Create Room DreamBox – Without the scrapbook paper
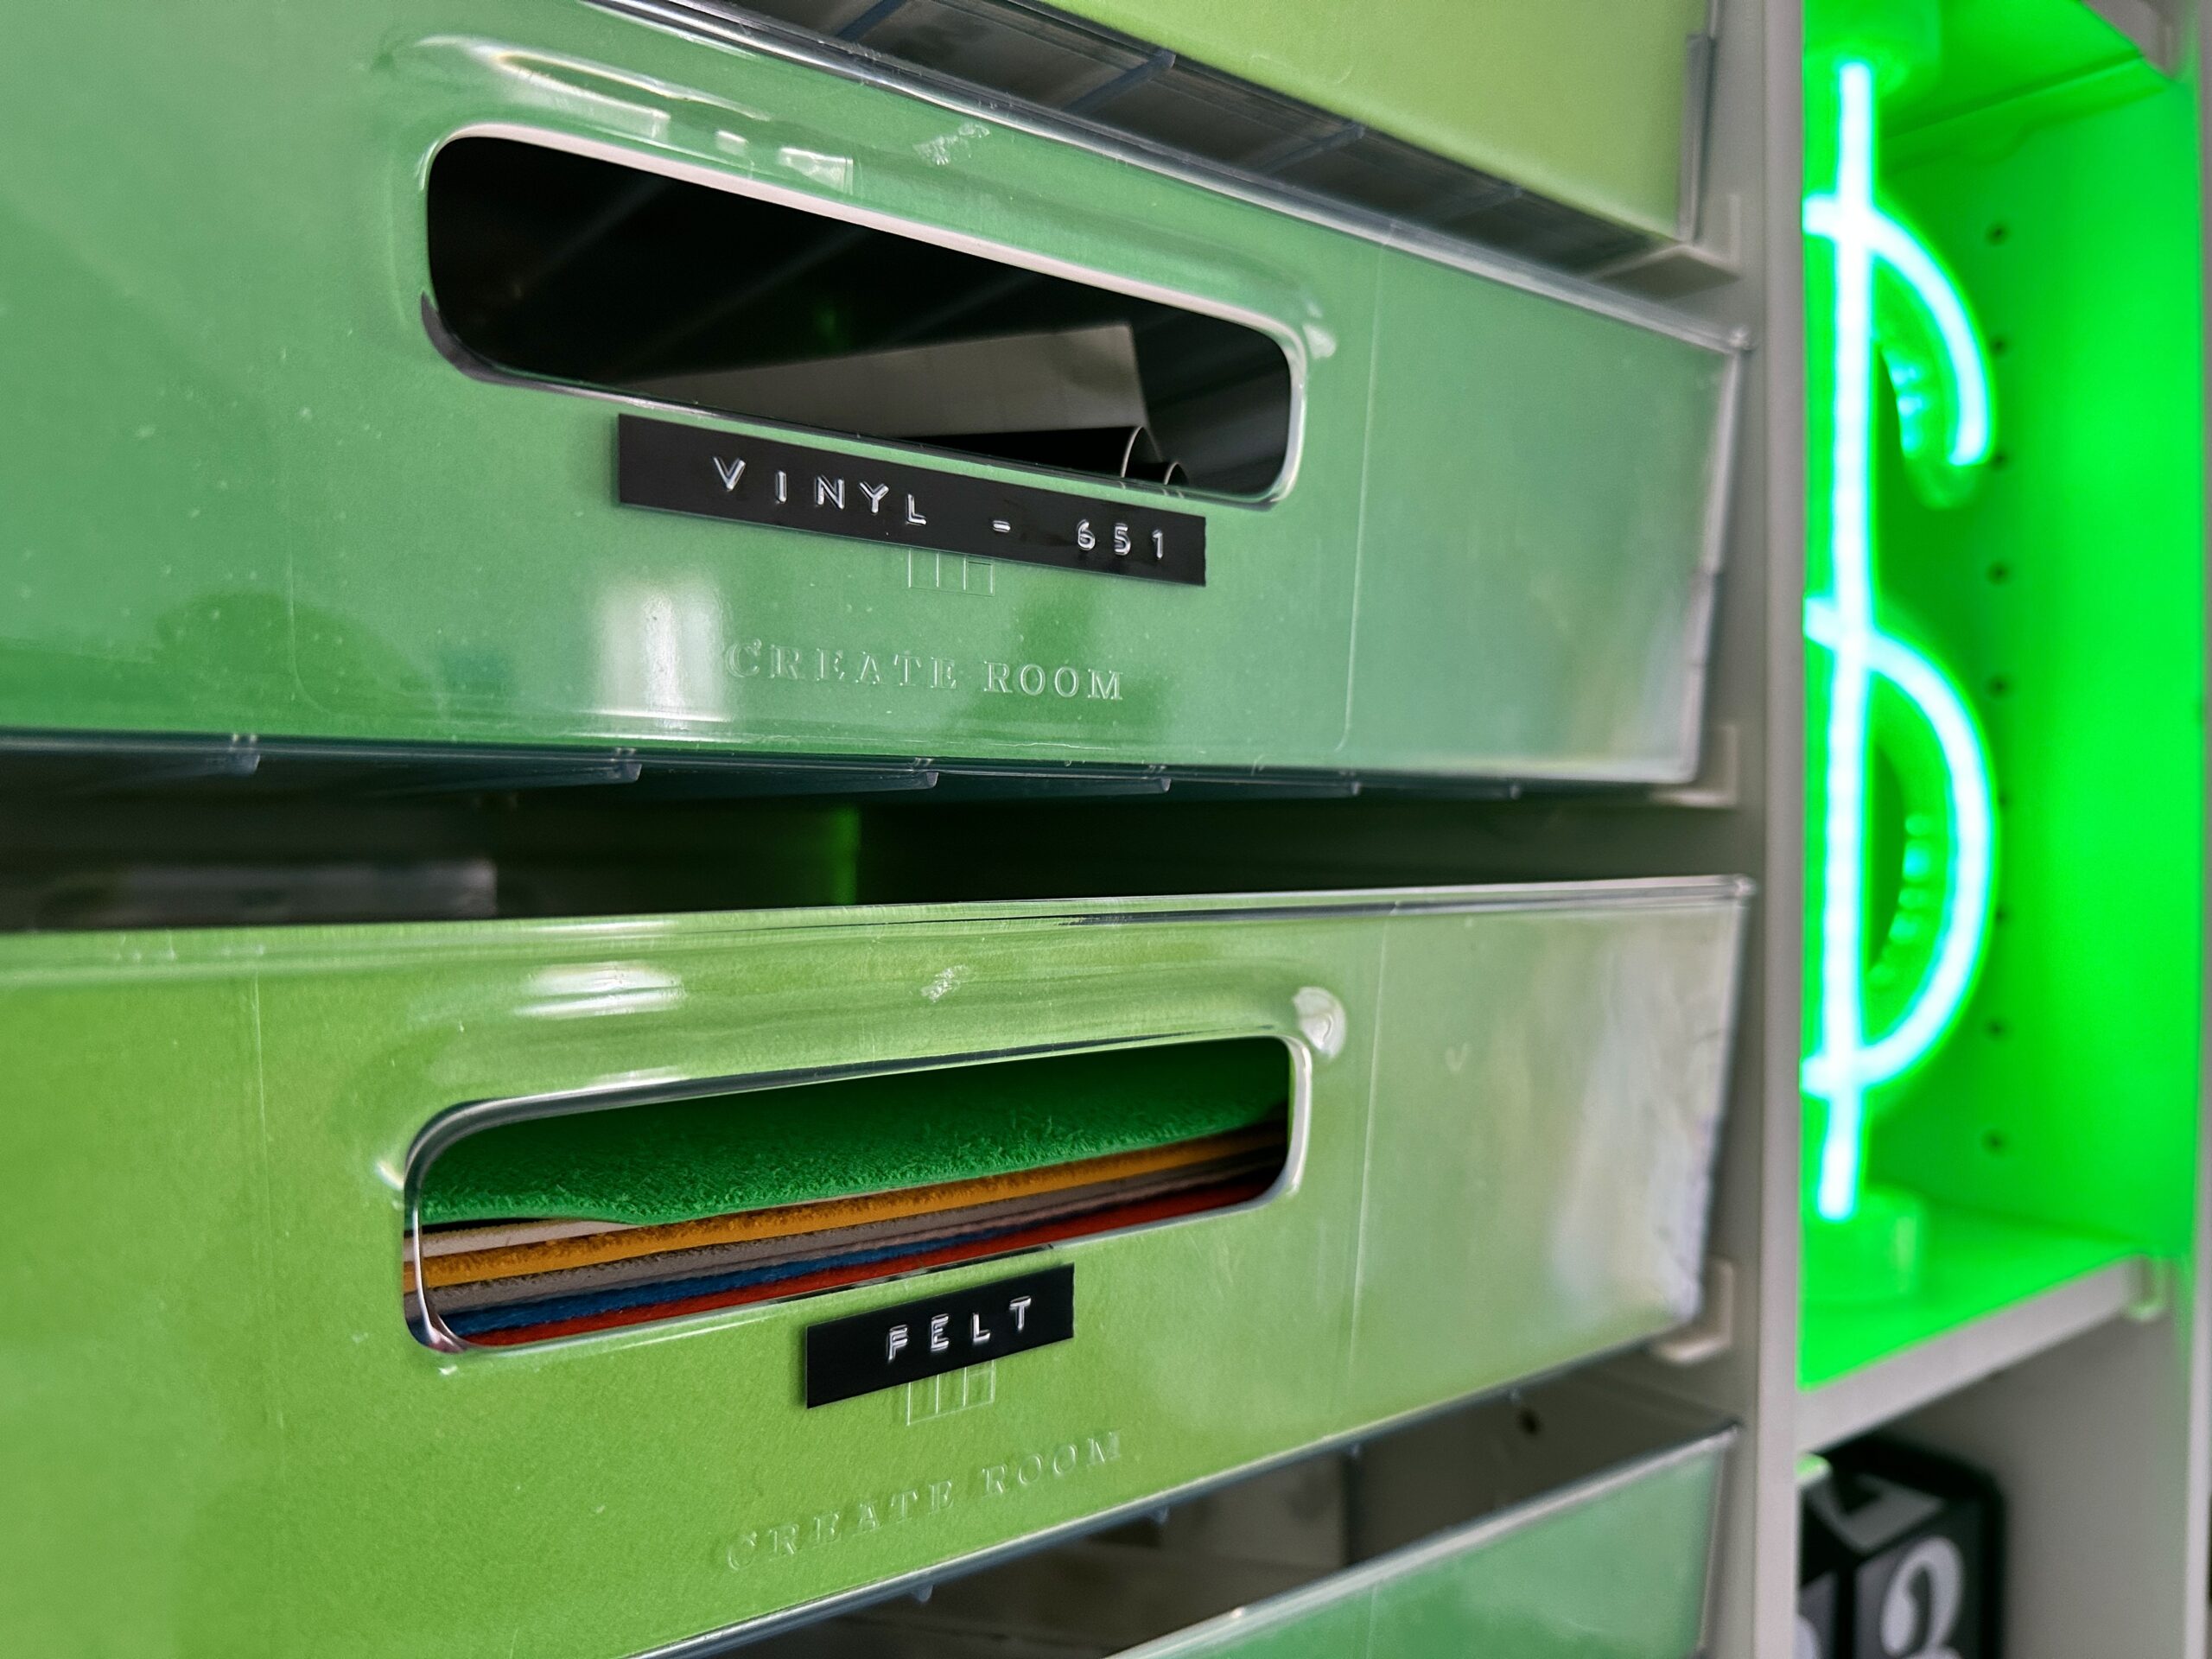
    Create Room DreamBox - Embossed labels - cuttingforbusiness.com.
    Labels on the Create Room DreamBox.

    What I Love About My DreamBox

    1. Tons of storage. It might not look like it, but there is a ton of storage space. With 80 totes, 16 clear lidded jars, 4 metal rods, and shelves – everything has its place. In fact, I’ve even got a few empty totes to store my next craft supply shopping spree!
    2. It is customizable. You can rearrange and reconfigure your DreamBox to fit your specific needs. For example, I’ve always had an issue with properly storing my cutting mats. Despite trying to keep the protective plastic on them, they always wind up with dog hair on them. In my DreamBox, I removed a few shelves so that I can hang my mats in the door. When not in use, they stay covered and protected from hair and dust.
    3. Machines stay plugged in. I love that I don’t have to plug and unplug my Silhouette each time I want to use it. Instead, it tucks away and can stay plugged in and ready to cut whenever I need it. (Note: Either my Silhouette or Cricut machine will fit in the small cubby at the head of the table. But not both of them at the same time. Some sewing machine models should also fit in this space.)
    4. Everything is within reach. There is no more searching for my supplies. They are (literally) at my fingertips – whenever I’m ready to craft.
    5. Everything tucks away. Next time you are a guest at my house, I promise you won’t see my craft supplies. Instead, they will be put away and my DreamBox folded up. I love that I can go from mess to clean in only a few minutes.

    What I Don’t Love About My DreamBox

    Just like everything else, there are a few things I don’t love about my DreamBox.

    1. Chips and dings. Several of the corners have chips in the finish. While I appreciate that touch up paint was sent with my DreamBox, maybe corner protectors would help protect the corners during shipping so they wouldn’t get chipped.
    2. The wheels don’t lock. My DreamBox sits on wood flooring, which isn’t perfectly flat. Sometimes, the sides of my DreamBox want to roll open. Locking wheels or included wheel stops would fix this issue – since most homes do not have perfectly flat floors.
    3. Shipping takes a long time. My DreamBox was ordered 2/22/23 and delivered 4/6/23. Wait times are even longer for prebuilt service DreamBoxes. Be sure to keep this in mind when ordering.
    4. Lots of packaging. There is a lot of packaging material with the DreamBox – including a lot of plastic. It was a hassle to get rid of it all.

    DreamBox Options and Upgrades

    My DreamBox is shown with two upgrades:

    1. Full set of totes. The DreamBox comes with 40 clear Inview totes (a half set). I opted to order the full tote package – which gave me 80.
    2. Dry erase boards. The dry erase boards shown on my DreamBox have already proven to be a great way to compile thoughts – and keep my projects front and center.

    PreBuilt or DIY Assembly

    Create Room sells the DreamBox either assembled or as a DIY assembly. In planning for the arrival of the DreamBox, we faced two hurdles: 1) The DreamBox comes as a freight delivery, which means that the delivery company delivers it to your driveway. Specifically, it is delivered to the spot where the public street meets your private property. In my case, my house is 500 feet uphill from the road, and there is no way a semi truck is getting up our gravel driveway and turning around. 2) Once the DreamBox made it in the house, it needed to go up a flight of stairs – with two sharp turns.

    Ultimately, I decided to order the DIY assembly. I’m glad I did. We were forced to unload the DreamBox on the side of the road and bring it to the house in several trips. If we didn’t have these challenges, I would have ordered it with the prebult service – just to save time.

    Mr. Cutting for Business assembled the DreamBox in about 3 hours over the course of a two different days. Unfortunately, my Dreambox arrived with an incorrectly drilled shelf. After a message to Create Room’s customer service, a replacement shelf was shipped a few days later.

    Create Room Discount Coupon Code

    Create Room’s DreamBox is a big investment. The base price for the DreamBox is $2499. This includes the DreamBox, with a half set of totes (40). If you add in all the upgrades, the total price can easily exceed $4000.

    If you are ready to order your own DreamBox, I can help you save some money with a Create Room promo code. For a limited time, I can offer you $250 off of your DreamBox with coupon code: CFBMOMSDAY, and automatic savings on several other Create Room products. (Code expiration date: 5/18/23.) After that, you can save $100 on your DreamBox with coupon code CUTTINGFORBUSINESS. And the best time to buy? Create Room seems to offer the best deals around Mother’s Day and Black Friday.

    If you are interested, Create Room offers financing through Bread Pay. This would allow you to make monthly payments on your Create Room order.

    Tell me in the comments: Where will you put your new DreamBox? Will it replace your current table in your crafting space? Will it go into your dining room and be folded neatly when you aren’t using it? Or, maybe it’ll go into a combination play room and craft room and the whole family will use it?

    One more thing before you go: Every once in a while, I see social media posts for deeply discounted DreamBox units, usually for a few hundred dollars. These are scams. Please be sure you are shopping at the official Create Room website.
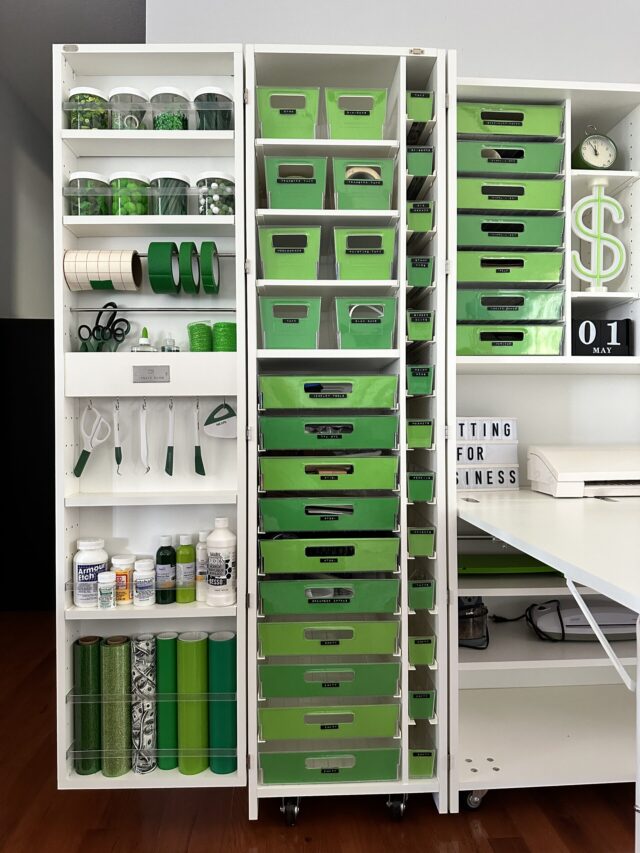
    4 Things I Love About My Create Room DreamBox

  • Glowforge vs xTool: Which One to Buy

    As an owner of both a Glowforge and an xTool, I’m in a great position to be able to share the pros and cons of both machines, along with a comparison of the machines. This article highlights my experience and technical specs of the Glowforge Plus and the xTool M1.

    Before we get started, know that there is no ‘one size fits all’ solution to which machine you should buy. Which machine works better for you will greatly depend on your needs.

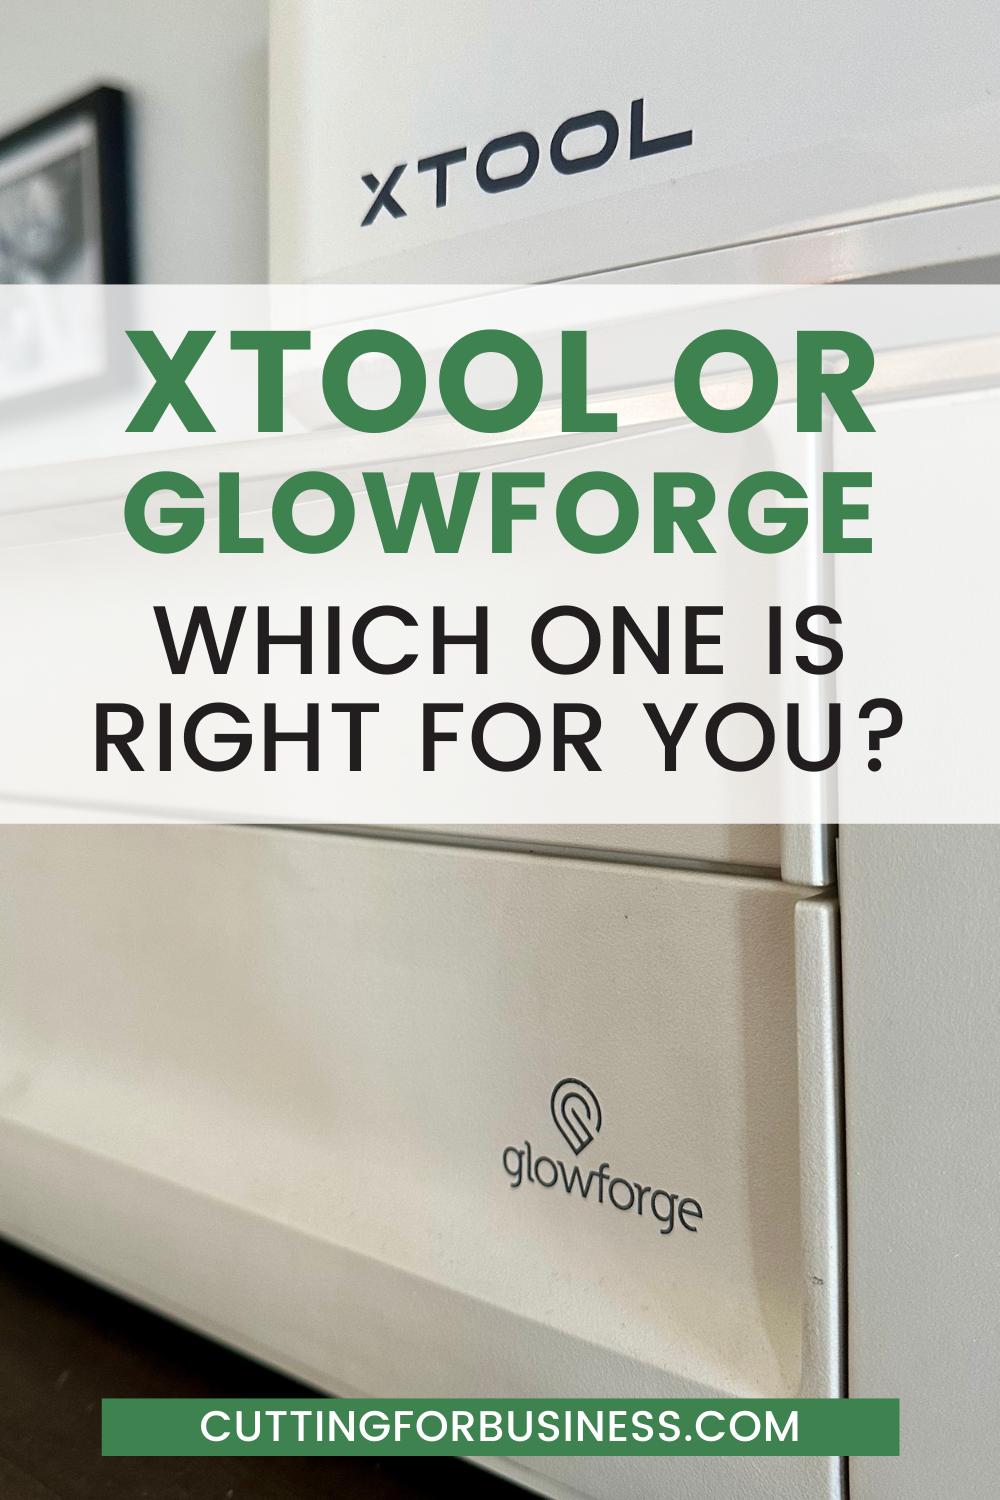
    Glowforge versus xTool - cuttingforbusiness.com.

    Glowforge vs xTool: Size and Weight

    Glowforge: The Glowforge measures 38 inches by 20.75 inches by 8.25 inches. It weighs 55 pounds.
    xTool: The xTool M1 measures 22 inches by 18 inches by 9 inches. It weighs 21.6 pounds.

    If you have a small workspace or need to be able to move around the machine by yourself, the xTool M1 is a better choice.

    Glowforge vs xTool: Laser

    Glowforge: Contains a CO2 laser. It’s a 40W in the Basic and Plus models, and 45W in the Glowforge Pro. Glowforge’s laser engraves at 1000 dpi.
    xTool: Contains a diode laser. Available in a 5W or a 10W version. xTool’s laser engraves at 500 dpi.

    There is no better choice between the lasers, because they are different types of lasers. CO2 lasers are more powerful and are faster, but diode lasers have a longer lifespan.

    As an aside, xTool also makes a CO2 laser – but I don’t have any experience with it.

    Glowforge vs xTool: Bed Size

    Glowforge: The bed measures 20 inches by 12 inches, and the usable size is about 11 inches by 19.5 inches. For Glowforge’s Pro version, the passthrough slot allows you to cut infinitely long materials.
    xTool: The bed measures 15 inches by 12 inches with the usable area slightly smaller. However, you are not limited to using only the bed. The xTool’s bottom plate is removable which allows you to engrave on items that don’t fit in the machine.

    It’s a tie between the Glowforge and the xTool for bed size. While the Glowforge is larger, the xTool’s ability to (easily!) remove the bottom for larger engraving should be recognized.

    xTool versus Glowforge - Which one is right for you - cuttingforbusiness.com.

    Glowforge vs xTool: Materials to Cut and/or Engrave

    The Glowforge and the xTool can handle many, many of the same materials.

    Both: Leather, paper, wood, fabric, cardstock, cardboard, MDF, stone, rubber stamp material, cork, metal, leatherette, and so on.

    Now, let’s take a look at the differences:

    Material Thickness: The Glowforge can cut through materials up to 6mm in one pass. Thicker materials can be cut using multiple passes, or by flipping the material over. The xTool M1 can cut through materials up to 8mm in one pass. Again, thicker materials can be cut using multiple passes and flipping the material over.

    Acrylic: The Glowforge can cut and engrave acrylics. However, the xTool cannot. This isn’t a fault of the machine, rather a circumstance of the diode laser (blue light). Unfortunately, the diode laser passes through the material. I was able to get red acrylic to cut – but if you want to cut all colors of acrylic you’ll want to stick with a CO2 laser like a Glowforge.

    Vinyl: Vinyl should not be cut in CO2 lasers. However, xTool’s M1 also has a blade that can be used for vinyl cutting.

    Curved Surfaces: The Glowforge can engrave on curved surfaces provided they are less than 2 inches in height – like a pen, flask, or shotglass. Using the rotary attachment, the xTool M1 can engrave on larger products like tumblers, baseball bats, and rolling pins.

    Both Glowforge and xTool have a materials store where you can purchase their private label materials.

    Glowforge vs xTool: Noise Level

    While noise levels aren’t a huge factor for me (I mean, I can barely hear the machines over all these kids screaming! ), I was shocked at how quiet the xTool was when running. I’d compare the noise of the Glowforge to a vacuum cleaner and the noise of the xTool to a hair dryer on low or medium.

    If you live in an apartment setting, you may need to opt for the quiet machine – the xTool M1.

    Glowforge vs xTool: Software

    I’ll be honest, designing complex designs in either the Glowforge App or the xTool Creative Space isn’t ideal. I’ll assume you be designing elsewhere and importing into the software. Both software programs accept a variety of file formats.

    Additionally, both companies offer a project catalog. Glowforge’s project catalog is larger than xTool’s. I assume you’ll see the catalog grow over time.

    Glowforge vs xTool: Online Resources

    Glowforge: The Glowforge has a robust community full of helpful answers, plenty of YouTube tutorials by both Glowforge and their users, and lots of free help through creators that own and use the Glowforge.
    xTool: xTool has a small community that doesn’t seem very active. Not as many creators are currently using xTool’s machines. However, I see such a large push from xTool to get their machines out there – I expect you’ll see more resources available in the coming months.

    If community resources are important to you, Glowforge has the edge.

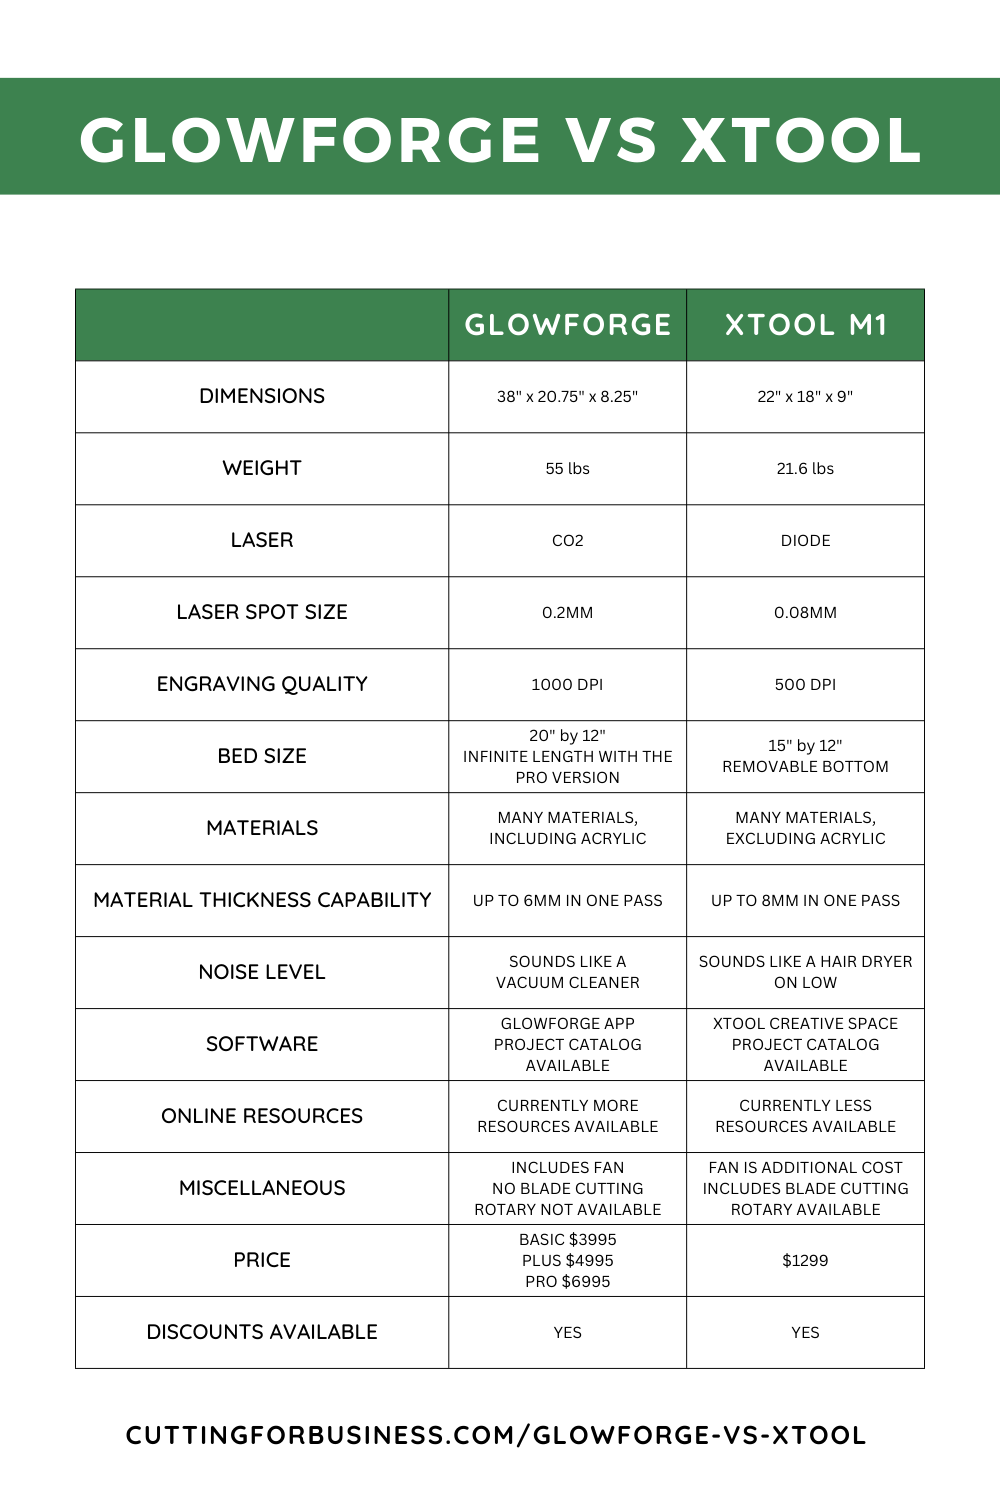
    Glowforge versus xTool - Comparison chart - cuttingforbusiness.com.

    Glowforge vs xTool: Price

    Glowforge: Three models – Basic, Plus, and Pro which cost $3995, $4995, and $6995.
    xTool: The M1 costs $1299. However, the base model is currently on sale for $899.

    Additionally, both companies offer third party installment plans. Or, buy on Amazon and take advantage of 0% interest using your Amazon Prime card: Glowforge on Amazon and xTool M1 on Amazon.

    Glowforge vs xTool: Discounts

    Glowforge: I can give you a coupon for up to $500 off. Click here to use it.
    xTool: Has been regularly running sales. Click here to check the current promotions.

    Glowforge vs xTool: Which One to Buy

    I mentioned at the very beginning of this article that whether you choose Glowforge, xTool, or another brand altogether – it would be based on your needs. Here are a few of my opinions.

    • On a budget? Choose the xTool M1.
    • Want to work with acrylic? Choose a Glowforge.
    • Want to engrave tumblers? Choose the xTool M1.
    • Running a business where you need to replicate products quickly? Choose Glowforge, however, I’ve seen many creatives grow past Glowforge quickly as their business scales.
    • First laser? Choose xTool M1.
    • Want to be able to choose premade designs from a large catalog? Choose Glowforge.
    • Fellow content creator looking for a machine? Choose xTool M1. Since there is not a lot of content published about xTool, you’ll be able to quickly jump in the conversation.
    • Easier to hide from spouse? Choose xTool M1. You should be able to stash it in a closet on short notice.

    No matter what machine you ultimately choose, I think we can all agree: Competition is good for consumers. As more lasers come onto the market, the existing companies are forced to innovate. And for consumers, that’s great!

    More Glowforge & xTool Content

  • Walkthrough: xTool M1 Set Up

    In the last year or so, my Facebook feed has had so many ads for xTool laser products. In fact, xTool has reached out to me multiple times to review their products and I have declined. In December, curiosity got the best of me and I agreed to review their latest laser machine, the xTool M1.

    This article provides a step-by-step picture tutorial of the xTool M1 set up.

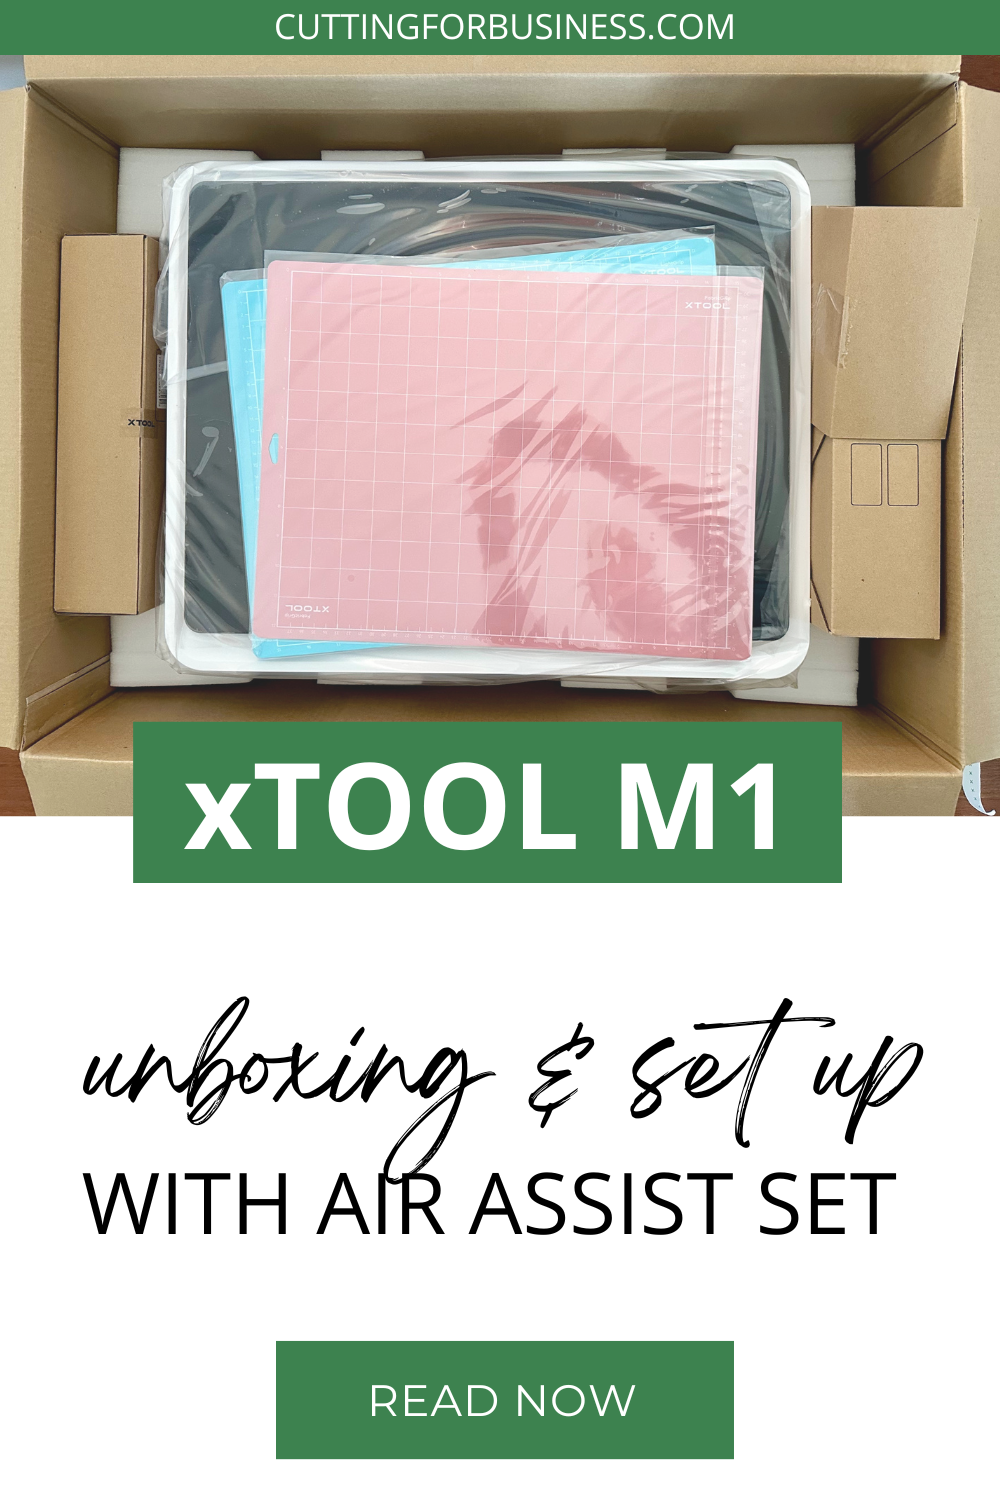
    xTool M1 Set Up - Includes set up of the Air Assist Set - cuttingforbusiness.com.

    What is the xTool M1?

    The xTool M1 advertises as an integrated laser processing and blade cutting system, produced in China. This means that the xTool M1 contains a laser (like a Glowforge) and a blade (like a Silhouette or a Cricut).

    The laser inside the xTool M1 is a diode laser, which differs from the Glowforge’s CO2 laser. There are a number of comparison’s of diode lasers to CO2 lasers all over the internet – including this one written by xTool.

    What Did I Receive from xTool to Review?

    I received the xTool M1 10W Deluxe Package which included the machine, a large package of sample materials, the rotary unit, and the air assist set. In exchange for receiving these materials, I agreed to complete six blog posts for xTool – an unboxing with general information and five projects. While the materials and tools were provided free of charge, the experience and opinions are my own.

    xTool M1 Set Up

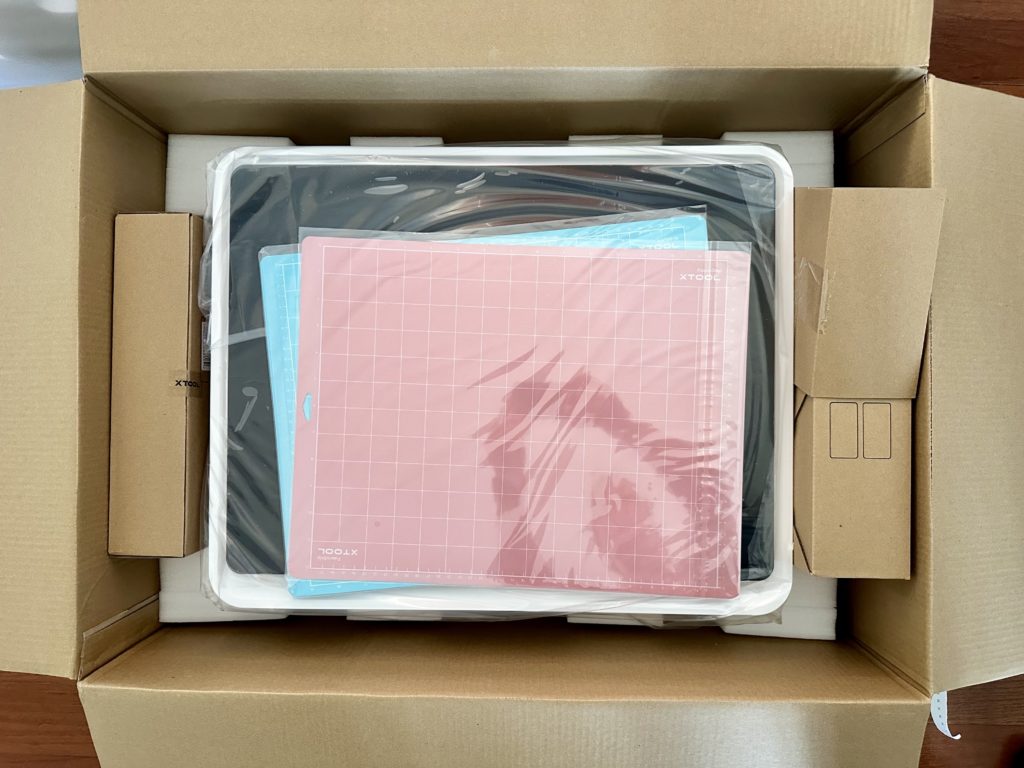
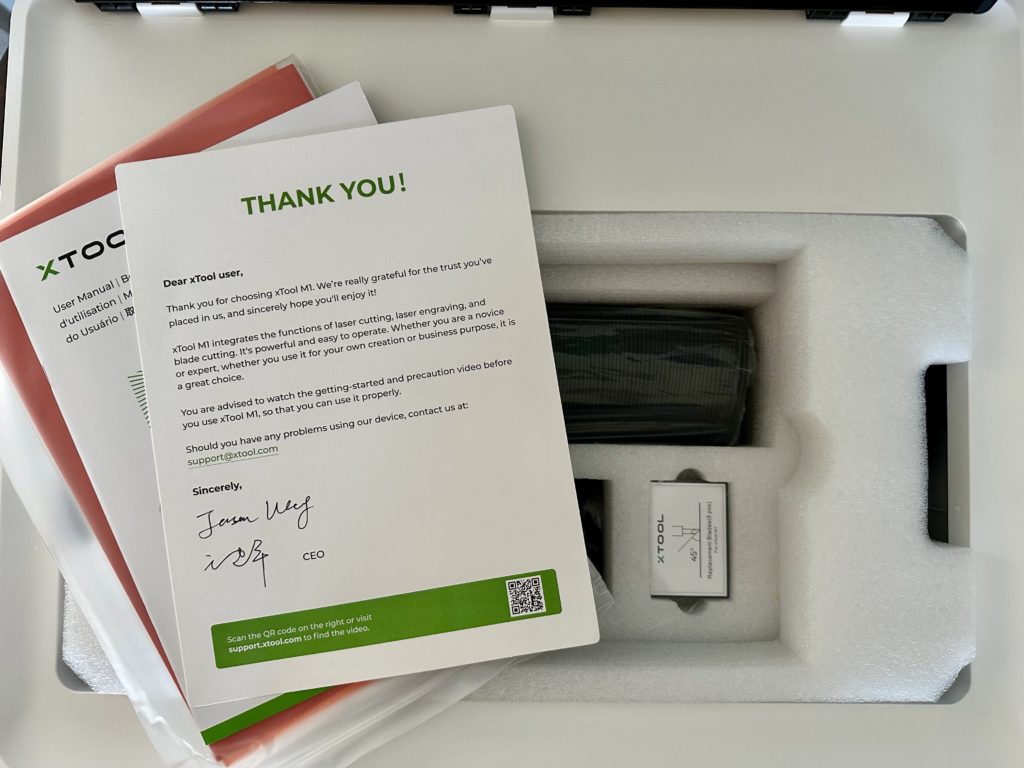
    1. The xTool M1 was packaged well and arrived undamaged. My first thoughts about the unit are that it is smaller than I expected (22″ x 18″ x 8.5″).
    xTool M1 Unboxing & Set Up - Opening the box - cuttingforbusiness.com.
    xTool M1 Unboxing & Set Up - Inside the box - cuttingforbusiness.com.

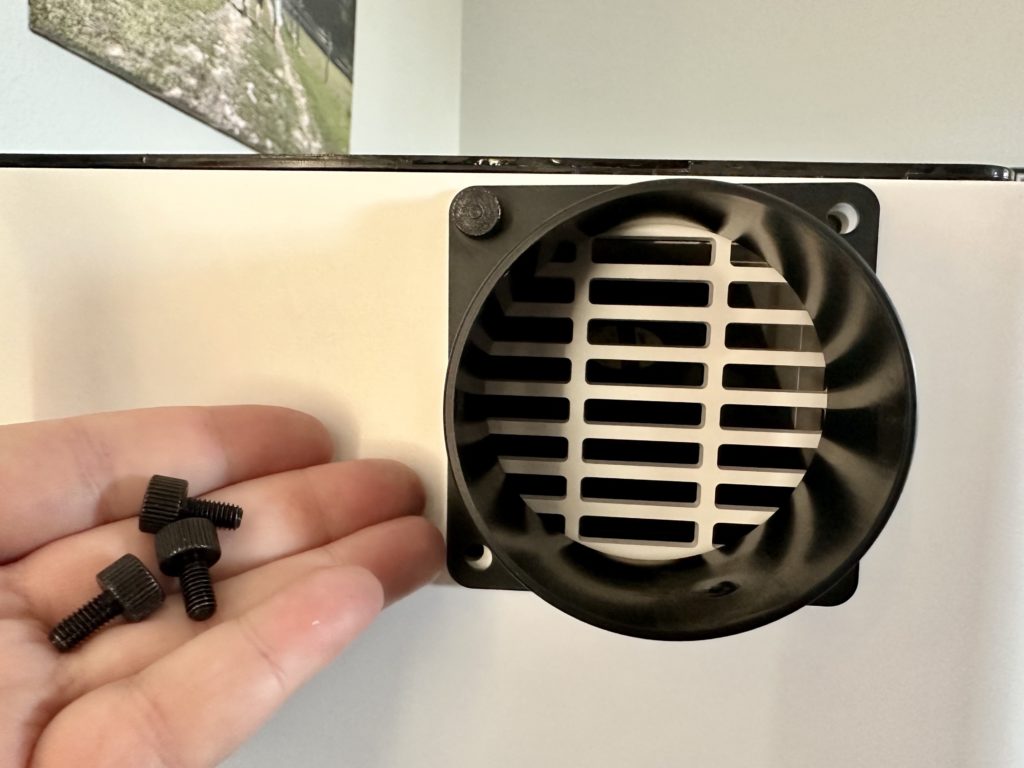
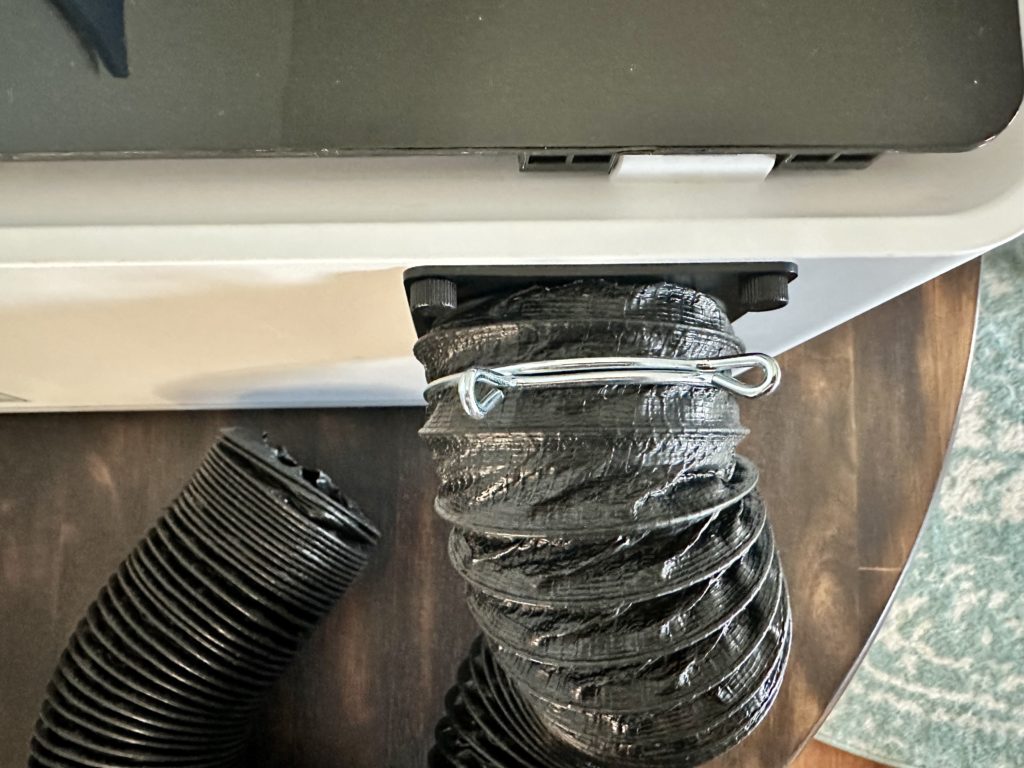
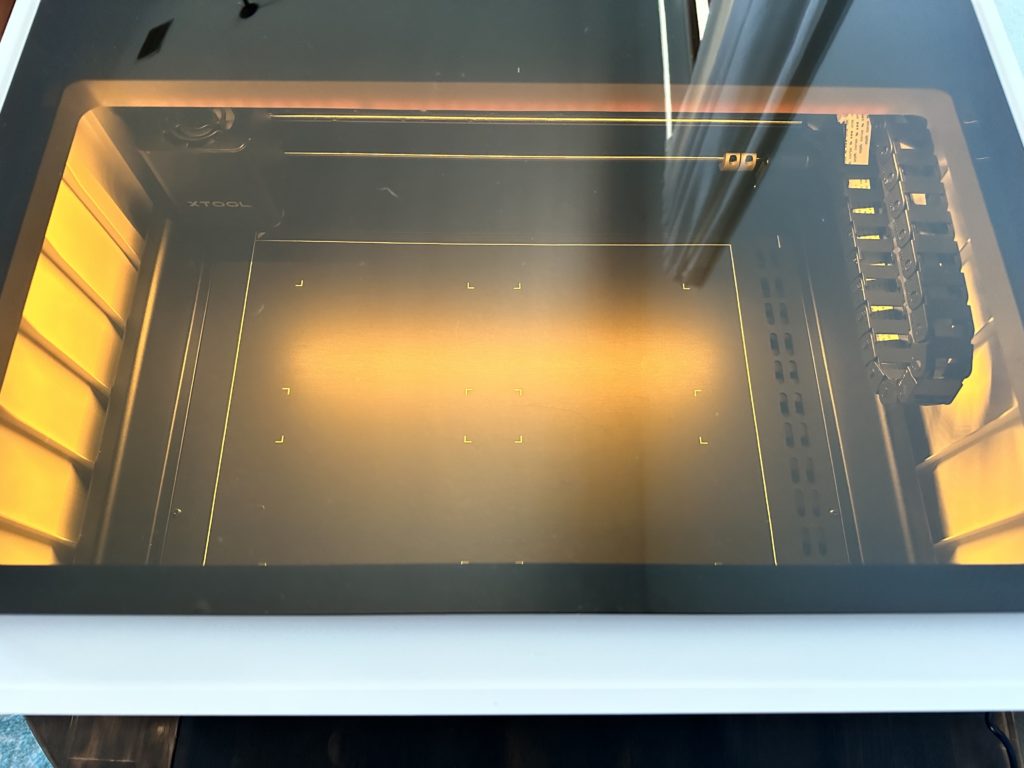
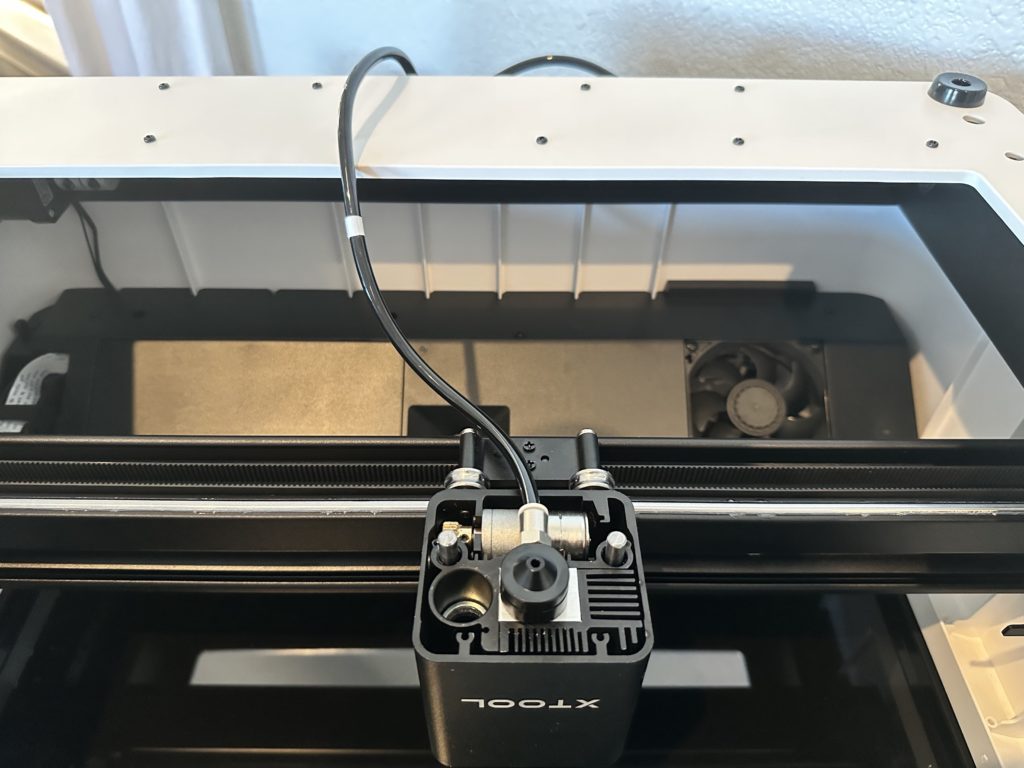
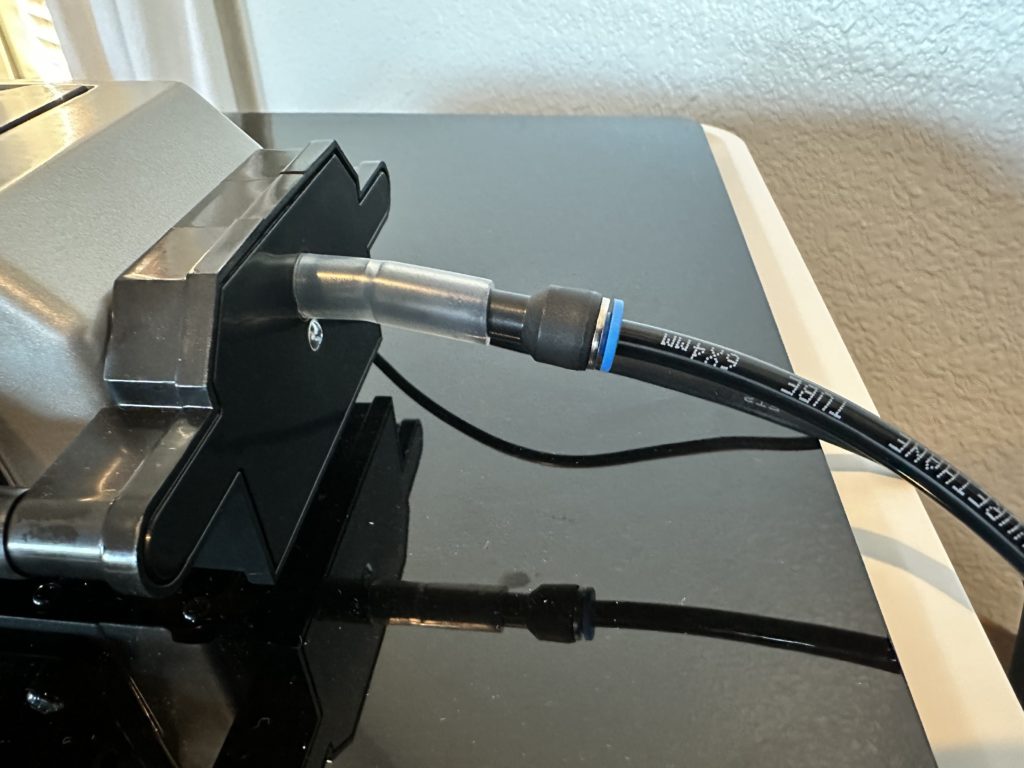
    2. The first step after removing the xTool from the packaging is to attach the hose. Use the four hand screws to place the bracket, then fit the hose over the bracket. The xTool will need to be vented out a window or into a filter.

    xTool M1 Unboxing & Set Up - Hose attached - cuttingforbusiness.com.

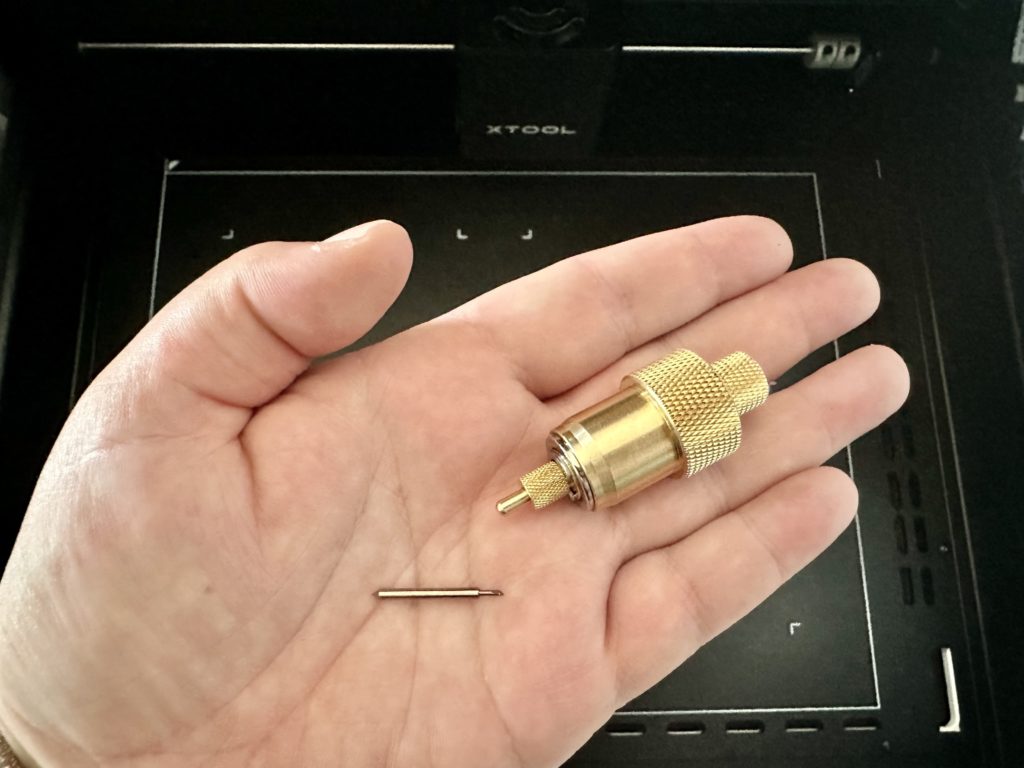
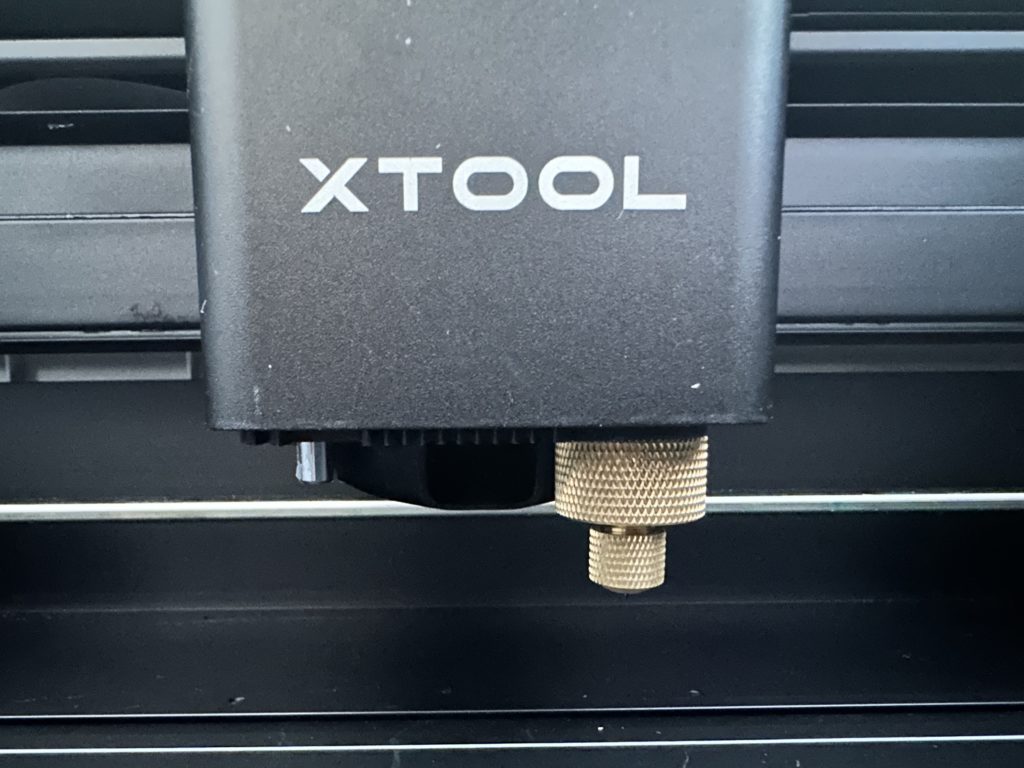
    3. Next, place the blade into the blade housing, then insert the blade housing into the machine. You’ll just have to feel around, but it will snap in using magnets.

    xTool M1 Unboxing & Set Up - Blade and blade housing - cuttingforbusiness.com.
    xTool M1 Unboxing & Set Up - Installing blade housing - cuttingforbusiness.com.

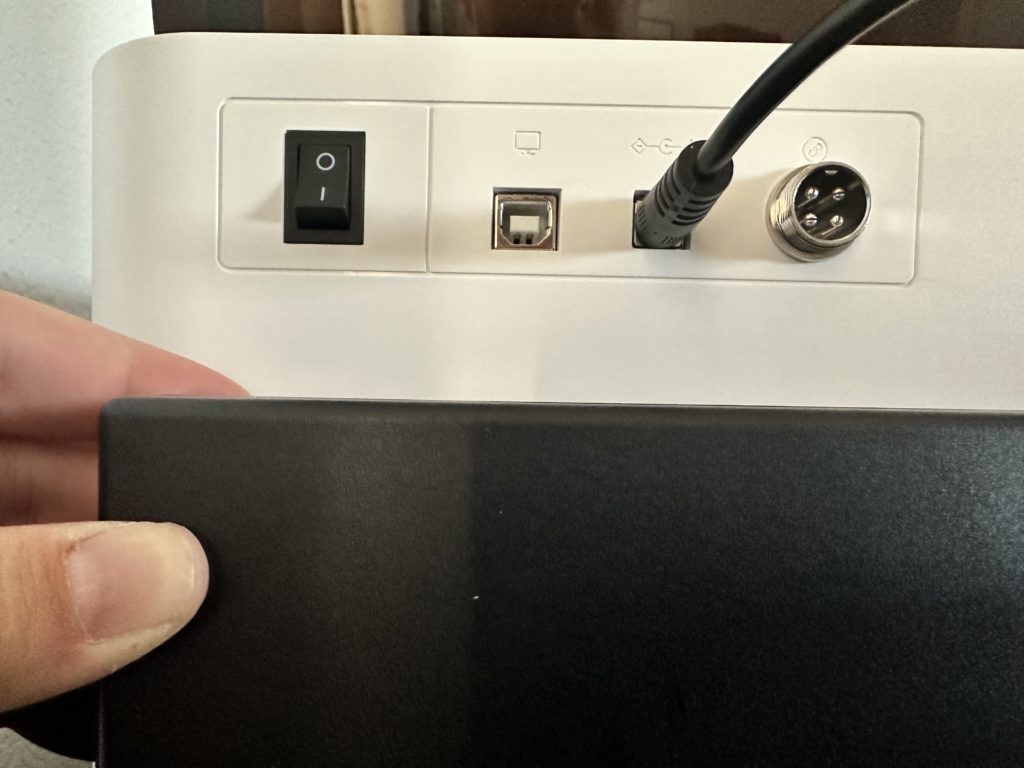
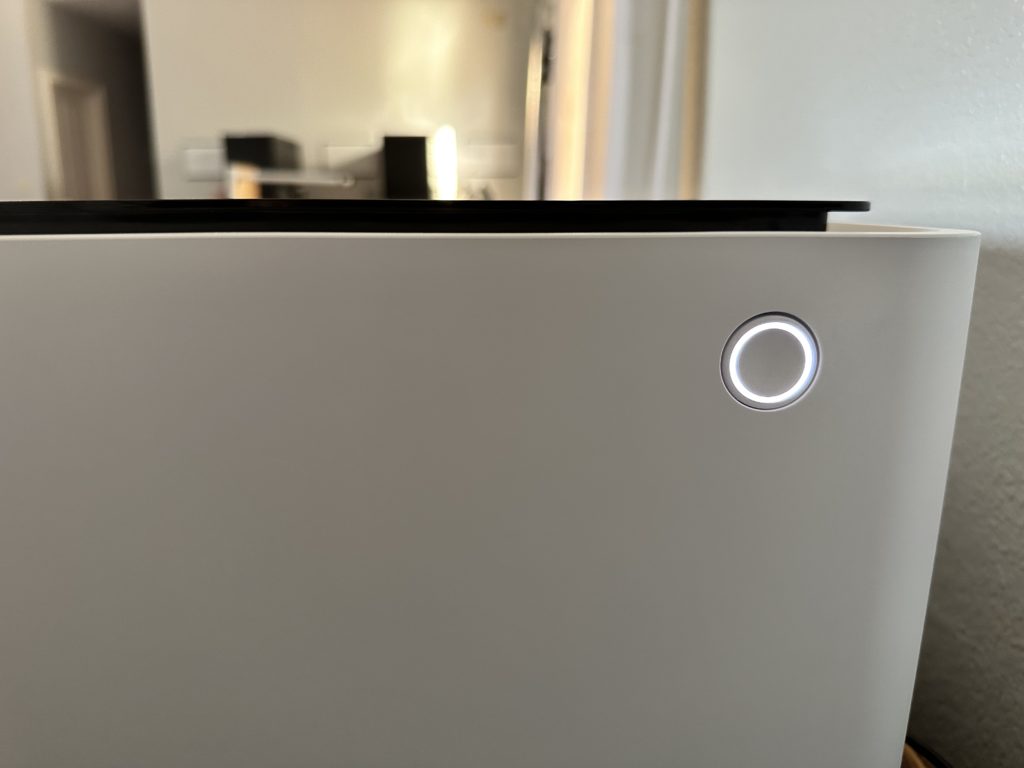
    4. Now, plug in the xTool and turn it on.

    xTool M1 Unboxing & Set Up - Plugging in the machine - cuttingforbusiness.com.
    xTool M1 Unboxing & Set Up - Turning the machine on - cuttingforbusiness.com.
    xTool M1 Unboxing & Set Up - Machine on - cuttingforbusiness.com.

    That’s it. Installing the xTool software on your computer and connecting the machine to your computer is the only thing left to do.

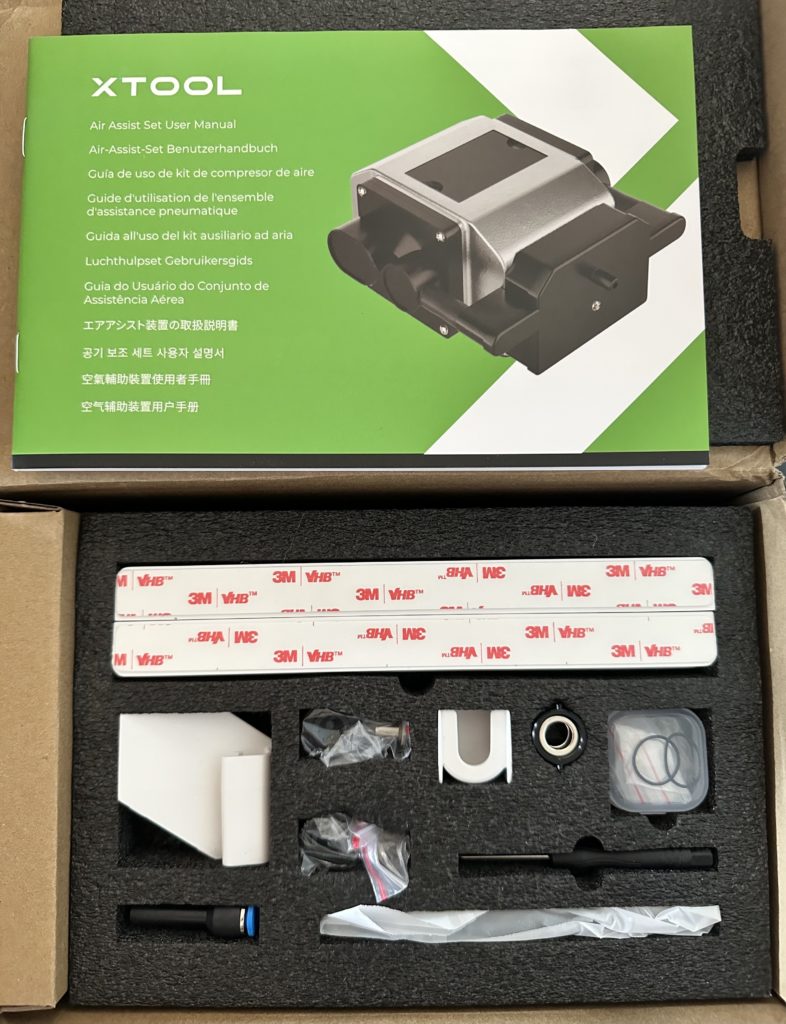
    However, as part of the review materials, I was given the air assist set. Let’s take a look at attaching it.

    xTool M1 Unboxing & Set Up - Air assist set - cuttingforbusiness.com.

    xTool Air Assist Set Installation in the M1

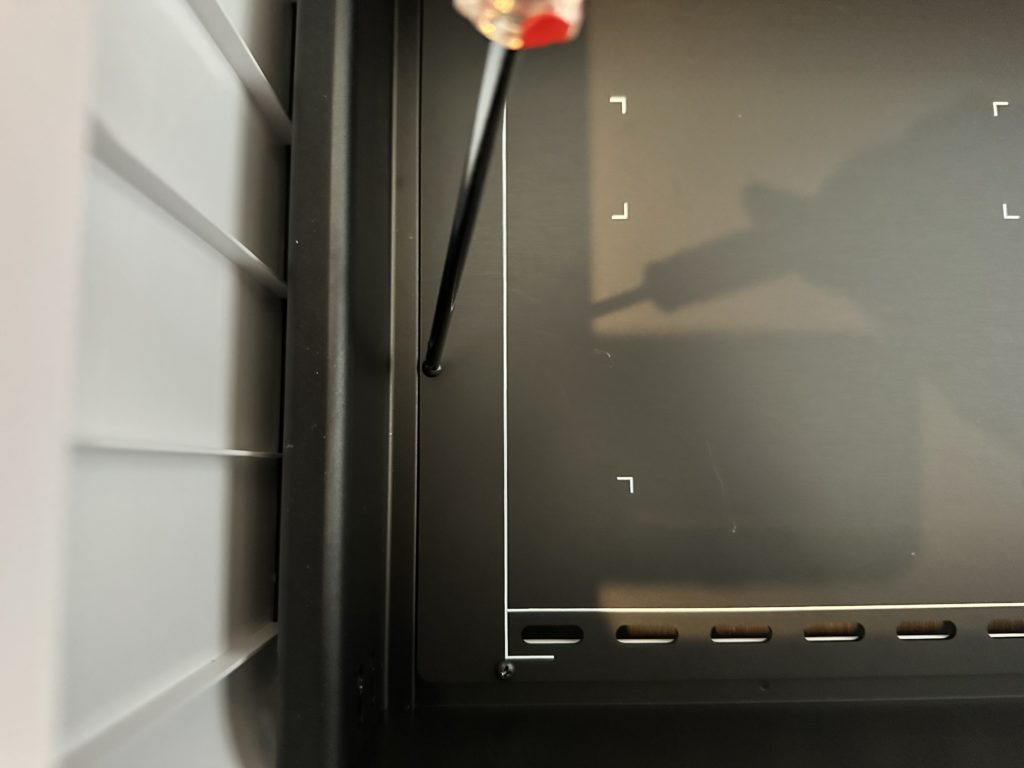
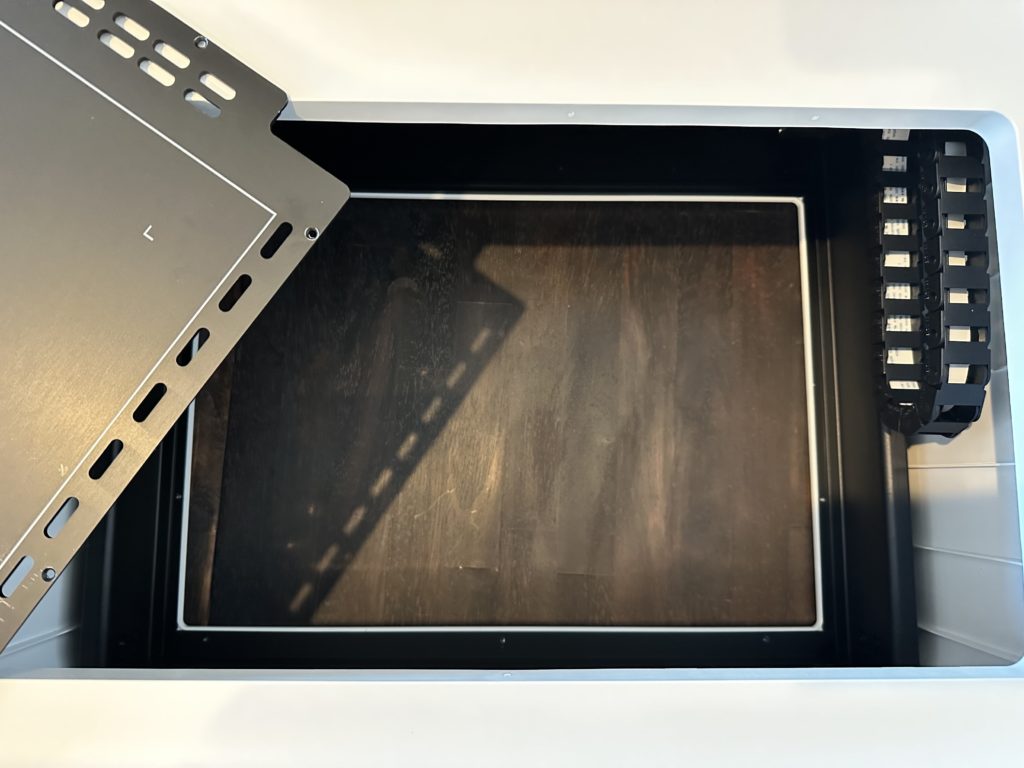
    1. Remove the base by removing 5 screws that hold the base in place. Then, lift the base out.
    xTool M1 Unboxing & Set Up - Removing the bottom of the machine - cuttingforbusiness.com.
    xTool M1 Unboxing & Set Up - Removing the base plate - cuttingforbusiness.com.

    2. Flip the xTool machine upside down.

    xTool M1 Unboxing & Set Up - Air assist set - Flip the machine over - cuttingforbusiness.com.

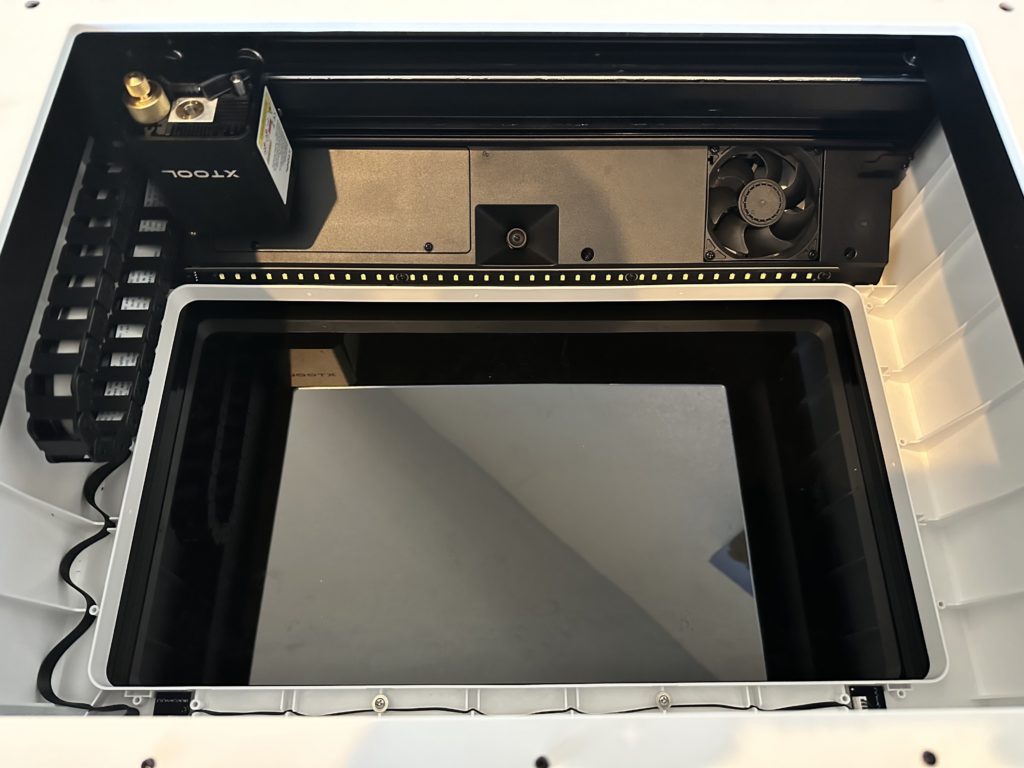
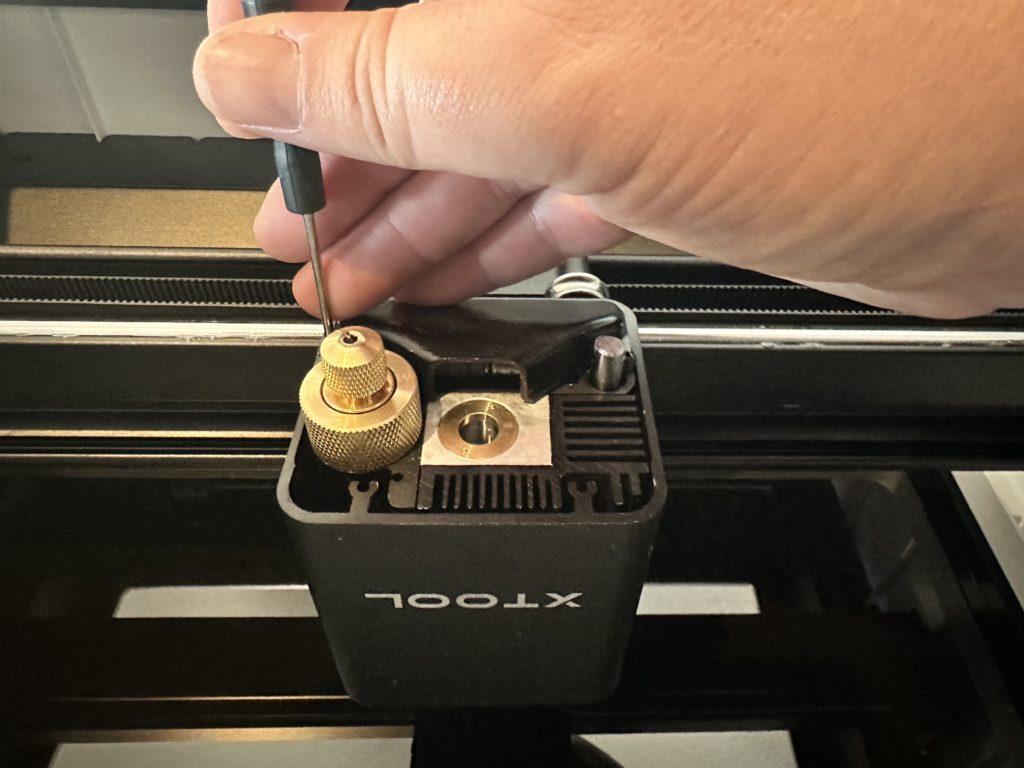
    3. Unscrew the two screws holding the triangular piece in, then remove it and the blade.

    xTool M1 Unboxing & Set Up - Air assist set - Remove guard - cuttingforbusiness.com.
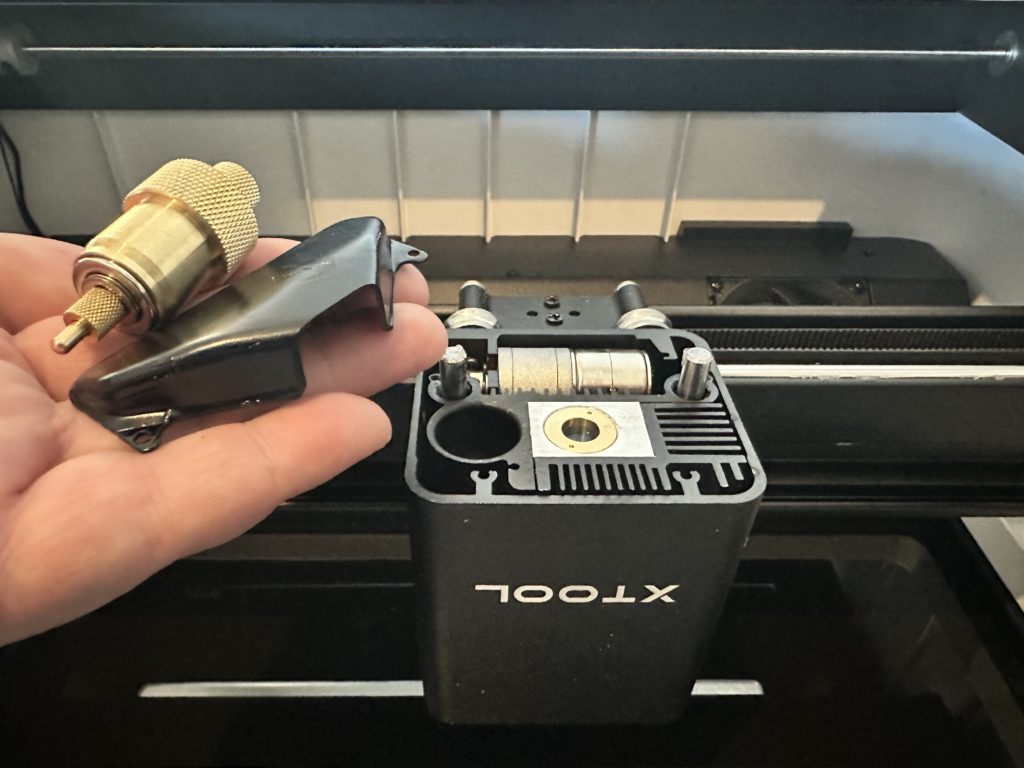
    xTool M1 Unboxing & Set Up - Air assist set - Remove guard and blade - cuttingforbusiness.com.

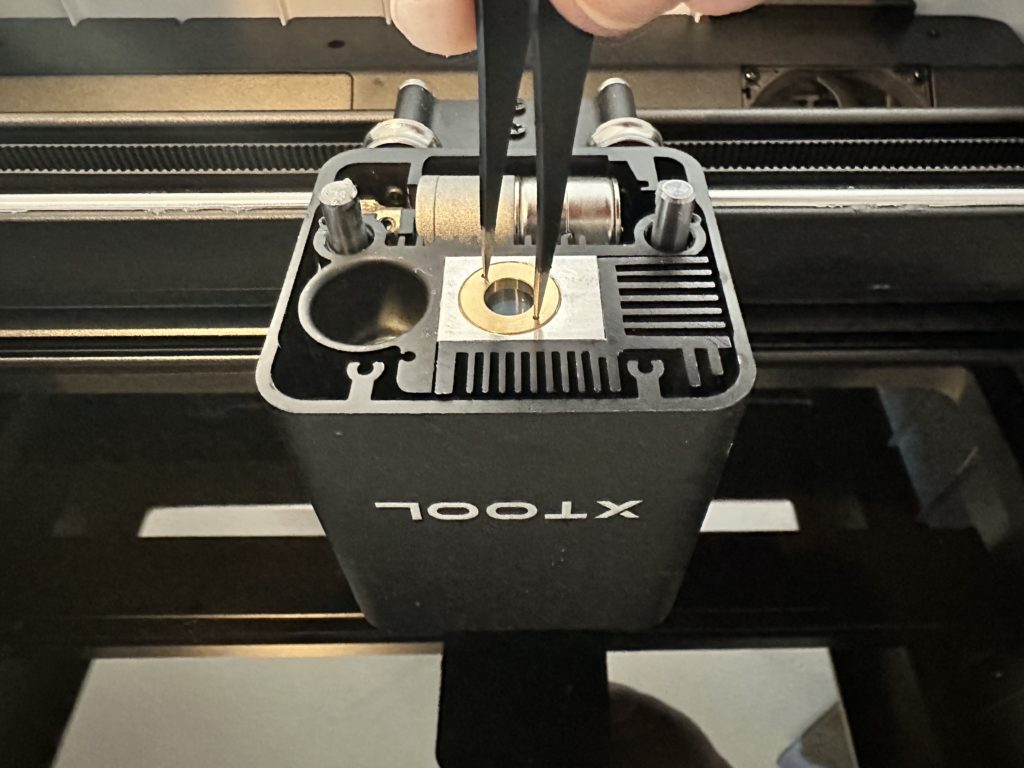
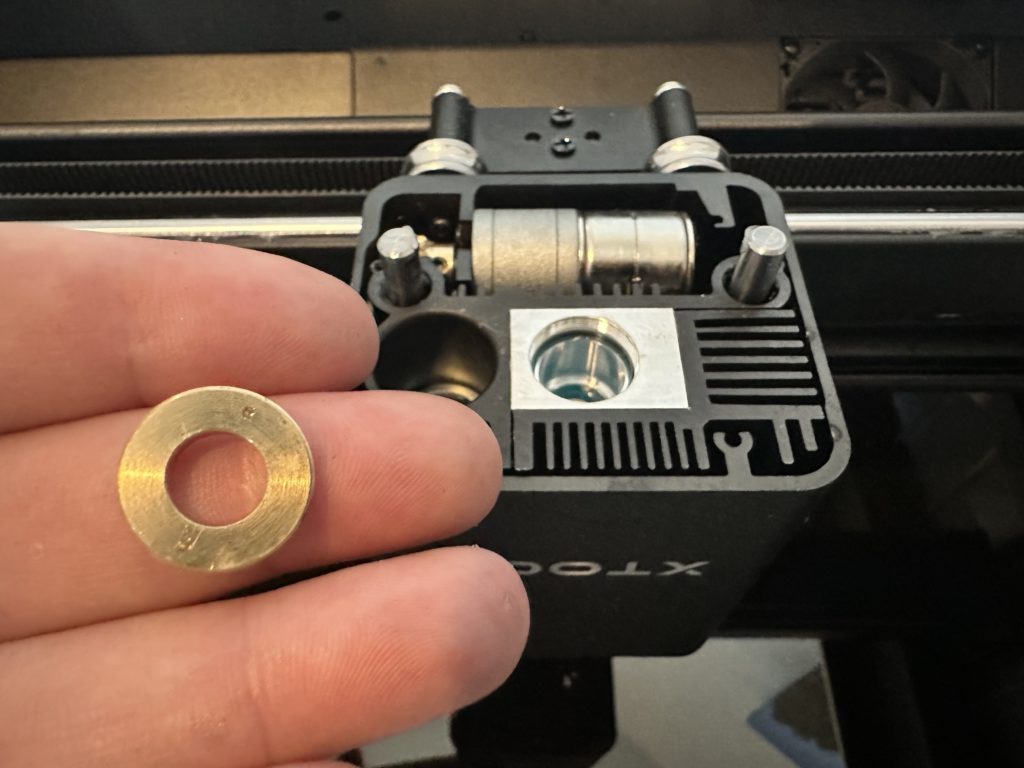
    4. Using the included tweezers, unscrew the gold ring and lift it out.

    xTool M1 Unboxing & Set Up - Air assist set - Remove with tweezers - cuttingforbusiness.com.
    xTool M1 Unboxing & Set Up - Air assist set - Take out - cuttingforbusiness.com.

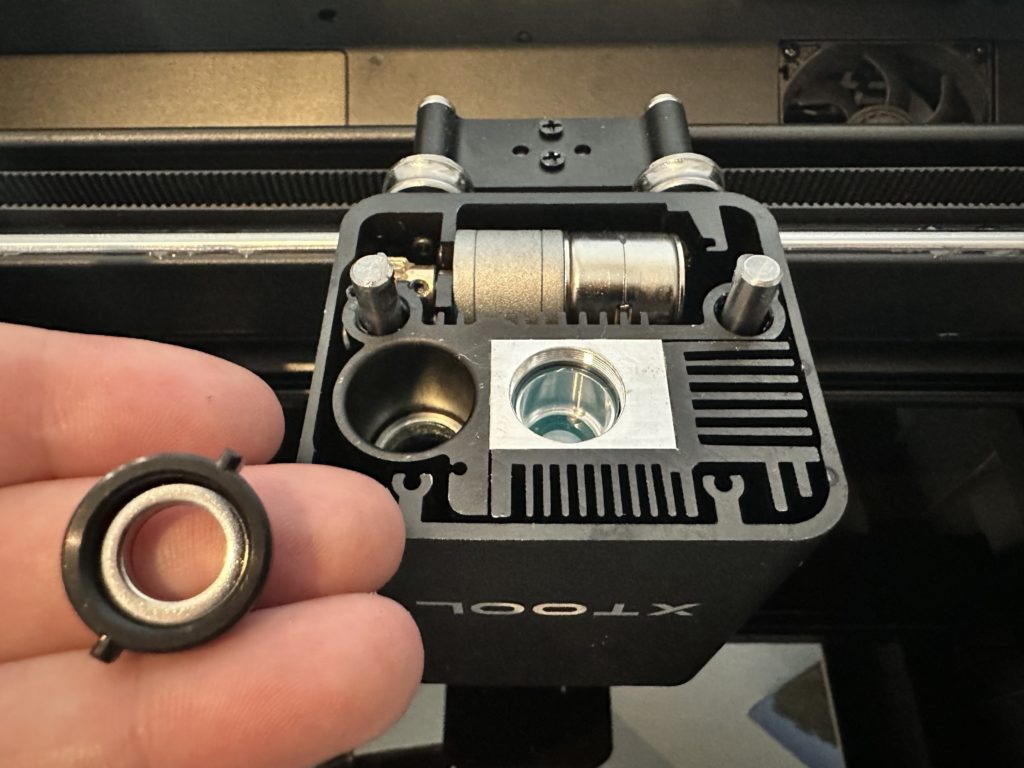
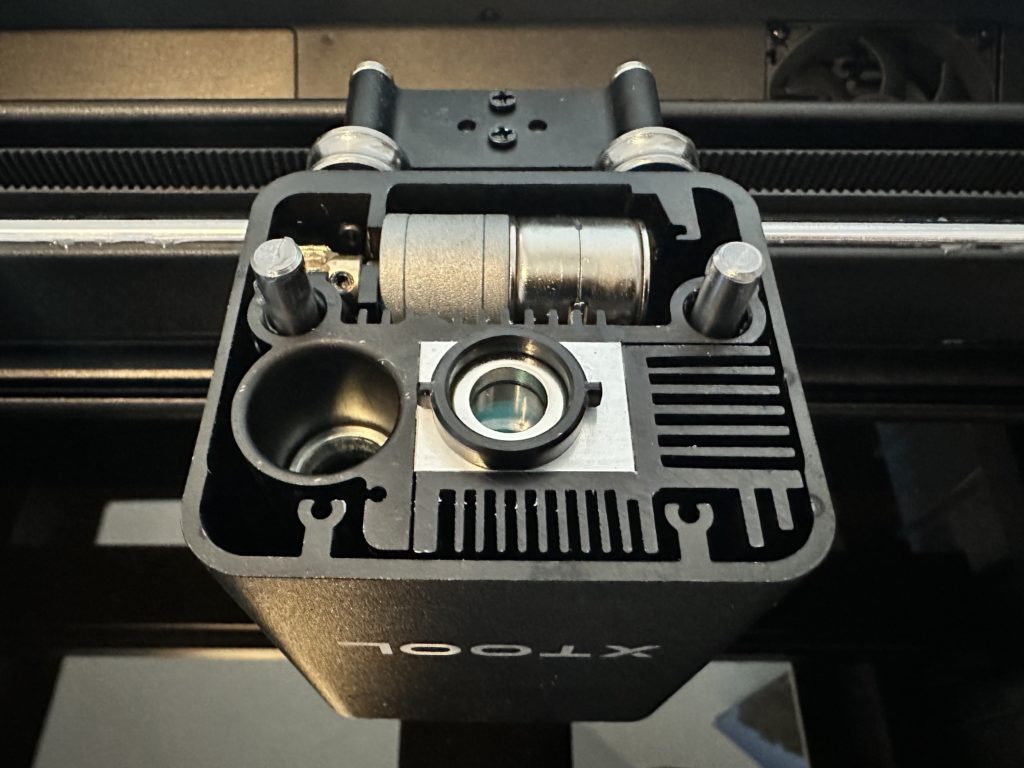
    5. Replace the gold ring with the plastic washer. Ensure that the ridges on the outside are horizontal.

    xTool M1 Unboxing & Set Up - Air assist set - Install washer - cuttingforbusiness.com.
    xTool M1 Unboxing & Set Up - Air assist set - Align washer - cuttingforbusiness.com.

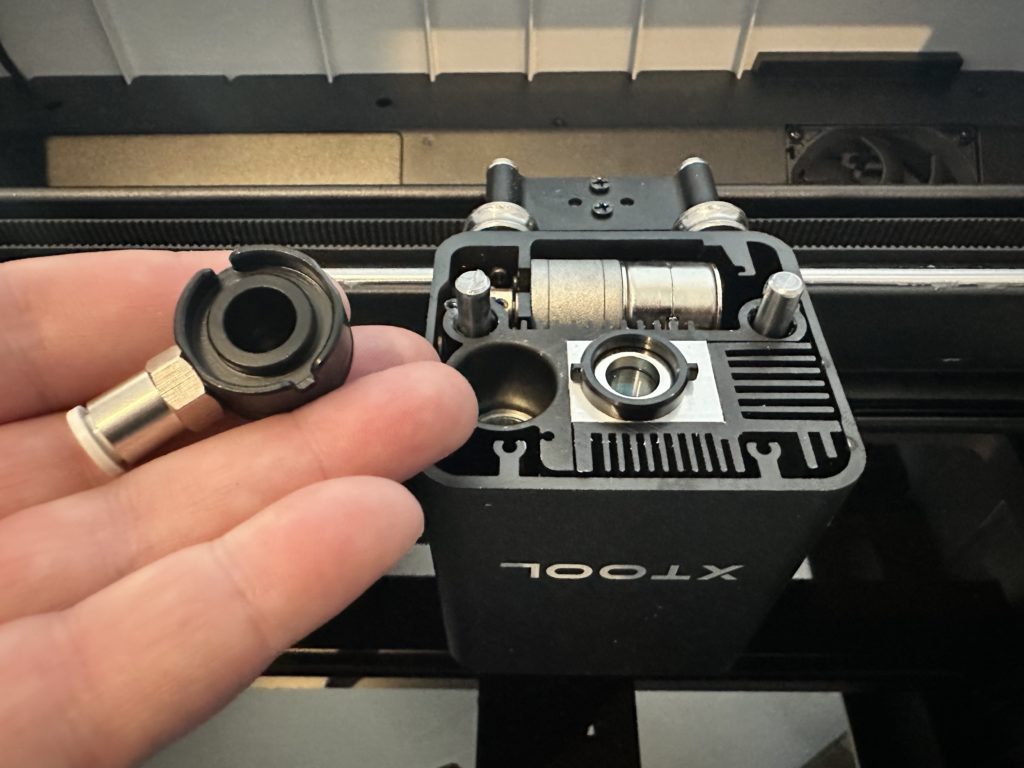
    6. Attach the hose connector to the washer, then connect the air hose.

    xTool M1 Unboxing & Set Up - Air assist set - Connect air hose - cuttingforbusiness.com.
    xTool M1 Unboxing & Set Up - Air assist set - Hose attached - cuttingforbusiness.com.

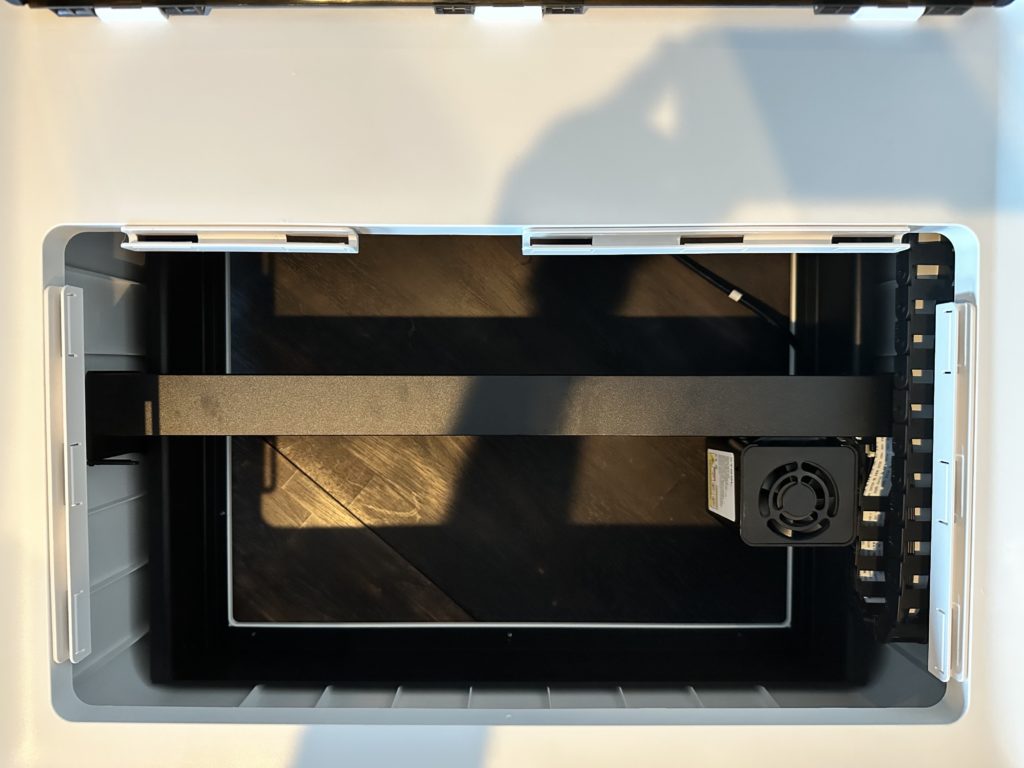
    7. Flip the xTool back over and install the hose guides. These tape into place around the edge of the machine.

    xTool M1 Unboxing & Set Up - Air assist set - Install hose guide - cuttingforbusiness.com.

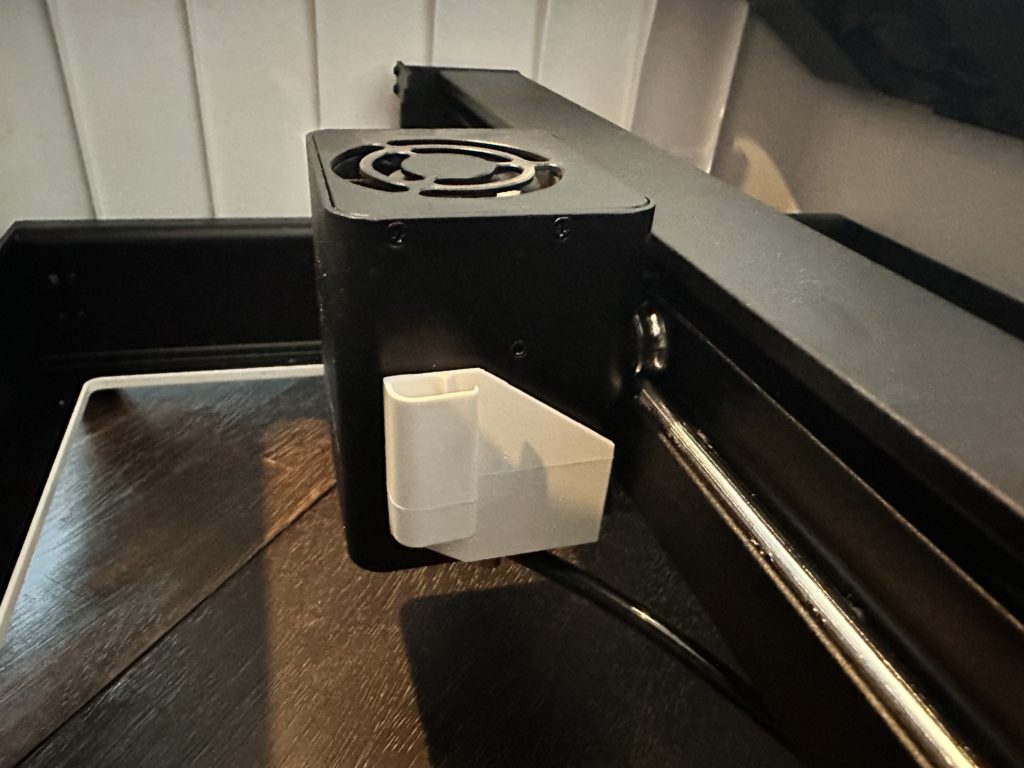
    8. Add the hose holder to the side of the laser housing.

    xTool M1 Unboxing & Set Up - Air assist set - Install hose guide on laser unit - cuttingforbusiness.com.

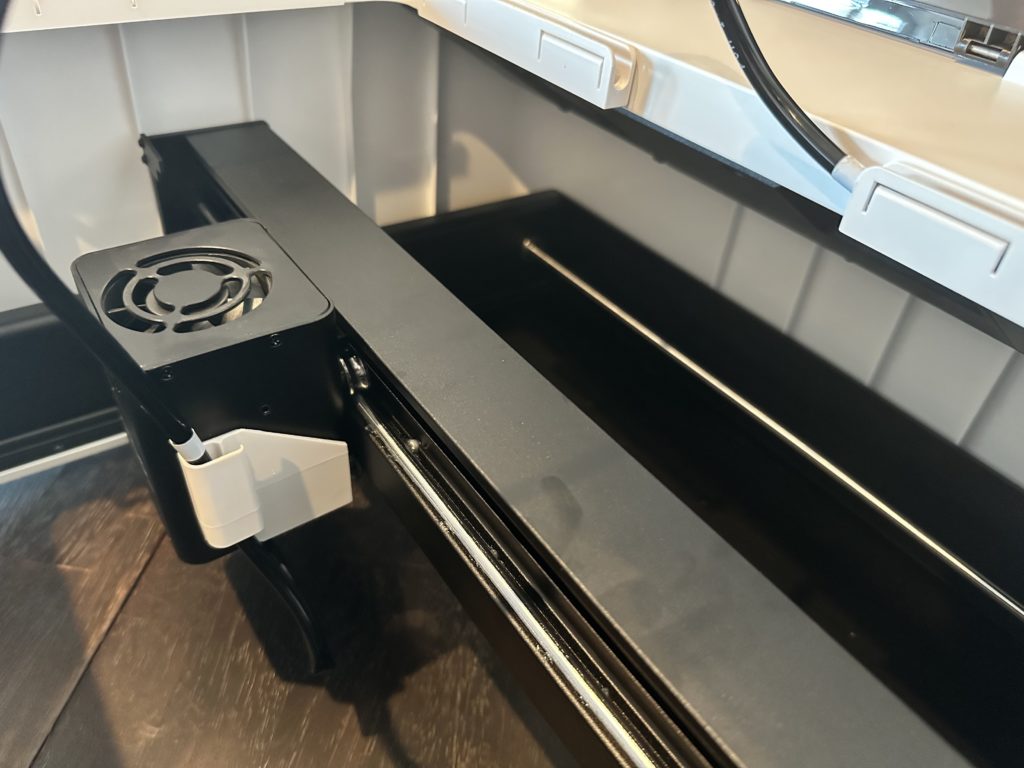
    9. Finally, feed the hose into the guide. There are white marks on the hose to help you figure out where it should snap in.

    xTool M1 Unboxing & Set Up - Air assist set - Feed hose into guide - cuttingforbusiness.com.

    10. Connect the hose to the xTool Air Assist set.

    xTool M1 Unboxing & Set Up - Air assist set - Attach unit - cuttingforbusiness.com.

    That’s it. The xTool M1 is set to go with the optional air assist set. The air assist is advertised as providing a “cleaner and smoother laser cutting finish”. When turned on, the noise it makes is a slight hum. If you’ve ever had a fish tank before, the unit’s look and feel reminds me of an air pump.

    Tomorrow, I’m tackling my first project: Engraved Paw Print Jewelry!

  • Review: Heat Press Rental Program

    Happy Crafters no longer offers this program.

    I’ve got a fun program to share with you today: Heat Press Rentals! Recently launched by Happy Crafters, this service allows crafters to rent a heat press.

    4 Reasons Why a Heat Press Rental Might Be for You

    1. New to heat transfer vinyl. If you are new to crafting with heat transfer materials (HTV), there’s no sense in investing in your own heat press when you could rent one.
    2. Try it before you buy it. Wondering about the quality of the heat press before you buy it? Take it for a ‘test drive’ before you buy it.
    3. Large jobs. If you have a large job coming up, rent an additional heat press to cut down production time.
    4. Portability. Have a craft event or a home party coming up and can’t lug your giant heat press? Rent a smaller one.

    How the Happy Crafters Heat Press Rental Program Works

    I recently took the Happy Crafters heat press rental program for a spin. Here’s how it works:

    1. Visit Happy Crafters at this link.
    2. Rent your heat press. Checkout is pretty straightforward on the Happy Crafters website. It costs $75 for a 7 day rental.
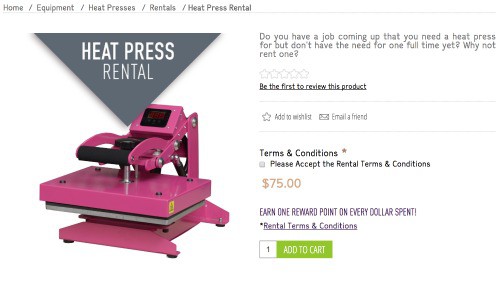
      Review: Heat Press Rental Program by Happy Crafters - by cuttingforbusiness.com
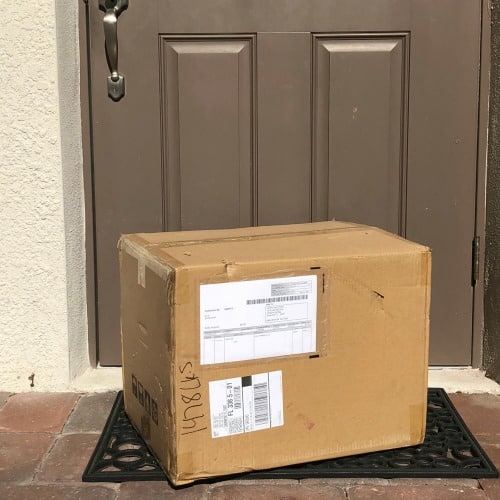
    3. Your rental heat press is delivered to your door. Happy Crafters includes free shipping for your rental press. Mine arrived in 3 days.

      Review: Heat Press Rental Program by Happy Crafters - by cuttingforbusiness.com
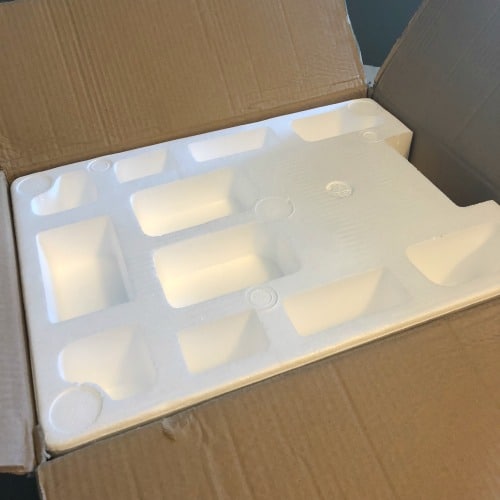
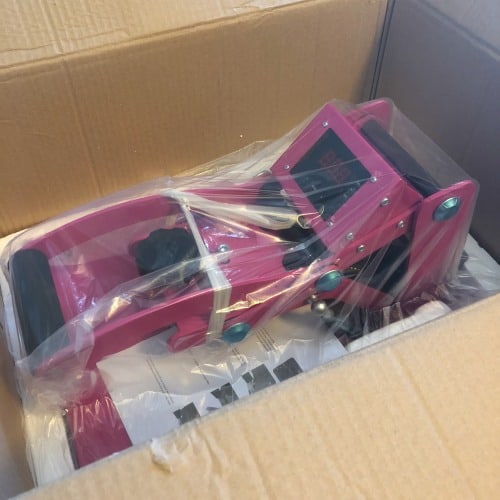
    4. Unbox your press. I was thrilled that the heat press was well packaged. 
      Review: Heat Press Rental Program by Happy Crafters - by cuttingforbusiness.com
      Review: Heat Press Rental Program by Happy Crafters - by cuttingforbusiness.com
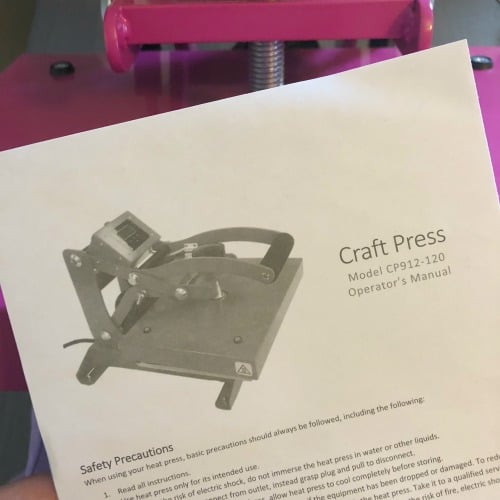
    5. Read the instructions.
       Review: Heat Press Rental Program by Happy Crafters - by cuttingforbusiness.com
    6. Plug it in and start creating.

       Review: Heat Press Rental Program by Happy Crafters - by cuttingforbusiness.com
    7. On your 8th rental day (or on Monday if this is a weekend), use the prepaid shipping label to ship the heat press back to Happy Crafters. If you’d like to extend your time or purchase the heat press, reach out to Happy Crafters. Here’s a few additional photos:

      Review: Heat Press Rental Program by Happy Crafters - by cuttingforbusiness.com 
      Review: Heat Press Rental Program by Happy Crafters - by cuttingforbusiness.com

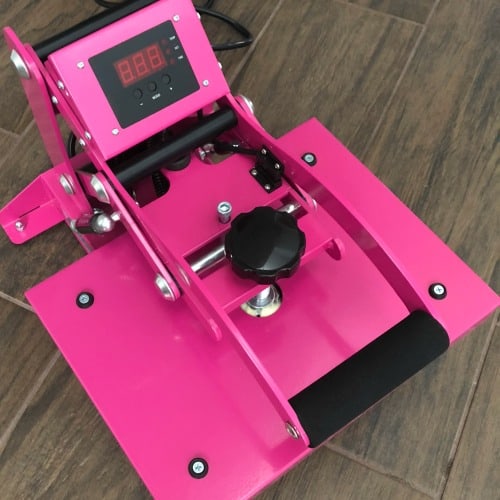
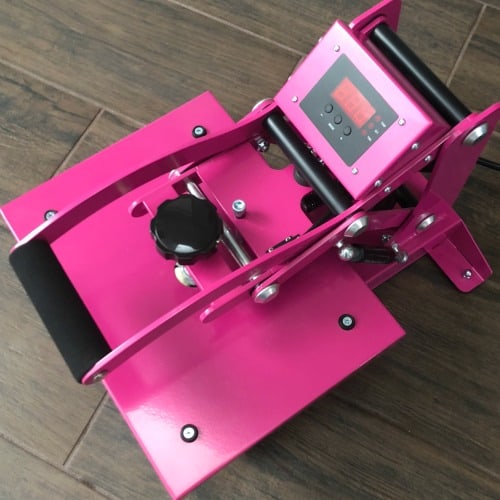
    About the Happy Crafters Pink Heat Press

    • It’s 9 inches by 12 inches.
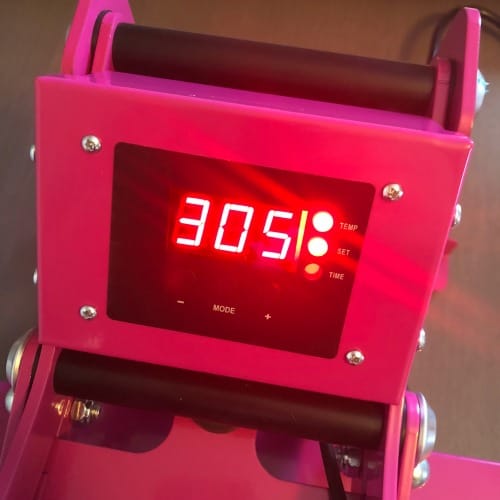
    • There’s a digital time and temperature screen.
    • It’s footprint is pretty small – 16 inches by 12 inches.
    • It has a nonstick, teflon platen.
    • It’s a clamshell style and opens pretty wide.
    • Includes a one year warranty.
    • Did I mention… it’s pink!
    • Prefer to purchase immediately? Click here.

    The Fine Print

    You know me – I always read the fine print. Happy Crafters has fully outlined the rental terms in their rental agreement. Read it at this link.

    Happy Crafters allowed me to keep the heat press shown above in exchange for sharing my experience with Cutting for Business readers.

    Wondering if you even need a heat press? Read this post.

    Love this service? Save the image below to Pinterest:

    Review: Heat Press Rental Program by Happy Crafters for Silhouette Portrait, Cameo, Curio and Cricut Explore or Maker crafters - by cuttingforbusiness.com
  • Review: Chemica Hotmark Revolution Vinyl

    I’m running out of vinyl and I need to restock. Previously, I’ve stocked mostly Siser Easyweed. It’s a great heat transfer material and it is available in so many places and colors.

    When I first started out using heat transfer products, I was mainly doing cotton tee shirts. After I mastered shirts, I’ve moved onto nylon backpacks and spandex based swimsuits. But, Siser Easyweed can’t be applied to nylon or spandex. So, I bought something else and I wasn’t super happy with it.

    Now, I’m looking to restock my stash with a material that is more versatile. I think I’ve found it in a new product called HotMark Revolution.

    What Is HotMark Revolution?

    HotMark Revolution is a new heat transfer material offered by Chemica. It’s been named 2017 Product of the Year in the Heat Transfer Vinyl/PU/Specialty category. So, I decided to check it out. Amy from Chemica sent me a sample pack to test out for this review and a huge sample pack to giveaway. Of course, my opinions are my own.

    Cutting & Weeding HotMark Revolution

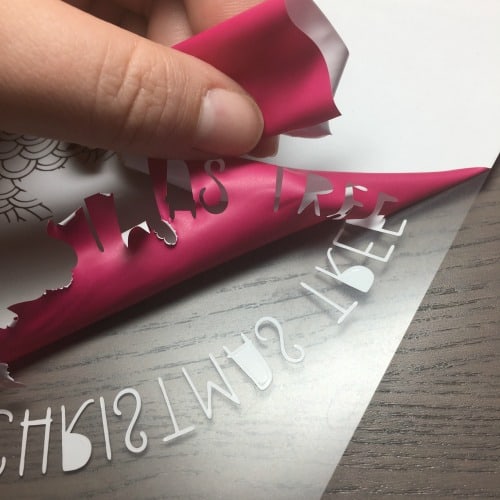
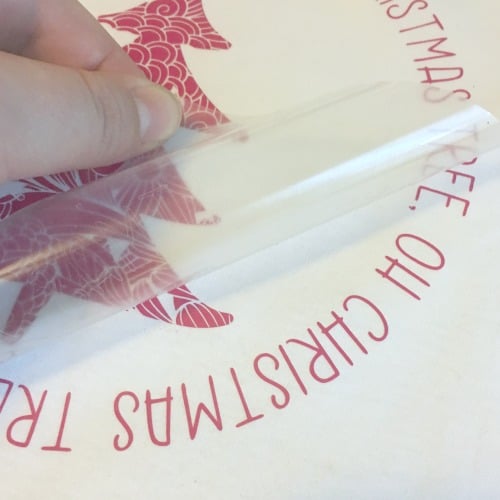
    I put the HotMark Revolution to the test and cut the Zentangle inspired tree I shared a tutorial on earlier in the week. On my Silhouette Cameo 3 I used the ‘Heat transfer smooth’ default setting with the autoblade and it cut beautifully!

    Review: Chemica Hotmark Revolution Vinyl for Silhouette Cameo or Portrait and Cricut Explore or Maker - by cuttingforbusiness.com

    Pressing HotMark Revolution

    Now, don’t let this scare you, but you can apply HotMark Revolution at several different temperatures:

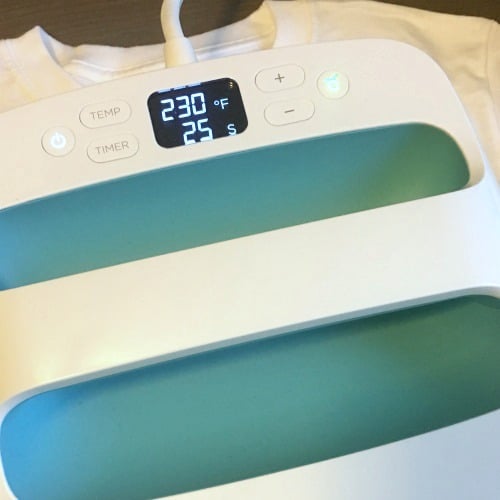
    • 230 degrees Fahrenheit for 25 seconds (good for cotton and polyester).
    • 245 degrees Fahrenheit for 20 seconds (good for cotton and polyester).
    • 285 degrees Fahrenheit for 5 seconds (good for cotton and polyester).
    • 285 degrees Fahrenheit for 20 seconds (good for nylon).

    What’s the deal with all the times and temperatures? Being able to press at a lower temperature for a longer time helps prevent ‘boxes’ on your apparel from the heat press! Similarly, if you are doing a large batch of products, you can use the higher heat setting for less time to make the process go faster.

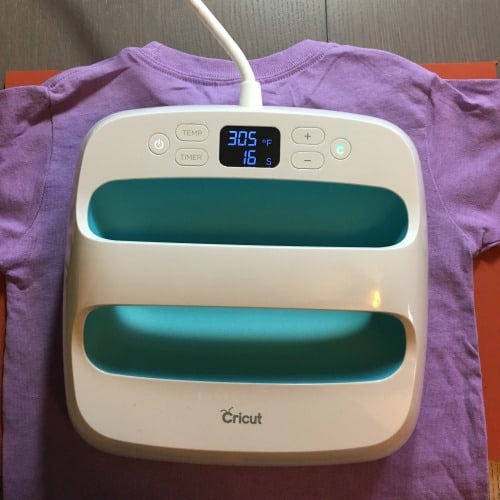
    I used my Cricut EasyPress (read more here) to press the HotMark Revolution. Review: Chemica Hotmark Revolution Vinyl for Silhouette Cameo or Portrait and Cricut Explore or Maker - by cuttingforbusiness.com
    Review: Chemica Hotmark Revolution Vinyl for Silhouette Cameo or Portrait and Cricut Explore or Maker - by cuttingforbusiness.com

    What Can You Apply HotMark Revolution To?

    HotMark Revolution can be applied to cotton, polyester, nylon, and acrylic fabrics. You can also layer the material on top of itself.

    What Colors Are Available in HotMark Revolution?

    HotMark Revolution currently comes in 35 colors, but the full line will eventually offer 56 colors. View the available colors at this link.

    Where to Buy HotMark Revolution Heat Transfer Material

    Not ready to buy but want to try it? Enter to win:

    a Rafflecopter giveaway

    Save this post to Pinterest:

    Review: Chemica Hotmark Revolution Vinyl for Silhouette Cameo or Portrait and Cricut Explore or Maker - by cuttingforbusiness.com

  • FAQ: Cricut EasyPress™ and Your Silhouette or Cricut Business

    Update: I’m still loving my Cricut EasyPress™. And, I’ve got great news: Cricut is now has released additional sizes:

    6″ by 7″, 9″ by 9″ ,and 12″ by 10″! Learn more at this link.


    Cricut recently released a machine, EasyPress™, for applying heat transfer materials to apparel and soft goods. If you aren’t familiar with it, I’d describe it as a hybrid between an iron and a heat press. It’s 9 inches by 9 inches square and heats up to 350 degrees Fahrenheit in minutes. Today, I’m sharing my thoughts on it.

    Things I Love about the Cricut EasyPress™

    1. On demand personalizing. The Cricut EasyPress™ is convenient to take to shows and fairs to personalize on demand. If you don’t want to lug your full sized press to your next vendor event and don’t want to invest in a smaller heat press, take your EasyPress™. It’s lightweight, easy to handle, and heats up quickly so you won’t have to leave your heat press running the entire time. It’s also ideal to take to home parties you are hosting!
    2. Great for occasional use. If you only work with heat transfer occasionally and don’t have a need for a full sized heat press, the EasyPress™ is your answer.
    3. Low price point. In relation to a high quality traditional heat press, the EasyPress™ is cheap with a release price point of $149. I’d be confident selling items made with the EasyPress™. Remember, to make sure that your heat transfer material has been applied well, you should be able to see the texture of the fabric in the heat transfer material.
    4. Small size. The EasyPress™ doesn’t take up a lot of space and can be stored in even the smallest of craft spaces. It’s small size lends itself well to traveling as well.
    5. Fast to heat up. The EasyPress™ heats up in minutes and has an auto off feature – just little bonuses that I love!

    Stop! You should know these things before you buy:

    1. If you are working with heat transfer materials that rely heavily on pressure, the Cricut EasyPress™ is not for you. You cannot adjust the pressure of the EasyPress™.
    2. The EasyPress™ is not hot enough to do sublimation. Most sublimation relies on a temperature of around 400 degrees Fahrenheit. The maximum temperature of the EasyPress™ is 350 degrees Fahrenheit.
    3. If you mostly apply materials that are larger than 9 inches by 9 inches, it’ll save you time to just purchase a traditional heat press instead of the EasyPress™.

    Cricut EasyPress™ Instructions

    You’ll want to use your EasyPress™ on a flat, hard surface – not on a padded ironing board. I’m using the pad from my heat press to protect my table top. Cricut does plan to release a pad to accompany the EasyPress™, but it is not yet available.

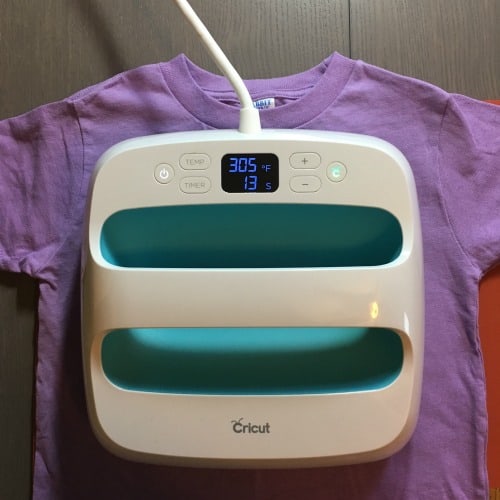
    1. Turn the EasyPress™ on and set the time and temperature.
    2. Prepress your blank to remove wrinkles and moisture. FAQ: Cricut EasyPress™ and Your Silhouette or Cricut Business - cuttingforbusiness.com
    3. Place your transfer onto your apparel or soft good. FAQ: Cricut EasyPress™ and Your Silhouette or Cricut Business - cuttingforbusiness.com
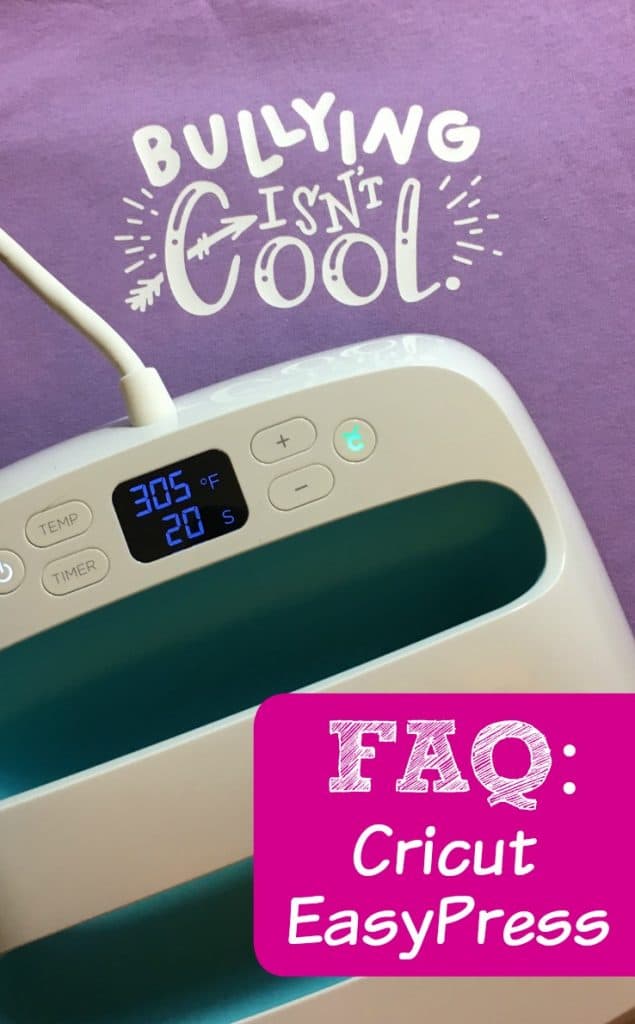
    4. Hold the EasyPress™ on your transfer and press the Cricut button to start the timer. There is no need to move the EasyPress™ around while pressing. Instead, hold it in place with a bit of pressure. Remove the EasyPress™ when it beeps. FAQ: Cricut EasyPress™ and Your Silhouette or Cricut Business - cuttingforbusiness.com
    5. Turn your apparel over and repeat step 3 on the back. FAQ: Cricut EasyPress™ and Your Silhouette or Cricut Business - cuttingforbusiness.com
    6. Check for a good press. You’ll know your press was successful when the heat transfer material has the texture of the blank. FAQ: Cricut EasyPress™ and Your Silhouette or Cricut Business - cuttingforbusiness.com

    This shirt has now been washed two times and has held up well. Other users are reporting that materials applied with the EasyPress™ are holding up fine to standard washing and drying.

    Ready to buy? Pick up the EasyPress™ at this link.

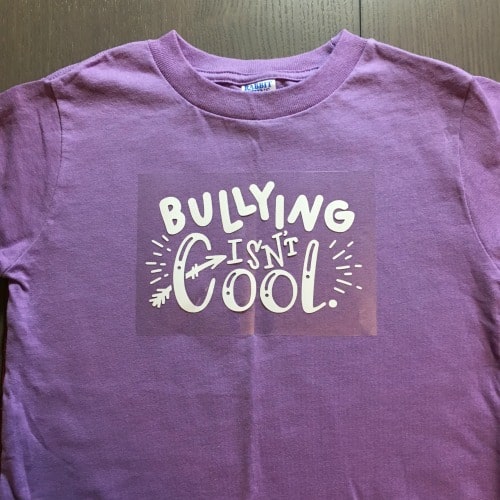
    Love the design? I made it for anti-bullying day at one of the girls’ schools. You can pick it up and more handlettered designs by Rachel at The Smudge Factory.

    Spread the word on Pinterest:

    FAQ: Cricut EasyPress™ and Your Silhouette or Cricut Business - cuttingforbusiness.com

  • 3 Best T-Shirt Alignment Tools

    Cutting for Business readers know that I am a stickler for quality products. Just because you made it yourself in your home, doesn’t mean that you should not be worried about product quality.

    When I make and sell t-shirts, I use alignment tools to line up heat transfer vinyl (HTV), rhinestones, and transfers.

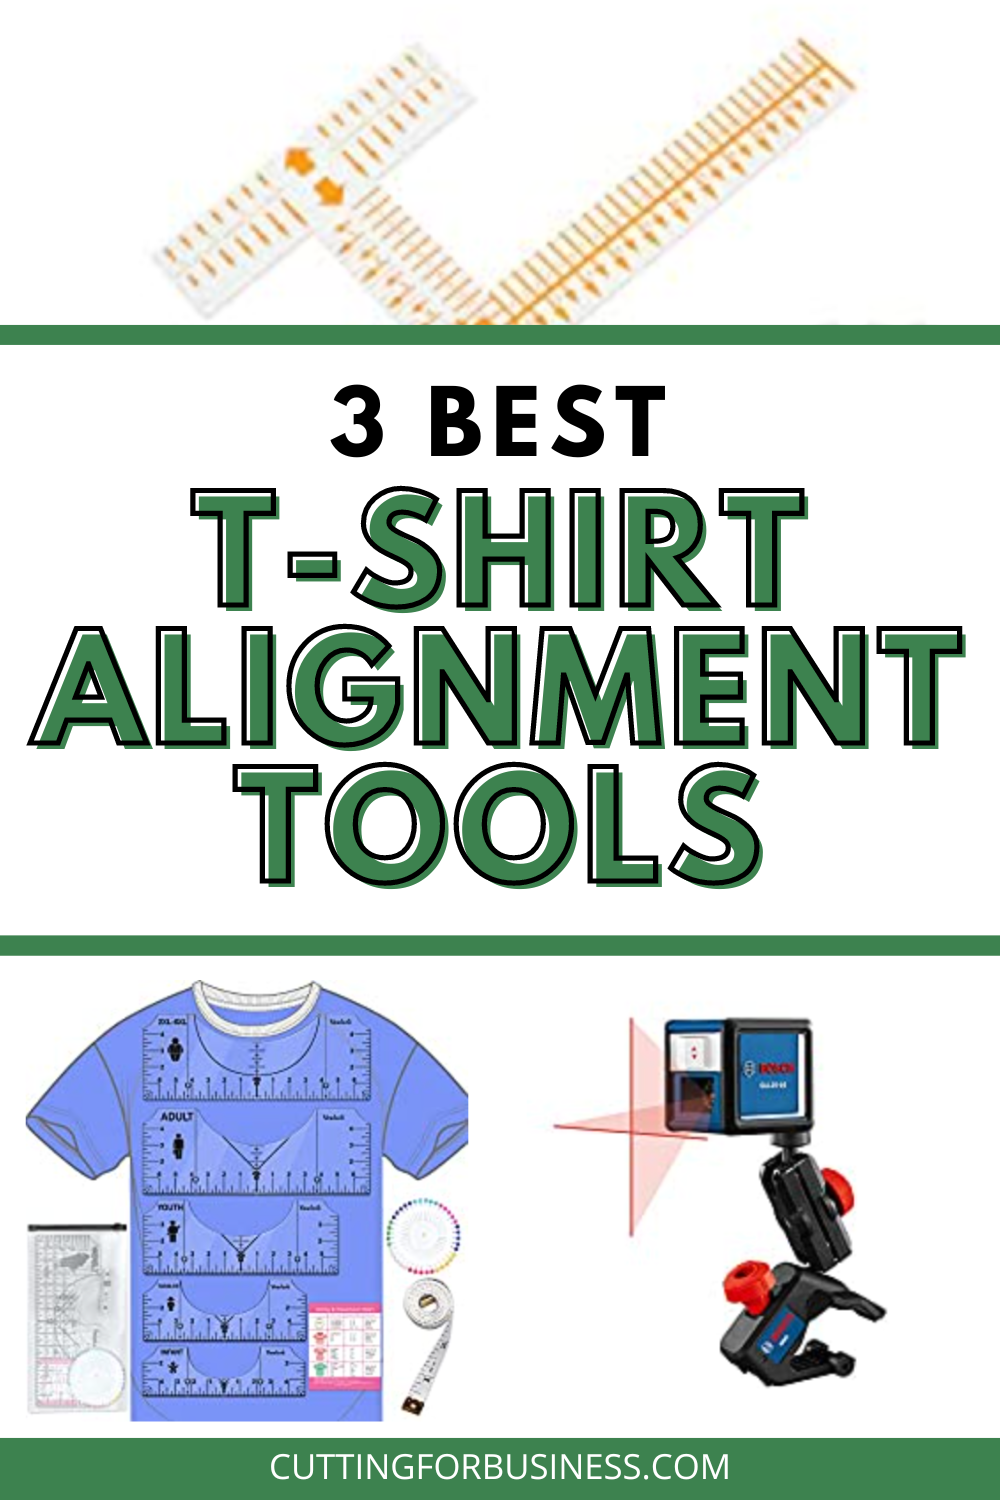
    Today, let’s look at various t-shirt alignment tools currently on the market.

    3 Best T-Shirt Alignment Tools - cuttingforbusiness.com.

    3 Best T-Shirt Alignment Tools

    Tee Square It

    Tee Square Its are one of the original products designed to help crafters and shirt makers create products.

    Pros: There is a learning curve. I have a step-by-step tutorial to use a Tee Square It.

    Cons: Expensive. Approximately $50.

    Buy It: Shop Tee Square It

    Laser Alignment Systems

    Laser alignment systems use lasers to project a guide onto your blank product. While some heat press manufacturers offer heat press alignments, many crafters have had good luck using off brand ones. These typically attach to your heat press or work table using a clamp.

    Pros: Easy to use, easy to set up.

    Cons: Some can costs hundreds of dollars if you buy a specialty one for your heat press.

    Buy It: Shop Laser Alignment Systems

    T-shirt Guides

    T-shirt guides are plastic guides that crafters can use to line up t-shirt designs. You can pick them up for under $10.

    Pros: Cheap, easy to use.

    Cons: You need different ones for different sized shirts.

    Buy It: Shop T-shirt Guides

  • Review: Craft Perfect Heat Transfer Vinyl

    Happy Crafters recently launched a new heat transfer vinyl product called Craft Perfect. They sent me a few samples so that I could share my opinions with you.

    What is Happy Crafter’s Craft Perfect?

    It is a heat transfer material that adheres to cotton, polyester, blends, spandex, and performance wear (but not nylon!). It has a matte finish and is priced at as low as $2 per 12″ by 12″ sheet if you order in bulk! Single sheets run $3 each.

    What Colors are Available for Craft Perfect?

    There’s a wide array of colors available: Lilac, marine blue, mint, neon purple, pineapple, pink champagne, razzmatazz, seafoam, silver plate, tomato, coral reef, gold crown, grassy field, henna, blueberry pie, jet black, and cloud white.
    My Sample Pack

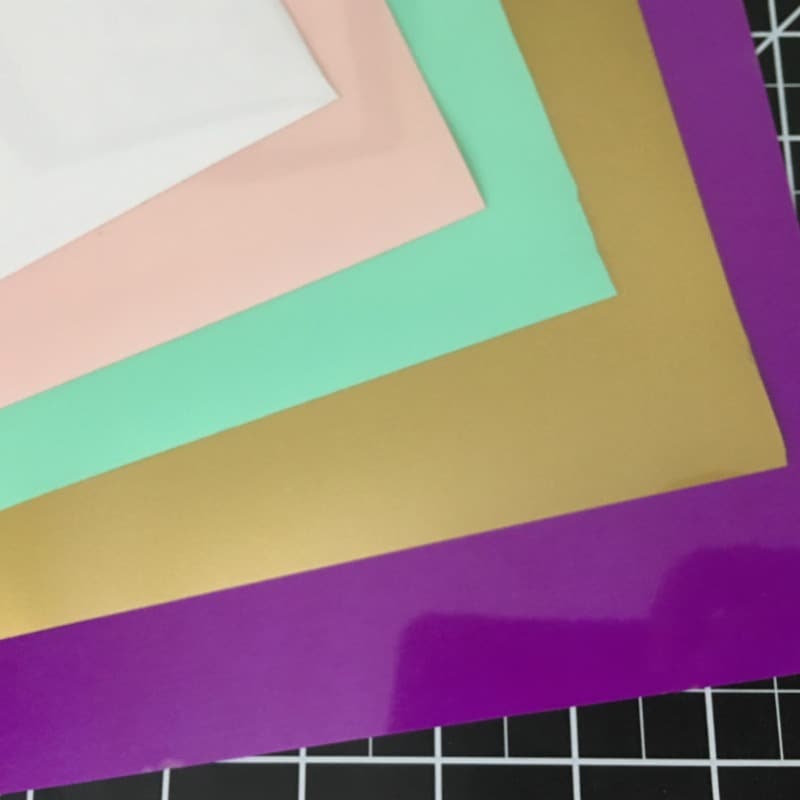
    My sample pack of Craft Perfect included cloud white, pink champagne, neon purple, mint, and gold crown.

    Review: Craft Perfect Heat Transfer Vinyl - by cuttingforbusiness.com

    Cutting Craft Perfect

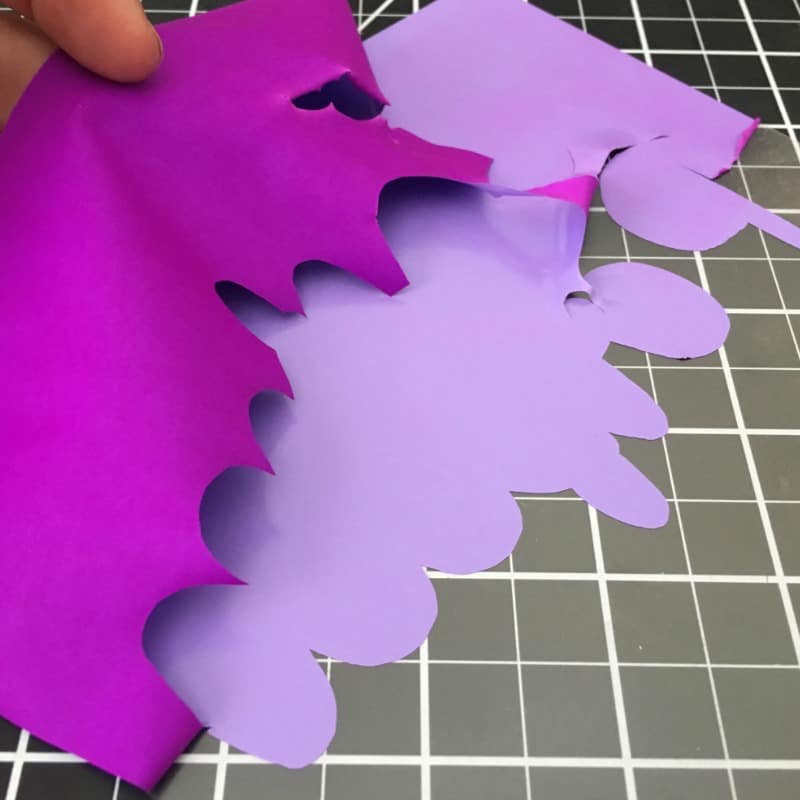
    Like many heat transfer materials, Happy Crafter’s Craft Perfect comes with a built in carrier sheet. This means that you will mirror your image and cut it shiny side down. I used the preset for heat transfer vinyl (smooth) with my Silhouette Cameo 3. Weeding the material was also easy:

    Review: Craft Perfect Heat Transfer Vinyl - by cuttingforbusiness.com

    Applying Craft Perfect

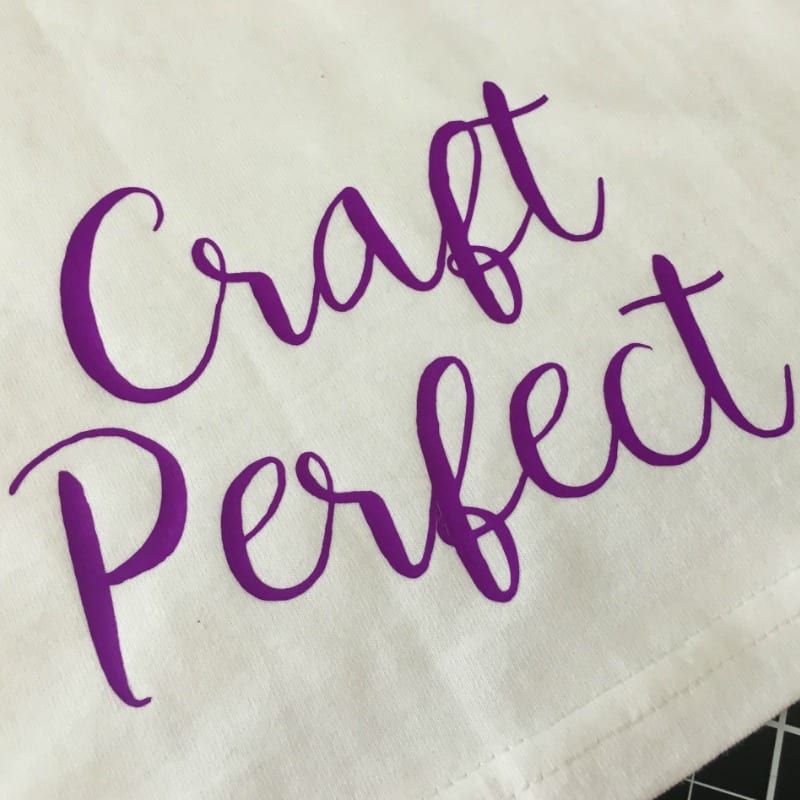
    There were no instruction sheets included in my sample and no heat press times listed on Happy Crafters – so I pressed with medium pressure at 300 degrees. The application was perfect! Craft Perfect can also be applied with an iron.

    Review: Craft Perfect Heat Transfer Vinyl - by cuttingforbusiness.com

    Overall Thoughts on Craft Perfect by Happy Crafters

    I thought the material was easy to work with and was very thin – which I liked! Also, I noticed there was quite a bit of stretch to the material!

    I’d recommend Craft Perfect and hope to see the line expand to other colors in the future! Shop for Craft Perfect at Happy Crafters at this link.

    Save this post to Pinterest:

    Review: Craft Perfect Heat Transfer Vinyl - by cuttingforbusiness.com

  • DIY Teacher Library Stickers and Sticker Paper Review

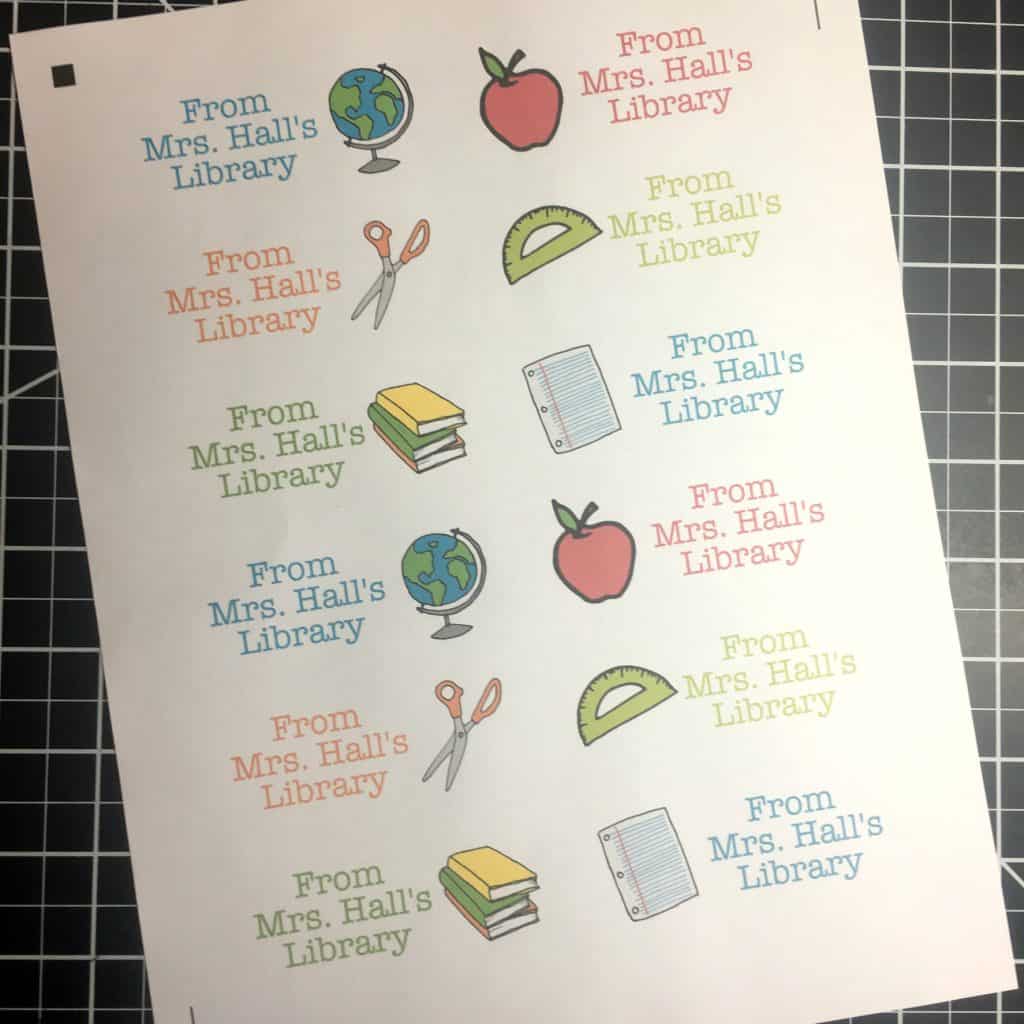
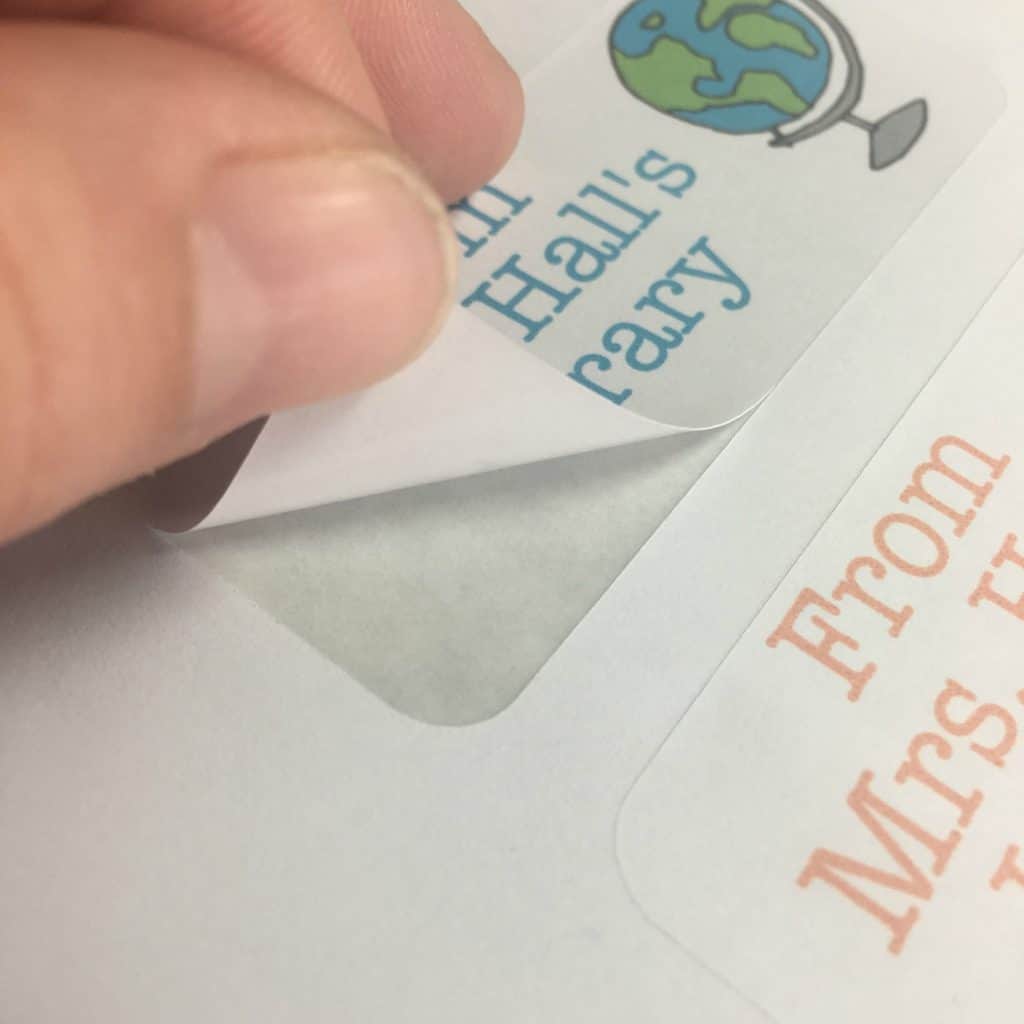
    This year, 5th grade is doing a Secret Santa between the students. So, I’ve taken it upon myself to be the teacher’s Secret Santa! For the first day, I decided to do stickers for her personal book collection, made with my Silhouette Cameo 3 and a simple print and cut. This is perfect timing, because OnlineLabels.com recently sent me some sticker paper to try out.

    The product I used in this project was 8.5″ by 11″ standard white matte sticker paper (item OL177WX) which can be found at this link. Pricing is based on quantity purchased, but ranges from $0.12 to $0.07 per sheet. Now, I’ve used a lot of different sticker papers, and this one was great! The paper weight was perfect for everyday use, it kiss cut wonderfully (using a rachet blade, depth 2, speed 4, thickness 6), and the stickiness is enough to keep the sticker wherever I put it.

    Here’s a few pictures of the stickers I created:

    DIY Teacher Library Stickers and Sticker Paper Review - Great Back to School or Christmas Gift - by cuttingforbusiness.com.

    DIY Teacher Library Stickers and Sticker Paper Review - Great Back to School or Christmas Gift - by cuttingforbusiness.com. DIY Teacher Library Stickers and Sticker Paper Review - Great Back to School or Christmas Gift - by cuttingforbusiness.com.

    Want to make your own stickers? Download the file in .studio3 format here, you’ll just need to add your own text.

    Thanks OnlineLabels.com for sending me product to try out!

    Save this post to Pinterest:

    DIY Teacher Library Stickers and Sticker Paper Review - Great Back to School or Christmas Gift - by cuttingforbusiness.com.

  • A Paper Cutter You’ll Fall in Love With

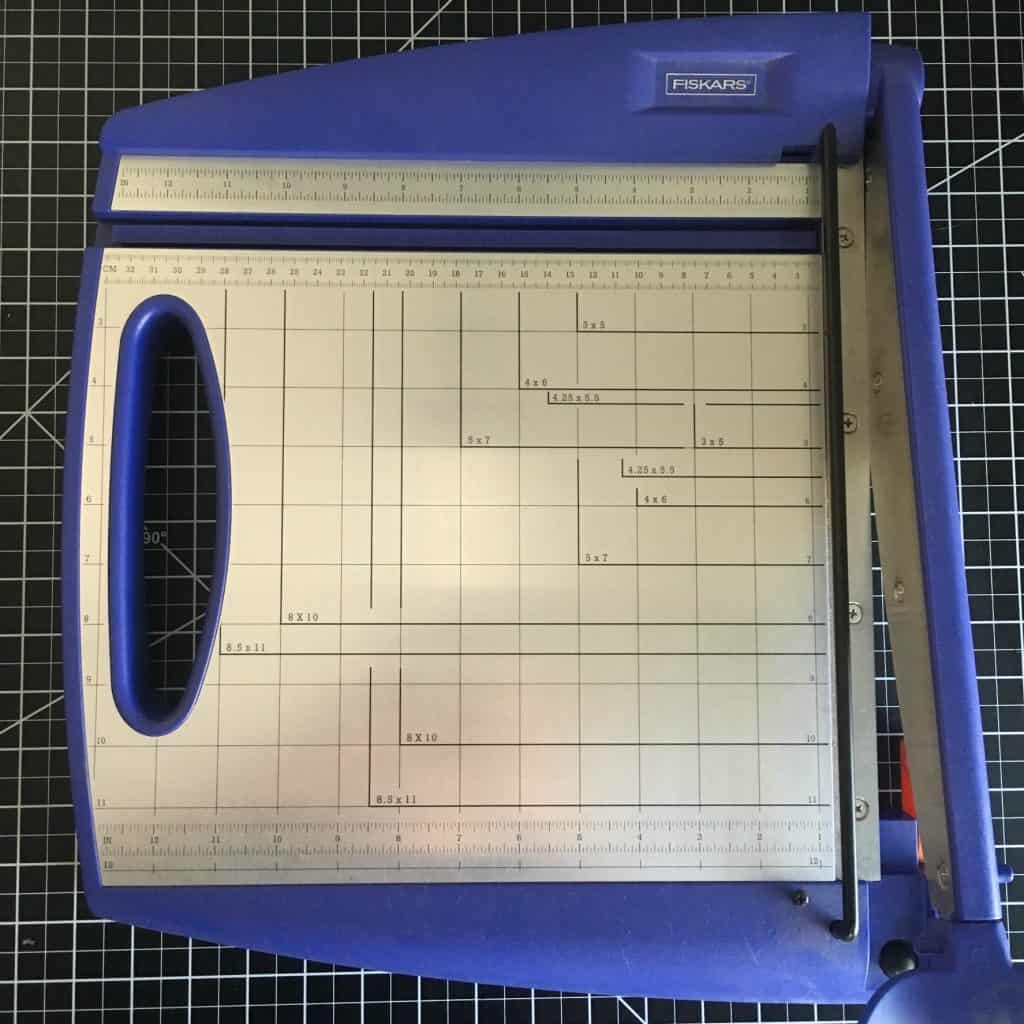
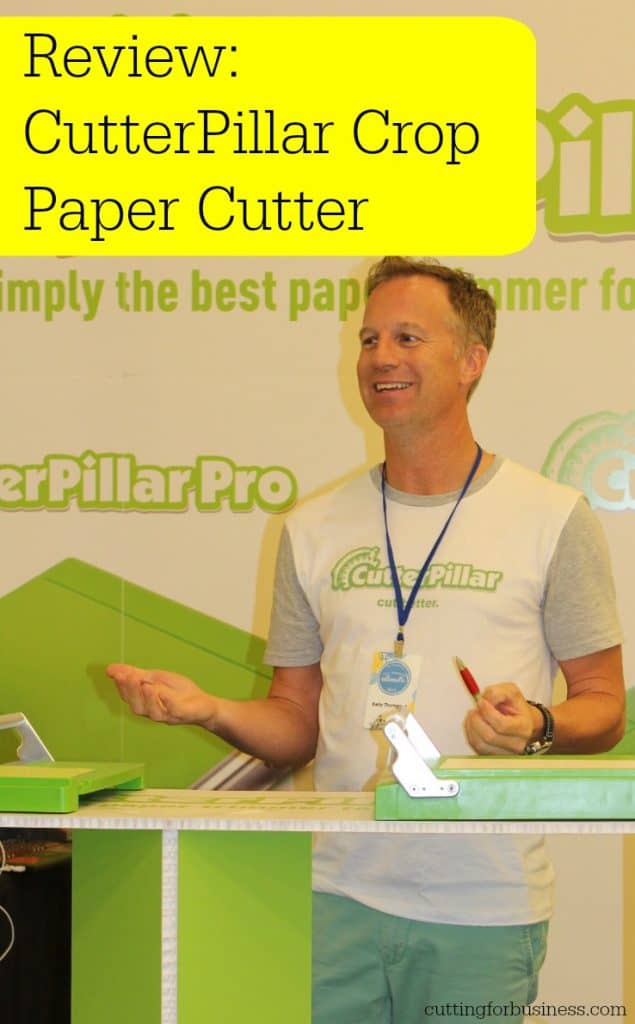
    At the All Things Silhouette Conference, I met up with Kelly from CutterPillar and they sent me home with one of their paper cutters to try out and share with Cutting for Business readers. After using it for a few weeks, I can confidently say that the CutterPillar Crop is replacing my old Fiskars guillotine cutter.

    RIP Fiskars

    A Paper Cutter You'll Fall in Love With - CutterPillar Crop by cuttingforbusiness.com

    Why I Love the CutterPillar Crop

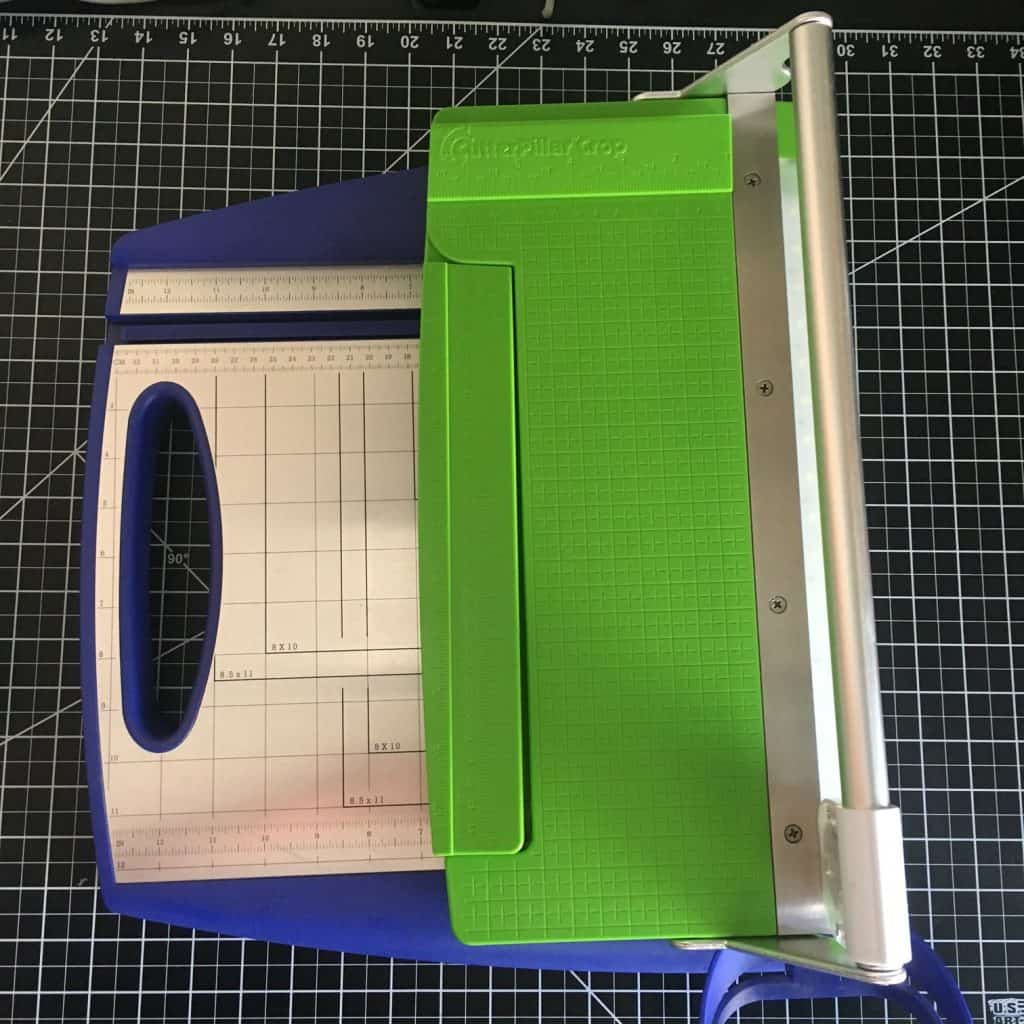
    The CutterPillar team sent me home with the smaller of their two cutters – the CutterPillar Crop. As you can see, it’s footprint is only about half of my old Fiskars.

    A Paper Cutter You'll Fall in Love With - CutterPillar Crop by cuttingforbusiness.com

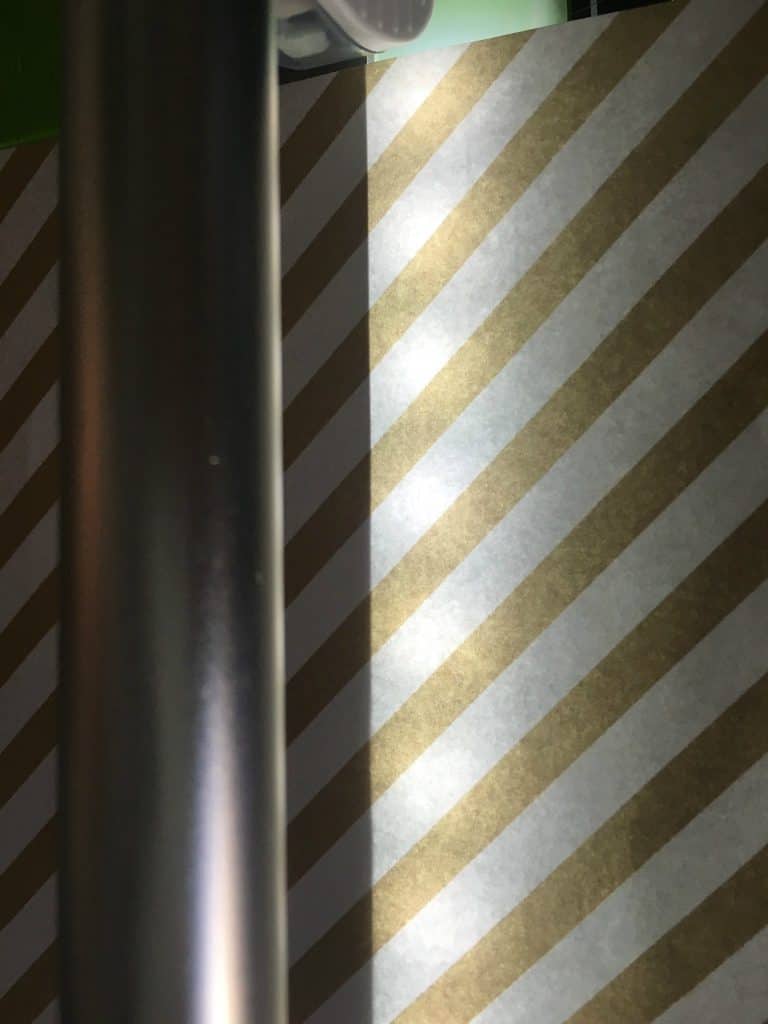
    The CutterPillar Crop has a light along the blade so that you can see EXACTLY where it will cut. It’s battery operated and an LED, so I doubt that it will ever burn out.

    A Paper Cutter You'll Fall in Love With - CutterPillar Crop by cuttingforbusiness.com

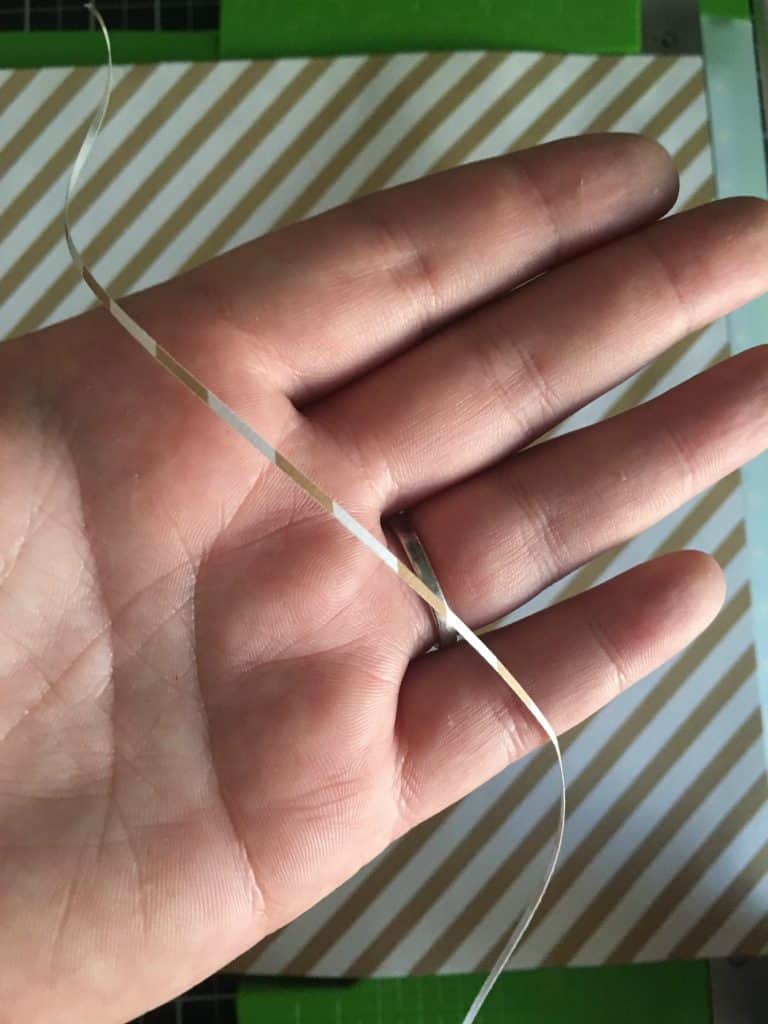
    The CutterPillar Crop will cut up to 5-7 sheets of paper at the same time. It’s accuracy is great and it will cut tiny edges without bending the paper.
    A Paper Cutter You'll Fall in Love With - CutterPillar Crop by cuttingforbusiness.com

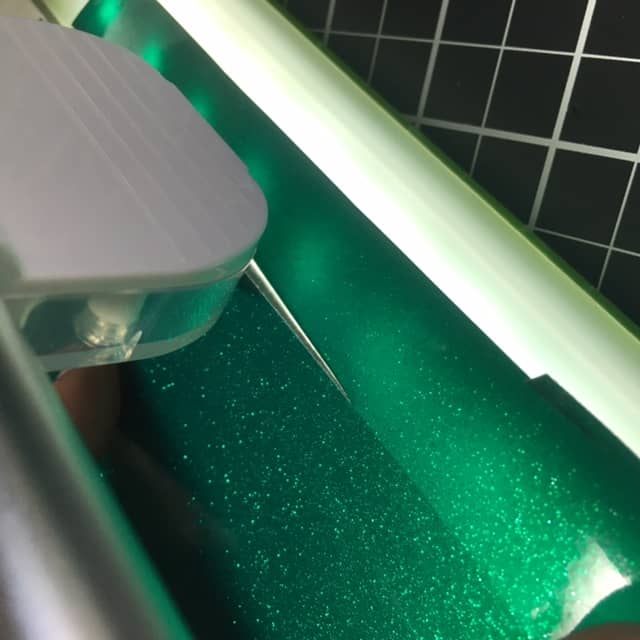
    The CutterPillar Crop isn’t just for paper, it cuts vinyl great, too!

    A Paper Cutter You'll Fall in Love With - CutterPillar Crop by cuttingforbusiness.com

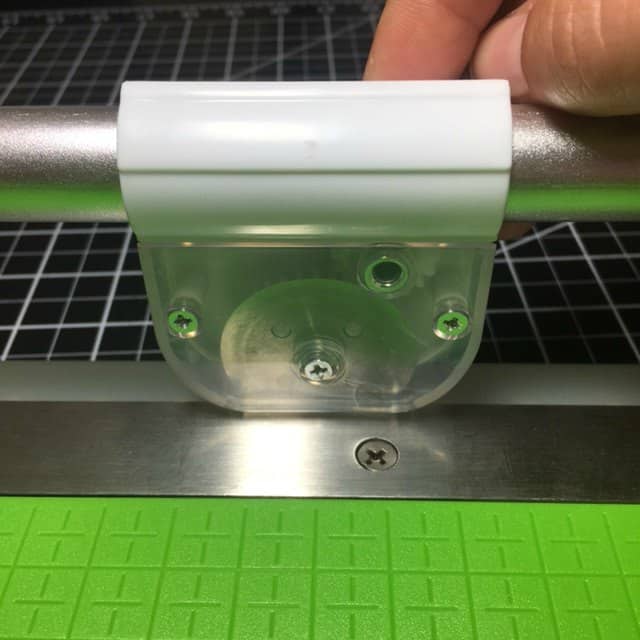
    In contrast to my guillotine paper cutter, the CutterPillar Crop is gear driven and the blade slides back and forth across a bar. While it’s moving, the rotary blade is actually being sharpened against the edge of the cutter. Unlike my old Fiskars, I won’t need to sharpen it! Also, since the blade is encased – it will be harder for me to cut myself.

    A Paper Cutter You'll Fall in Love With - CutterPillar Crop by cuttingforbusiness.com

    I wholeheartedly recommend this cutter to Silhouette Cameo or Cricut small business owners and crafters. You can purchase a CutterPillar Crop here or view the larger CutterPillar Pro ABS here.

    What cutter do you love? Share in the comments!

    Save this post to Pinterest:

    Review: A Paper and Vinyl Cutter You'll Fall in Love With - CutterPillar Crop by cuttingforbusiness.com