Category: Shipping & Packaging

  • Everything You Need to Know About Shipping for Craft Businesses

    I’ll be honest, shipping products is a huge stumbling block for new Silhouette and Cricut small business owners. I’ve got something to tell you: Once you get over the mental block – shipping products from home is no big deal.

    Everything You Need to Know About Shipping

    There’s a lot of Silhouette and Cricut business owners on Pinterest, save this so they see it:

    Everything You Need to Know About Shipping for Craft Businesses - Silhouette & Cricut Explore - by cuttingforbusiness.com
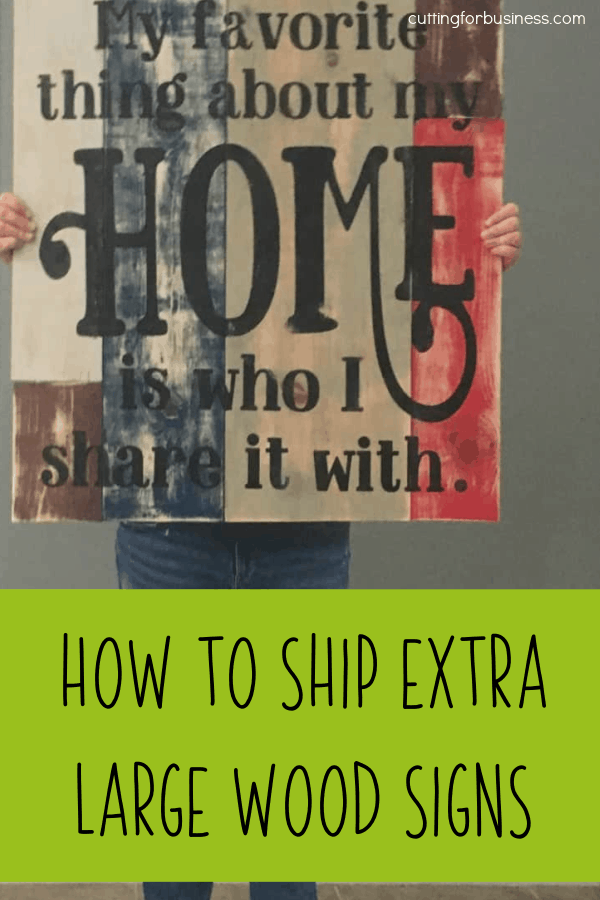
  • How to Ship Extra Large Wood Signs

    If you create wooden signs with your Silhouette Cameo or Cricut, packaging and shipping them might present a problem – because of their size. Since wood signs are are generally not fragile, wrap them in bubble wrap and put them in a box to shop. Today, I’m sharing a few different supplies to look into to box your signs.

    3 Materials to Use to Pack Large Wooden Signs

    1. Cardboard sheets: The most economical method is to purchase flat cardboard sheets. (See them on Uline here.) First, wrap the sign in bubble wrap. Then, use a razor blade to cut the cardboard sheet and create a box around your sign. This method is slightly time consuming because you are creating your own box. But, once you do a few, it will go faster.
    2. Flat rate boxes: If your sign isn’t too large, order flat rate game board boxes from the USPS. These boxes measure just over 23 inches by 11 inches and cost $17 to $18 to ship. Again, you’ll want to first wrap your sign in bubble wrap.
    3. Regular cardboard boxes: Since wood signs are durable, wrap them in bubble wrap and place them in a flatter style cardboard box. You can find these at Uline here or search your favorite box supplier for boxes meant for shipping artwork. (You’ll want to steer clear of fine art boxes because they are expensive.)

    Finding the Best Shipping Rate

    The USPS isn’t known for having the lowest rates on oversized packages. Before you ship through the USPS, check the rates of other carriers including FedEx, UPS, and DHL.

    How to Ship Extra Large Wood Signs Made with Your Silhouette, Cricut, or Glowforge - by cuttingforbusiness.com.
  • How to Package Decals in Your Silhouette or Cricut Business

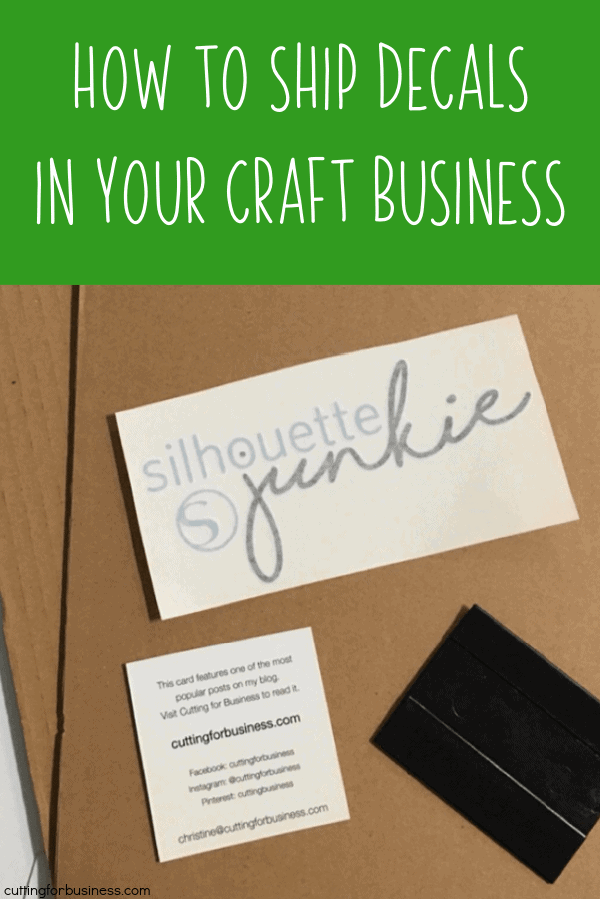
    Several readers ask me every week how to package decals they made on their Silhouette or Cricut for shipping to customers. Today, I’ll show you how I package them.

    Two Ways to Package Decals for Shipping

    Method 1 – Put the decal in an envelope and put a stamp on it.

    • Pros – This is cheap and you can offer free shipping.
    • Cons – You can’t have tracking on the package. In the event that the package is lost or damaged, you will need to replace the decal at your expense.

    Method 2 – A better solution to packaging decals for shipping is to use a non-bendable photo mailer and cardboard inserts.

    • Pros – This is a more professional presentation to your customer.
    • Cons – This method is slightly more expensive.

    Things to Remember When Shipping Decals

    • Be sure to put instructions in your package. If you’d like my free unbranded car decal application instructions, visit this post. Free unbranded wall decal application instructions are in this post.
    • Larger decals should be shipped in a mailing tube.
    • Always include a business card.
    • Transfer tape or paper should already be applied.
    • Layered decals should be assembled before shipping.
    • Including an applicator is a good idea. For cheap applicators, a popsicle stick works.
    • Consider sending a prepackaged alcohol wipe with your decal for the customer to clean the surface before application.
    • You could make a “Do Not Bend” stamp with your Silhouette Mint to stamp on the outside of the package.

    How do you package your decals for shipping? Let me know in the comments. Don’t forget to pin this post on Pinterest:

    How to Package & Ship Decals in Your Silhouette or Cricut (Portrait, Cameo, Explore, Maker, Joy) Business - by cuttingforbusiness.com
  • Review: Dymo LabelWriter 4XL

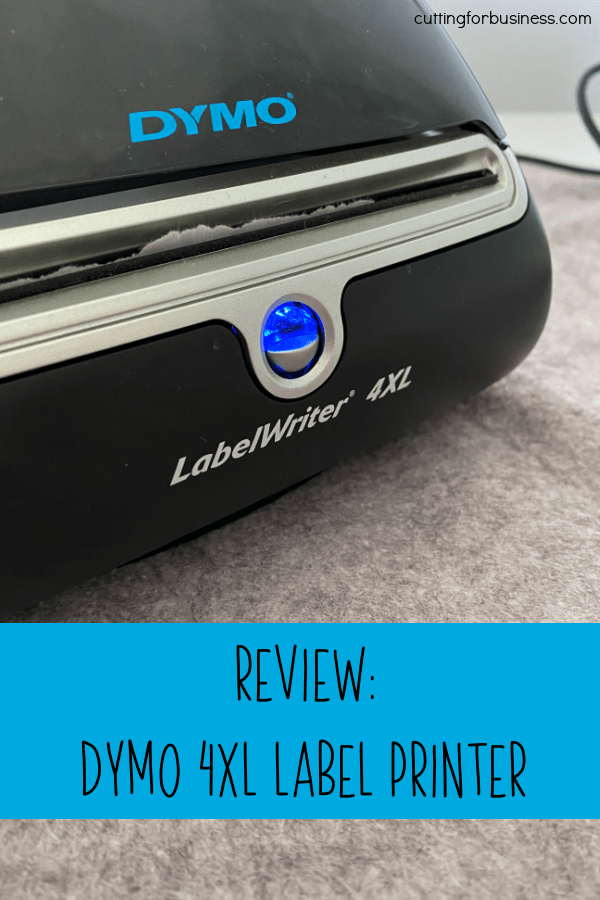
    As your business grows, you may want to invest in a label printer to speed up your shipping process and save you money. While the initial investment for the label printer is high, I feel it is a worthwhile purchase.

    Currently, I’m shipping between 50 and 60 packages per week. I was previously using half sheet labels that I purchased at this link on Amazon. I was going through a lot of labels and printer ink. I recently purchased a Dymo LabelWriter 4XL.

    Pros of the Dymo LabelWriter 4XL

    • The Dymo LabelWriter 4XL is a thermal printer. This means that it prints on special labels using heat and it doesn’t use any ink. (Talk about savings on ink and wear and tear on my printer!)
    • Prints up to 129 labels a minute.
    • Prints 4 inch by 6 inch labels, and a variety of other sizes.
    • Is compatible with Etsy and Paypal labels.
    • It prints in 300 DPI (dots per inch), meaning that the labels are crisp and clear.

    Cons of the Dymo LabelWriter 4XL

    • You must buy thermal printing labels, and they can be expensive. I use these generic labels – and they work great.
    • This Dymo does not work with UPS labels. This isn’t a deal breaker, as I don’t ship UPS often.

    With over 4 years of use, my Dymo LabelWriter 4XL has held up great and I still highly recommend it.

    Disclosure: I did not receive this product for free and Dymo did not contact me to write this review.

    Review: Dymo LabelWriter 4XL - Great for Craft Business Owners - Silhouette Portrait, Cameo, Curio, Cricut Explore, Maker, and Joy - by cuttingforbusiness.com.
  • How to Ship to APO/FPO/DPO Addresses

    I’ve had several readers email asking about APO, FPO, and DPO shipping in their Silhouette or Cricut business. Great news: While it may be unfamiliar to you, it’s really simple.

    FAQ About APO/FPO/DPO Shipping

    Q: What is APO/FPO/DPO shipping?

    A: This is the process for shipping to military members that are stationed overseas.

    Q: What does APO/FPO/DPO stand for?

    A: APO stands for Army/Air Post Office, FPO stands for Fleet Post Office, and DPO stands for Diplomatic Post Office.

    Q: How much does it cost?

    A: Shipping to an APO/FPO/DPO address costs the same amount as shipping within the US.

    Q: How do I address the package?

    A: You’ll use the address provided by your buyer, but it will generally look like this:

    BUYER NAME
    PSC 1 BOX 1111
    APO AE 09021

    Do not add any other information to the address.

    Q: Do I have to fill out a customs form?

    A: Yes, but it is short and easy to complete – taking a maximum of 30 seconds.

    Q: Can I ship to an APO/FPO/DPO address from Etsy or Paypal?

    A: Yes!

    Q: Anything else to know?

    A: Yes, when shipping to APO/FPO/DPO addresses through USPS, consider shipping Priority Mail over First Class Mail. Generally, First Class Mail will be sent by boat or ground and takes a really long time. However, Priority Mail is usually taken via plane and will arrive much faster. Additionally, there are special flat rate Priority Mail APO/FPO Flat Rate boxes you can pick up free from the USPS at this link.

    That’s it – it’s just that simple to ship to a military member stationed outside of the US.

    How to Ship to APO/FPO/DPO Addresses in Your Craft Business - Military - by cuttingforbusiness.com.
  • How to Package Fragile Handmade Products for Shipping

    Today’s blog posts answers a Cutting for Business reader’s question: How do you ship fragile handmade products? My best advice for shipping fragile items is to double box them and use bubble wrap.

    Step-by-Step Guide to Package Fragile Products

    1. Wrap your handmade product in bubble wrap or packing paper.
    2. Put your handmade product in a box and tape it closed.
    3. Wrap the sealed box in bubble wrap and place it in a larger box.
    4. Seal the box and attach your shipping label.

    The Shake Test

    Before you send your package out, shake it – hard! If you hear your product rattling around inside, it isn’t packaged well enough to withstand shipping. However, if it’s nice and quiet – you are good to go!

    That’s it to packaging your fragile handmade products. Yes, you might spend a few extra cents in packaging materials but your fragile goods should arrive unharmed. If you are in need of shipping materials, my favorite place is uline.com. How do you package your fragile handmade products? Let me know in the comments.

    How to Package Fragile Handmade Products for Shipping in Your Silhouette or Cricut Business - Portrait, Cameo, Curio, Mint, Explore, Maker, Joy - by cuttingforbusiness.com.
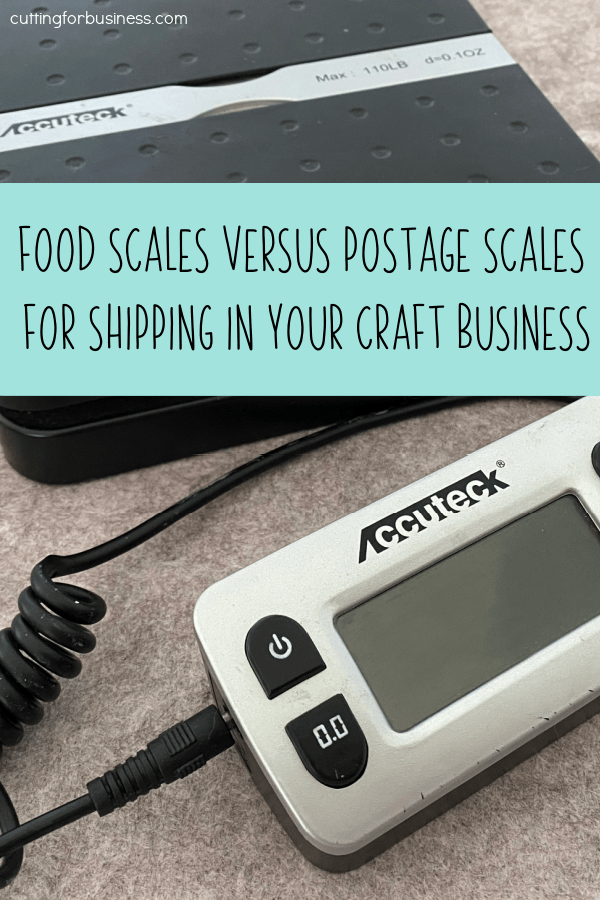
  • Food Scale versus Postage Scale for Shipping in Your Craft Business

    Today, I’m tackling another reader question: I already own a food scale, do I need to buy a postage scale to use in my craft business?

    Do You Need a Postage Scale?

    Answer: In general, either will work for shipping products made with your Silhouette or Cricut. However, there are a few things to watch out for:

    1. Weight capacity. Look at the weight capacity of the scale. Food scales in general have lower weight capacities compared to postage scales. If you only ship small items this isn’t a big deal, if you ship larger items you’ll likely need a postage scale.
    2. Automatic importing. If you want to connect your scale to your computer and automatically import the weights from the scale, you will need a postage scale.
    3. Label printer. If you want to use a label printer with your scale, you should buy a postage scale.
    4. External display. If you regularly ship large or bulky items, purchase a postage scale with an external display (this style of display is connected on a wire to the machine).

    Recommendations for Postage Scales

    You can pick up inexpensive scales on Amazon – usually for much cheaper than office stores – many are under $30. I personally own this scale and it has worked perfectly for years.

    Food Scale versus Postage Scale for Shipping in Your Craft Business - by cuttingforbusiness.com.

    Have a question you need answered? Feel free to reach out to me on social media, email, or leaving a blog comment. I personally respond to each and every message received.

  • FAQ: Lost Packages in Your Craft Business

    Lost packages are something that no seller wants to deal with, but a lost package is likely to happen to your business at some point. Let’s talk about them today.

    Liability of Lost Packages

    Did you know? On most marketplaces, the seller is responsible for the package until it reaches the buyer. This means that as a seller, even though the package is out of your hands – you are responsible for it until the tracking states “Delivered” or “Notice Left”. While you may have written policies that differ from this for your own business, in the eyes of the most marketplaces the standard is as mentioned above.

    What Should You Do if a Package is Lost?

    A lost package is one that does not show as delivered by the carrier.

    1. Wait. Wait it out a few days beyond the day of expected delivery. Packages can get delayed a day or so, or incorrectly scanned or sorted. It is not uncommon for a package to show up after the expected delivery date.
    2. Stay in touch. Keep in contact with the buyer. Put yourself in the position of the buyer – they bought something that they didn’t receive. The buyer will either want a refund or a replacement product.
    3. Reach out to the carrier. Either the buyer or the seller can reach out to the USPS (or other carrier). The package carrier is able to open a claim to try to locate your package, or an insurance claim to cover the insured value of your package. To provide great customer service, I recommend that you as the seller reaches out to the carrier. You will need the tracking number, proof of the value of the item, and proof of insurance (if purchased).
    4. File a claim. To file a claim with the USPS, you can visit your local branch, call them, or use this link to file online.

    Tip: The purpose of insurance on packages is to protect the seller from being out money if the carrier loses or damages a package. Consider purchasing insurance on expensive or fragile products.

    What if the buyer claims that the package was not delivered and the tracking says delivered? I have good news for you sellers: If the tracking says that the package was delivered and the buyer states that it was not received, you are no longer liable. You should inform the buyer to reach out to the carrier for assistance. Additionally, if the buyer leaves negative feedback because of non-delivery, most marketplaces will remove the feedback.

    FAQ: Lost Packages in Your Craft Business - by cuttingforbusiness.com.
  • Can You Reuse Shipping Boxes in Your Craft Business?

    A reader recently emailed me asking if it is okay to reuse a shipping box (meaning a box that she received a product from another company in) to ship a product to her customer.

    Can You Reuse Shipping Boxes in Your Craft Business?

    You should have an ample supply of boxes on hand for your orders, but I know that every once in a while I have to ship a larger order or a larger product and might not have a box I need.

    I think that it is okay to reuse boxes once in a while to ship items to customers. The recycled boxes should be in great condition and free from other branding. I am a member of Amazon Prime and I receive a lot of shipments in the mail. When reusing boxes, I remove any mention of the previous company – including Amazon’s branded tape. I then add a sticker that I created by doing a Print and Cut on my Silhouette Cameo that says, “This box has been recycled. Please consider reusing it.”

    I’m happy to share my stickers with Cutting for Business readers!

    Instructions for Free Printable Recycled Box Stickers

    1. Grab some Silhouette Printable White Sticker paper from Amazon.com.
    2. Download the free recycled box stickers file.
    3. Open the file in Silhouette Studio.
    4. Print the file.
    5. Load the printed sticker sheet onto your mat with the small black box in the upper left hand corner of your mat.
    6. Load your mat.
    7. Select the cut settings for “White Sticker Paper” (Blade: 2, Speed 8, Thickness:14) and cut them out.

    Need more shipping help? Find it here.

    Can You Reuse Shipping Boxes in Your Craft Business? - Silhouette or Cricut - by cuttingforbusiness.com.
  • Easy (and Cheap!) Packaging Ideas for Your Silhouette or Cricut Products

    My five year wedding anniversary was last month and I ordered a gift from an Etsy seller for my husband. The transaction was picture perfect: I asked a question about the item and I received a response very quickly. I asked to customize the product and I was told no problem. My item was shipped two days before the expected shipping date. Then, the gift arrived – a gorgeous, handmade item – perfect in every way and just what I had imagined – wrapped in a Walmart bag. I was so disappointed in the presentation, because it is not expensive, difficult, or time consuming to package your products nicely.

    I always order packaging materials through ULINE.com. They offer good prices, excellent customer service, and very quick shipping.

    Easy (and Cheap!) Packaging Ideas for Silhouette or Cricut Products

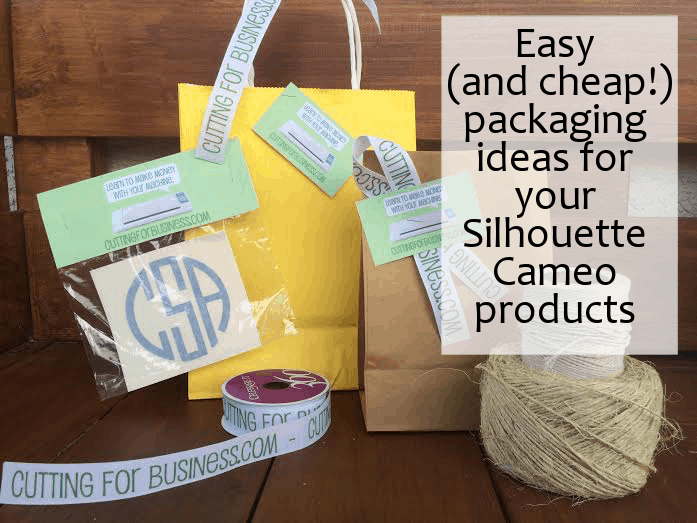
    Organza bags: These sheer bags are perfect for anything from shirts to infant bodysuits, to tumblers and cups, and more. Organza bags come in a wide variety of colors and sizes. It’s easy to punch a hole in a business card or tag you’ve made, thread the ribbon tie top through it, and tie the bag shut. (Click here to see organza bags on ULINE.)

    Brown lunch sack style bags: These bags are also perfect for smaller items. Again, to make the packaging a little fancier, attach a pretty ribbon and your business card or even a custom made sticker – you decide! (Click here to see brown bags on ULINE and pick up sticker paper on Amazon.) If a standard sized lunch bag will work for you, feel free to pick them up from a local store, too.

    Colored gift bags: These are slightly more expensive than brown bags, but are available in a variety of colors and even prints. It’s easy to attach a ribbon and business card – (If you are seeing a theme here, you are right – your packaging should always have your business name on it or have a business card attached!) Feel free to jazz it up even more with some tissue paper. (Click here to see paper gift bags on ULINE – or plastic gift bags on ULINE.) Gift bags are available in stores, but are much cheaper online.

    Ziploc style bag with a topper: Plastic bags of all sizes come in handy for everything from t-shirts to decals to keychains. Take a piece of cardstock with your business name on it, fold it over and staple it to the top of the bag to create a bag topper.

    Twine or string: For larger or bulky items like picture frames, wooden signs, and pillows, punch a hole in a business card and wrap a few pieces of string or twine around the item and add your business card or custom tag.

    Cut shaped cards on your Silhouette Cameo: Items like earrings, headbands, and other accessories can easily be mounted on cardstock that has your business name on it.

    Make a t-shirt, pillow, or blanket wrap: Cut a piece of cardstock or thick paper with your business name on it, long enough to go around your item. Wrap it around your item and secure it with tape.

    Freezer Paper or Craft Paper: In a jam for a way to package an order? Wrap it in white freezer paper or brown craft paper, and add a business card or custom made hang tag.

    I urge you to pick a packaging style that works well for your products and stick with it. Try to make the packaging across your brand consistent, meaning that you use the same color or style of packaging for all your items. This helps customers begin to recognize your brand and repeat customers will know what to expect the next time they order. Please, just please, don’t shove your products in a Walmart bag. If you are shipping your items, you can find a few tips in this post.

    Examples including a bag topper, a handled gift bag, and a simple lunch bag.

    Easy (and cheap!) packaging ideas for your Silhouette Cameo Products by cuttingforbusiness.com

    Wondering how I did the ribbon for the image above? It’s so easy. I used printable, iron-on transfer paper and my heat press. I pressed each section for 30 seconds at 350 degrees, let it cool for a few minutes and peeled the transfer cold. I kept repeating the process until I was through the entire 7/8 inch white grosgrain spool – which took about 10 minutes. I love that it gives a “high end” touch for little time and money.
    Easy (and Cheap!) Packaging Ideas for Your Silhouette or Cricut Products - by cuttingforbusiness.com