One thing is certain at the beginning of a new year: Small business owners have to file taxes. Lately, I’ve been bombarded with questions about taxes, tax prep, and incorporating your business. Let’s take a look back on the tax resources I’ve shared with you in the past.
Probably the most asked question I’ve gotten lately is: “Do I have to report the income in my Silhouette or Cricut business?” Most likely, the answer is yes. There’s no “magic” number for what amount of income you should report – and the IRS is pretty clear on when you are an official business. Read more in this post:
Next, if you work for yourself in the US, but prepared for self employment tax:
Best thing about filing taxes? Tax deductions! Read on:
If your head is spinning from information overload, grab my printable tax prep checklist in this post:Wondering about a 1099 from Etsy (or other marketplaces)? Find out if you’ll get one:
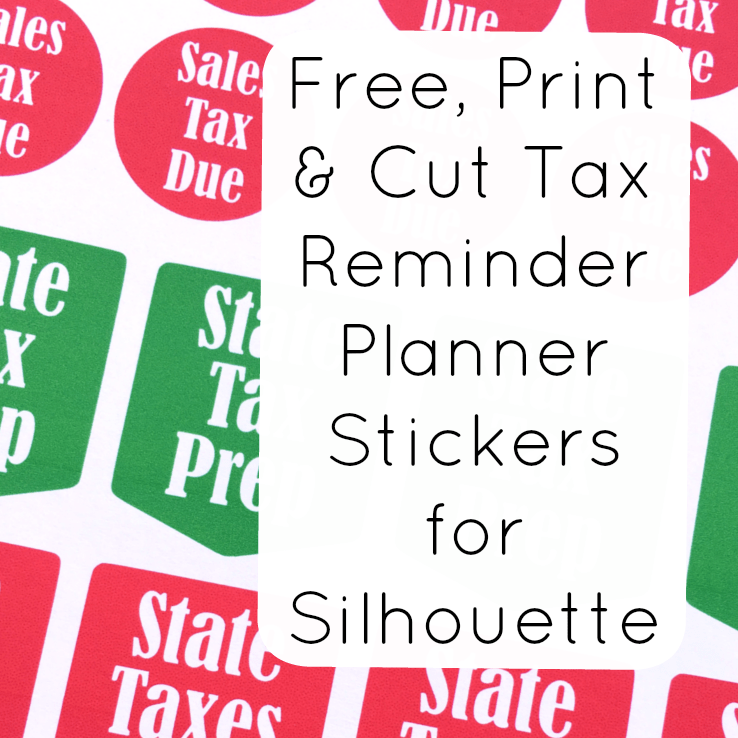
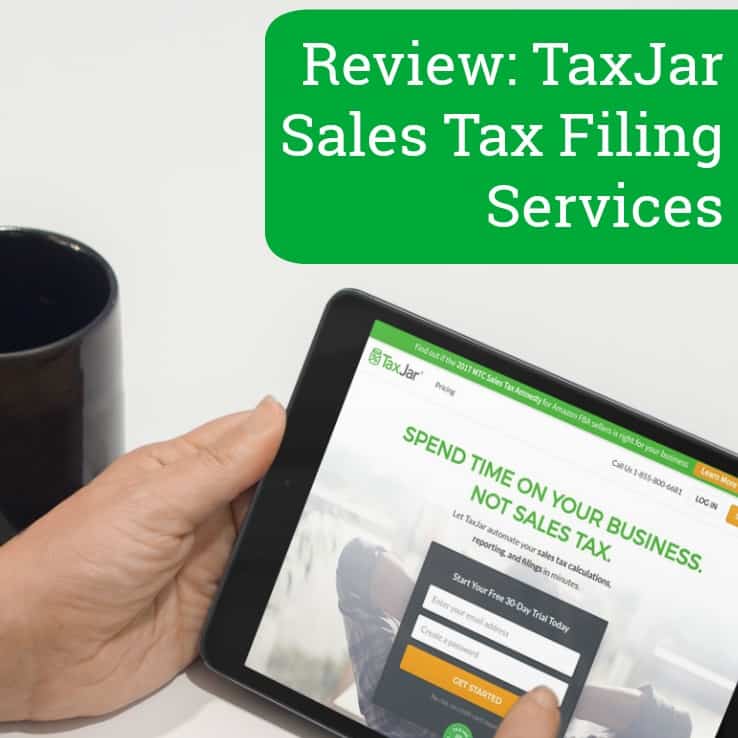
While I’ve been highlighting posts about Federal taxes, don’t forget you’ll also be responsible for sales tax in many states. But, what is sales tax? Find out in the next post: Too busy to be bogged down with filing sales tax? I use a service to file automatically. Here’s my review:Last, but not least, when it comes to tax preparations – deadlines are deadlines. Use your Silhouette Cameo or Portrait to whip up some tax reminder stickers.
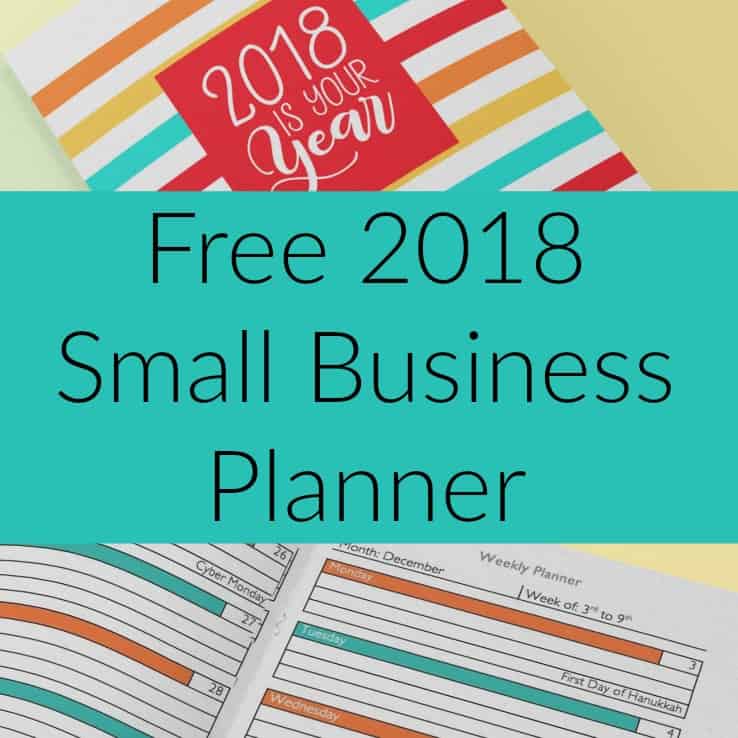
If you are realizing that you need to be better prepared for next year’s taxes, grab my free printable small business planner and keep yourself on track all year long.
Love the tips here? Share the image below on Pinterest.
Recently, I’ve seen more and more Cutting for Business readers making the switch from selling on social media and marketplaces to selling on their own websites. Yay!
If you are in the process of starting your own website, here’s a list of 10 things your craft business website needs.
10 Things Your Craft Business Website Needs
Clear, Crisp, Stunning Product Photos
Simply put, great photos sell your products. Grab some tips for photographing your products in this post.
Easy to Use Navigation
Your website should be easy to navigate. If it isn’t, your customer may get frustrated and leave.
Mobile Friendly Pages
Mobile usage and traffic is at an all time high. If your site doesn’t have an easy to use mobile site, get one.
A Frequently Asked Questions Page
A FAQ page can help customers get answers fast, but it can also cut down on the amount of questions you receive.
A Contact Page
It’s so simple, but so many new website owners forget to put in a contact page. Also, a link to your contact page should appear on every page of your website.
An About Page
“Stay at home mom crafter, ready to make anything you can dream up!” This doesn’t cut it, readers. A well done, genuine About page helps your business connect with customers. Read more about crafting an effective About page in this post.
Links to Social Media
You spent a lot of time building and working your social media, so don’t forget to include links to all social media networks on your website.
Sign Up Form for Your Newsletter
I feel like I keep repeating this, but your craft business needs a mailing list. Head here for reasons why you want one and ideas of what to include in it.
Customer Testimonials
Potential customers have come to rely on online testimonials and reviews while online shopping. Be sure your craft business website has testimonials on it.
SSL Security
Your website should be secure if you are selling products. In fact, Google is now including SSL security in their ranking algorithms. Google wants all websites secured.
Take a few minutes today to head to your website and double check to make sure it has all ten things listed above.
Alright, we celebrated my birthday yesterday, but it is time to get back to work! Today, I’ve invited Sarah Guilliot over from SarahDesign.com to share some resources with you. Sarah specializes in drop dead gorgeous mockups of tumblers, coffee mugs, wine glasses, beer mugs, mason jars, and more. In addition to selling ready to use mockups, she offers a class to teach you how to make your own mockups. I’m turning it over to her:
Hi again Cutting for Business readers! I’m so excited to be here to share with you today. Like Christine mentioned, I’m Sarah Guilliot, from SarahDesign.com where I specialize in mockups for drinkware makers. And one of my essential tools for making quick drinkware mockups or even social media posts and blog posts, is stock photography.
And even better than that… free stock photography. I bet you enjoy a nice free resource, too, so I put together this short list to help you next time you need a stock photo. I’ve also included some paid sites at the end of the list because there are times when it’s worth it to shell out a few bucks to find just the image you need for a quick and easy mockup!
Most of these are free for commercial use with no attribution required, but do check the fine print to make sure you are covered.
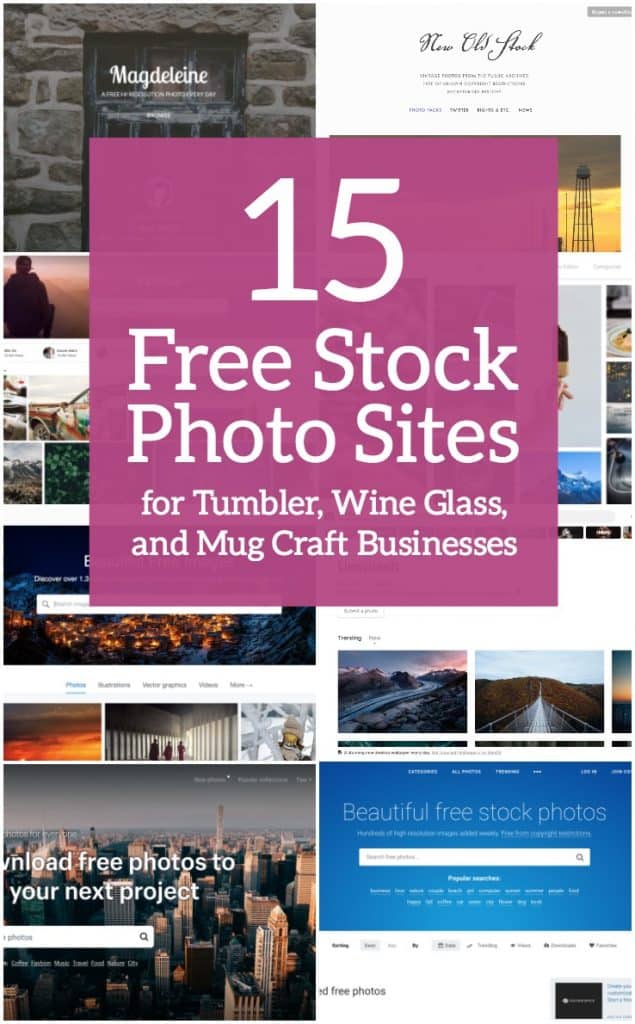
Free Stock Photos with Drinkware Options
Unsplash – This is my #1 favorite because the quality will blow you away. Stock photo aggregators like Pexels and Pixabay pull in these images quite a bit, so I like to skip the middleman and go straight to Unsplash instead. There are a ton of great shots of drinkware in here. Just search for “wine” and you’ll see. Gorgeous.
Pexels – This is my #2 favorite out of the whole list. It aggregates from tons of other sites but really does a good job of only displaying the higher quality options. There are lots of fantastic shots of wine glasses, mugs, and other drinkware in here so it’s a great choice for drinkware mockup resources.
Pixabay – This is a decent option for nice drinkware-mockup-ready images but also can be a little hit and miss on quality. There are some surprising choices…sometimes a good surprise, and sometimes not! LOL But it’s worth checking out if you want some different options. There are plenty of lifestyle and people shots to choose from.
StockSnap – This one is quite similar to Pexels. There are plenty of drinkware options plus lots of other choices and pretty high-quality. They add hundreds of new images each week.
Burst – This site is very polished and nice. I’ve definitely found glassware images here (high-quality ones!) that I haven’t seen other places. It’s worth a look!
FreePhotos – There are some lovely choices here with wine, beer, and even milk pouring into a glass. Plus plenty of other lifestyle and real life shots that you can use in your small business.
Goodstockphotos – This one doesn’t have a whole lot of drinkware choices, but does have some and I think the name is pretty accurate. These are “good” stock photos, but not the highest quality I’ve seen. I’d check Good Stock Photos out if I felt like I had used up all the great options on my more preferred sites.
Stockvault – Drinkware is available on Stockvault, but I’d say the majority of what they have to offer is really neat and colorful travel and lifestyle images. This is a fun but limited choice option.
Picjumbo – If you search for “glass” there are few nice options but not a whole lot of choices overall. Great for social media photos, however.
Free Stock Photos – I’m not gonna lie, this site looks a little janky, LOL! But, there are some fun and interesting things to choose from in terms of clip art, and a few drinkware choices. This is one of those sites that is just fun to search through for treasure, like when you go to a thrift shop.
Rgbstock – This site is good for a last resort for drinkware image searches. The quality is not great, they look like a lot of very amateur photos. However, if you are looking for a particular item, like an unusual mug, for example, this could be the site where you find it. Then, use your photo editing skills to make the image look top notch for your mockup needs.
Negative Space – This site has some drinkware, but not much. However, I’m including it because the quality of the images is very high and it was some unusual and quirky shots. I think you could create a really interesting Instagram feed with the images from this site, plus have some mockup options.
Free Lifestyle Stock Photo Websites
New Old Stock – This one is really unique because it has vintage photos from public archives. It’s great for creating an overall “old timey” feel on social media or on your website.
Magdeleine – A great site for elegant imagery and tons of beautiful outdoorsy shots. There aren’t a lot of drinkware choices here, but if you need images to set the mood or beautify your Instagram, it’s a great choice.
Gratisography – I threw this in for fun because it has some really crazy, quirky, and funky options that could spice up your social media. I wouldn’t turn to this site for mockup materials, but for a fun post, it’s great!
Honorable Mentions: Paid Stock Photo Websites with Drinkware Options
SarahDesign (Etsy) – I’d be remiss if I didn’t mention myself as a resource. In my shops on Etsy, Creative Market, and SoFontsy, you can find readymade Photoshop Mockup files for drinkware sellers. These usually include png and jpg styled stock photo versions as well so you can mock them up in the graphics program of your choice. I hope you’ll check it out!
Twenty20 – What I love about Twenty20 is how real the images are. It’s full of photos of real people doing real things. And there are a bunch of great drinkware choices in beautiful settings.
Adobe Stock – There are a ton of drinkware options here – even ones where a single photo has up to 10 glasses in it. You just need to dig into the licensing to figure out which one you need in order to use these as a mockup for your shop. You can sign up for 10 free images so that’s nice too.
Shutterstock – These aren’t free, but you can sign up to their email list for some free images. Even though it’s a paid account, I think it’s totally worth it when you are looking for just the right glassware image and can’t find it anywhere else. You can almost certainly find it on Shutterstock.
I hope you enjoyed the list. Don’t forget to bookmark this post so you can refer back to it later. And, if you are a drinkware seller with an Etsy shop or who is wanting to start an Etsy shop, I’d love to invite you to check out my free e-course: 5 Days to Better Etsy Images. Back to Christine:
Thanks Sarah! If you recognize Sarah’s name, it’s because she’s written for Cutting for Business before. Get her tips on designing with fonts in this post and tips for creating a logo in this post.
This post has a ton of valuable information in it, save the image below to Pinterest.
Around Valentine’s Day, Easter, and Christmas, I see craft businesses selling baskets or product bundles that include candy, cookies, and alcohol. If you remember, I love product bundles (see my article How to Make More Money Selling Personalized Christmas Elves from Christmas) as a way to make your products stand out and increase your cart totals – but crafters have to be careful what is bundled together.
While we are talking food and drinks, I’ve also seen many Silhouette and Cricut users making stencils with their machines and using them to decorate homemade cookies and pies.
Let’s take a look at some cautions related to selling candy, cookies, and alcohol in your craft business.
Cautions on Selling Candy, Cookies, and Alcohol in Your Craft Business
Selling Candy in Your Craft Business
In most cases, there are no problems with including candy to create bundles in your home business. Be sure that your candy meets the requirements below.
The candy you sell packaged with your products should be store bought.
The expiration/best by date should be current, not expired, and the expiration date should be clearly visible.
The candy should be sold sealed in the manufacturer package.
I’d opt for candy where the packaging isn’t easily altered. For example, let’s look at foil wrapped chocolates like Hershey’s Kisses. It’s easy to upwrap the candy, tamper with it, and rewrap it. If you want to include something like this, leave it sealed in the manufacturer bag to increase customer confidence.
You should offer your products without the candy option. Put simply, the world is a crazy place. Some consumers are more cautious than others and won’t buy candy from a home business. (Myself included.) You could be missing sales if you don’t offer a consumable free option.
Selling Alcohol in Your Craft Business
Your product bundles should not include alcohol for sale, unless you have a permit from your state/county/city.
Selling alcohol without a permit has steep legal ramifications in all states.
If your product bundle is related to alcohol, here’s a few options:
Use alcohol in your photos but clearly note in your item description that the alcohol is not included with the product purchase.
Offer your bundle with non alcoholic beer or wine or sparkling cider.
Include a gift card to a local liquor store with your product.
Selling Homemade Food in Your Craft Business
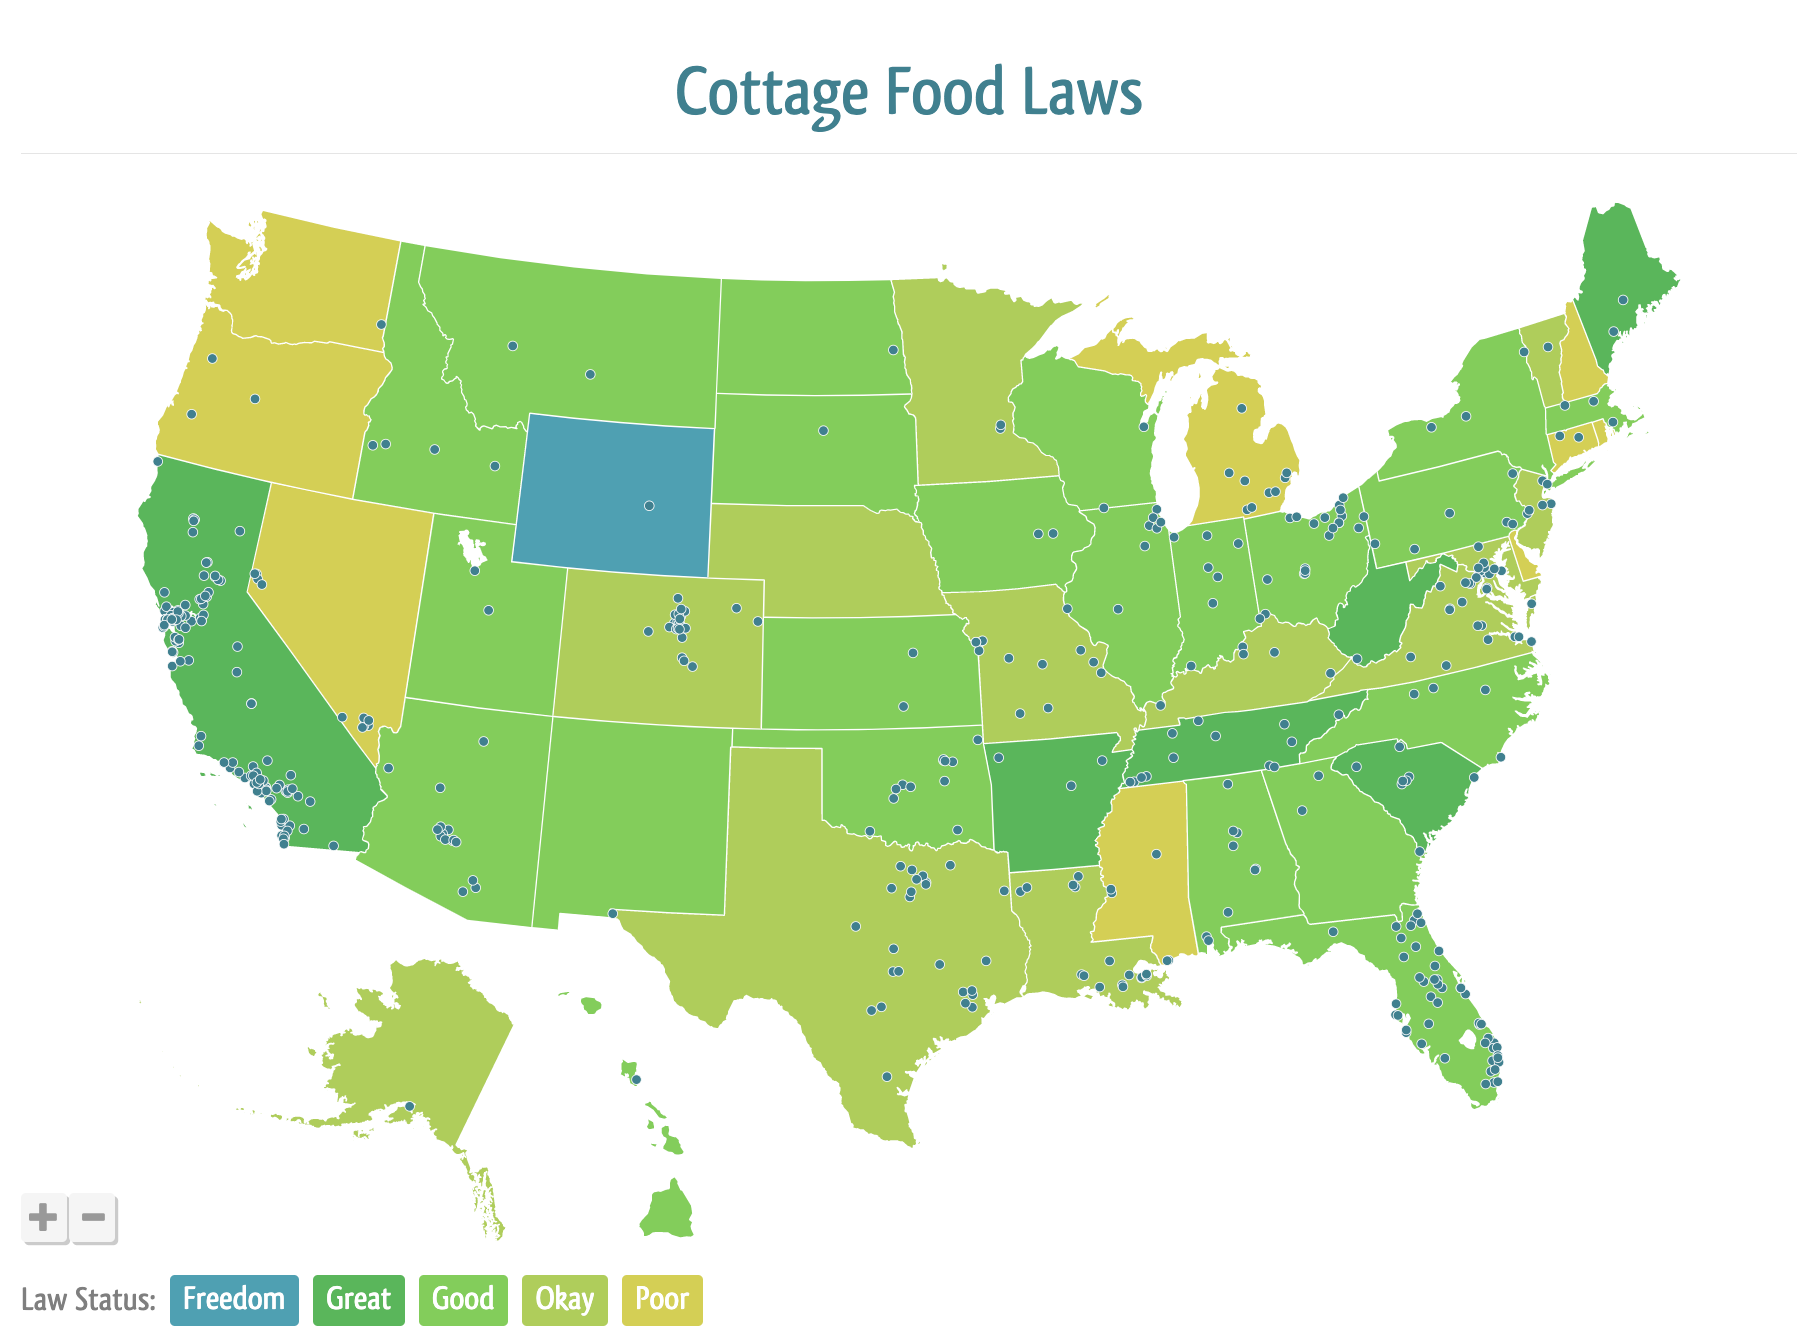
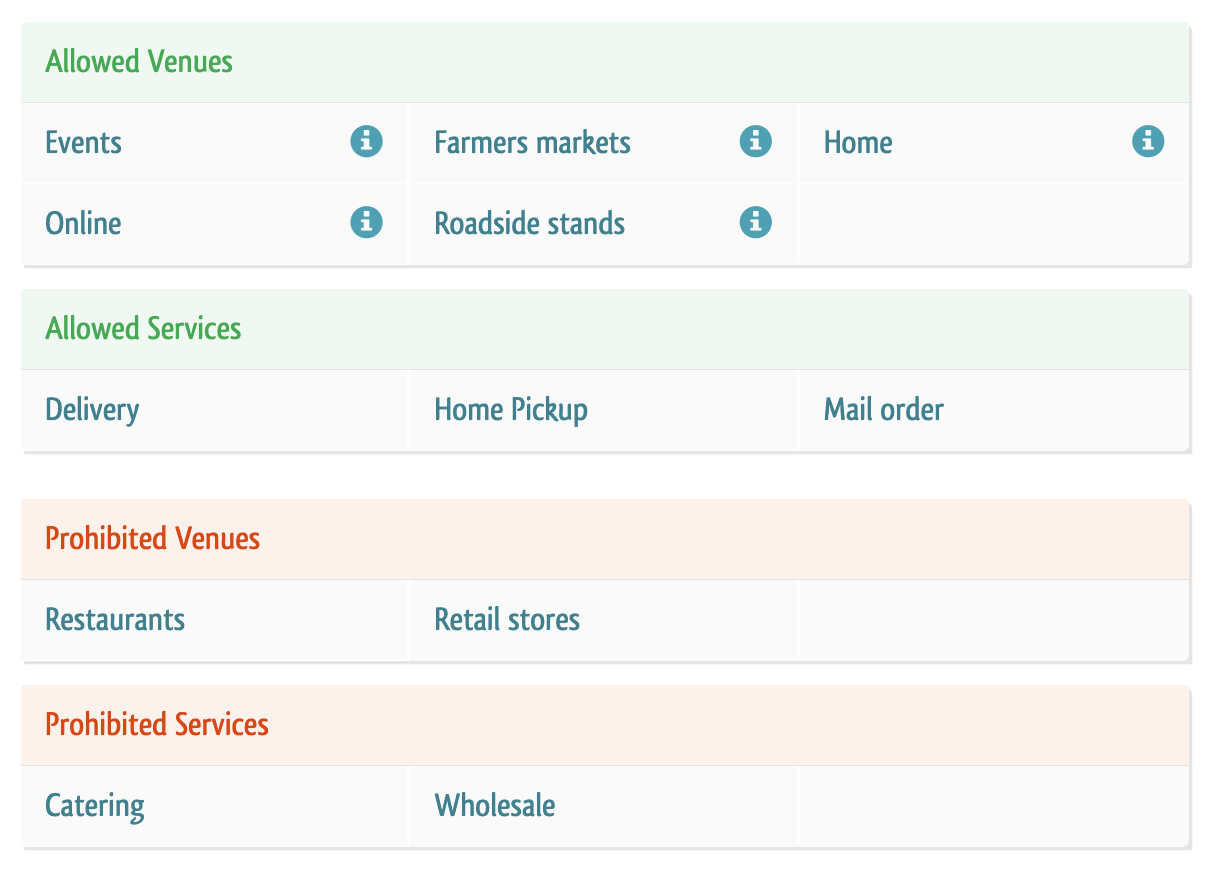
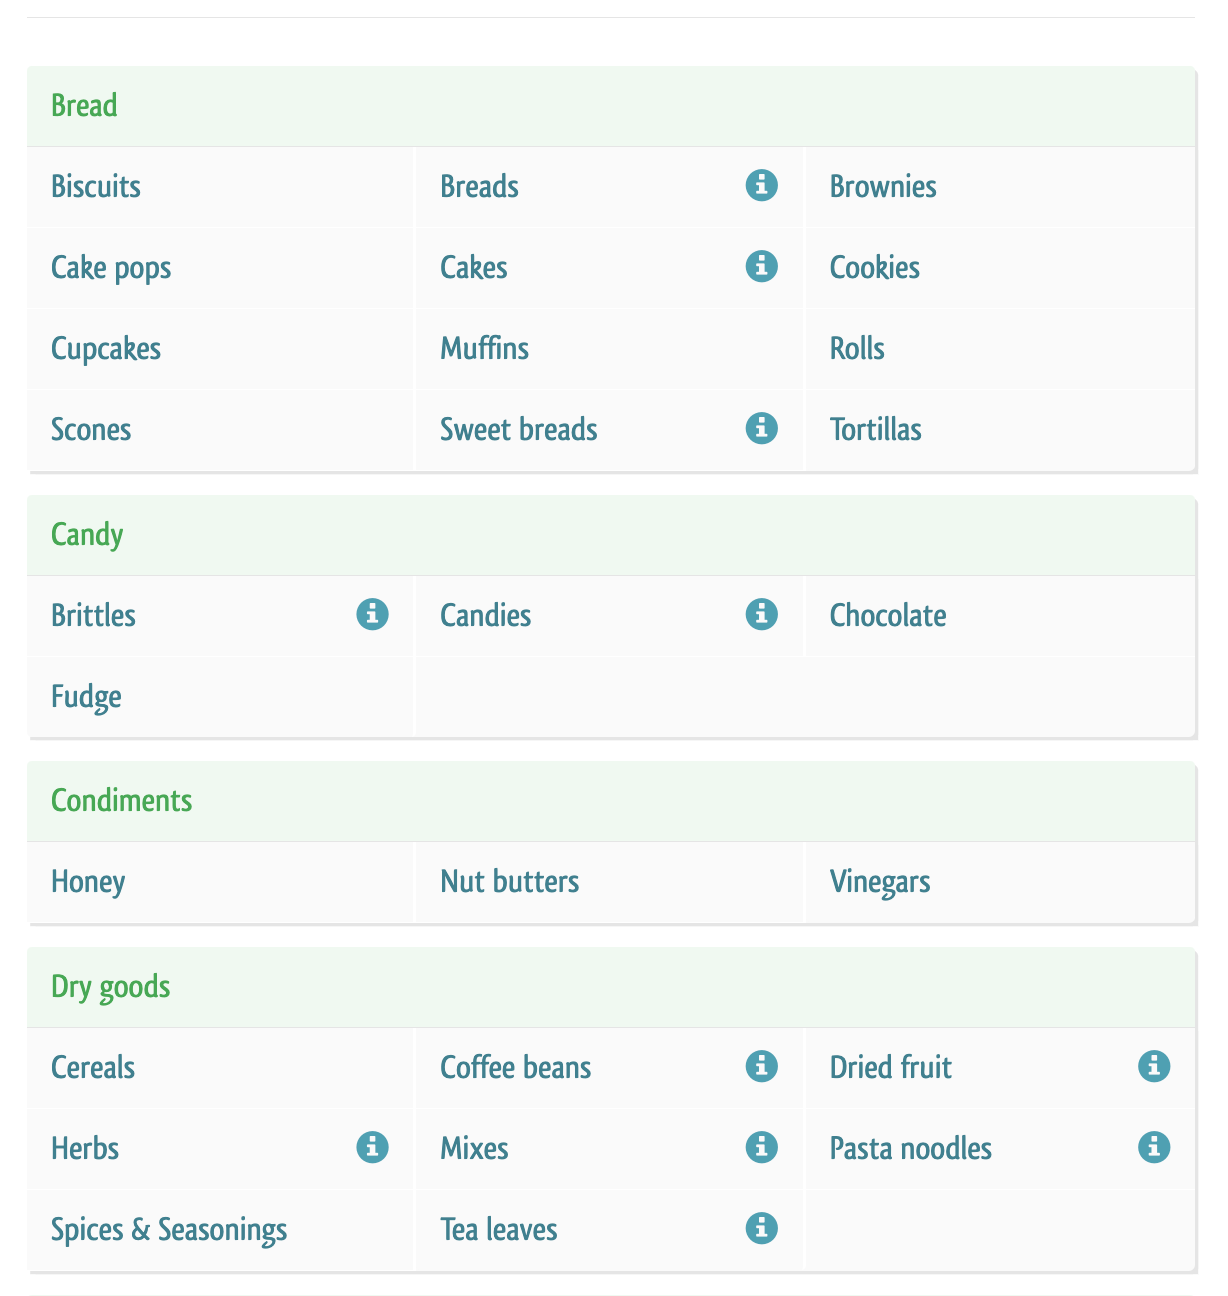
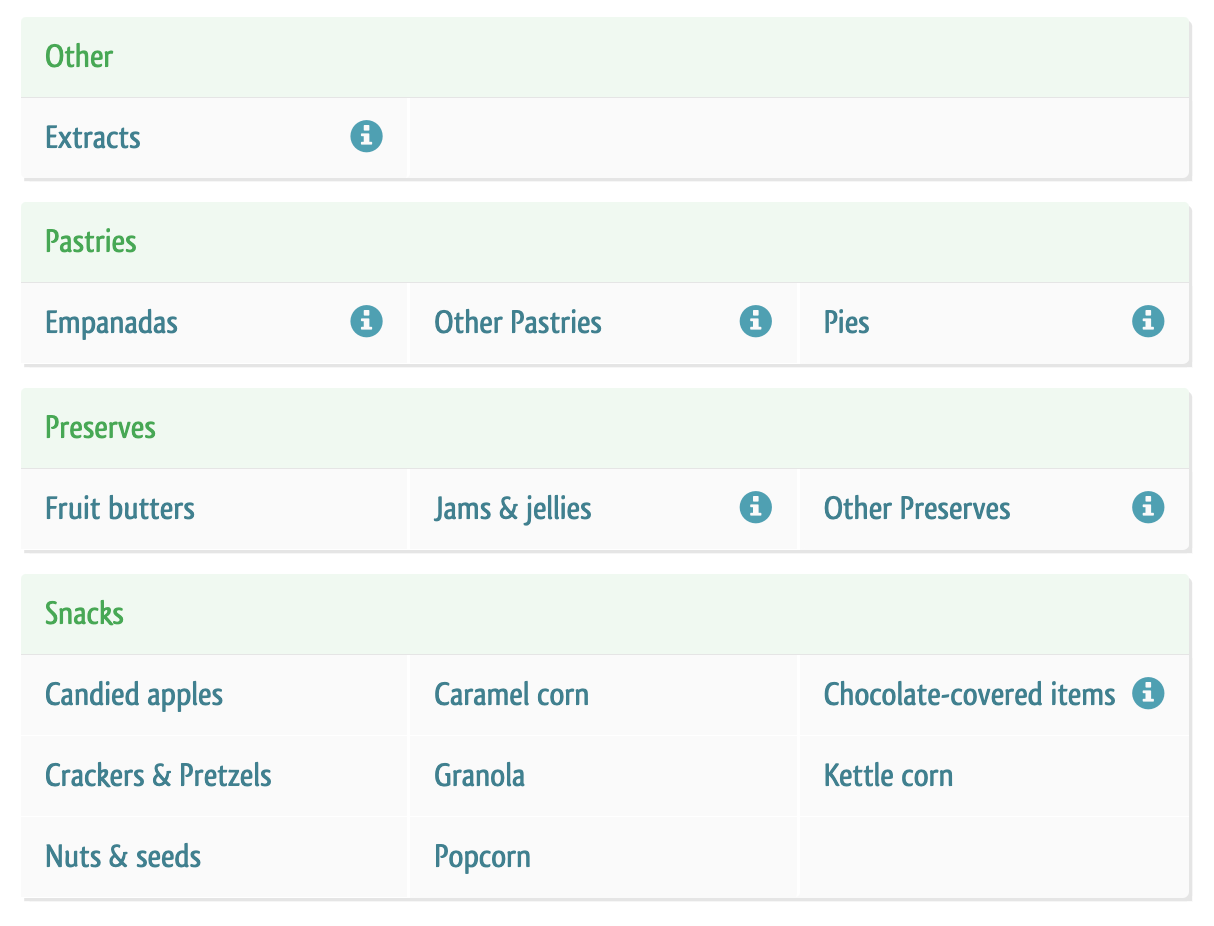
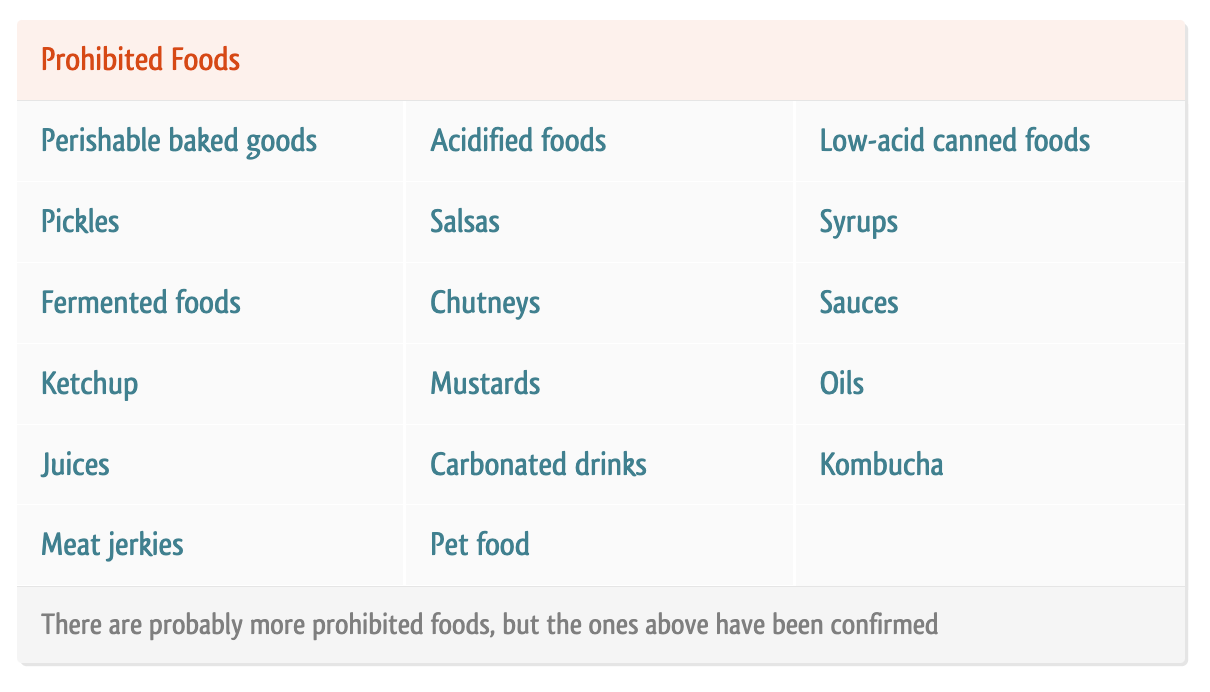
If you’d like to use your Silhouette or Cricut to decorate homemade cookies (or other foods), you need to do some homework about requirements in your state, county, and city. The best website around the web for this is Forrager.
On the Forrager website, click on the state where you live and will be selling your homemade goods.
Forrager will then give you details about what’s allowed, not allowed, and where to get more information. Here’s an example of my home state, Florida.
Tell me: Do you sell candy, food, or alcohol in your craft business?
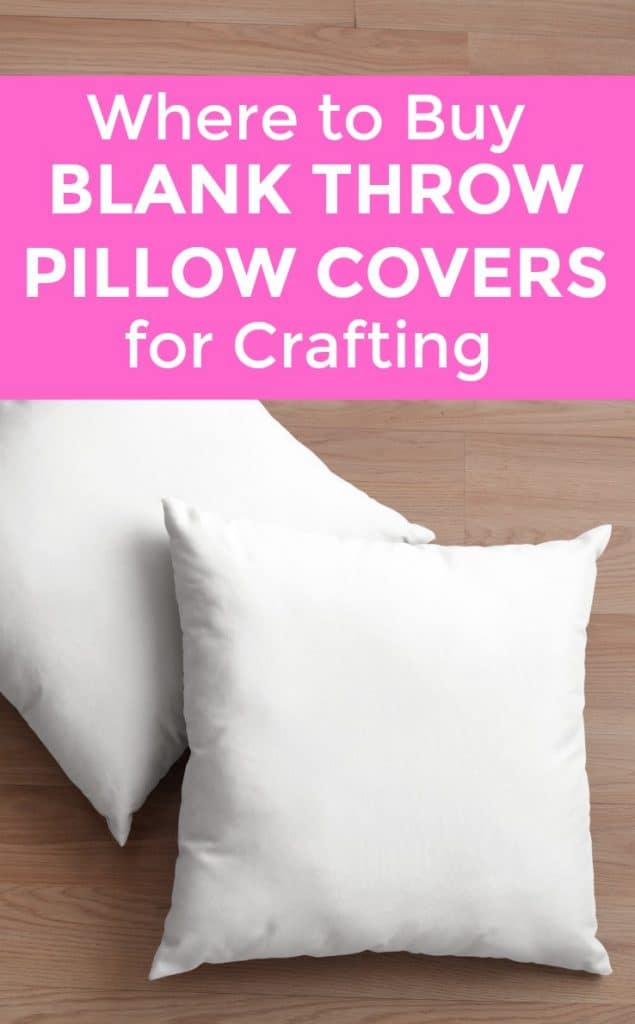
Looking to add throw pillow covers to your product line up in your Silhouette or Cricut small business? If you are wondering where you can buy blank throw pillow covers, I’m sharing my favorite sources below. Remember, if you can’t find what you are looking for, you can always pull out your sewing machine and make your own throw pillow covers.
Where to Buy Blank Throw Pillow Covers
IKEA – IKEA is my go to for blank throw pillow covers.
Specifically, I like the GURLI line. These throw pillow covers are 20″ by 20″ and are available in white, black, gray, light pink, red, pink, blue, and green. Cost: $4.00 each.
Don’t live near IKEA? Select GURLI throw pillow covers can be shipped.
Psst, some IKEA products are now available on Amazon.
IKEA also sells a variety of pillow inserts. They are perfect to sell separately, because they are rolled tightly and already bagged. View them here.
Honorable mention: the VIGDIS line. While slightly more expensive ($7.00) than the GURLI line, VIGDIS offers additional colors.
Good to know: IKEA calls throw pillow covers ‘cushion covers’. Use this search term to find them online faster.
Hobby Lobby – If I don’t have time to run to IKEA, I head to Hobby Lobby. Hobby Lobby sells a variety of throw pillow covers, but you can’t always find solid colors.
If you plan to sell pillows, you’ll need to decide whether to sell throw pillow covers or throw pillows. In most cases, I think it is more productive to sell throw pillow covers.
Put simply, customers don’t have a need to constantly buy throw pillows. However, a customer may want to buy a set of throw pillows and regularly change out the cover to give their room a new look. The best of both worlds is to sell throw pillow covers and sell pillow inserts separately.
Also, selling throw pillow covers saves on shipping costs and the covers are easier to store.
Was this post helpful? If so, save the image below to Pinterest.
Ok, I have given you some time to declutter your digital life after I wrote about it – Digital Clutter: 9 Things to Get Rid of Now – last week. Now, it’s time to tackle another New Year decluttering project: Your business Pinterest account.
You should treat your business Pinterest account like prime real estate; I mean, Pinterest is a top referrer on the internet. Let’s look at it this way: Imagine you own a shopping mall and one of your store tenants moves out. You’d get busy trying to find a replacement tenant instead of letting an empty storefront sit there. The same principle applies to your Pinterest boards: Don’t take up valuable real estate with outdated pins or pins that don’t link where they should.
To help you get started, I’m giving you some tips:
What to Delete from Your Pinterest Account
Pins with broken links. The internet is constantly changing. You are more than likely to have pins that link to pages that no longer exist. Delete them.
Pins with spam links. Pins get highjacked by spammers all the time. Delete any pins that don’t link to where they should.
Outdated pins. If you pinned something due to a sale, limited time offer, or giveaway and it is now expired, get rid of it.
Pins that aren’t complementary to your brand or product. If you have pins that don’t complement your products, delete them. For example: Let’s say you make wood signs and are in the rustic/farmhouse niche. If you’ve got pins that feature modern, sleek designs – get rid of them. These pins would attract customers that aren’t in your demographic and won’t buy your products. There is no need to keep them.
Pins that your followers haven’t interacted with. You may have thought is was the best ever ‘thing’ but if your followers haven’t repinned it, delete it.
Plan of Attack
If you’ve got thousands of pins, decluttering your Pinterest account can be a daunting task! Here’s some tips for getting the job done:
Start with your most popular boards. After you finish these, work your way down to your least popular boards.
Choose one board per day and work through it until it is finished.
Slowly replace deleted pins with high quality content.
Your Business Isn’t on Pinterest?
If you’re business isn’t on Pinterest, you are missing loads of potential customers! Pick up my Pinterest Boot Camp and in 7 days – your business will be on Pinterest.
Before you start decluttering, be sure to save the image below to Pinterest:
Last month, many crafters received Silhouettes and Cricuts under their Christmas trees. (If you didn’t go buy yourself one: Silhouette Cameo 3 or Cricut Maker!) Every January that I get tons of emails asking, “Christine, how do I start selling products made with my Silhouette or Cricut?” Today, I’m sharing my recommended path for new sellers of handmade goods. If you’ve ever gotten the chance to hear me speak in person – this will be a review. If not, this path is the same one I recommend to novice sellers who attend my speaking functions.
Recommended Path for New Craft Sellers
Start with your family and friends. By starting with your family and friends, you’ll get a taste of deadlines, customer service, and product and pricing feedback. The best part? Friends and family will likely tell you the truth about your products. If your products or pricing aren’t up to par, they will let you know. Also, this is a great time to evaluate and find out if you even enjoy selling products. If you decide selling crafts online isn’t for you – it’s ok.
Move toacquaintances. After you’ve mastered selling to friends and family, move out of your circle of friends and family to people like teachers, coworkers, hair dressers, and so on. Most of your sales so far will have been through work of mouth. Now is a good time to officially decide on a business name and start your social media accounts.
Head to a marketplace. Now that you are feeling confident with selling to people you know – it’s time to sell your products to strangers. The best way to do this is through a marketplace like Etsy. Why Etsy? Etsy can provide you traffic that will get your listings seen. Unfortunately in the online world, it can be very difficult (and expensive!) to get enough traffic to a new website to sustain a business. After you’ve been selling to friends and family and acquaintances, it’s time to get yourself onto a marketplace like Etsy.
Create your own website. As your business grows, I highly recommend switching from Etsy to your own website. Why? It’s cost effective. While having your own website is challenging and will constantly need work; it’s cheaper in the end because you aren’t paying selling or listing fees. Feel free to leave your Etsy shop in place to help bring traffic to your website.
Whatever path you choose, remember to take it one step at a time. “Rome wasn’t built in a day, but they were laying bricks every hour.” -John Heywood
Hey, before you start a business – ask yourself these questions.
Love this post? Save the image below to Pinterest.
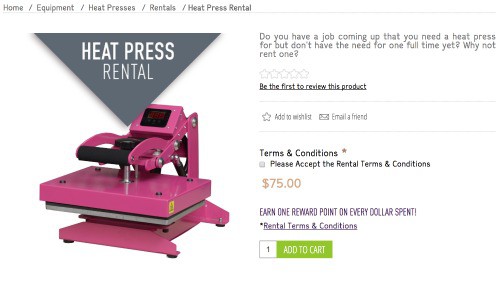
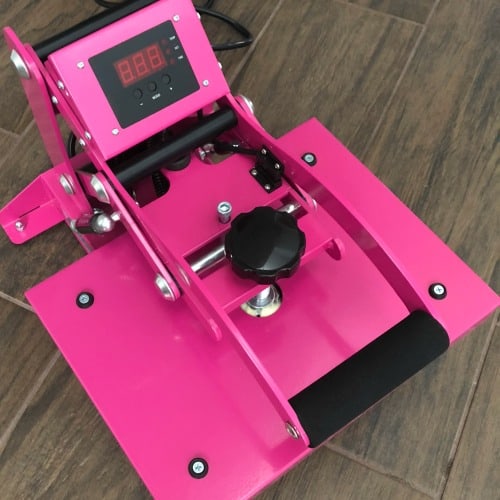
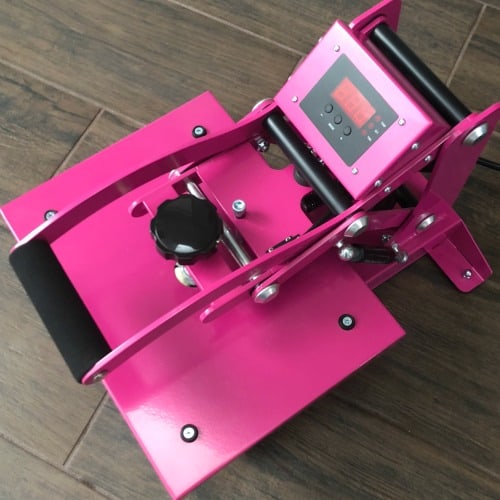
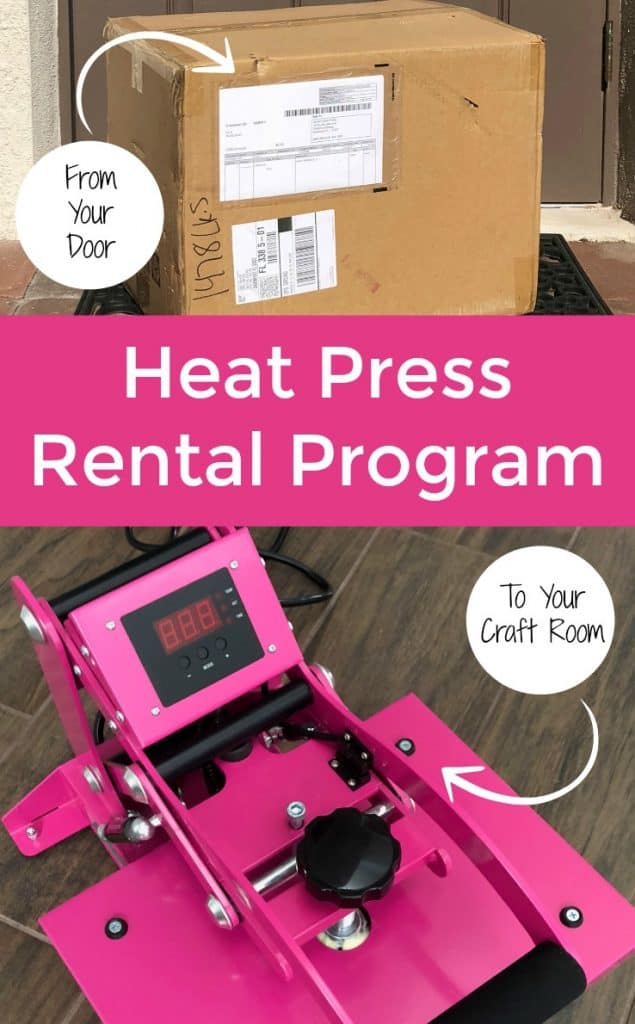
I’ve got a fun program to share with you today: Heat Press Rentals! Recently launched by Happy Crafters, this service allows crafters to rent a heat press.
4 Reasons Why a Heat Press Rental Might Be for You
New to heat transfer vinyl. If you are new to crafting with heat transfer materials (HTV), there’s no sense in investing in your own heat press when you could rent one.
Try it before you buy it. Wondering about the quality of the heat press before you buy it? Take it for a ‘test drive’ before you buy it.
Large jobs. If you have a large job coming up, rent an additional heat press to cut down production time.
Portability. Have a craft event or a home party coming up and can’t lug your giant heat press? Rent a smaller one.
How the Happy Crafters Heat Press Rental Program Works
I recently took the Happy Crafters heat press rental program for a spin. Here’s how it works:
Rent your heat press. Checkout is pretty straightforward on the Happy Crafters website. It costs $75 for a 7 day rental.
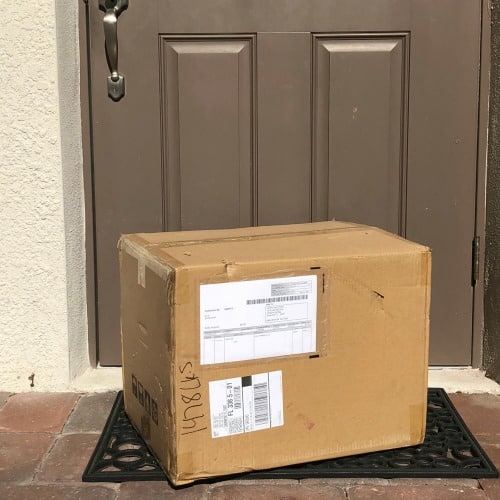
Your rental heat press is delivered to your door. Happy Crafters includes free shipping for your rental press. Mine arrived in 3 days.
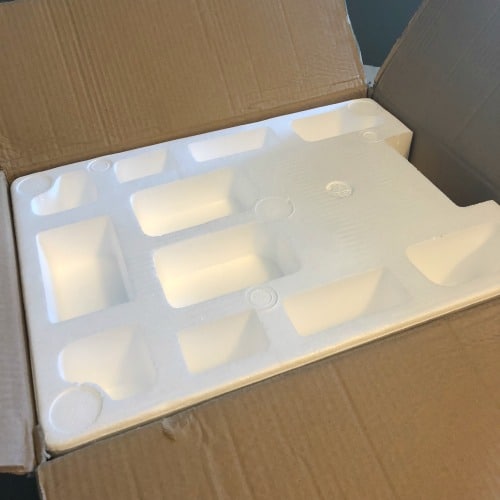
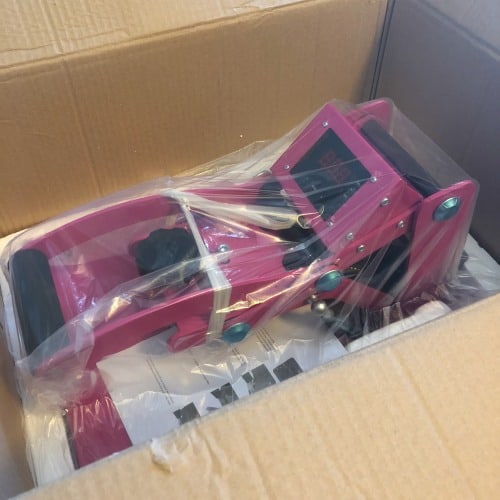
Unbox your press. I was thrilled that the heat press was well packaged.
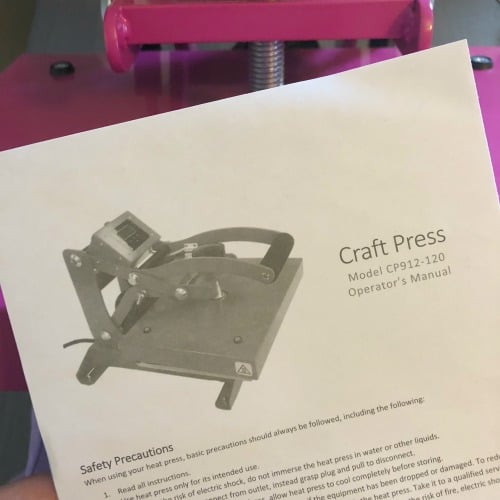
Read the instructions.
Plug it in and start creating.
On your 8th rental day (or on Monday if this is a weekend), use the prepaid shipping label to ship the heat press back to Happy Crafters. If you’d like to extend your time or purchase the heat press, reach out to Happy Crafters. Here’s a few additional photos:
About the Happy Crafters Pink Heat Press
It’s 9 inches by 12 inches.
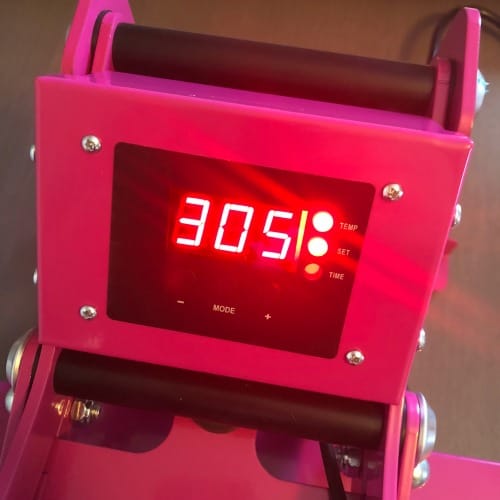
There’s a digital time and temperature screen.
It’s footprint is pretty small – 16 inches by 12 inches.
Cutting for Business readers! I have two favors to ask, straight from my heart:
Please stop selling your products too cheap. A good pricing strategy is not “look up similar items on Etsy and price yours a few dollars below”. (I actually copy and pasted that text from a Facebook Group.
Stop telling yourself your prices have to be the cheapest. They don’t have to be. And, I’m going to share with you a list of reasons why.
I know I said I needed two favors, but I actually need three: Share this with another crafter.
5 Reasons Your Prices Don’t Have to be the Cheapest
1. Cheap Prices = Cheap Materials
It may or may not surprise you that studies have shown that many buyers equate cheap prices with inferior materials or lack of experience.
Think of it in your everyday life. You see a name brand product at a store. You really want the product, however, you know you can get a cheaper one made overseas. The cheaper one made overseas probably uses cheaper materials. It’s the same premise.
So, if you are using high quality materials and you have experience making the product – price it accordingly.
2. Work Smarter, Not Harder
It may be a popular quote, but it is true. To explain this, let’s use an example:
Sally and Betty both make t-shirts using heat transfer material. One of their designs is similar and they are both selling them on Etsy. Additionally, it takes both Sally and Betty 1 hour to complete the shirt from designing to packaging. Sally is charging $10 for the t-shirt and Betty is charging $15.
For a net income of $200, Sally has to sell 20 shirts and invest 20 hours of labor. For Betty, she’s made the same profit after only 14 shirts and 14 hours of labor (it’s actually 13.3 shirts). Who would you rather be in this situation: Sally or Betty?
3. You Don’t Know Your Competitors Supply Costs
You can’t compare your product pricing ‘apples to apples’ or ‘oranges to oranges’ because you don’t know what the other small business paid for the supplies.
Perhaps, the business owner bought a large amount of supplies in bulk or has a deal with a supplier and paid much less than you.
Or, maybe the crafter with the lower price has struggled selling the product and has a lot of supplies on hand. They could be trying to discount the product to recoup the money they’ve already spent.
4. You Don’t Know Your Competitor’s Pricing Strategy
Selling at or below your cost for an item is often used as a promotional strategy.
If it doesn’t take long to create an item, some sellers will sell their items at near their cost to gain publicity, especially on social media. By gaining new social media followers, they ultimately gain more customers to purchase other items they are selling.
5. Consider the Long Term
Anyone can beat your prices temporarily – for weeks or months. However, those that are in it for the long term will burn out if they aren’t making a decent profit.
Let’s look at one more example:
Sue and Jane both sell painted wood signs with similar designs on them. It takes Sue and Jane both 2 hours to complete a sign from design to packaging.
Sue sells her signs for $36 and they cost $12 to make. Jane sells her signs for $48 and they cost $12 to make. Sue’s net income per sign is $24; while Jane’s net income is $36. In a particular week, Sue and Jane both sell 20 signs and work 40 hours.
Sue has brought in $720 for a net profit of $480. Sue is working for $12 an hour.
Jane has brought in $960 for a net profit of $720. Jane is working for $18 an hour.
At this pace, Sue brings in $24,960 a year; while Jane brings in $37,440 a year. In the long run, it’s smarter to be Jane.
Please, I’m begging you: Stop obsessing over the prices that other craft businesses charge. And stop using other’s pricing to determine your own prices. Instead, set your own goals and stick with them.
Need help pricing your handmade items? See this post.
 Wondering about a 1099 from Etsy (or other marketplaces)? Find out if you’ll get one:
 Too busy to be bogged down with filing sales tax? I use a service to file automatically. Here’s my review:
 Last, but not least, when it comes to tax preparations – deadlines are deadlines. Use your Silhouette Cameo or Portrait to whip up some tax reminder stickers.