I’ve shared before that videos are a great way to encourage interaction with your followers on social media. Today, I’m showing you how to create animated social media graphics – easily – using an app called Ripl.
Tutorial to Create Animated Social Media Graphics Using Ripl
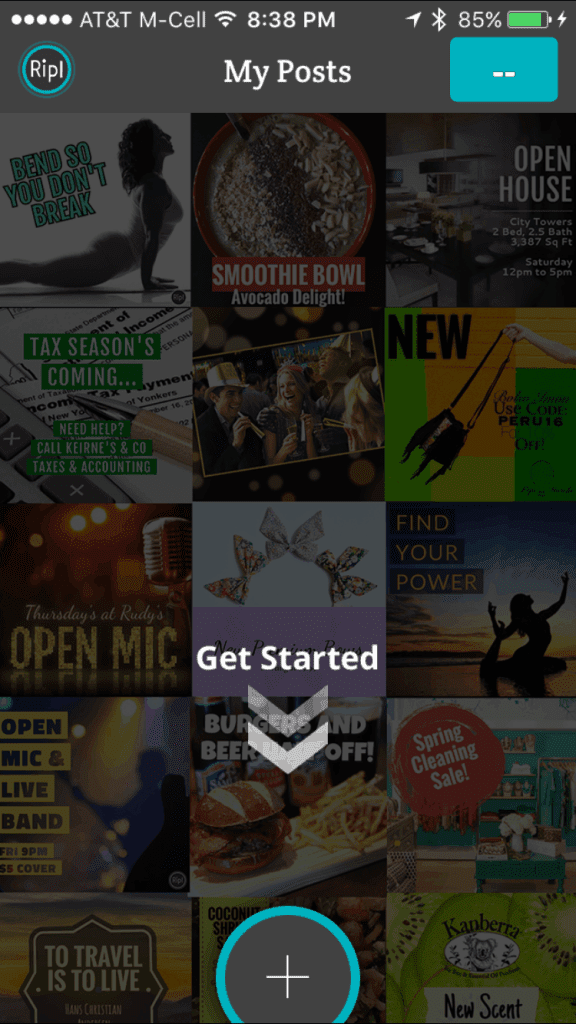
Install Ripl on your smartphone, then open the app. Tap the “+” sign to get started:
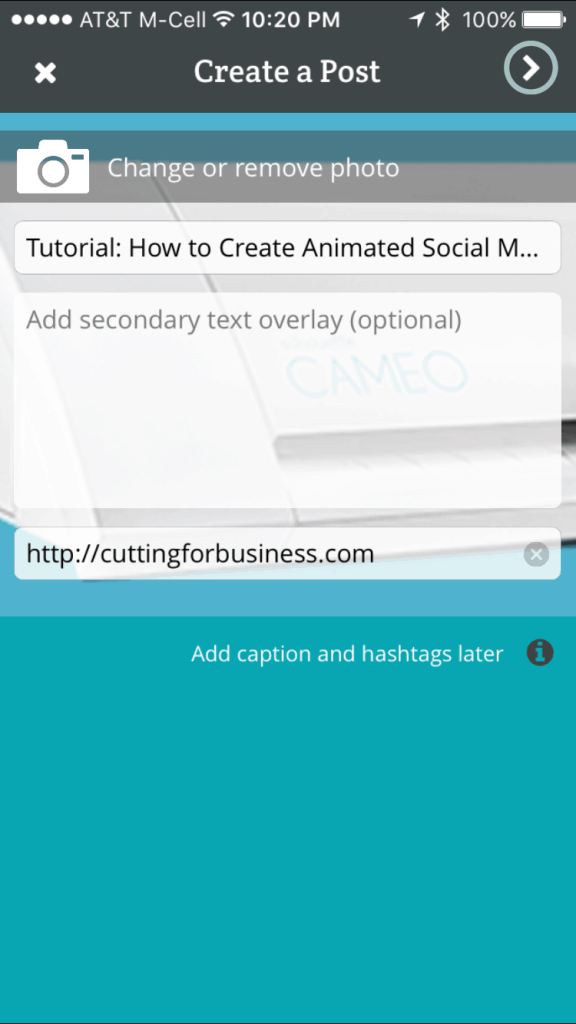
Upload a photo, enter text, and a link to your product or shop:
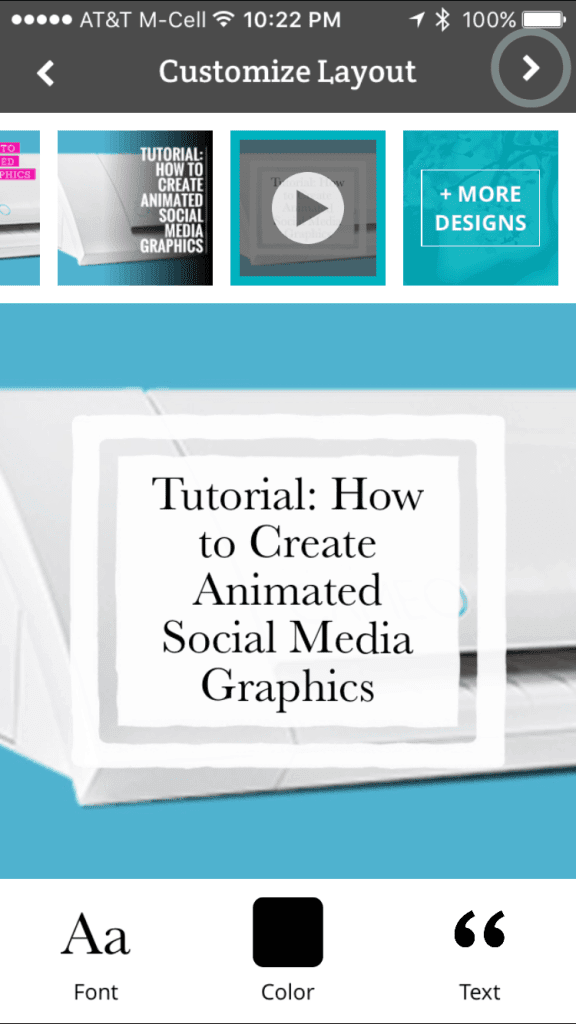
Choose an animated overlay. Use the buttons at the bottom of the screen to fine tune your design. Some layouts are free while others require a subscription:
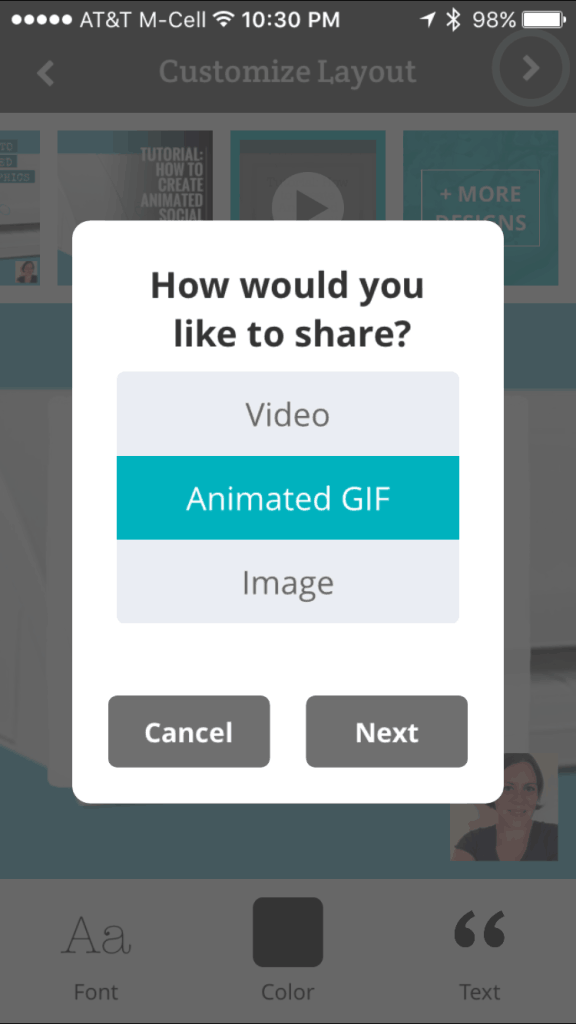
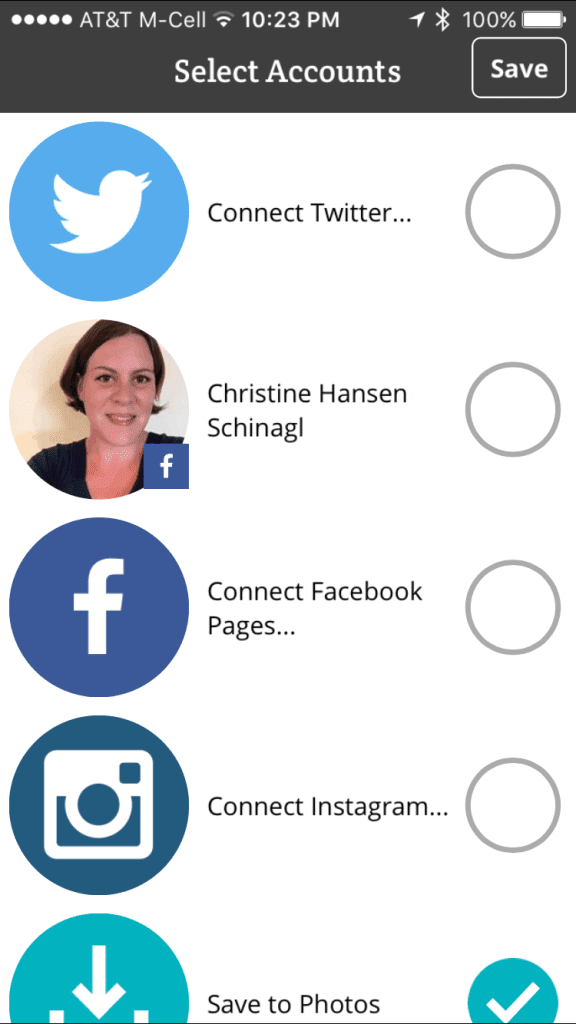
That’s it! Choose how you would like to share your post:
Upload it to your favorite social media network, or save it to your camera roll:
Here’s my animated social media graphic: [huge_it_video_player id=”4″]
To see more posts on videos on Cutting for Business, click here.
Share this tutorial on Pinterest by hovering over the image below:
Yesterday I showed you how to create original pins on Pinterest and highlighted the importance of creating pins with your products or links to your store. Today, I’m giving you some additional tips – as well as some things to avoid.
Do’s for Using Pinterest in Your Silhouette or Cricut Business
DO be consistent – posting regularly helps your pins be seen by more users.
DO include boards and pins that aren’t directly related to your business, but may be of interest to your customers. This is a great way to bring new customers to your profile.
DO feel free to use a scheduling program. I personally use BoardBooster to continuously “loop” my pins and add new pins to my boards. This cuts down my Pinterest marketing efforts and you can learn more about Boardbooster in this post.
DO delete pins. If you pinned things that users are not repinning, just delete it – no need to take up valuable space!
DO use keyword rich descriptions and include a link to your website on your original pins.
DO remember the demographics of Pinterest. Pinterest is mainly a female audience, so if your pin doesn’t appeal to women – it likely won’t perform well.
DO join group boards and pin to them. If you are interested, Cutting for Business has a recently launched Pinterest group board. Email me at christine@cuttingforbusiness.com with your Pinterest email address and I will add you.
Don’ts for Using Pinterest in Your Silhouette or Cricut Business
DON’T pin “anything and everything”. Keep your boards focused on your customer base.
DON’T forget to change your board covers regularly.
DON’T forget to change the order of your boards regularly. Keep your seasonal boards in order of the next upcoming season or holiday.
DON’T be afraid to pin the same pin to more than one board. Followers may not subscribe to all of your boards, so if it fits on more than one board, put it on both.
DON’T repin a pin without clicking it and checking the source. There is a lot of spam on Pinterest (these are links that don’t link to what the image suggests). Don’t help the spammers!
What do’s and don’ts would you add to this list? Leave them in the comments.
Today we are going to look at creating pins on Pinterest. I’ve blogged about the benefits of using Pinterest in your Silhouette Cameo or Cricut business before. In case you missed those:
Pinterest is a top referrer of traffic to websites and stores.
The primary demographic of Pinterest users is women.
Pinterest users have deep pockets: 28% of Pinterest users have an annual income of over $100,000.
Now that you know that your business should be on Pinterest, you might be wondering how you should use Pinterest. There are three steps that you need to complete:
Make sure that you are using a Pinterest Business Account. It’s free and you can sign up at this link.
Create boards and pin things that will attract your customers. For example, if you sell infant products, repin pins that contain tips for new moms or reviews of baby products.
Pin your products for sale and links to your shop. I feel the need to shout this out: If you are not pinning links to your products for sale and links to your shop, your shop will not benefit from using Pinterest. Put another way: If you only repin pins from other shops, you are driving your customers to other shops.
How to Create Pins for Your Products
Now, let’s look at two easy ways to pin your products:
If you have an Etsy shop, you can pin directly from your listing, by clicking the gray and red “Pin it” button from the right side of the screen. Unfortunately, there are a million of these pins on Pinterest, and they are not optimized for Pinterest.
Create pins using your favorite photo editor. In this post, I will show you how to use Canva.com.
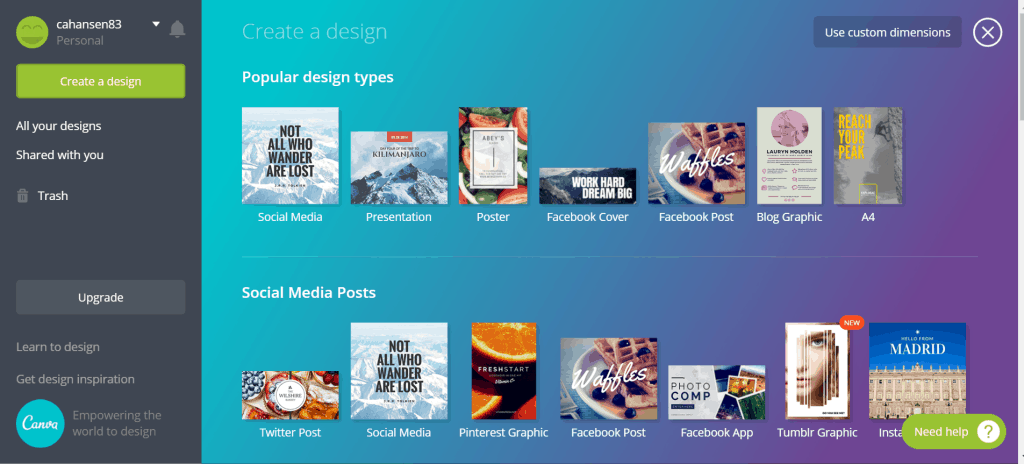
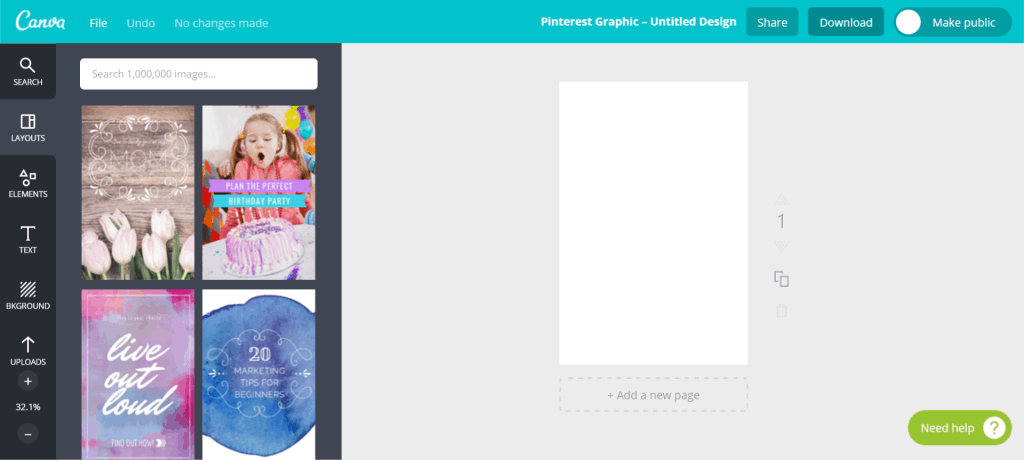
Visit canva.com, and click the green “Create a design” button, then choose “Pinterest Graphic” from under “Social Media Posts”.
Now, you will see a blank canvas to work with as shown below:
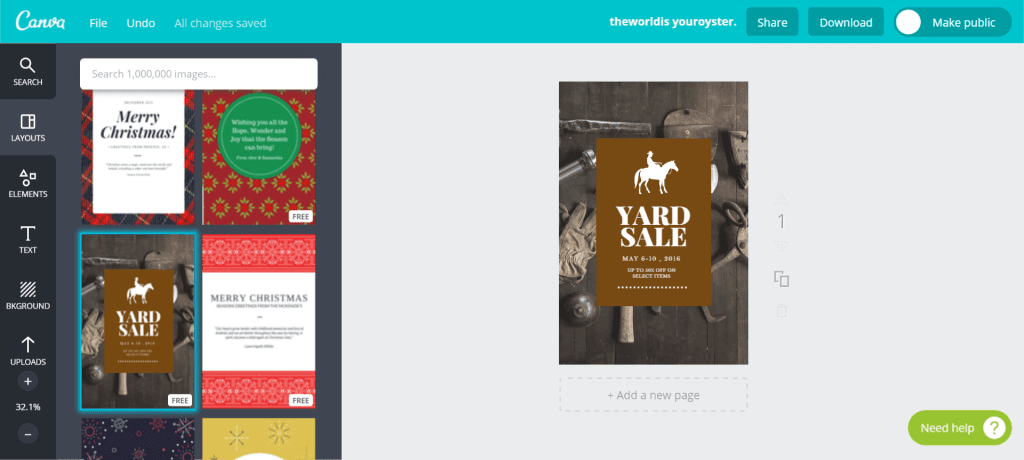
From the left hand side, choose a template to work with. Focus on choosing a template layout that you like, you will change out the photo. For this tutorial, I chose a rustic looking template. (Good to know: some templates are free; while others cost $1.)
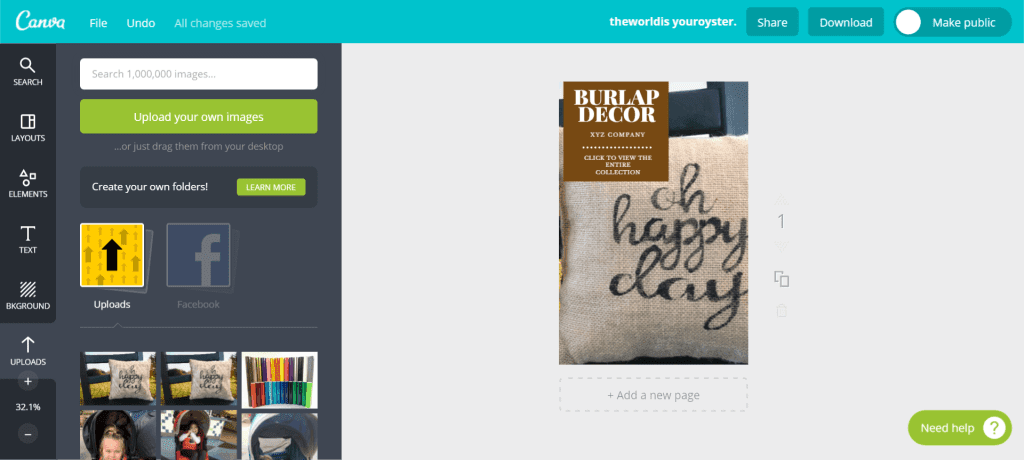
From the left hand side of the screen, upload your product photo. Adjust the size as necessary. Then, add a title and your business name in text. Be sure to include a call to action – such as “Click here to buy today”, “See the entire collection by clicking here”, or “Click to contact me and start your custom order now”.
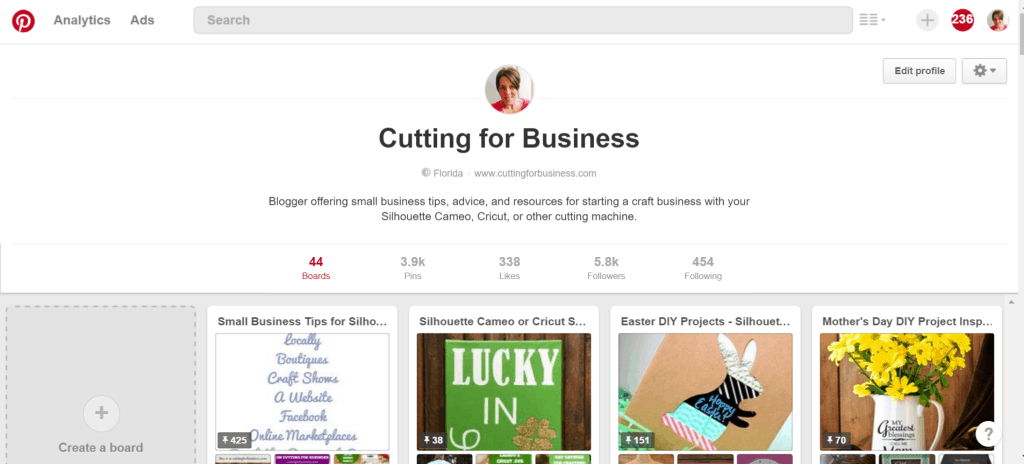
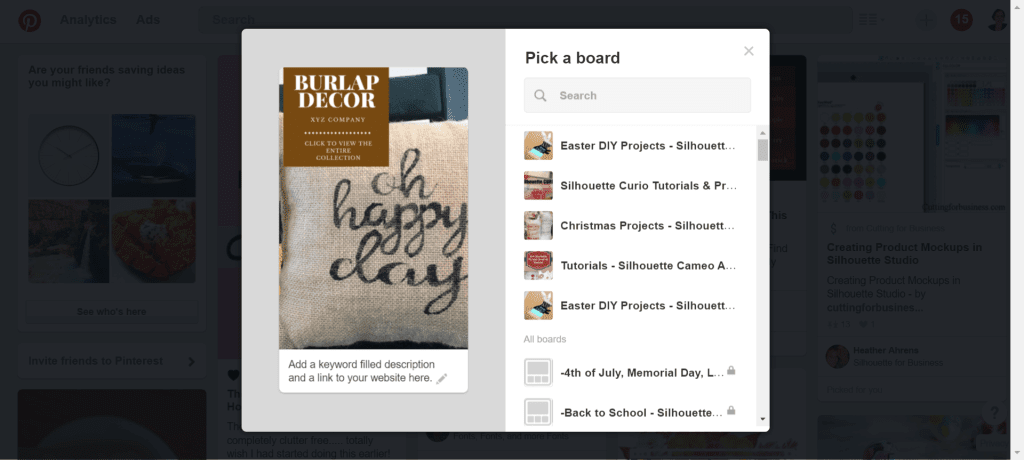
Now that your pin is ready to go, visit your Pinterest account. Click the grey “+” sign in the top right corner, then choose “Upload from computer”.
Upload your newly created pin, and write a short, keyword filled description. Include a link to your website or shop in the text. Then choose a board and pin it.
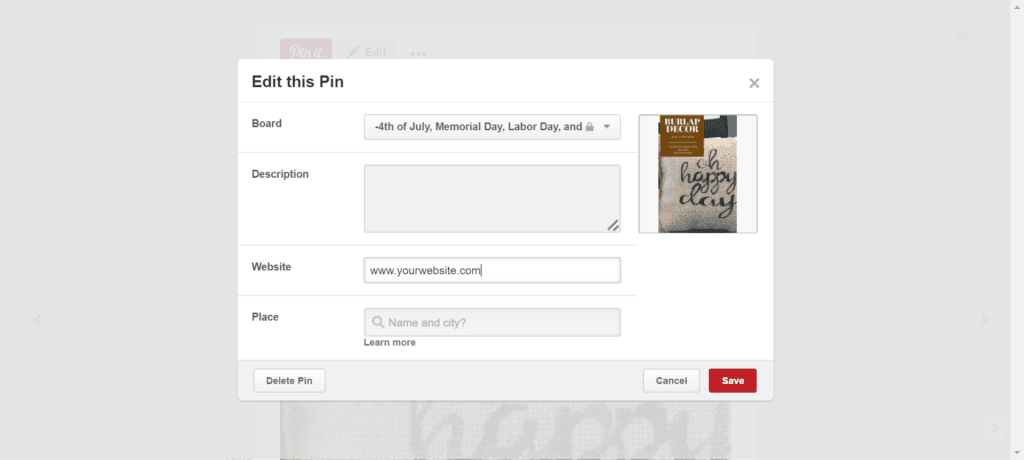
One more (very important) step: Click “See your pin” on the screen that pops up. If the screen goes too fast to click, just go to your board and click on your pin. Then, click the “Edit” button. Enter the link you want customers to go to when they click your pin. Click “Save” and you are finished.
The more pins of your own products that you can create, the more success that you will have on Pinterest. Don’t forget to view this post on scheduling pins on Pinterest and join my group pinning board at this link.
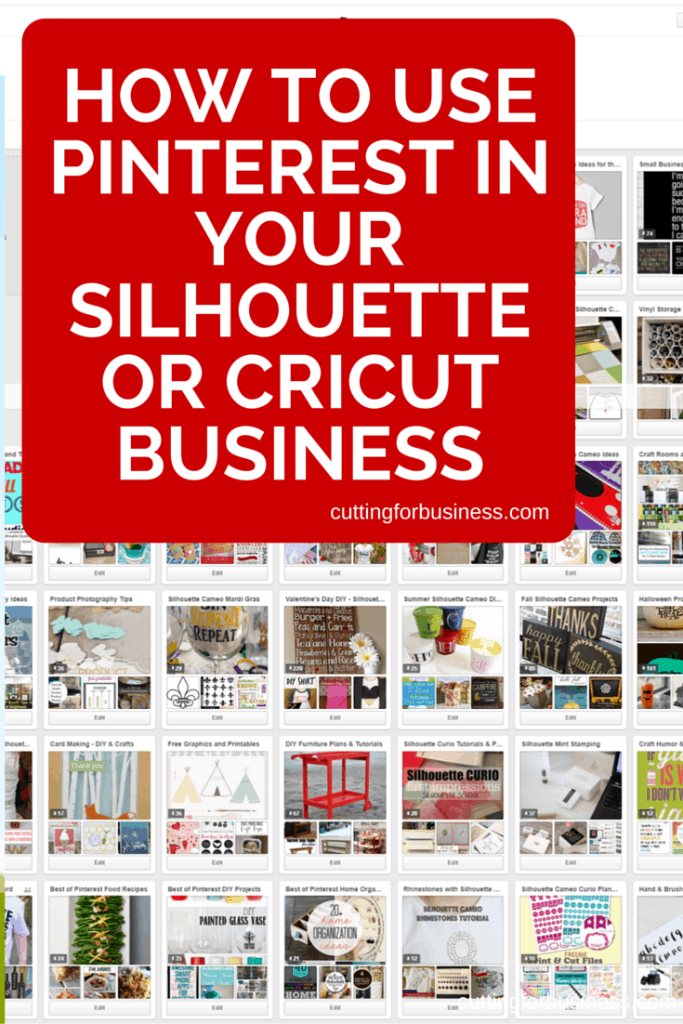
Before you go, pin this post on Pinterest by hovering over the image below:
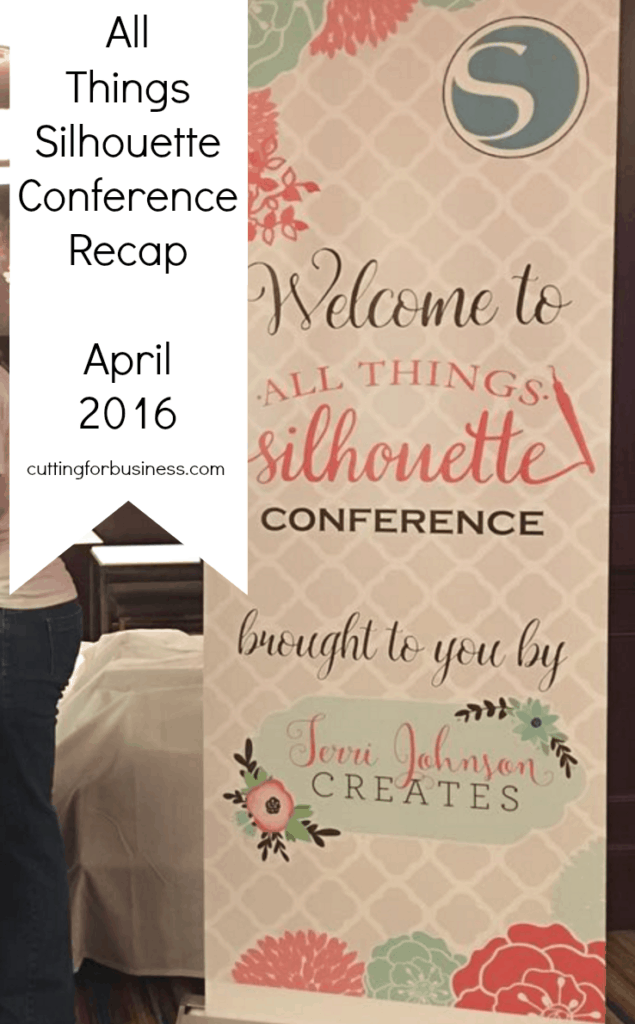
I’m just back from the All Things Silhouette Conference (ATSC) and am recapping it today for anyone that is thinking about signing up for a future conference. The ATSC was held in Peachtree City, Georgia and was a weekend full of hands on classes, lectures, contests, giveaways, and more.
Speakers and Presenters
Cindy Eckhoff – Former Silhouette America team member
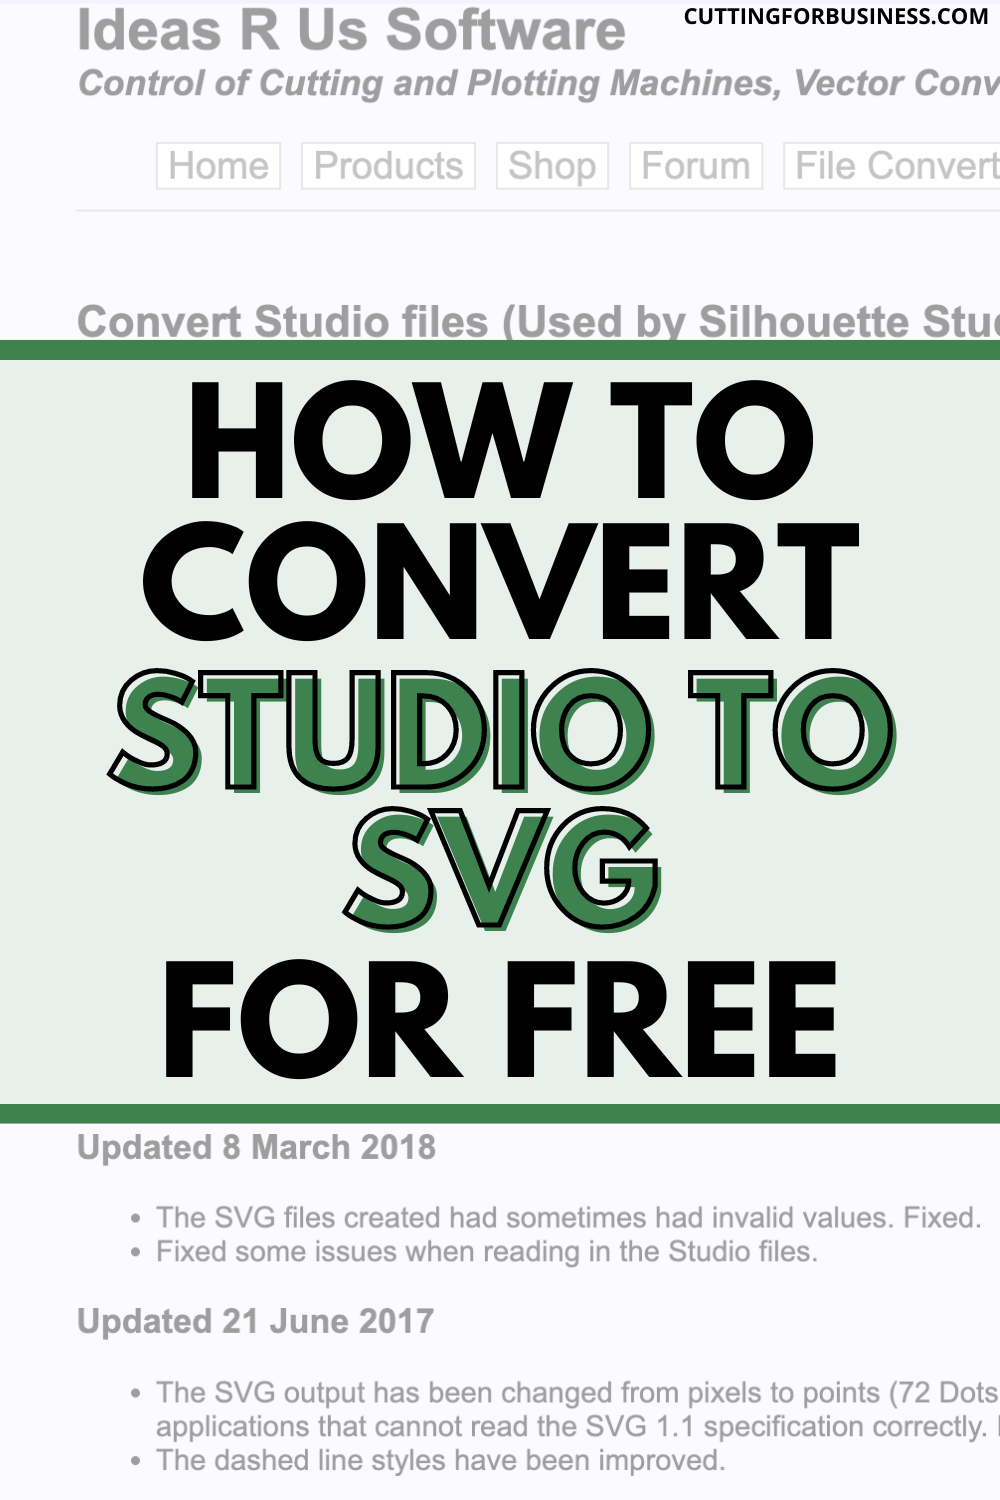
Need to convert Studio3 to SVG file? No worries, you can use a free online converter by Ideas R Us to convert a .studio3 file to .svg.
What is a .Studio3 File?
A .studio3 file is a file format used by Silhouette Studio. Silhouette Studio is the design program for users to create designs to be cut on a Silhouette Portrait or Silhouette Cameo machine.
How to Open a .Studio3 File?
.Studio3 files can only be opened with Silhouette Studio.
What About .Studio Files?
Before .studio3 files, Silhouette Studio files were saved as .studio files. .Studio is not used anymore.
Why Would You Need to Convert .Studio3 to .SVG?
Since .Studio3 files can only be used in Silhouette Studio, you would need to convert your .studio3 file to use in other programs like Adobe Illustrator.
You would also want to convert your .studio3 to .svg if you wanted to sell a design made in Silhouette Studio. .Studio3 files are proprietary and cannot be sold. I’ve written an article about selling SVG files.
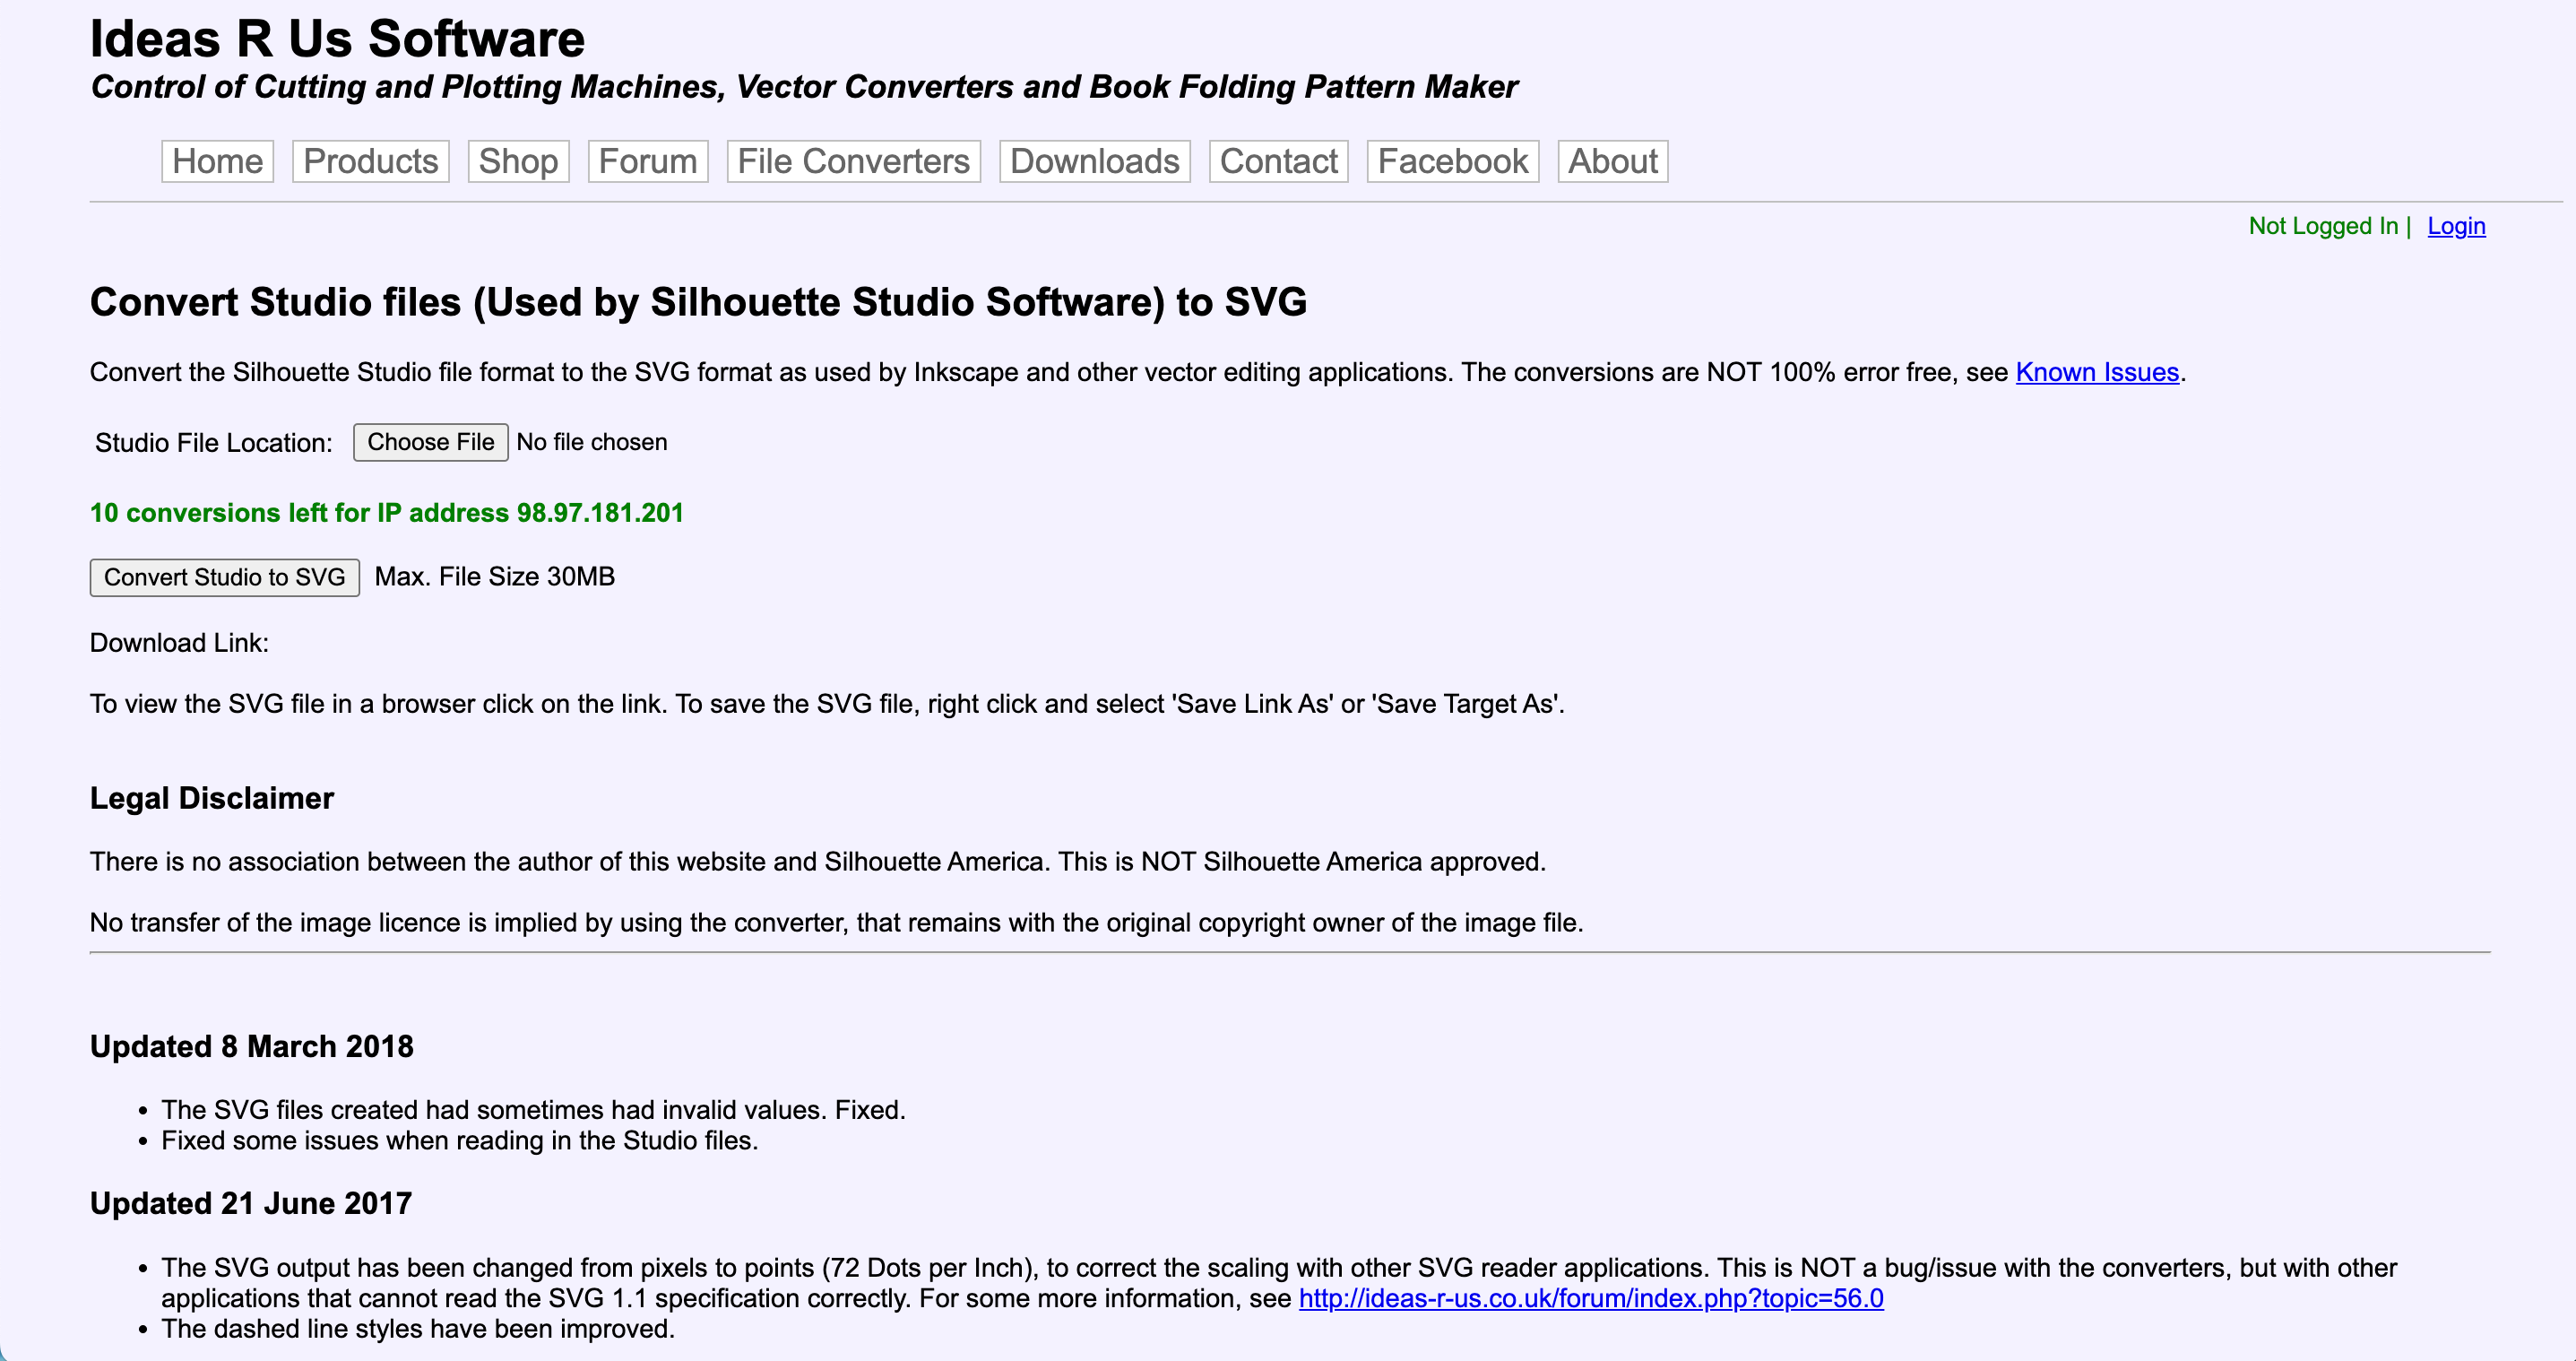
How to Use the Ideas R Us Studio3 to SVG Converter
Visit the Ideas R Us Software website. I know in 2023 that it looks a little outdated, but it still works well.
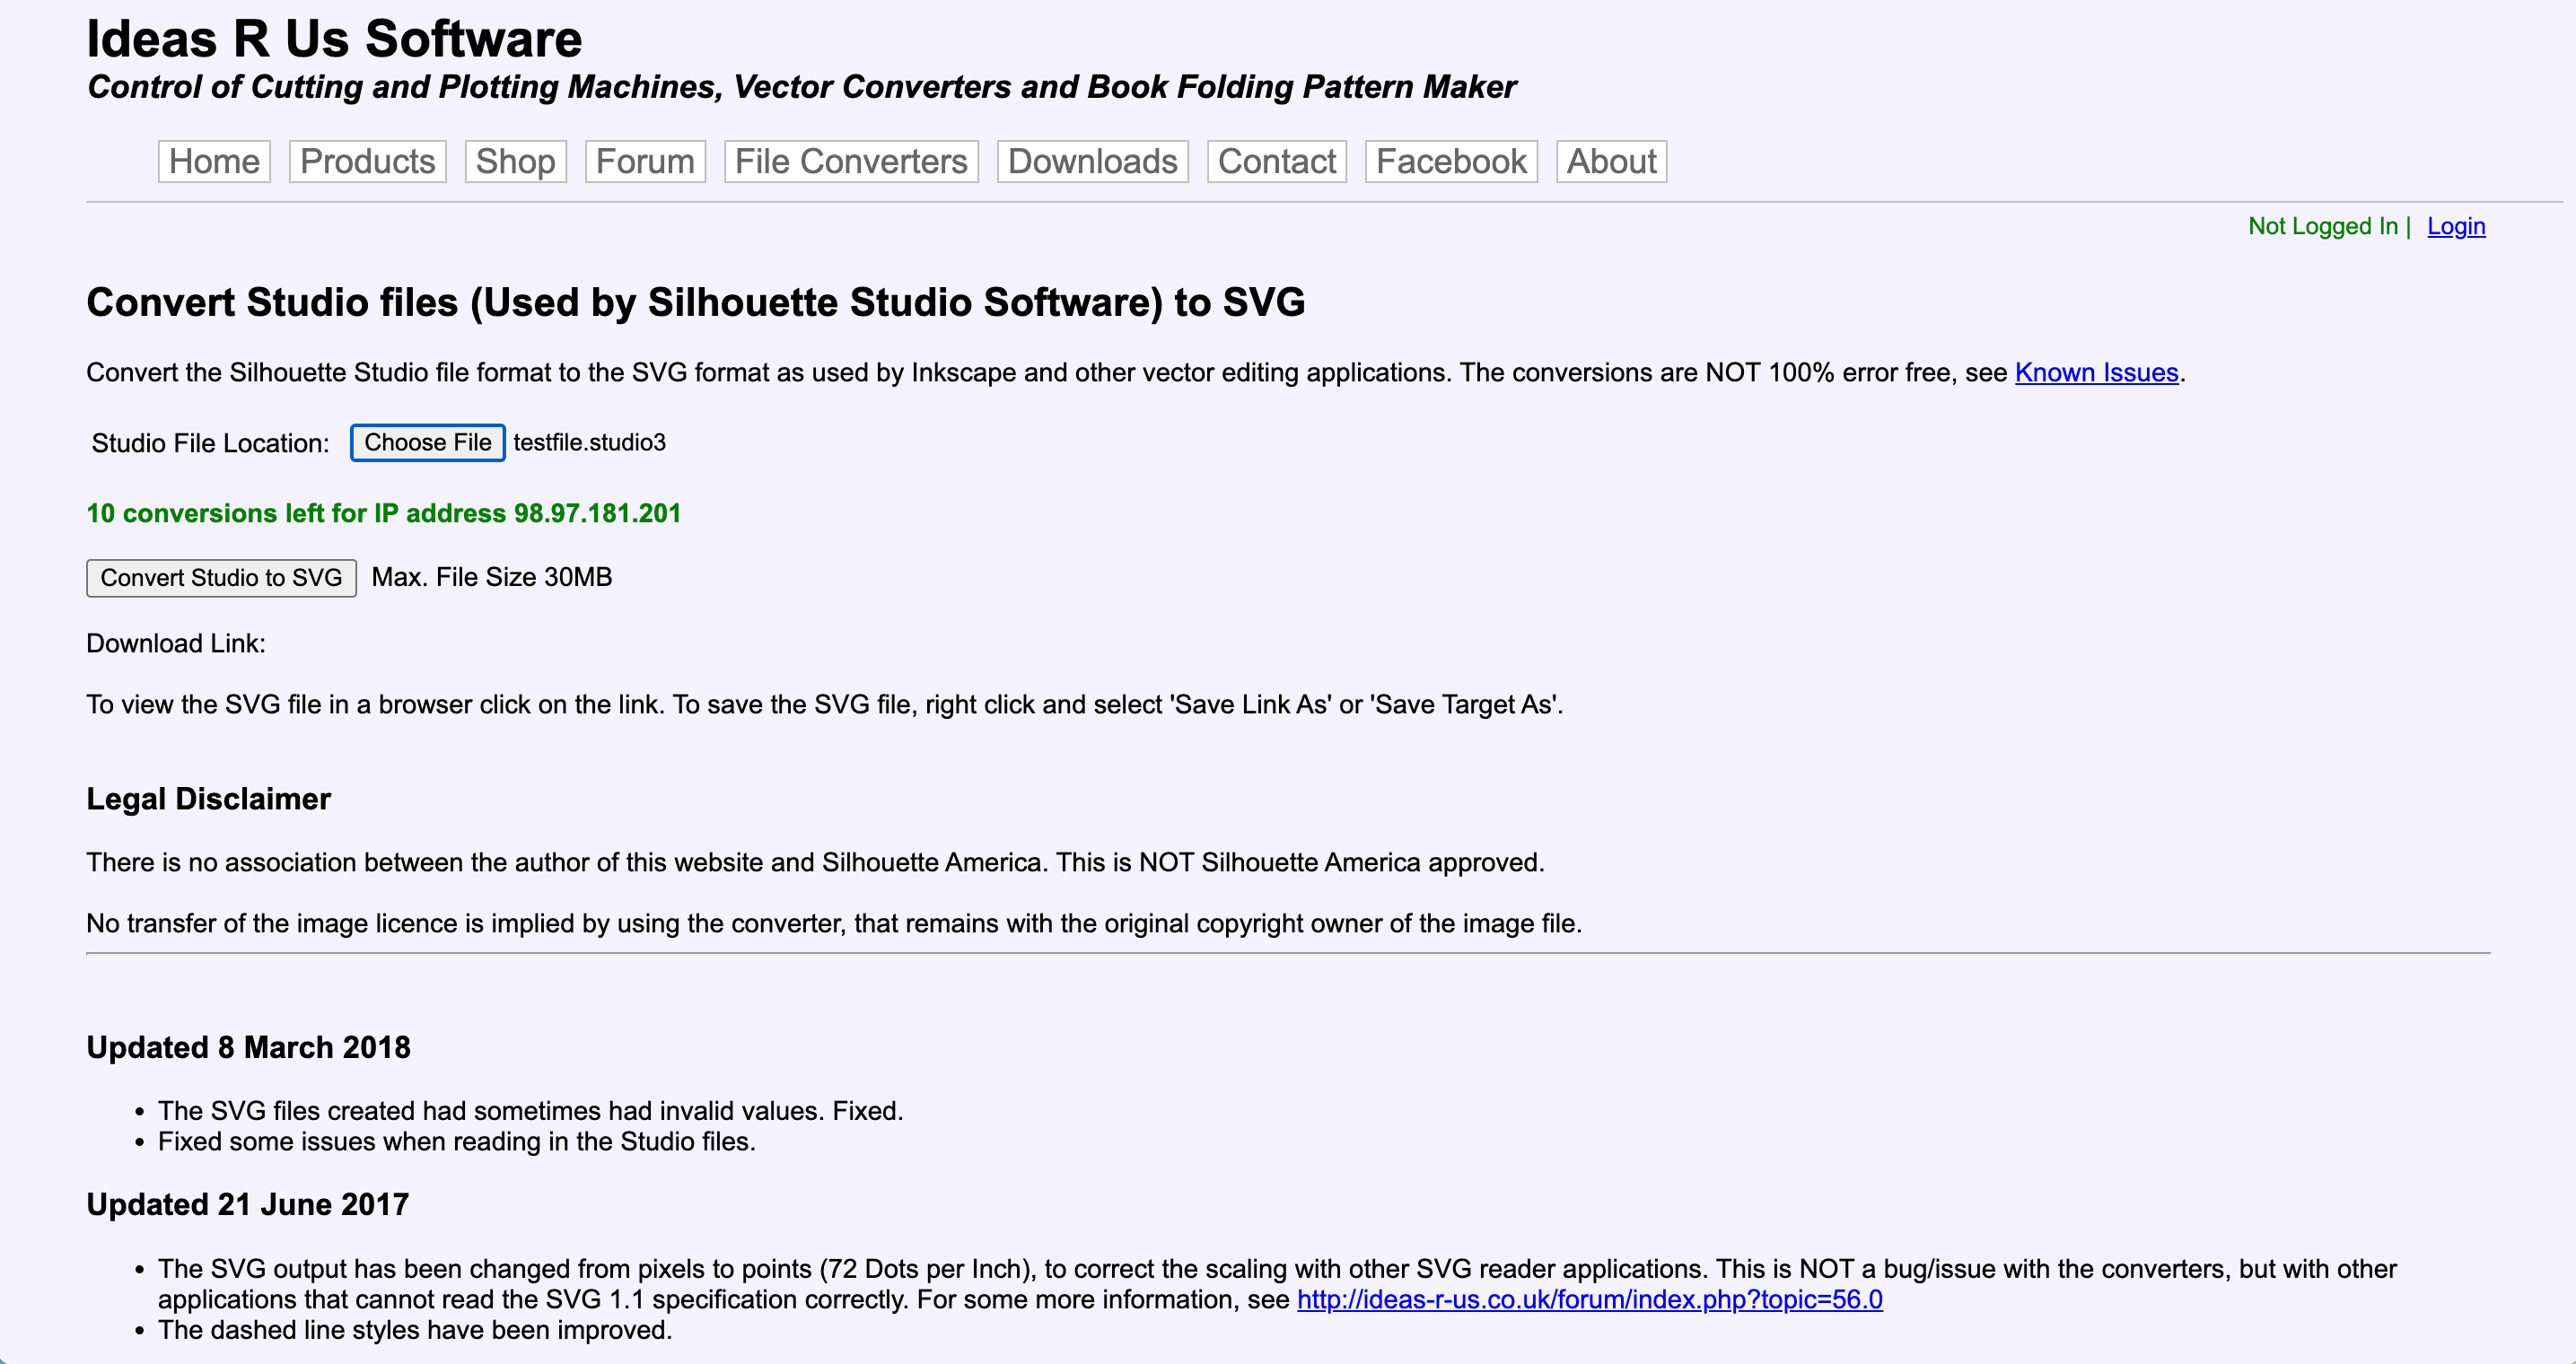
2. Click the ‘Choose File’ button and select your file.
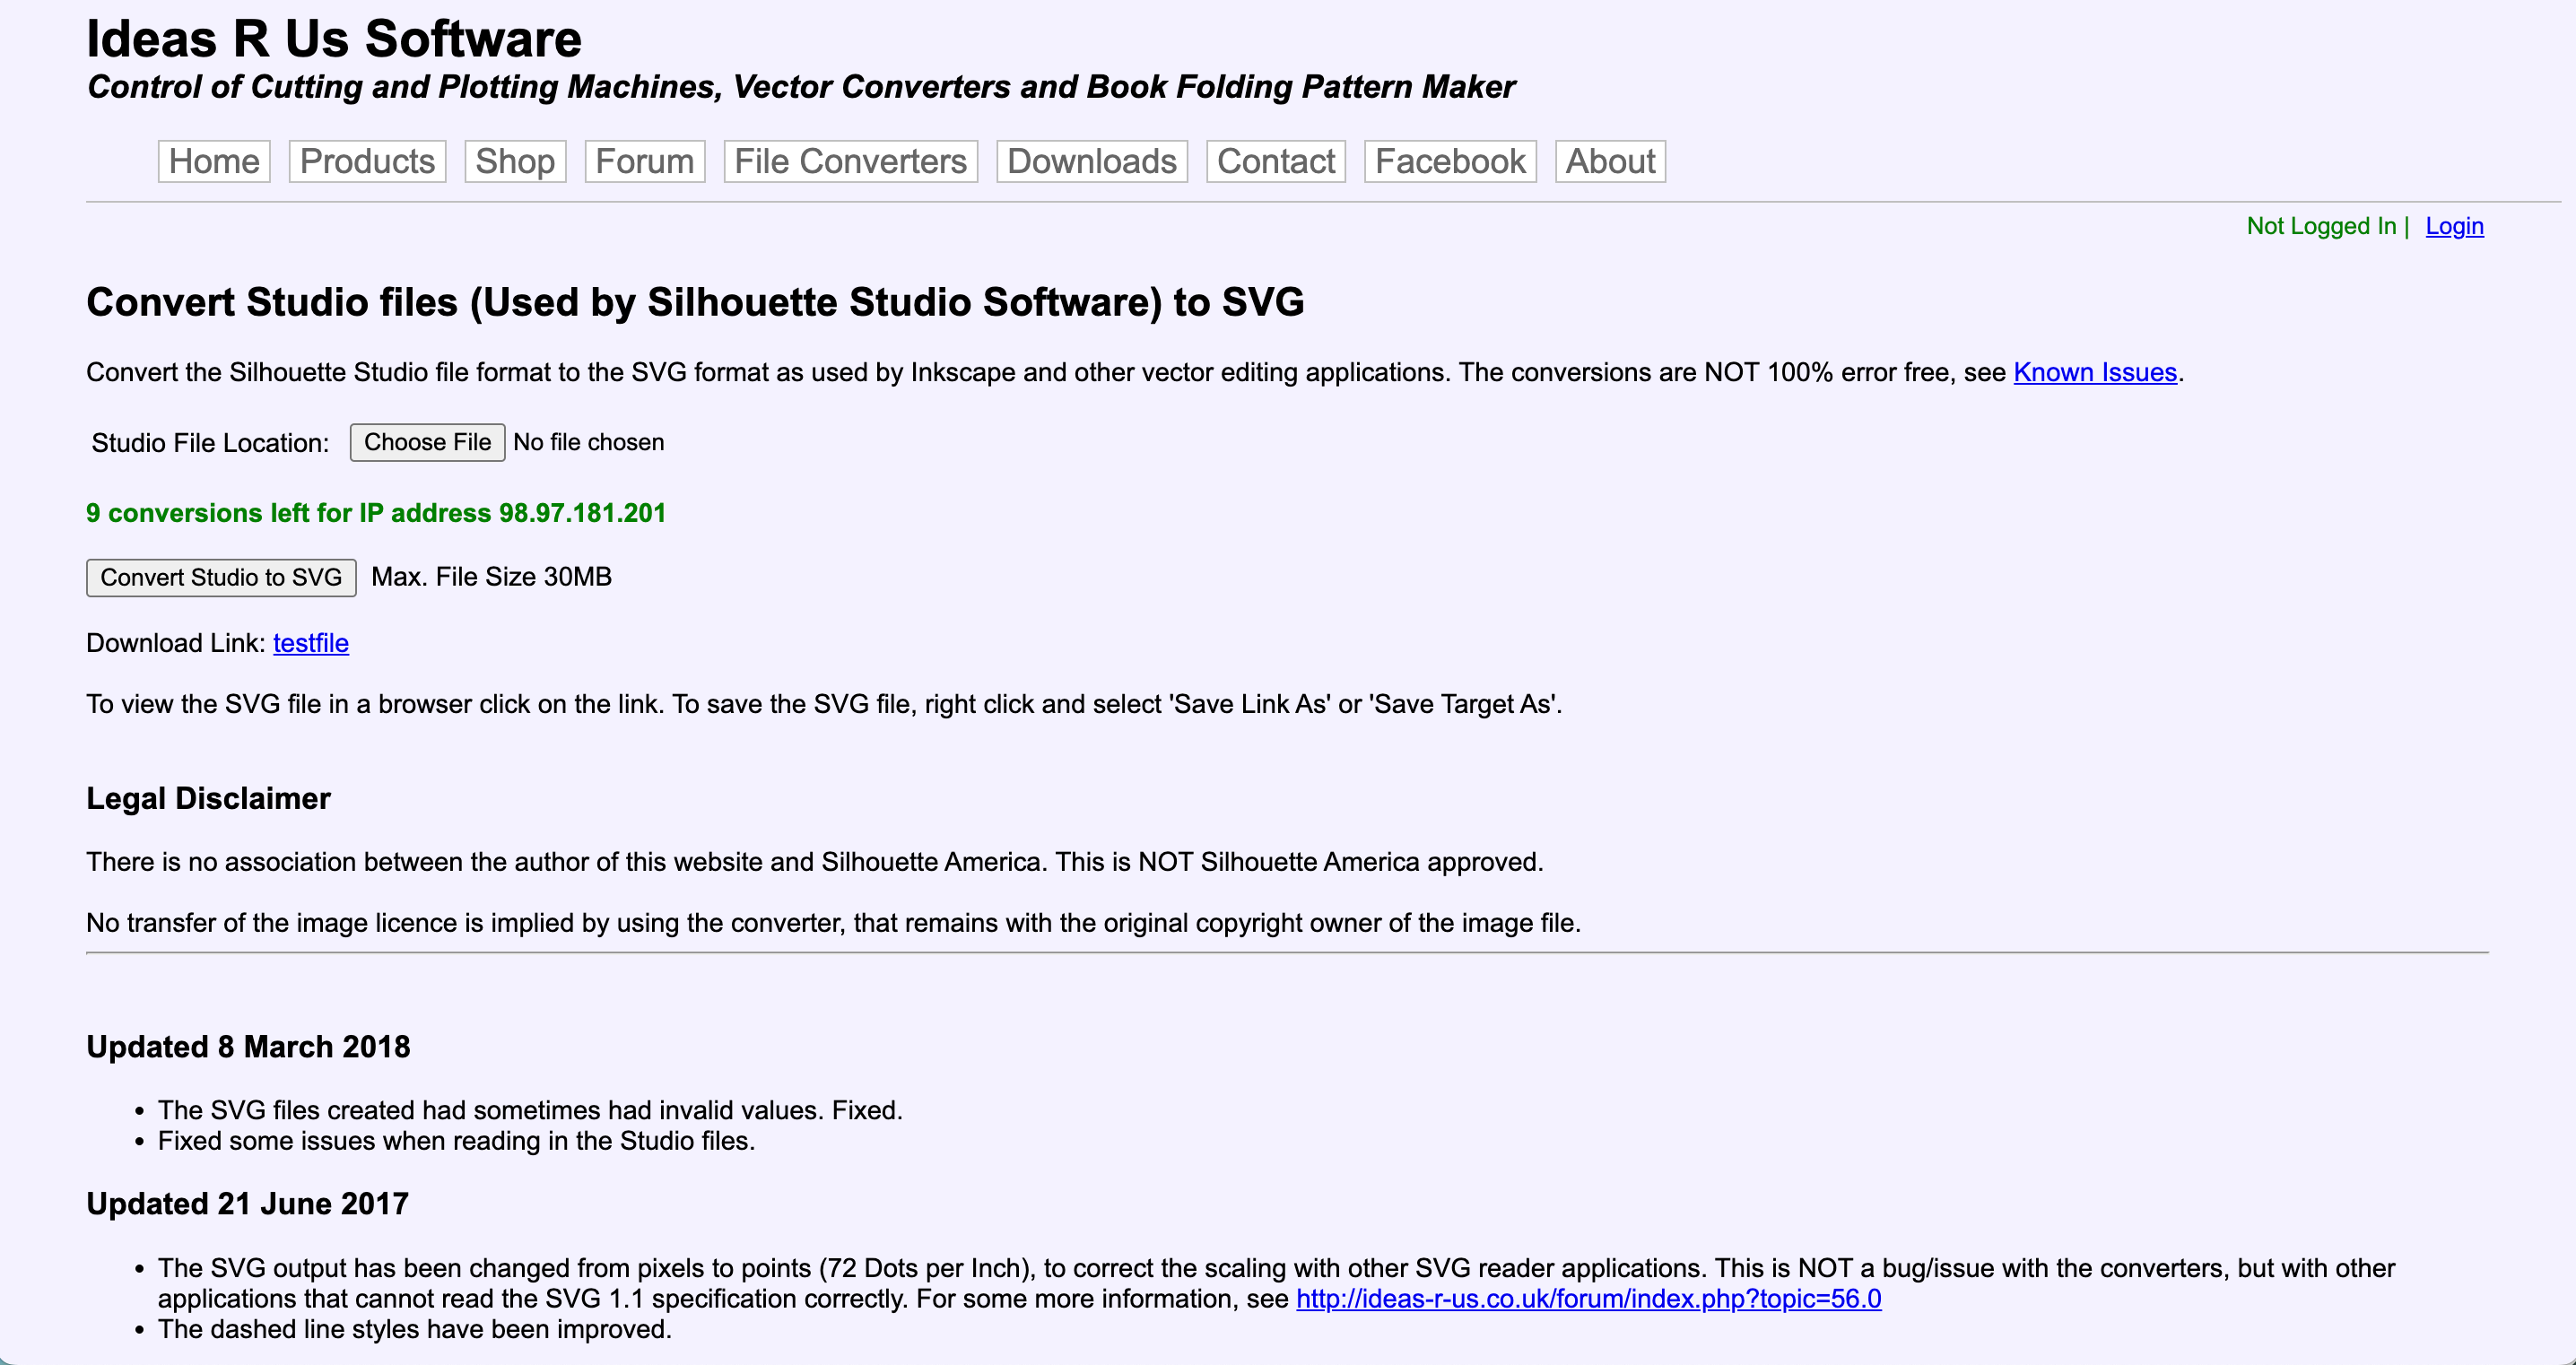
3. Click the ‘Convert Studio to SVG’ button. A download link will appear beneath the button after it processes.
4. Click the link to download the converted file. The file will appear in a browser window. You will right click it, then select ‘Save As’ to download your file.
How Much Does the Ideas R Us Studio to SVG Converter Cost
The Ideas R Us Studio to SVG Converter is free. The free option allows 10 conversions per day. Conversion credits are available a la carte if you need more than 10 conversions per day.
My Experience with the Ideas R Us Studio to SVG Converter
I tried several files and had mixed results. On simple files (those with just text or simple line designs) the converter worked fast and well.
For a few layered designs, it didn’t work as well. Ideas R Us does have a list of known issues.
Save as an SVG in Silhouette Studio
You can prevent the need to convert files by saving your design as an SVG right in Silhouette Studio. Pick up a copy of Silhouette Studio Business Edition. It allows you to save as an SVG.
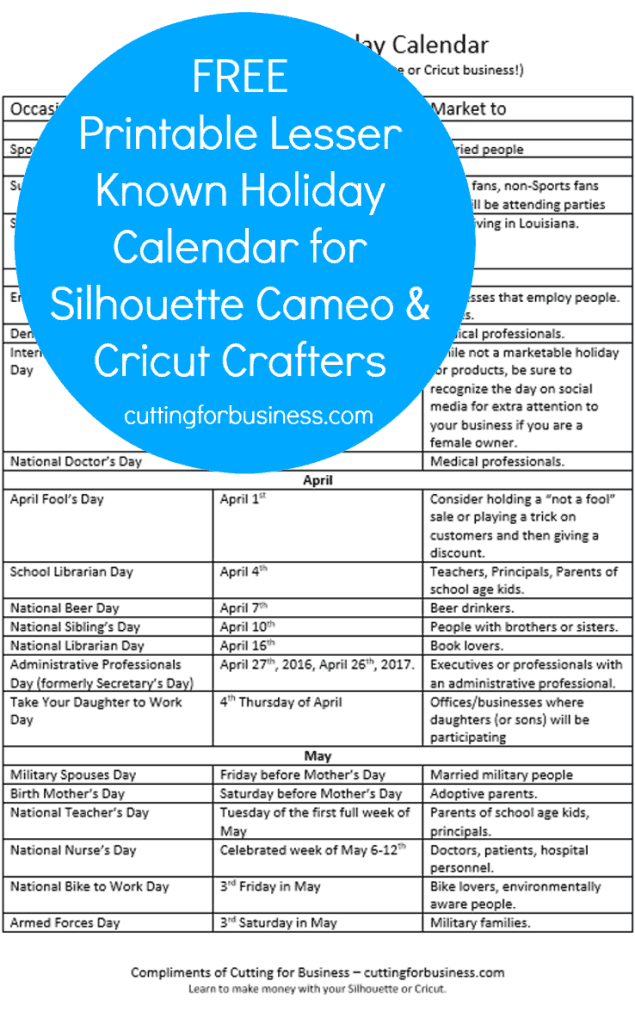
Today, I’m bring you another printable for your office or workspace: A calendar of lesser known holidays throughout the year. If you are anything like me, you don’t know about the holiday until it is here! Now, you’ll have no excuses for a promotion on Bosses Day or National Nurse’s Day!
I spent a lot of time picking out the holidays that I think are most profitable for Silhouette and Cricut small business owners. Depending on what you sell, there may be several holidays that work well for your business as well.
Tip: Check out Days of the Year
I recommend that you visit Days of the Year at least once and scroll through the holidays, month by month, and write down any additional days that may be profitable.
I have a similar printable calendar that tells you when to start selling what products throughout the year. Download it in this post.
Ready to download? First, save the image below to Pinterest. Then, download the calendar below.
Need a logo for your craft business? Whether you are starting from scratch, or redesigning your logo, Sarah Guillot from Sarah Design is sharing tips for designing a small business logo.
Sarah has previously guest blogged on Cutting for Business about designing with fonts.
Should You DIY Your Logo or Hire a Professional Logo Designer?
It’s your decision whether you create your own logo or hire a professional to create your logo. If you are on a tight budget, try your hand at creating one – especially if you have some basic design skills.
As a crafter, if you can create your own files to cut with your Silhouette or Cricut, you can create your own logo.
If you have no design skills, it’s better to hire a logo designer than trying to learn to design while creating a logo.
3 Programs to Design Your Own Logo
Adobe Illustrator
Illustrator is my number one recommendation for designing a logo from scratch. As a vector program, designs are built mathematically and can be made as large or as small as you want without losing quality.
Silhouette Studio
You can create a logo in Silhouette Studio. When saving your logo, you’ll want to make sure you save as a PNG file so that you have a transparent background.
Cricut Design Space
Cricut Design Space can be used to create your own logo, however, you’ll have to save your logo for offline use. This help article from Cricut provides a walkthrough on how to export to your computer.
4 Tips for Designing a Logo
Font Choice Matters
If your business is fanciful or fun then decorative fonts are perfect. But, if you’re a serious business then you probably want simpler fonts. Either way, make sure they’re readable!
Mix & Match
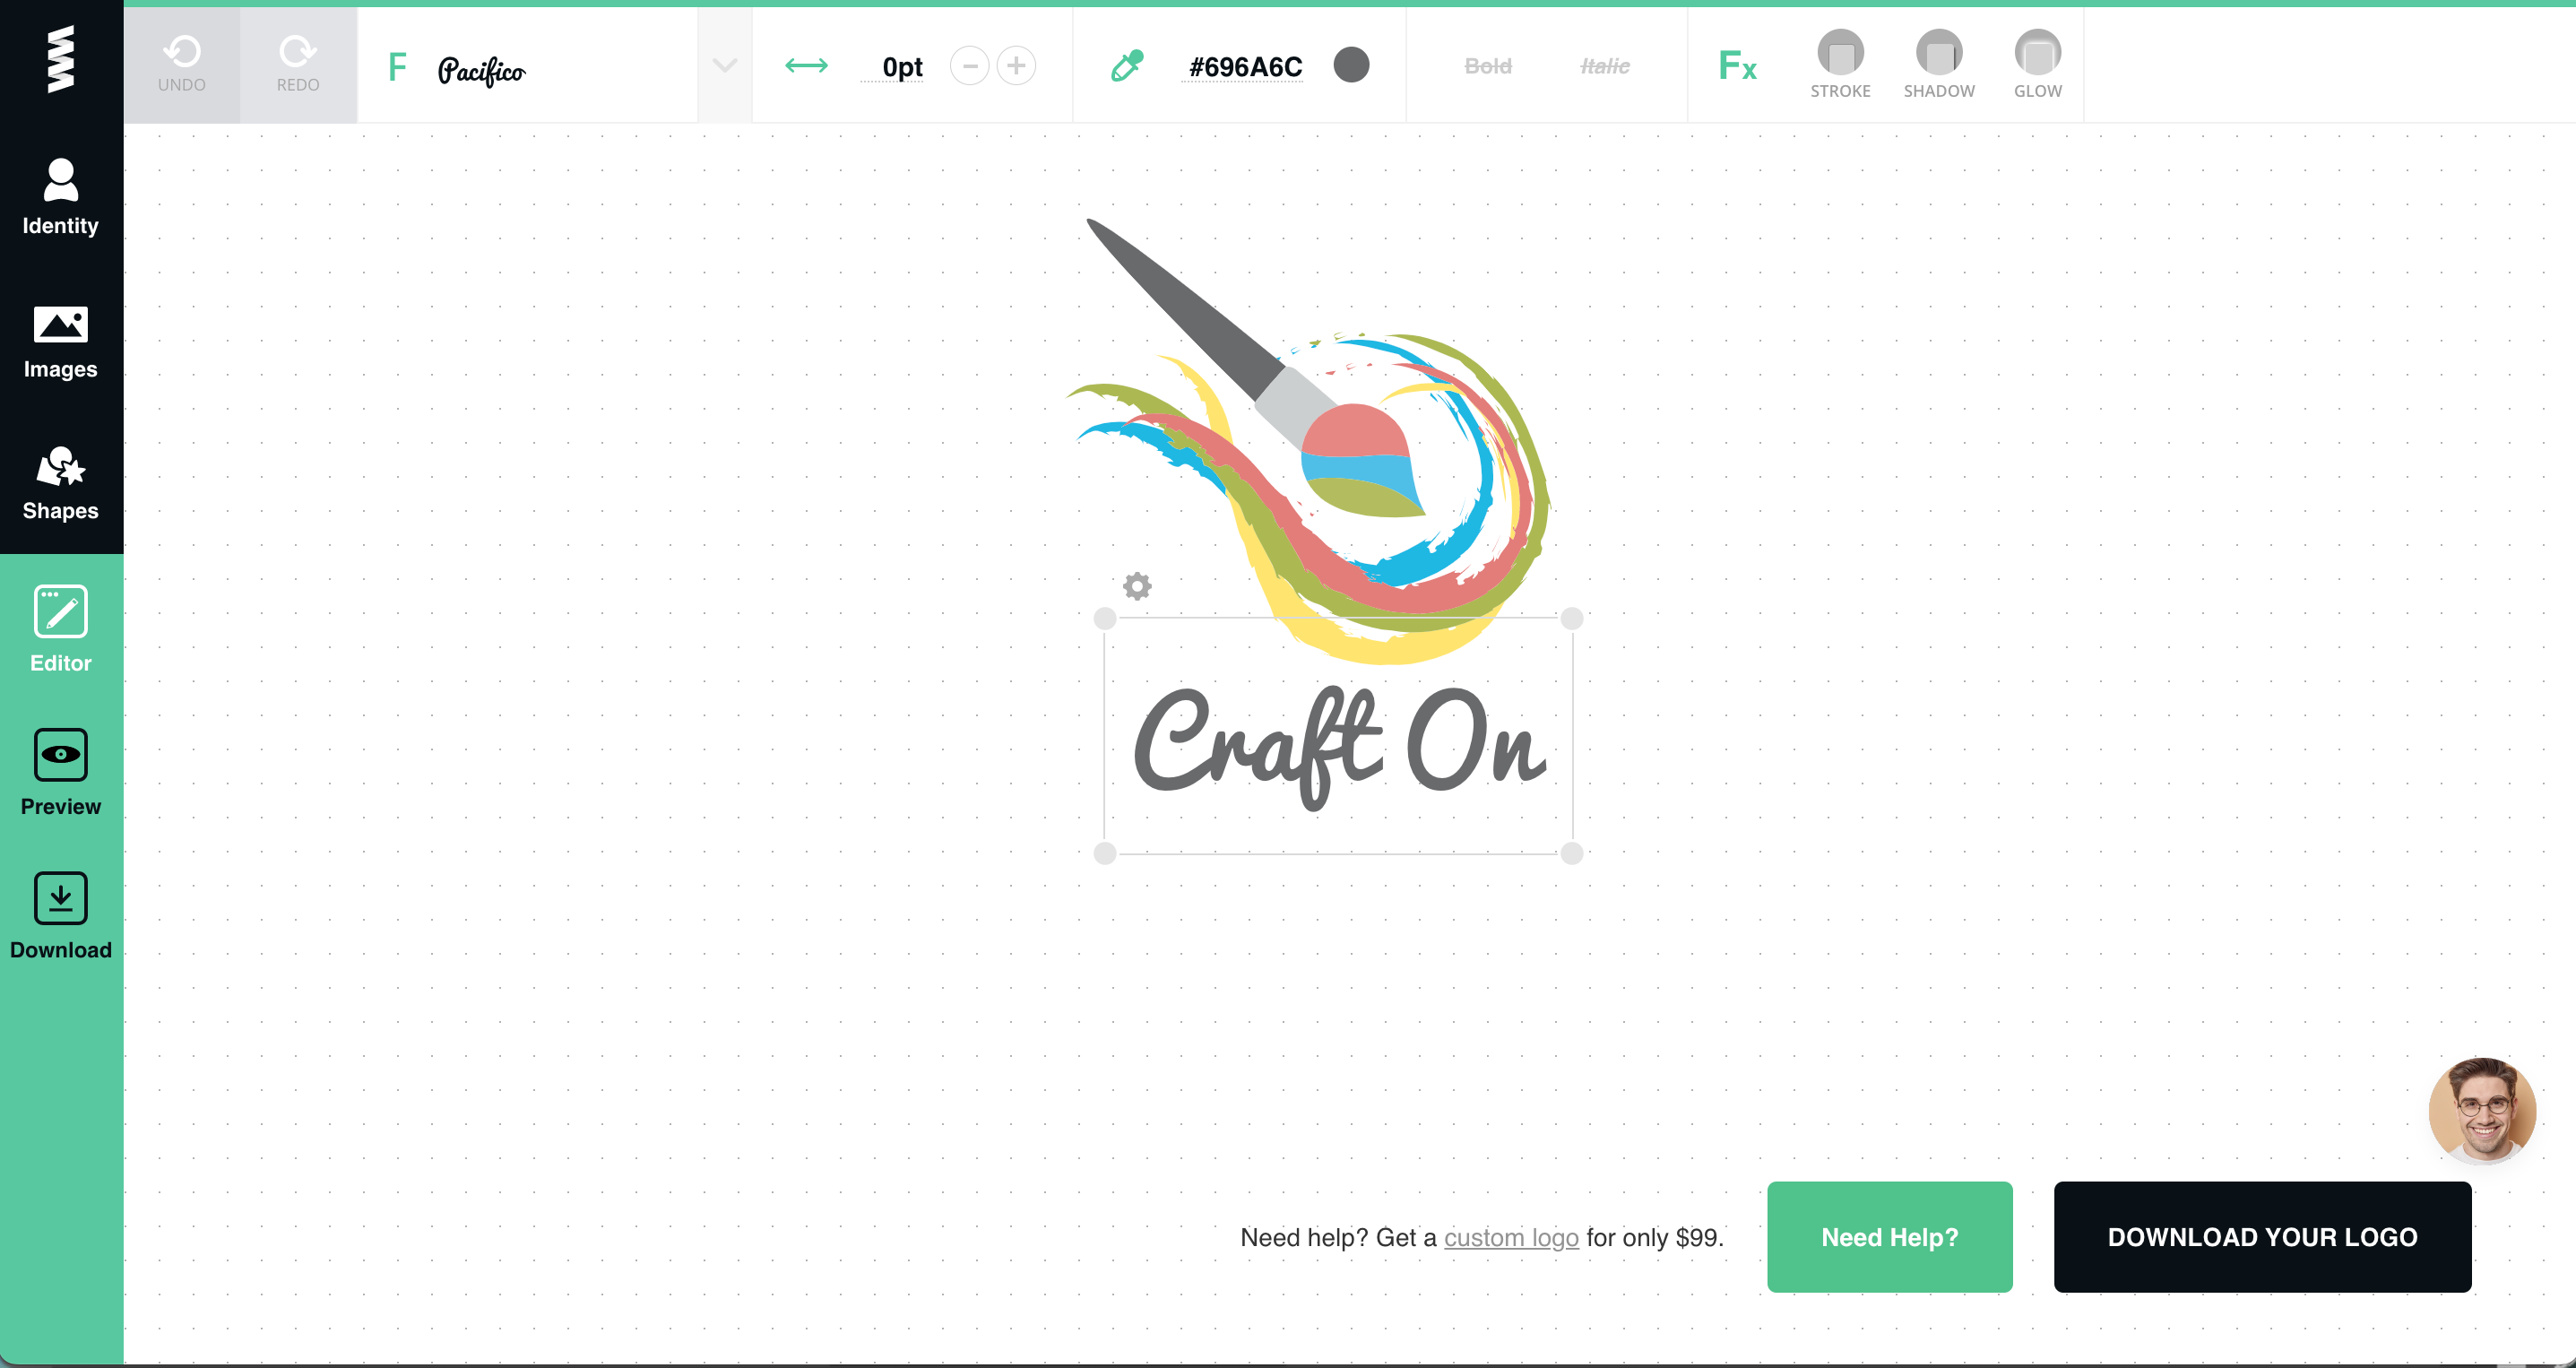
I often see logos with a script font of a word or two, paired with a simpler font that describes the service. This is the tactic I chose when creating my logo for Sarah Design.
Text, Icon, and Text + Icon
Don’t use an icon with no words. This only works for huge corporations that spend a bazillion dollars on marketing. The Nike swoosh symbol is recognizable without the word “Nike” because they have marketed their brand extensively for years. As a new business, you don’t have this luxury. So to be safe, I recommend using text alone, or text with an icon near it.
Readability
Make sure that the font, the size, the colors, etc., all work together to make your logo readable. If people can’t make it out, they will not remember you or your business!
3 Logo Creators
If you don’t have any ideas for your logo, start with an online logo creation tool.
Graphic Springs
Great for simple designs, and it is free to try. Graphic Springs has tiered pricing. For example, for $19.99, you’ll get a high resolution logo file. But, for $99.99, you’ll receive high resolution files in several formats, the graphic in your logo will be removed from their database so no one else can use it, and more.
Logo creator at Graphic Springs.
Canva
Canva has a number of templates available for creating your own logo. If you are already a Canva Pro user, the logo design templates are included in your monthly subscription.
If you are not a Canva Pro user, it’s $12.99 per month. If you do not want to subscribe, there are a handful of free logo templates.
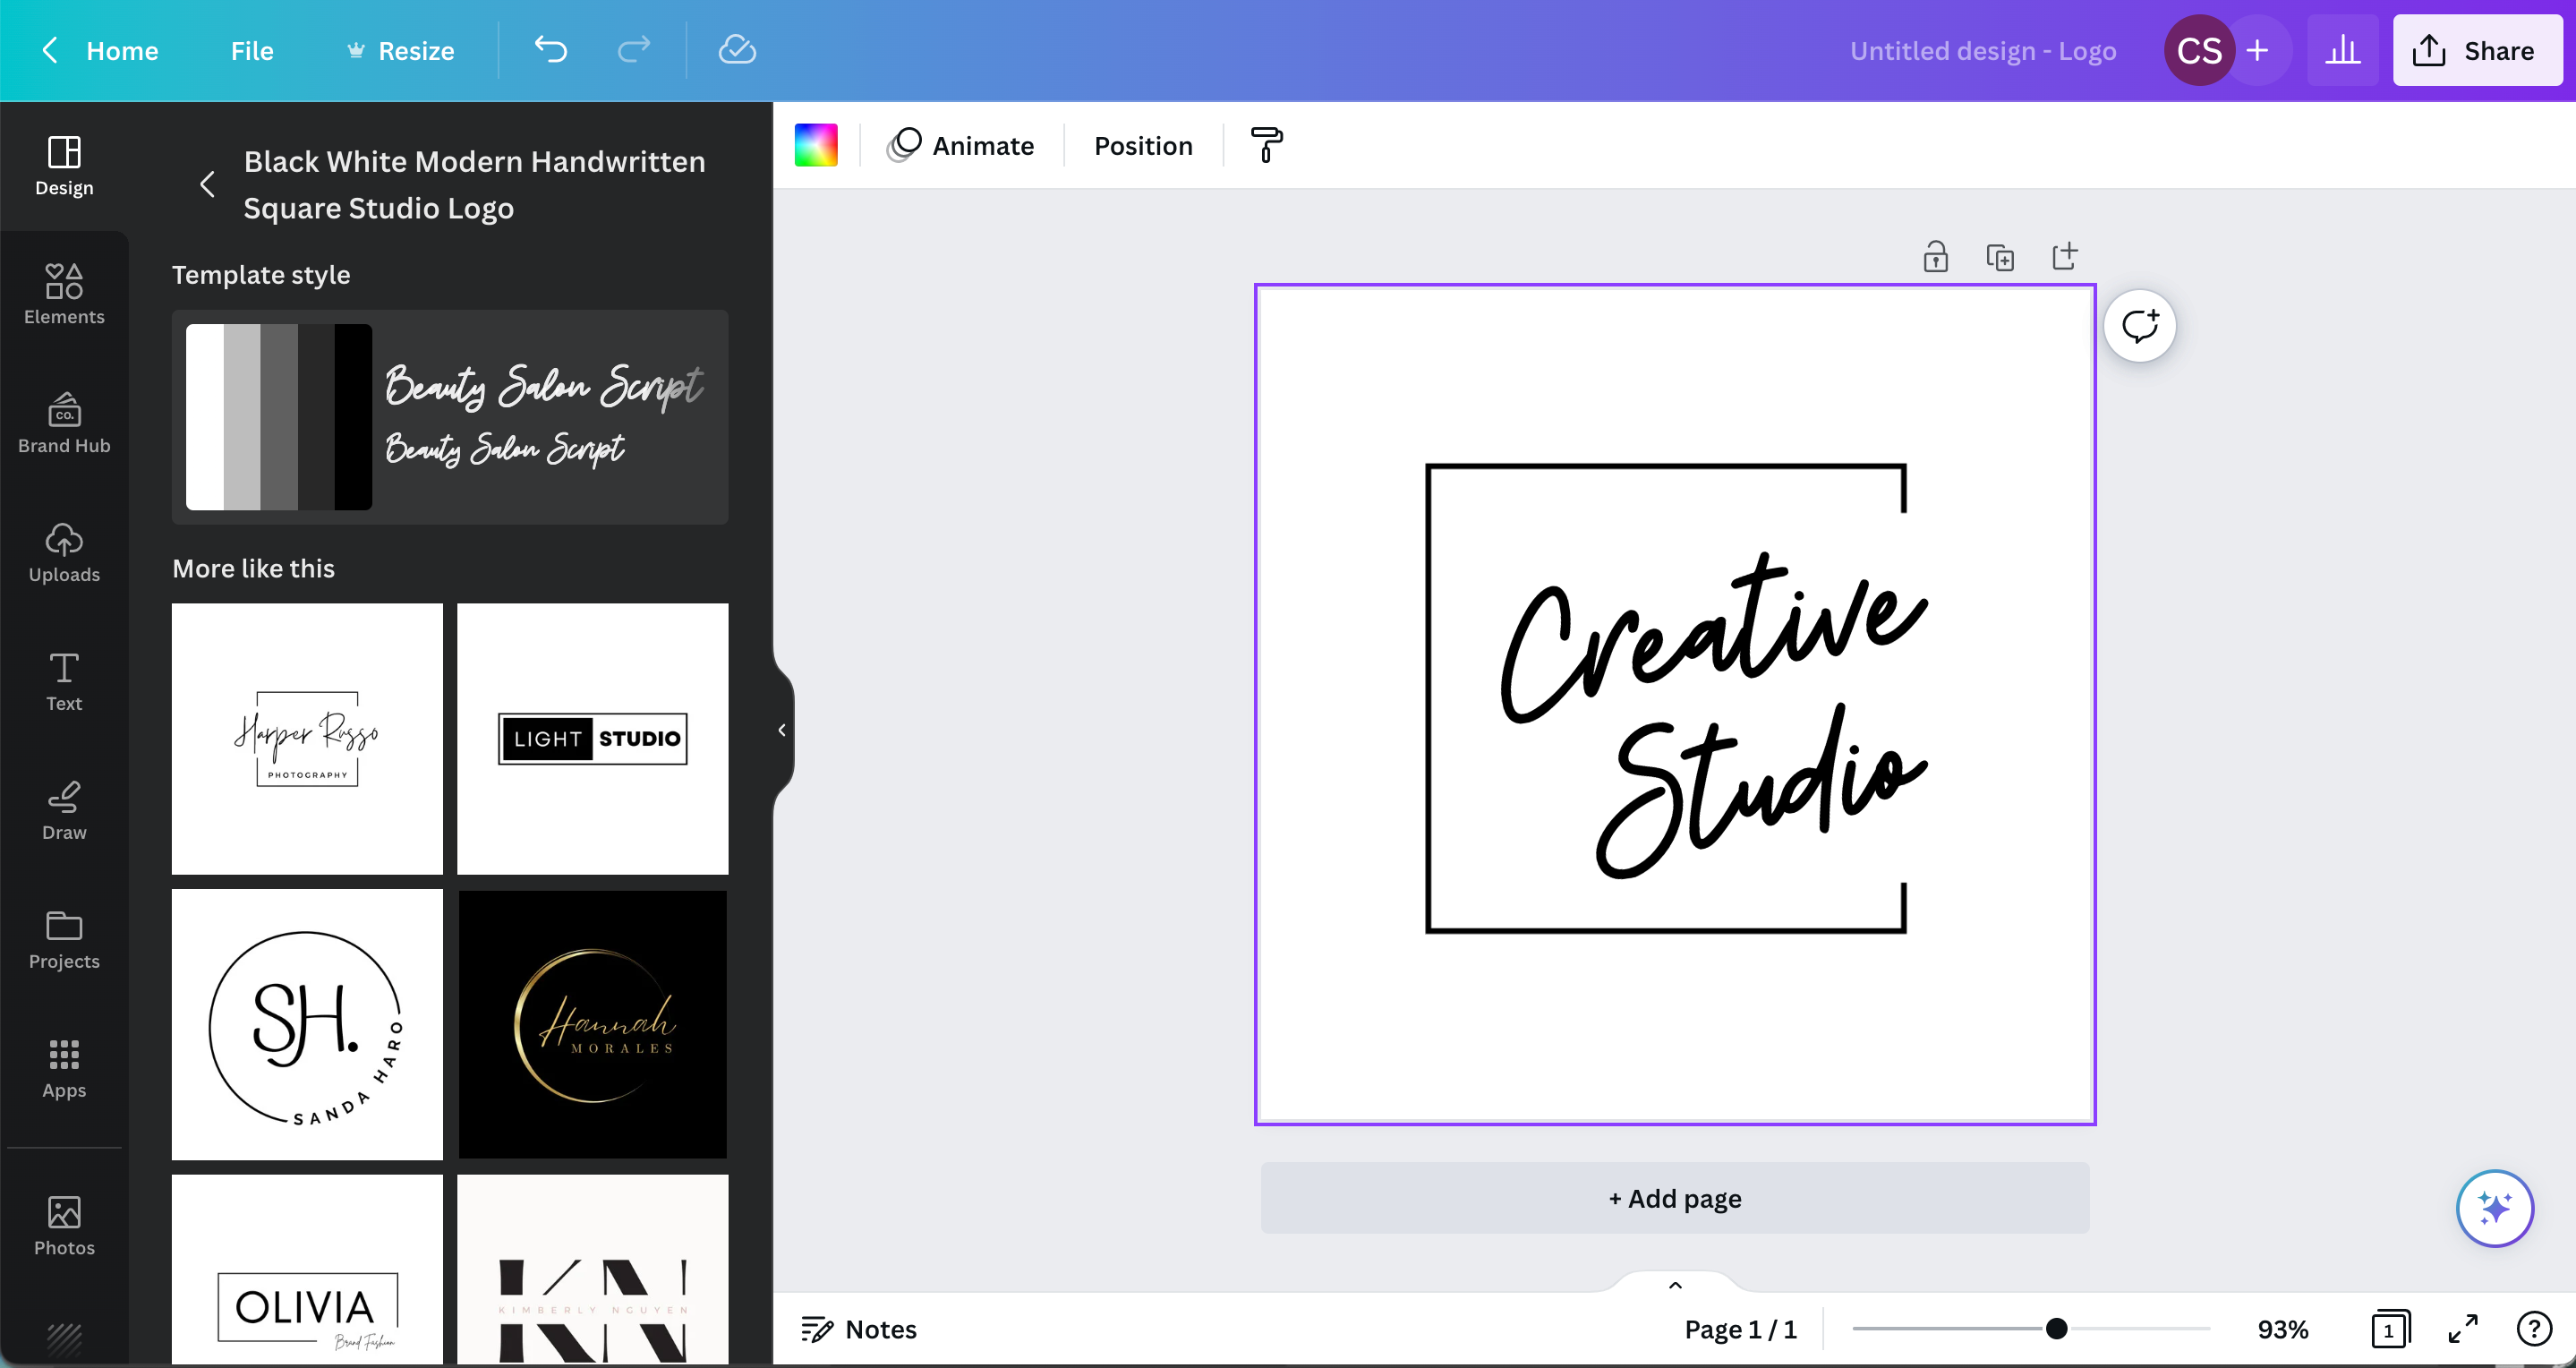
Logo creator at Canva.
Free Logo Creator
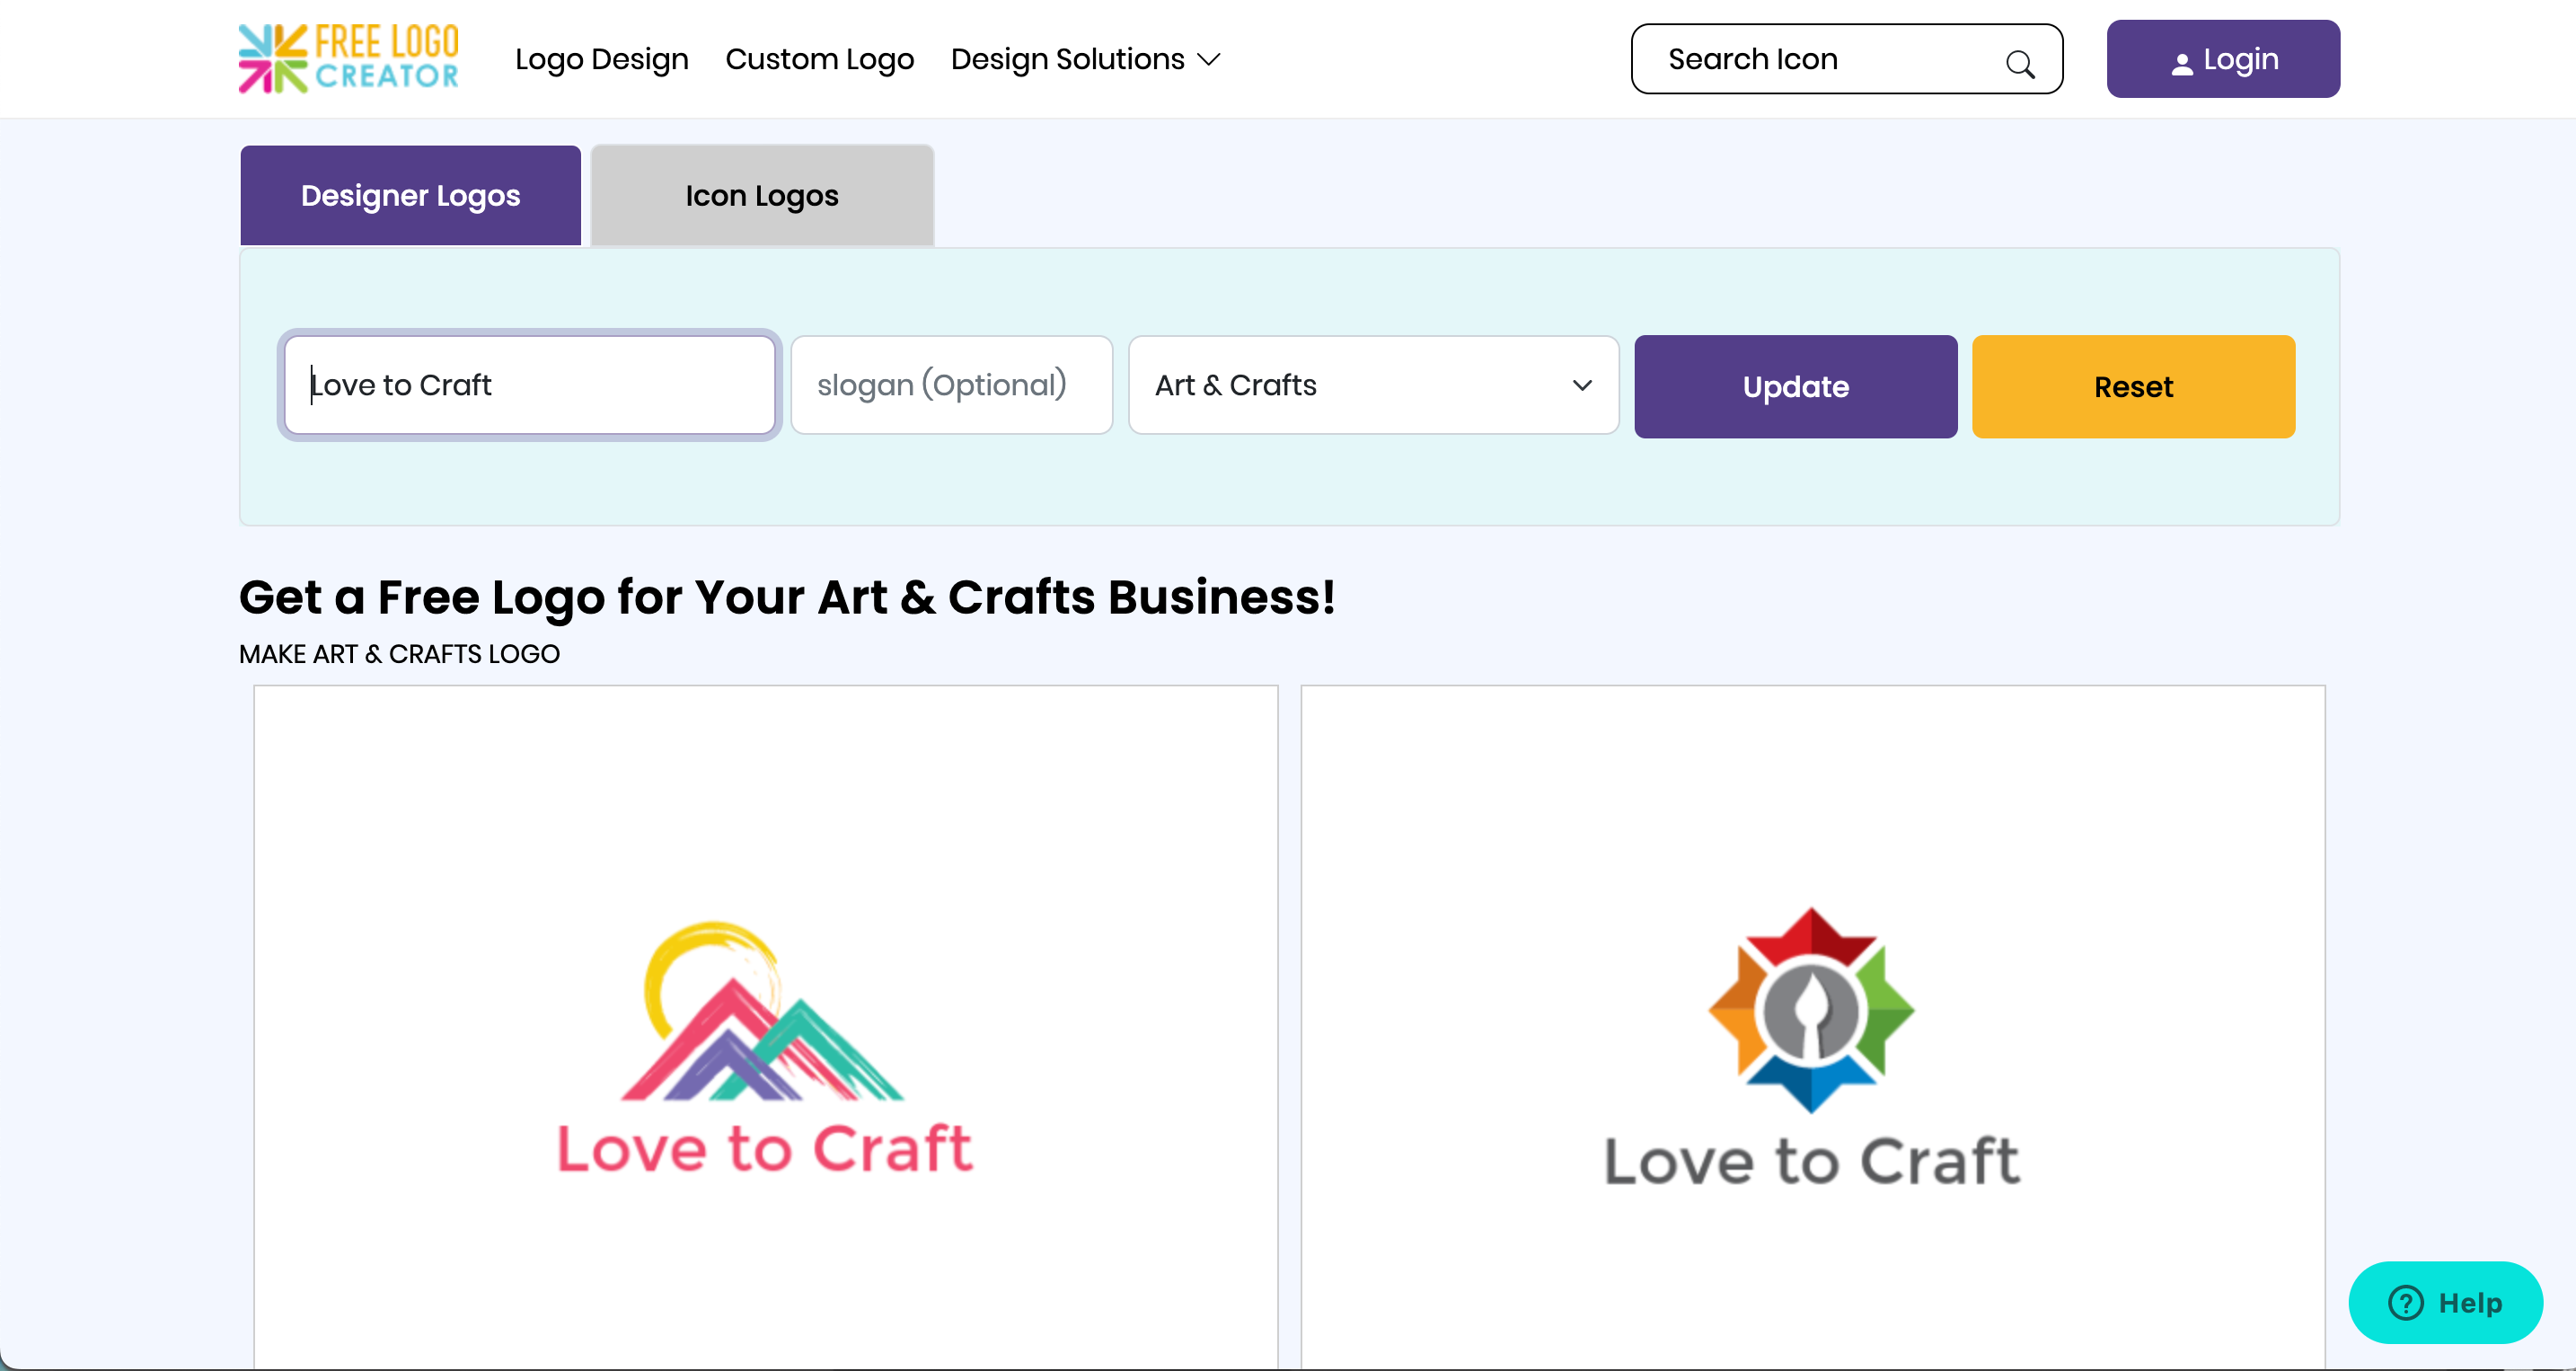
Free Logo Creator is easy to use. You type in the name of your business and select a category. The website then gives you premade logo options.
If you find a design you like, it’s as low as $37 with options to upgrade.
Logo creator at Free Logo Creator.
3 Places to Find Logo Designers
Etsy
Etsy has many designers specializing in logos and branding. You can buy an already created logo, or have something custom made for you.
99Designs
99Designs is an online marketplace (owned by Vistaprint!) where you can hire design professionals – including logo designers.
Fiverr
Fiverr is another marketplace, where jobs (they call them gigs) start at $5.
Tell me in the comments: Did you design your logo?
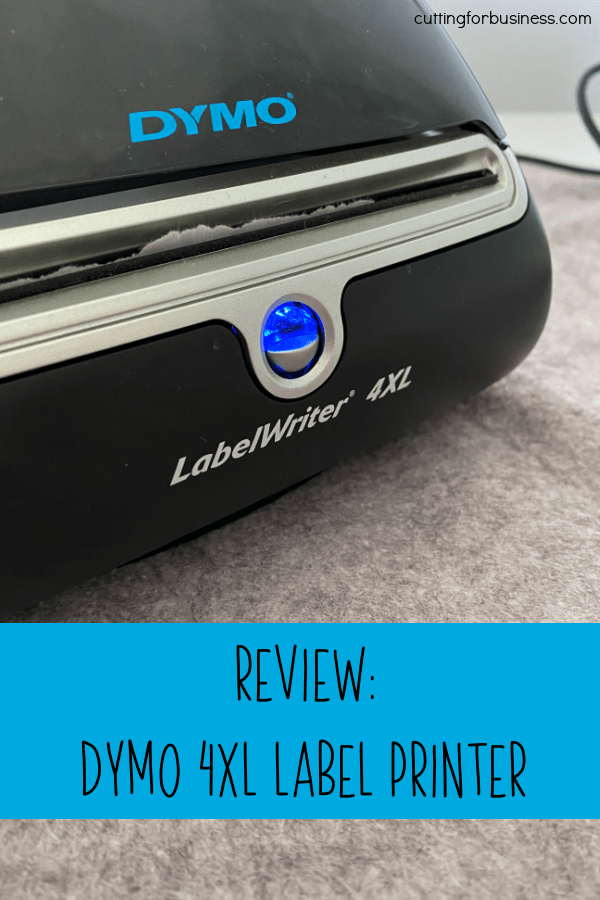
As your business grows, you may want to invest in a label printer to speed up your shipping process and save you money. While the initial investment for the label printer is high, I feel it is a worthwhile purchase.
Currently, I’m shipping between 50 and 60 packages per week. I was previously using half sheet labels that I purchased at this link on Amazon. I was going through a lot of labels and printer ink. I recently purchased a Dymo LabelWriter 4XL.
Pros of the Dymo LabelWriter 4XL
The Dymo LabelWriter 4XL is a thermal printer. This means that it prints on special labels using heat and it doesn’t use any ink. (Talk about savings on ink and wear and tear on my printer!)
Prints up to 129 labels a minute.
Prints 4 inch by 6 inch labels, and a variety of other sizes.
Is compatible with Etsy and Paypal labels.
It prints in 300 DPI (dots per inch), meaning that the labels are crisp and clear.
Cons of the Dymo LabelWriter 4XL
You must buy thermal printing labels, and they can be expensive. I use these generic labels – and they work great.
This Dymo does not work with UPS labels. This isn’t a deal breaker, as I don’t ship UPS often.
With over 4 years of use, my Dymo LabelWriter 4XL has held up great and I still highly recommend it.
Disclosure: I did not receive this product for free and Dymo did not contact me to write this review.
On most Saturdays, I host Etsy Shop critiques in the Insider’s Club on Facebook. Why? I think that anytime that you can get unbiased eyes on your shop or website; both you and your shop will benefit. Today, I’m sharing a service called Peek, by User Testing. I recently got a peek at my own website – and found it beneficial so I’m thrilled to pass this resource on to Cutting for Business readers. After my Peek review, I made several changes to my website based on the experience of my tester. The changes were tiny, but they were things that I’d never notice because I look at my website every day.
How Does Peek Work?
Peek, by User Testing, pays testers to visit your website or Etsy Shop. While on your website or shop, the tester records a live video of them using your site and they narrate it – telling you things that they don’t understand or don’t care for. When the tester has completed their video, they upload it to Peek for you to view.
How Much Does It Cost?
Peek is a free service by User Testing. You simply visit their website and enter your URL. You are emailed a link to the 5 minute video once it is completed by a tester. User Testing also offers paid versions of their service, costing $49 per video. Unlike the free version, you can select a target audience as well as specific aspects for the tester to look at, and more.
Ah, ha!
After you view your video, why not take a peek into a few competitor’s websites or shops? That could give you great information to use in your own website or shop!
Go, get your peek at this link and then share this post with a friend (it’s easy, just hover or tap the image below).
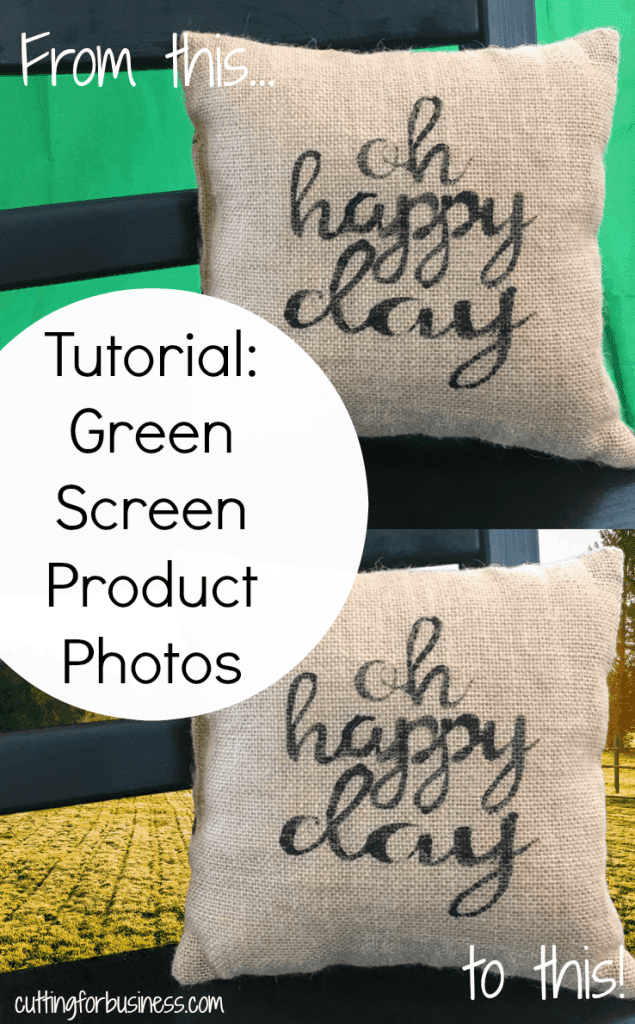
I get a lot of Cutting for Business readers that ask about me about my blog photos. As I showed you several weeks ago, many of my photos are mockups that I create with stock photos. Others are green screen photos. Today, I am going to show you how to use a green screen in your product photos.
If you aren’t familiar with green screen photography (actually called chroma keying) it is the process of photographing your products on a green screen and replacing the background. You can use anything that is green for the background – a piece of paper, a sheet, a shirt, or a green photography background. I had a hard time find anything green, so I opted for an inexpensive green photo background that I bought from this link at Amazon. Next, you’ll need a green screen app or photo editor. I tested several and found that Green Screen Wizard was the easiest to use.
Tutorial to Create Green Screen Product Photos
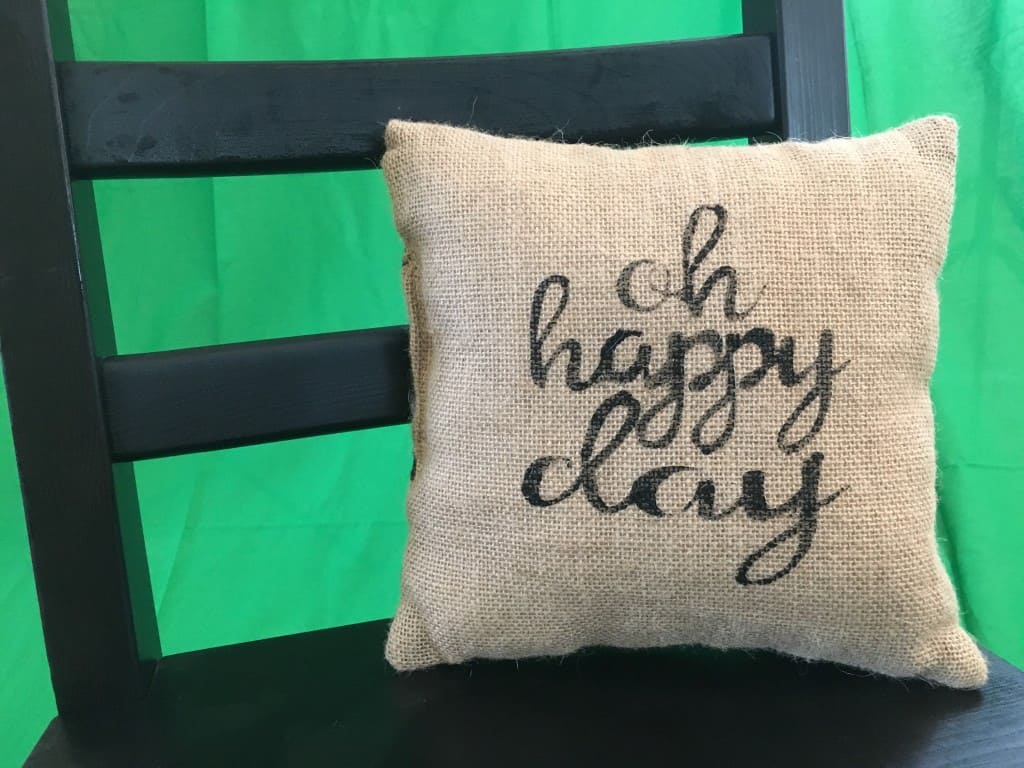
Take a photo of your product on a green surface.
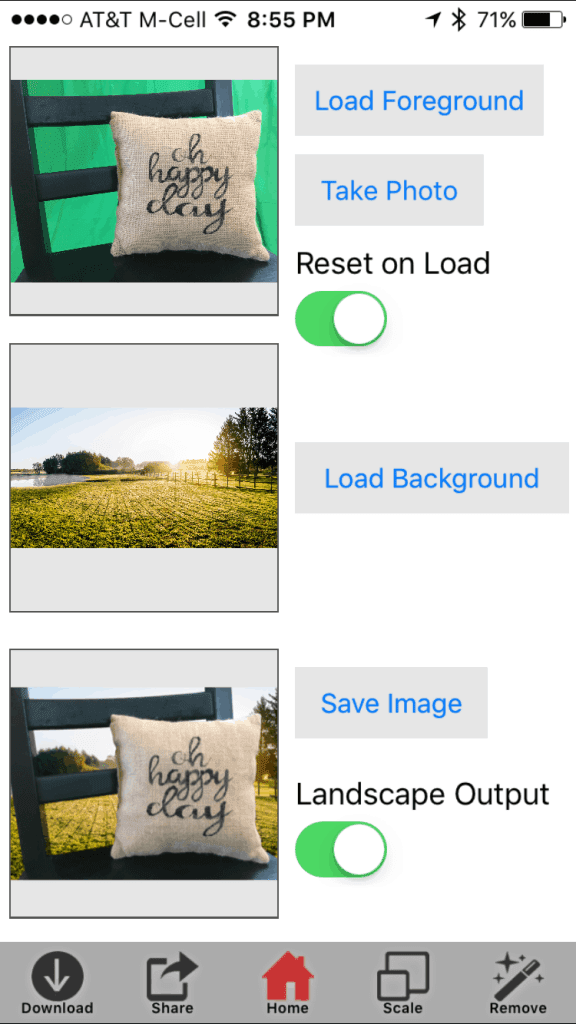
Open the Green Screen Wizard (or other green screen app). If using Green Screen Wizard, this screen opens:
Load your product photo into the foreground space.
Load your background into the background space.
Make any touchups that you need using the buttons in the bottom of the app. My biggest cautionary advice is to watch the scale of your foreground versus your background. Try to keep the scale equal to each other or your photo will look bad. Also, you can’t photograph a green product with a green screen, but you can use a blue background.
Save your photo.
Here’s a few of green screen examples:
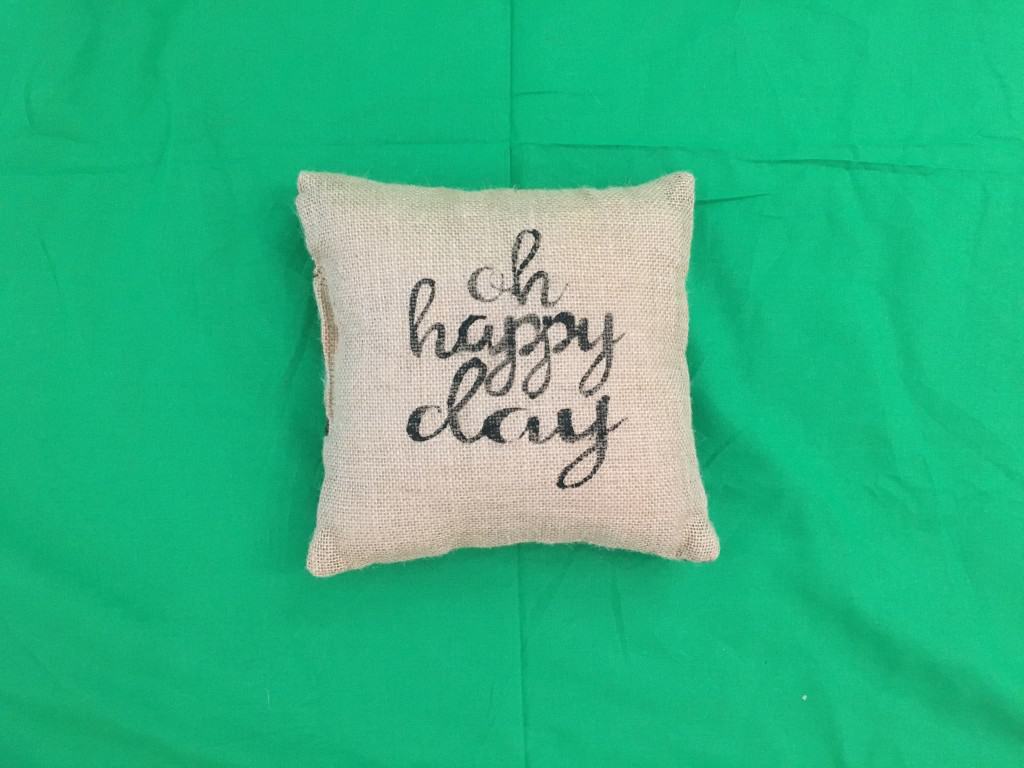
Start with this:
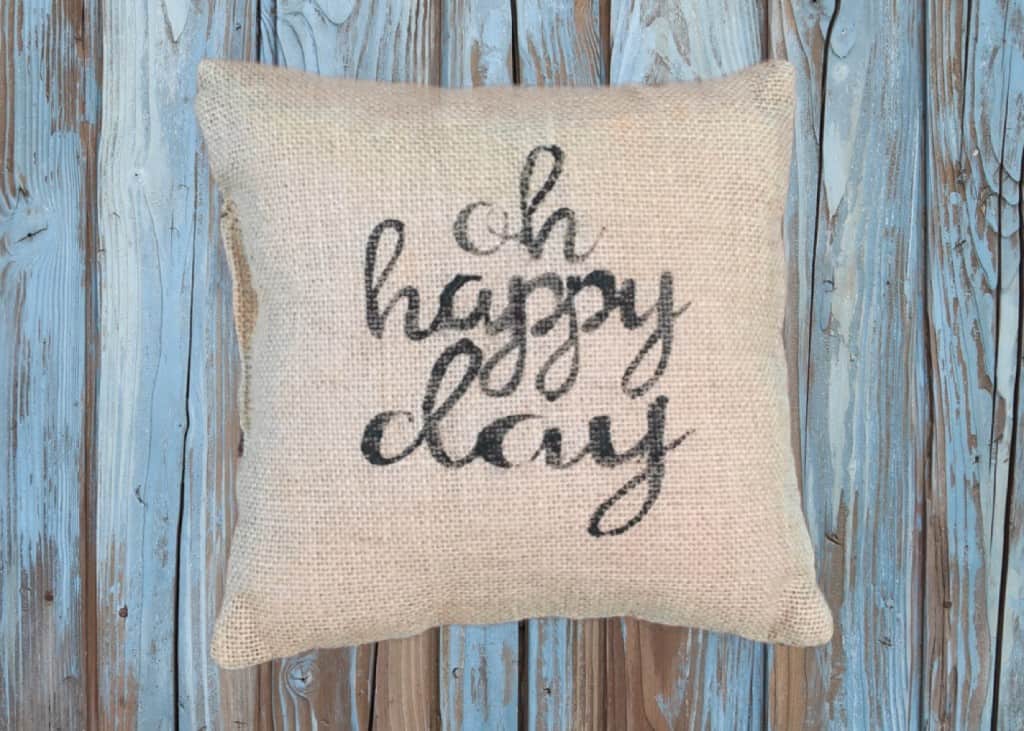
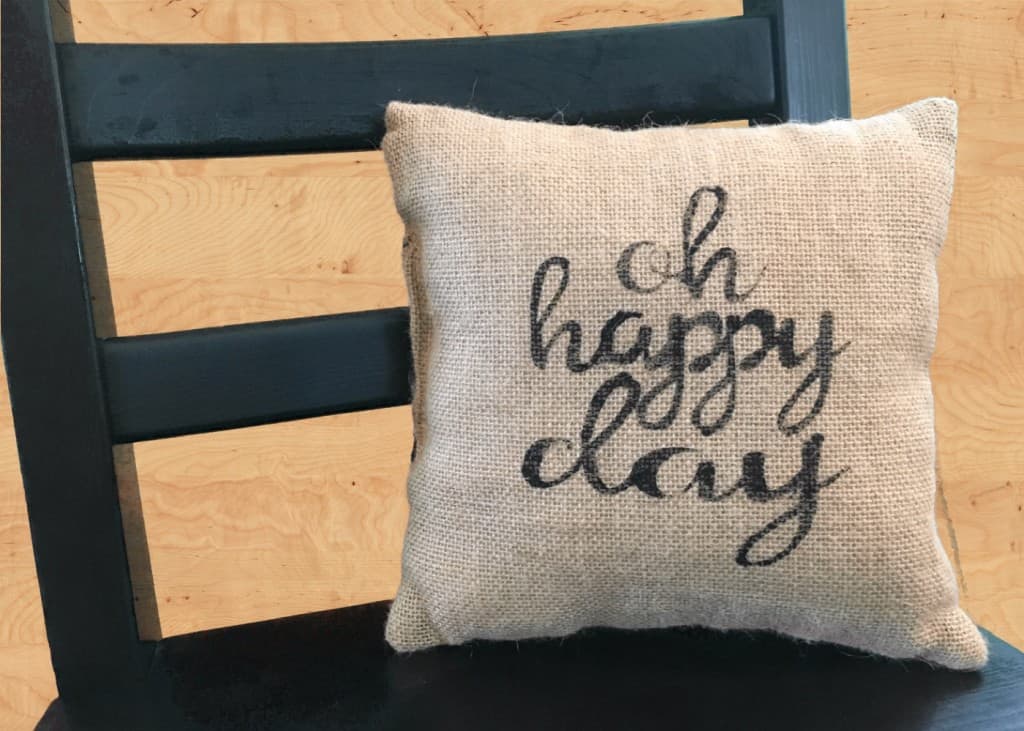
Get this:
Or this:
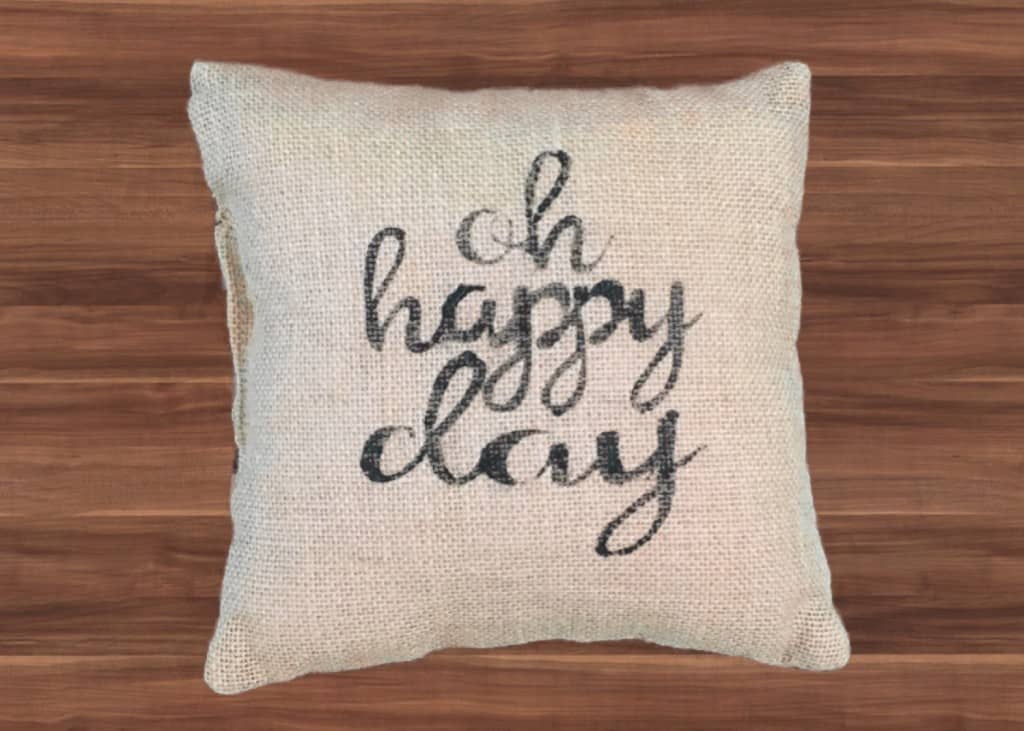
Or create a custom “watermark” background:
Another example:
Start with this:
And get this:
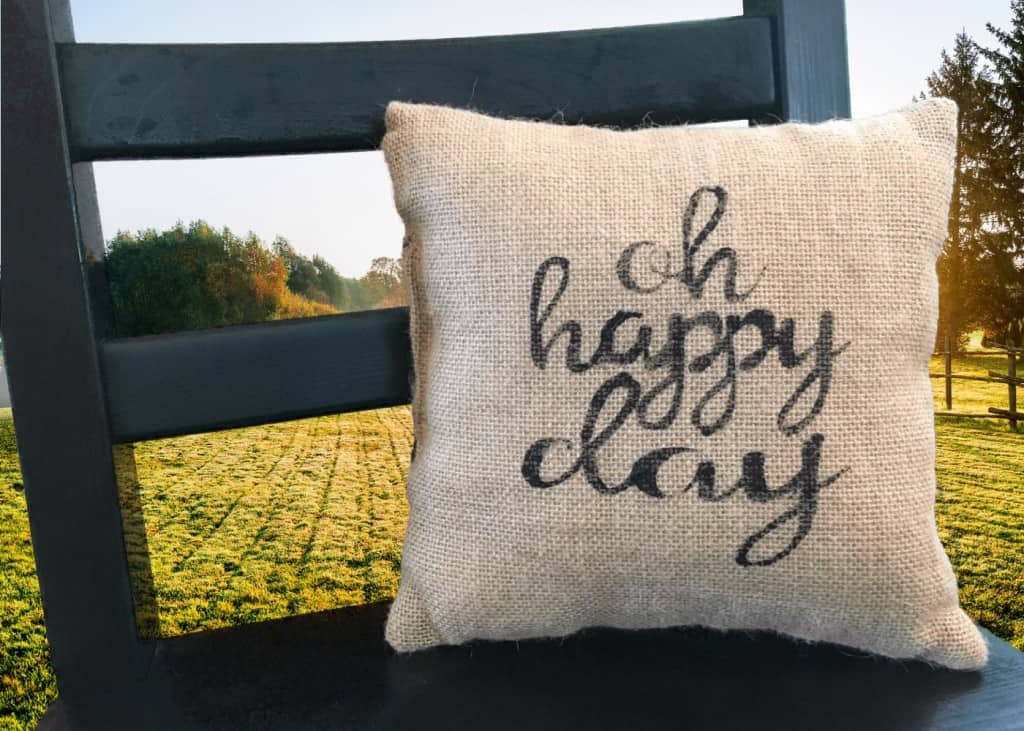
Or, set the mood to match your product. In this case, what’s better than sunrise over a farm to show off my rustic burlap pillow?
That’s it! It’s just that easy! If you are wondering, all images in this post came from Adobe Stock. If you’d like to try Adobe Stock with 10 free images, click the link banner below:
I can’t wait to see what green screen product photos you will create! Don’t forget to share this tutorial on your favorite social media network by hovering over the photo below: