Design with Me is a new regular feature on Cutting for Business! Each Friday, I’ll bring you a new Silhouette Studio tutorial featuring how to design an SVG.
Let’s talk snow. Whether you love it or hate it, snow is coming for much of the country.
Today, let’s create one-of-a-kind snowflakes.
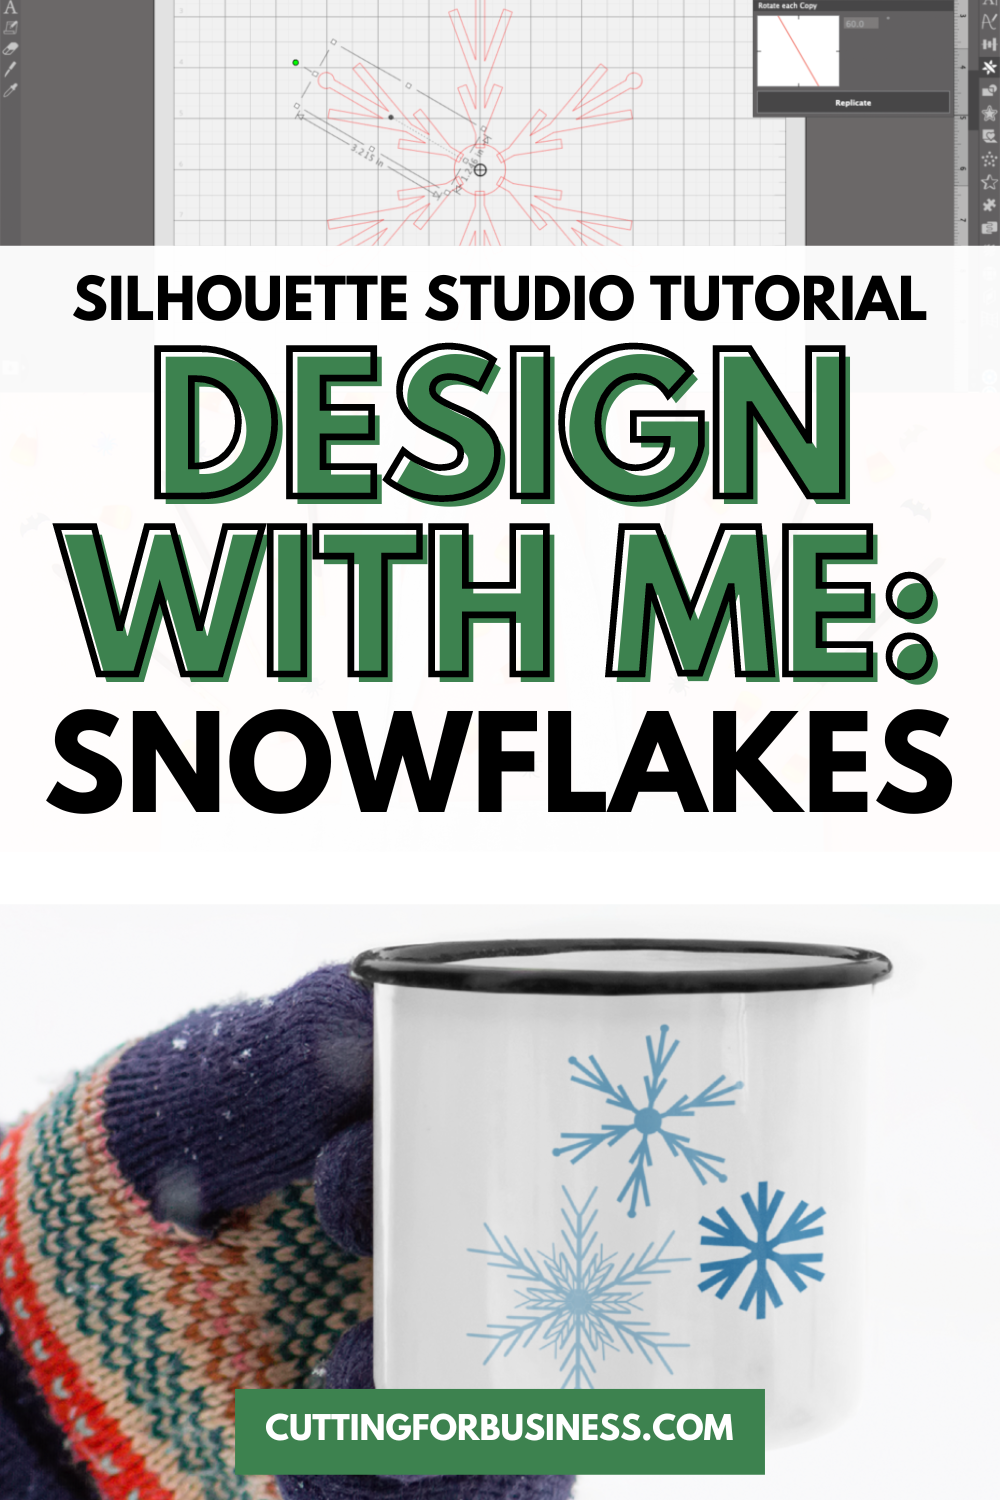
Silhouette Studio Tutorial: Snowflakes
Before we dive in to the tutorial, make sure that your design mat is set to a square. In this tutorial, I’m using a 12″ by 12″ square. If you need to check your settings, head to ‘Panels’, ‘Page Setup’.
- In Silhouette Studio, draw a circle. Be sure to hold down the SHIFT key to make it perfectly round.
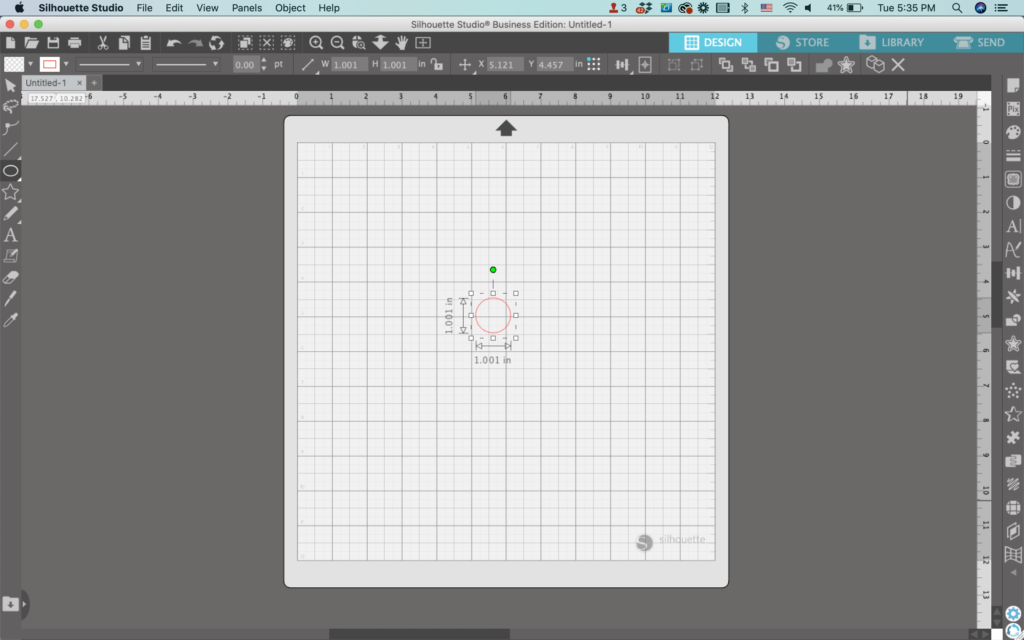
2. With the circle selected, navigate to ‘Align’, then ‘Align Center-Middle’. This will move your circle to the middle of the page. (This is why it’s important to have a square design mat for this tutorial.)
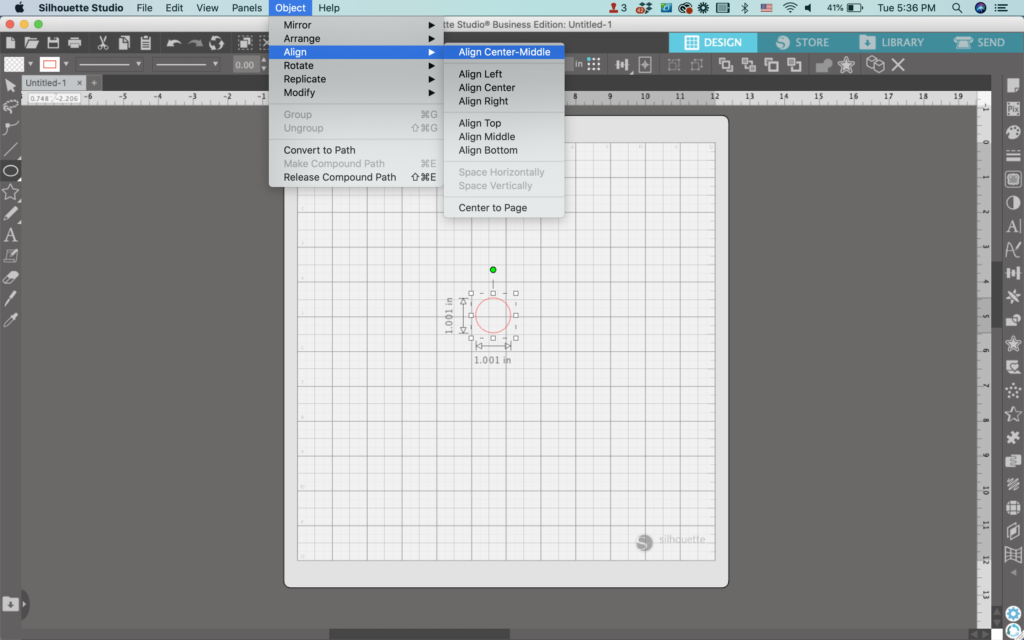
3. Draw a skinny rectangle and move it into place like shown below. It should overlap the circle a small amount.
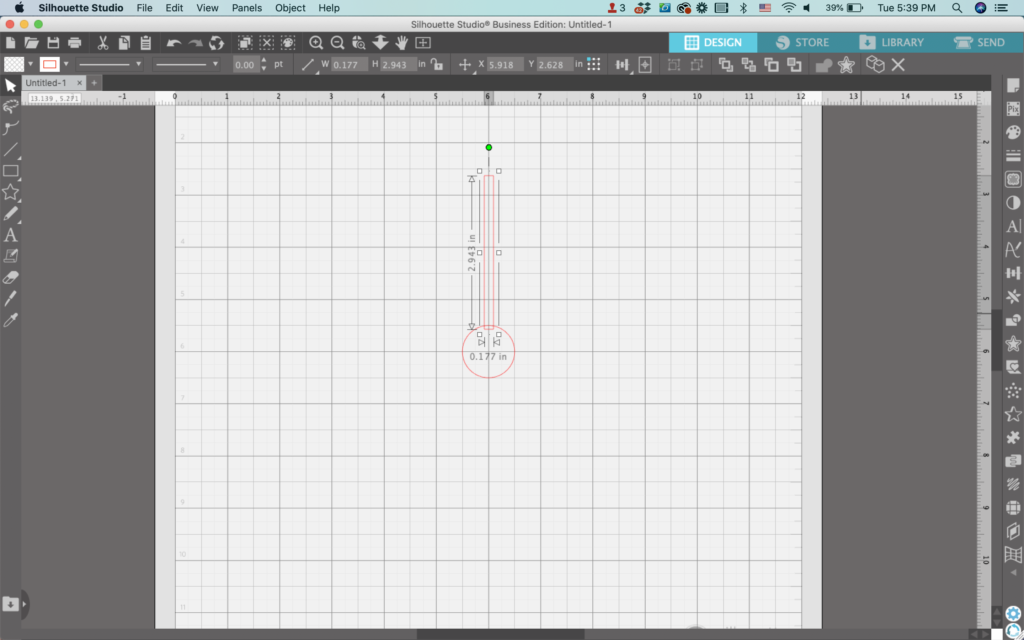
4. Add additional small rectangles up and down the long rectangle you made. I added four, but feel free to add as many as you’d like.
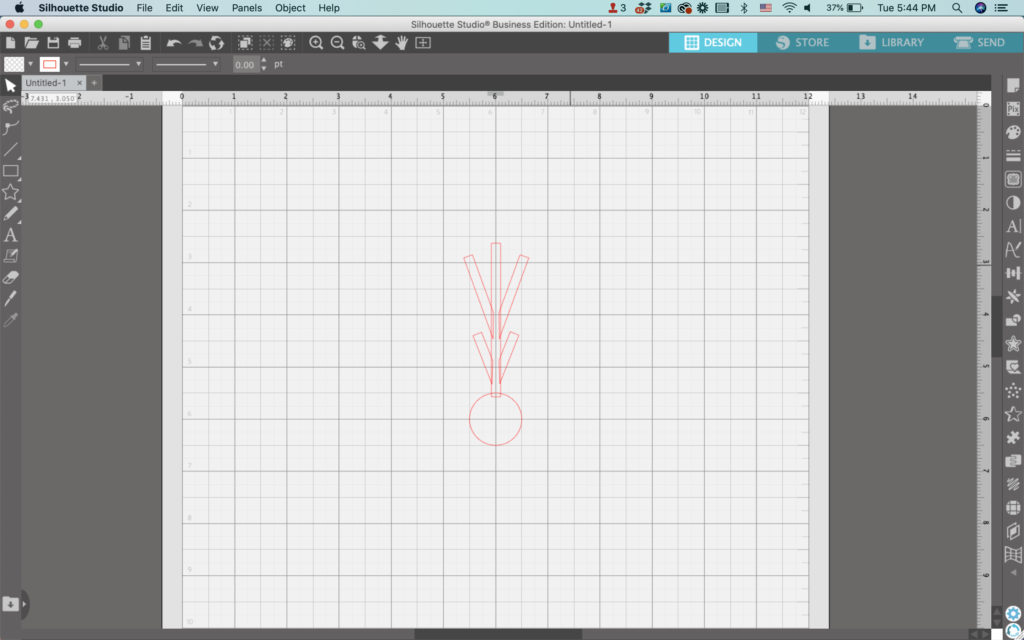
5. Add any additional details. I’ve add a circle on top of the long rectangle.
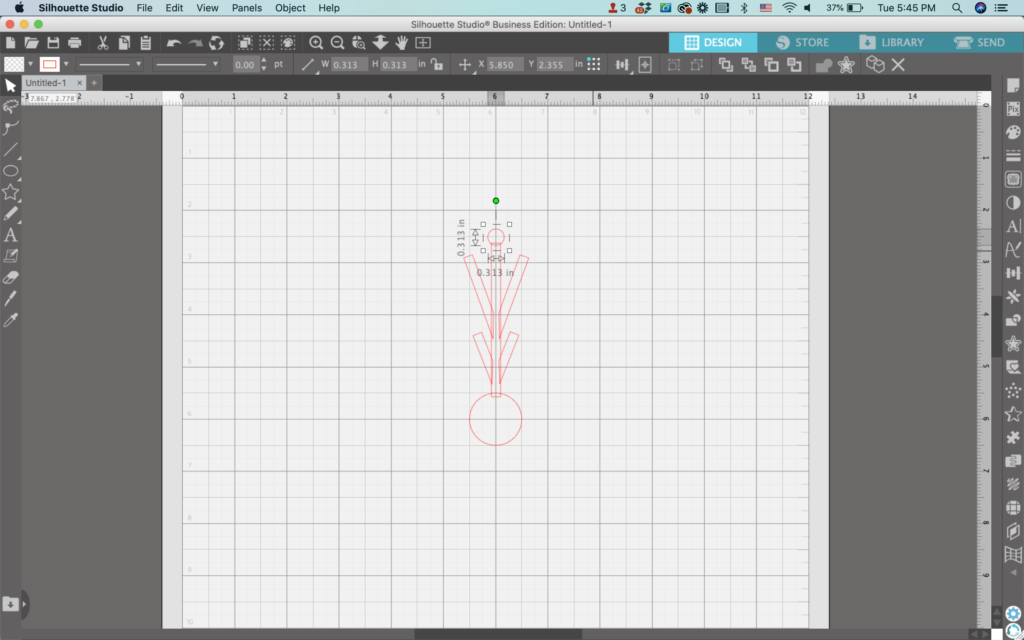
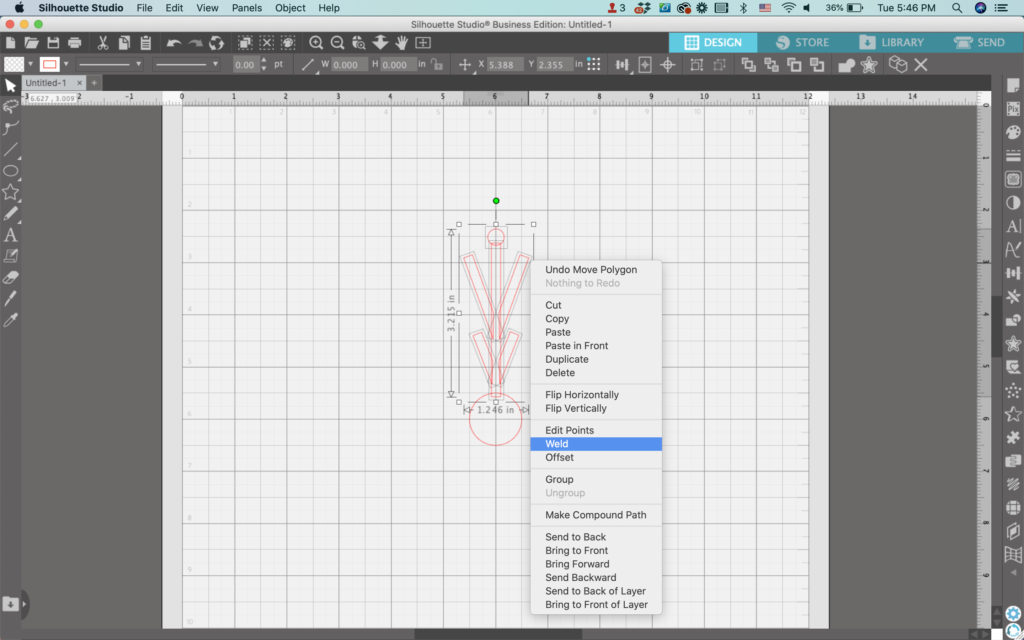
6. Select all the pieces, right click, and choose ‘Weld’. Be cautious not to weld the snowflake spoke to the center circle.
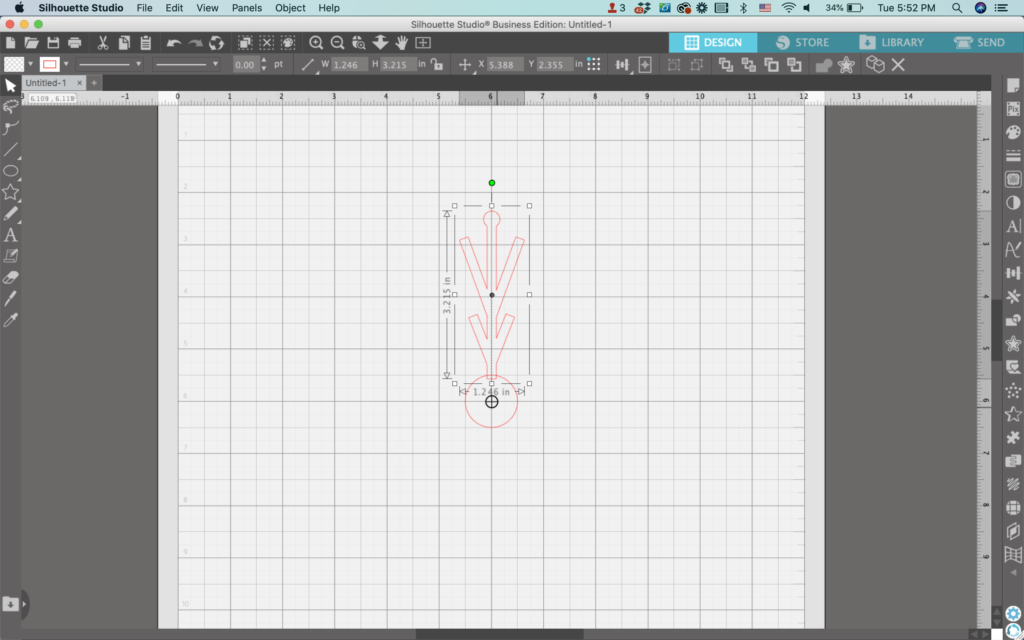
7. Drag the snowflake spoke’s ‘Center of Rotation’ to the center of the circle. (That’s the circle with the crosshair in it.) If you do not see a circle with a crosshair in it, click the snowflake spoke and press the letter ‘o’ on your keyboard. Make sure that the center of rotation lands on the exact center of the circle or this won’t work correctly.
8. Navigate to ‘Panels’, then ‘Replicate’. Then, click on the ‘Advanced Replicate’ Panel. (It’s the second tab.)
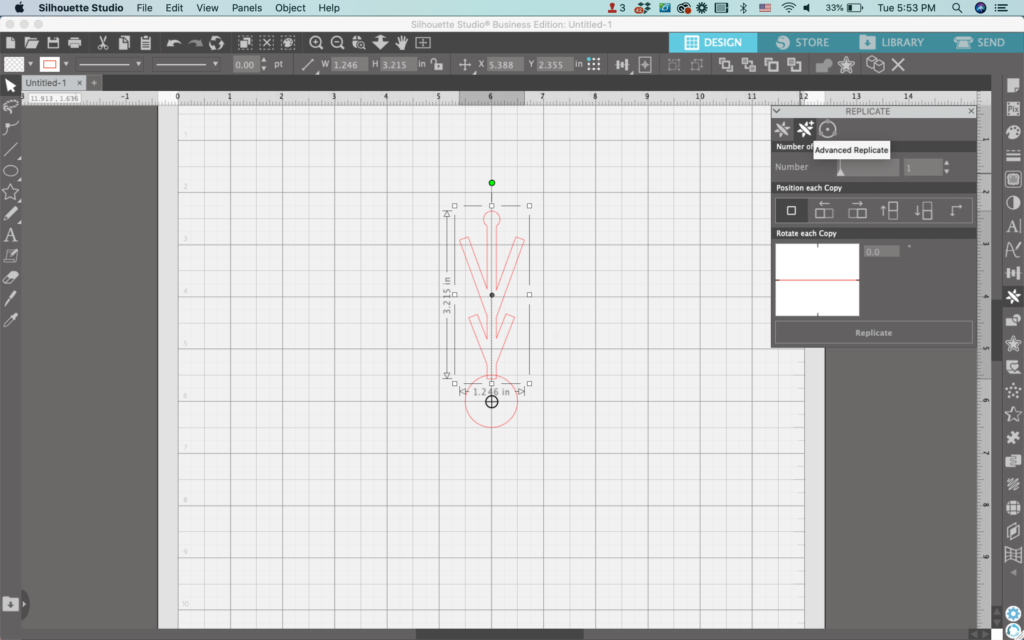
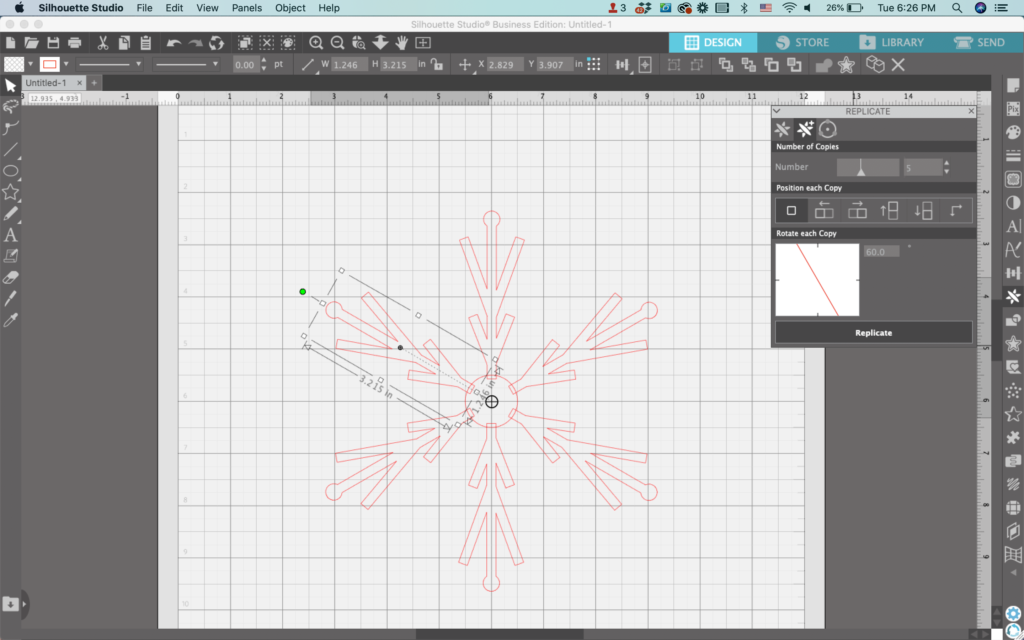
9. Change the settings in the Replicate Panel. Enter the number of additional snowflake spokes you want to add. In this case, I want 6 total spokes, so I enter 5 in the number box – since one spoke is already in the design.
You can skip the ‘Position each Copy’ section for this tutorial.
Now, take 360 (the total number of degrees in a circle) and divide it by the number of total snowflake spokes you want. In this tutorial, I’d like 6 total snowflake spokes. The math equation becomes: 360 divided by 6 equals 60. I enter 60 into the ‘Rotate each Copy’ box.
Finally, click the ‘Replicate’ button. If you set it up correctly, you’ll end up with a 6 spoke snowflake.
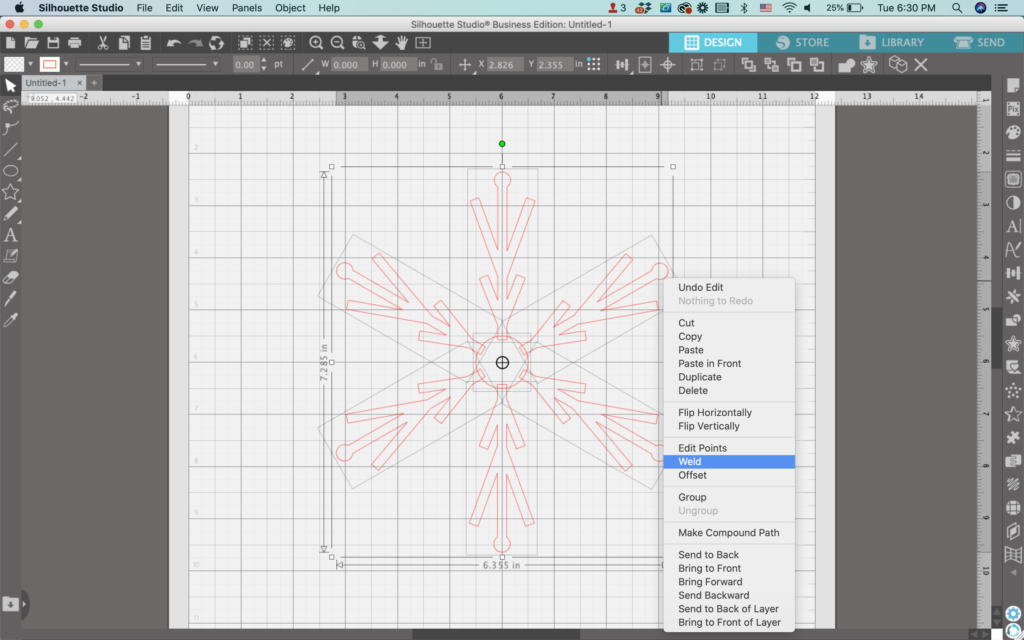
10. Select all the pieces of the design, right click, and select ‘Weld’.
11. Add color to finish off your design.
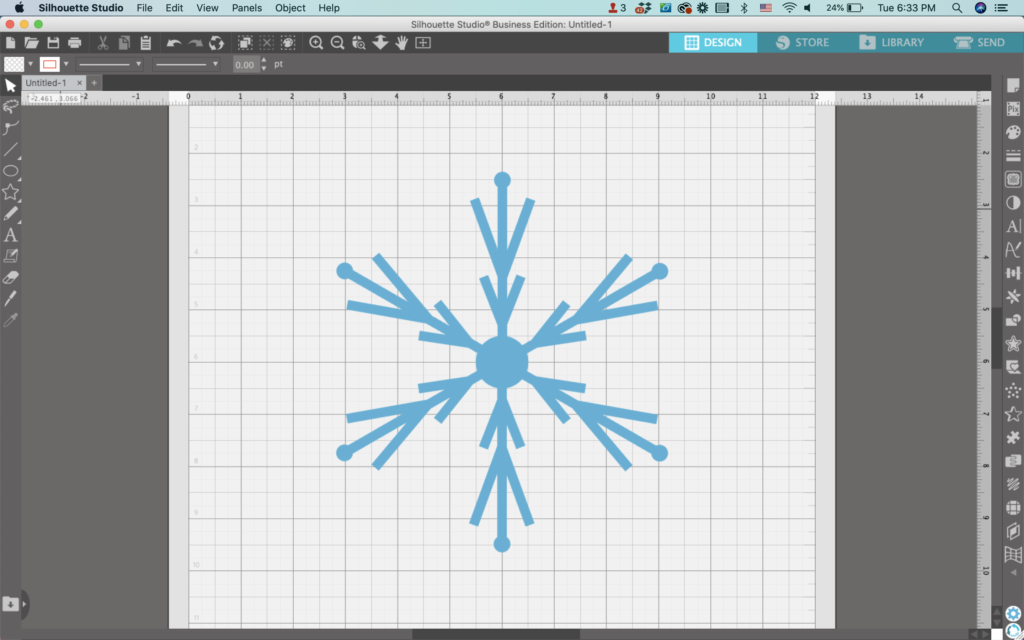
By changing the design of the spoke, altering the number of spokes used, or alternating short and long spokes, it is easy to make different styles of snowflakes. Remember: No two snowflakes are the same!
Bonus: Make One Snowflake into Two Unique Designs
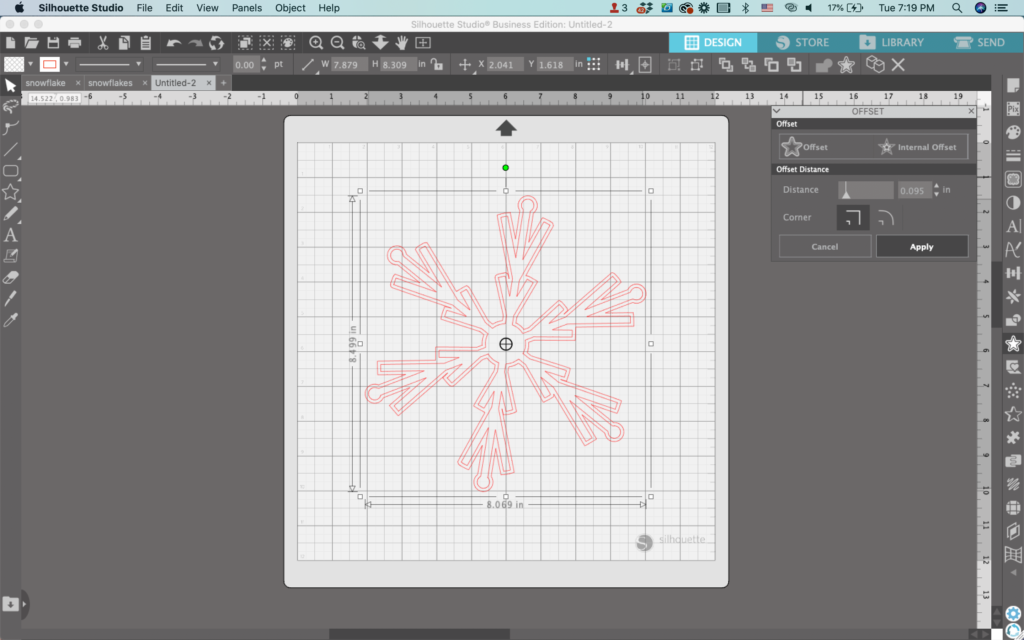
12. Using the snowflake you just created, perform an offset.
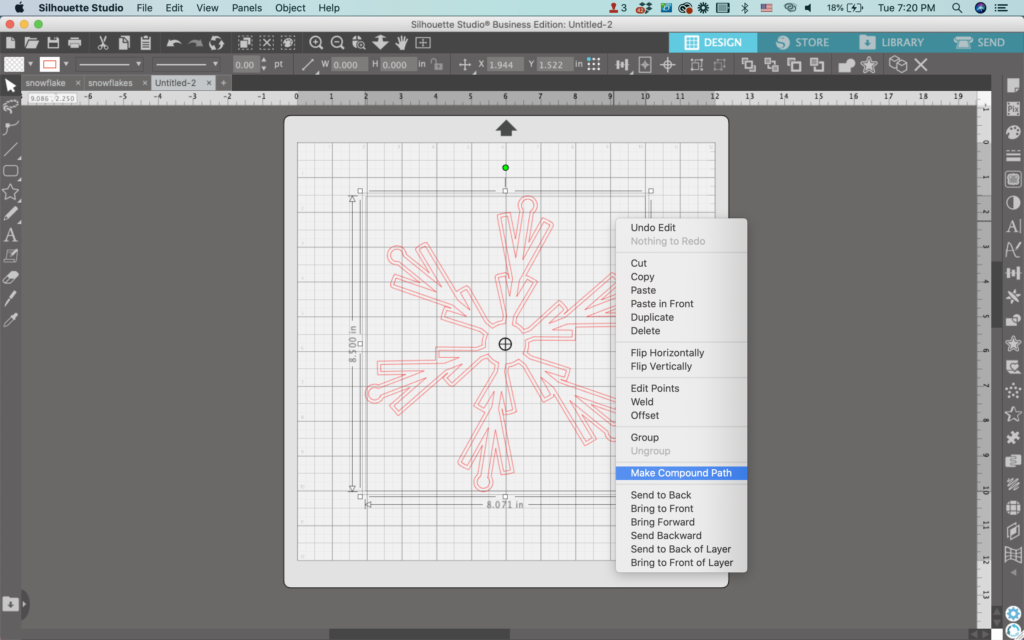
13. Select the snowflake and the offset, right click, and select ‘Make Compound Path’.
14. Fill the outline with color.
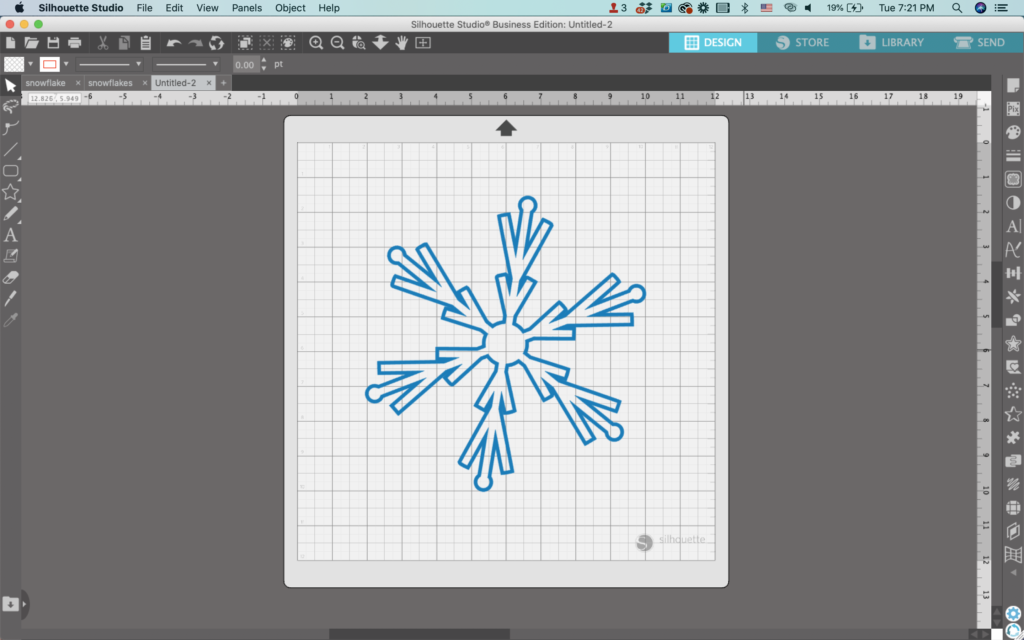
That’s it! Your snowflakes are ready to go!
Don’t Forget to Save!
To save your new SVG creation, head to ‘File’, ‘Save As’, ‘Save to Hard Drive’, name the file, then select ‘SVG’ from the dropdown menu.
Want More SVG Tutorials?
View more Design with Me SVG tutorials.
Leave a Reply