Design with Me is a new regular feature on Cutting for Business! Each Friday, I’ll bring you a new Silhouette Studio tutorial featuring how to design an SVG.
It’s almost Christmas! I can’t wait! Today, let’s create a funky Christmas tree.

Silhouette Studio Tutorial: Funky Christmas Tree SVG
- In Silhouette Studio, use Flexishapes (6th tool on the left sidebar) to draw a triangle/tree shape. I used a basic triangle, but you could choose a more detailed tree.
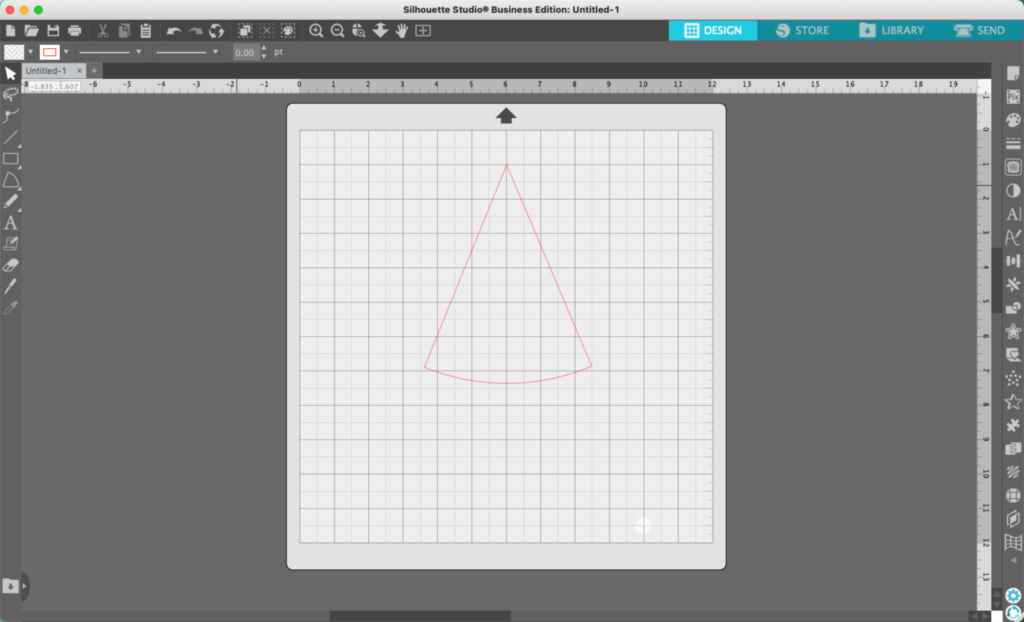
2. Draw a small circle using the Draw an Ellipse tool (5th tool on the left sidebar). Hold down the SHIFT key to make a perfect circle.
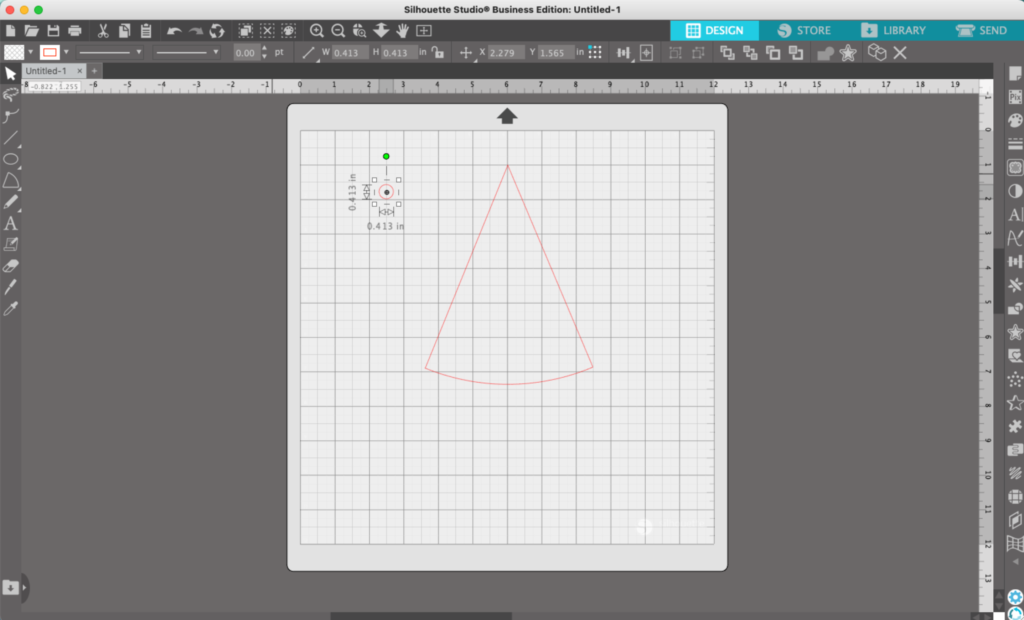
3. Move the circle into your triangle/tree. Then, right click the circle and choose ‘Duplicate’.
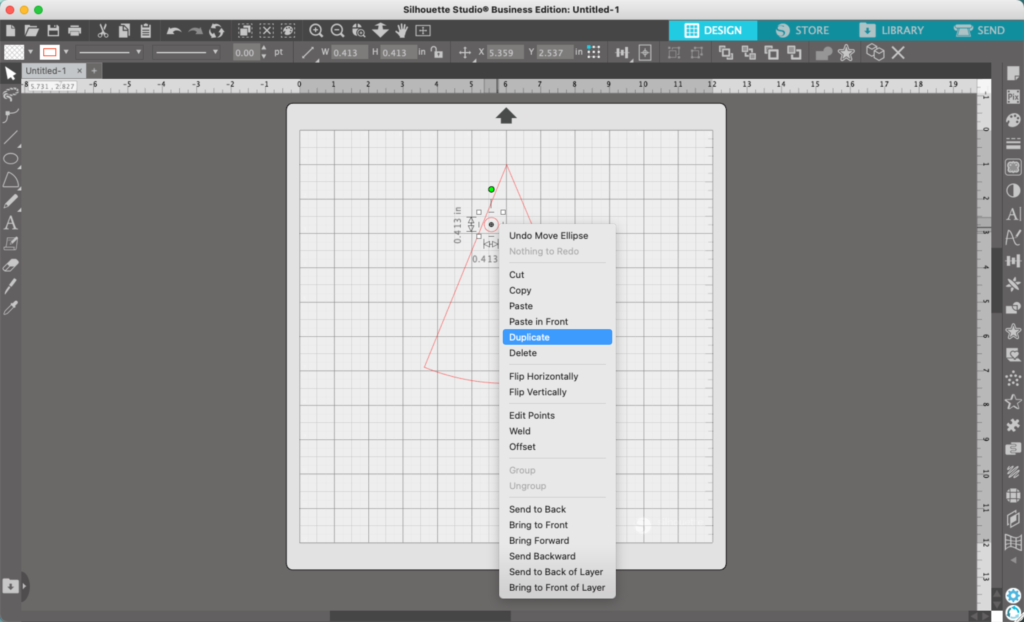
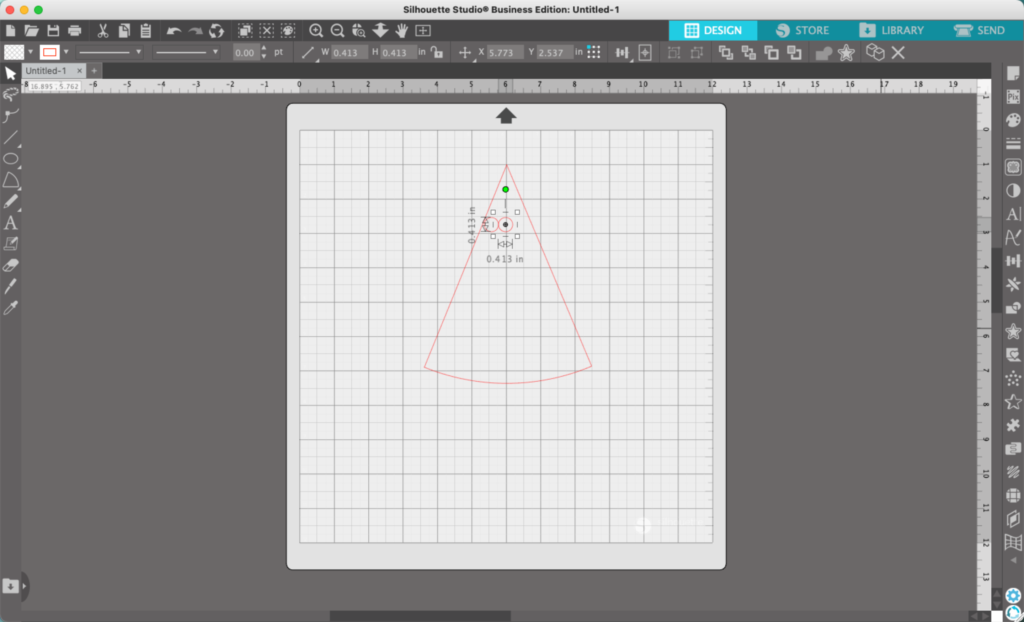
4. Resize the circle and move it.
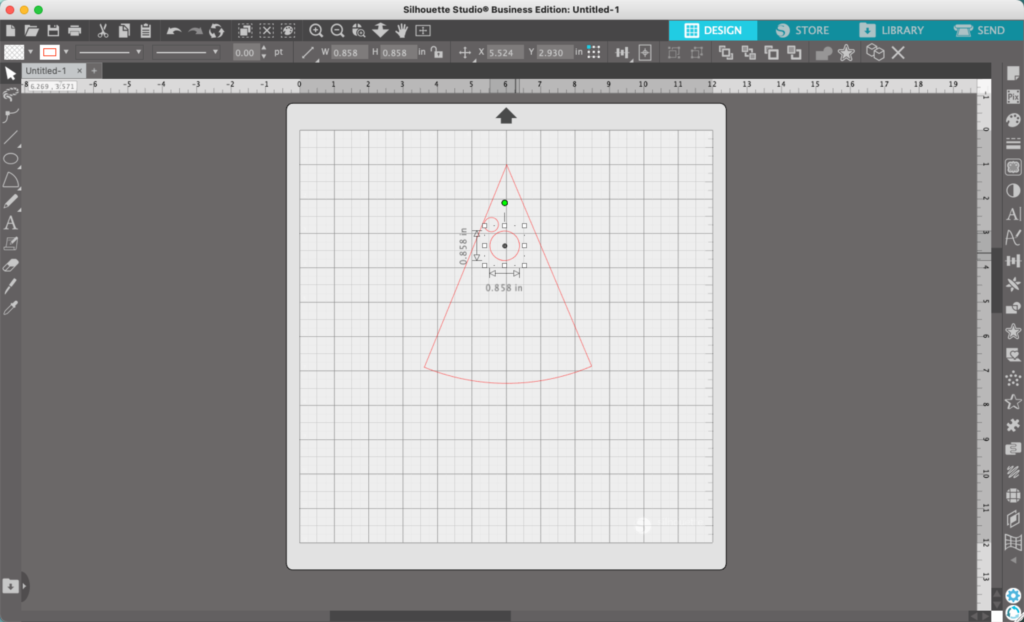
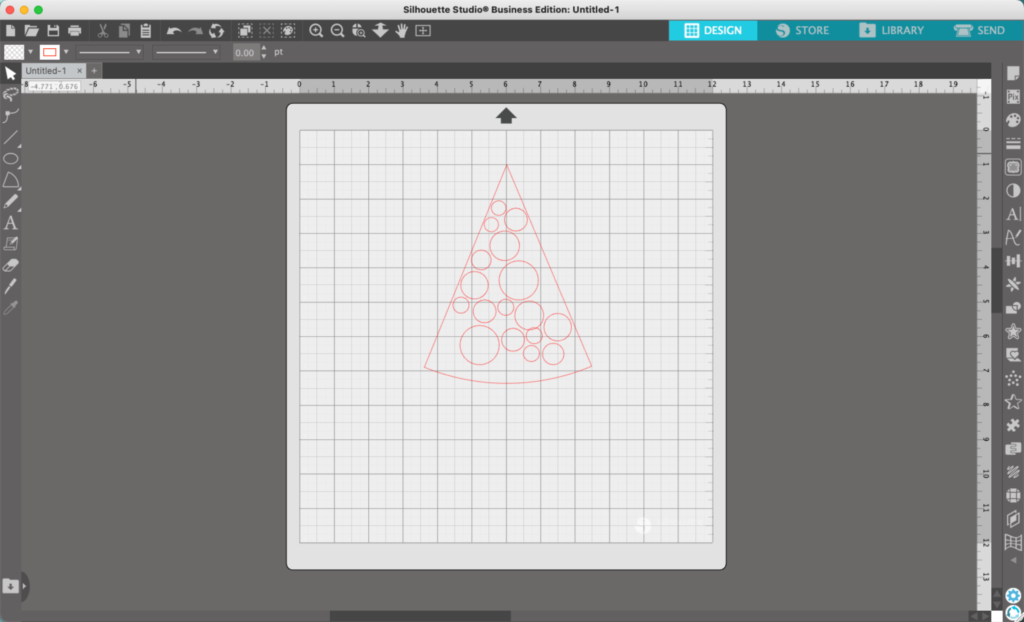
5. Repeat steps 3 and 4 until your triangle shape is full of circles. Be sure to keep the circles near the triangle shape line – at the end you’ll be deleting the triangle shape.
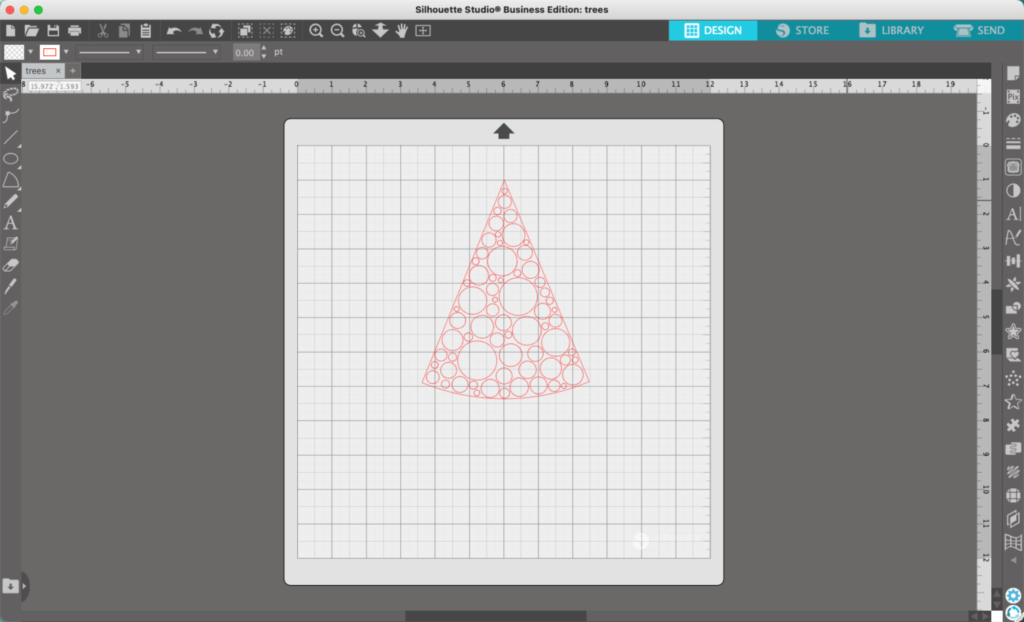
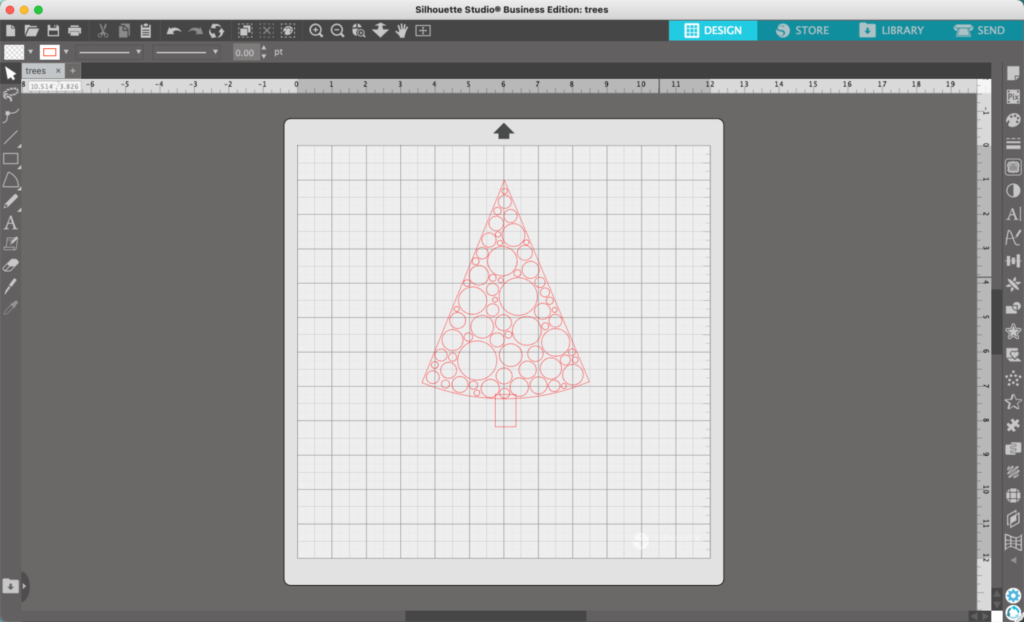
6. Add a rectangle for a trunk and fill it with circles.
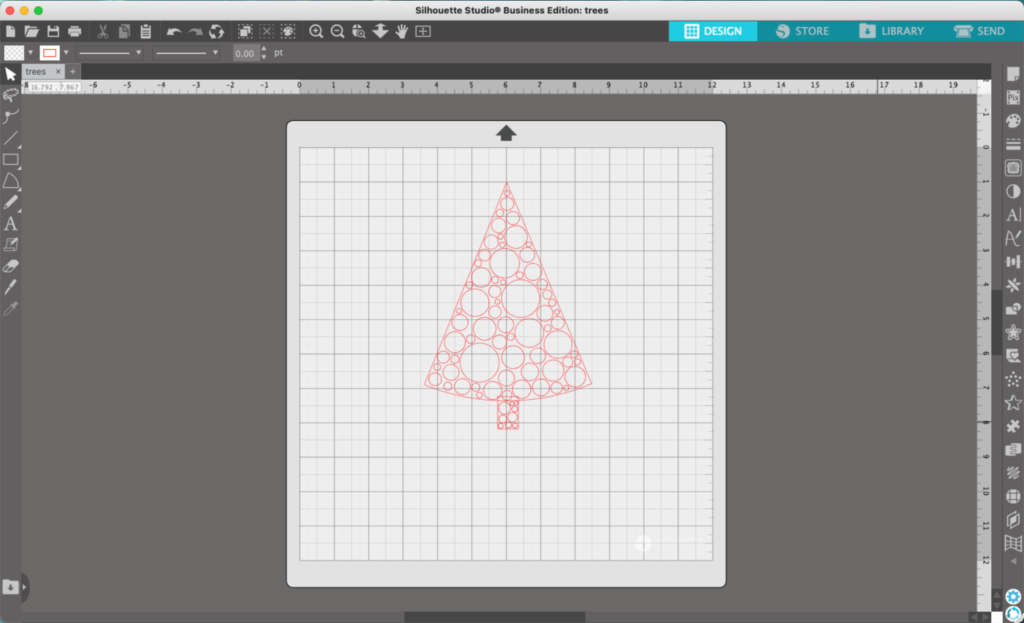
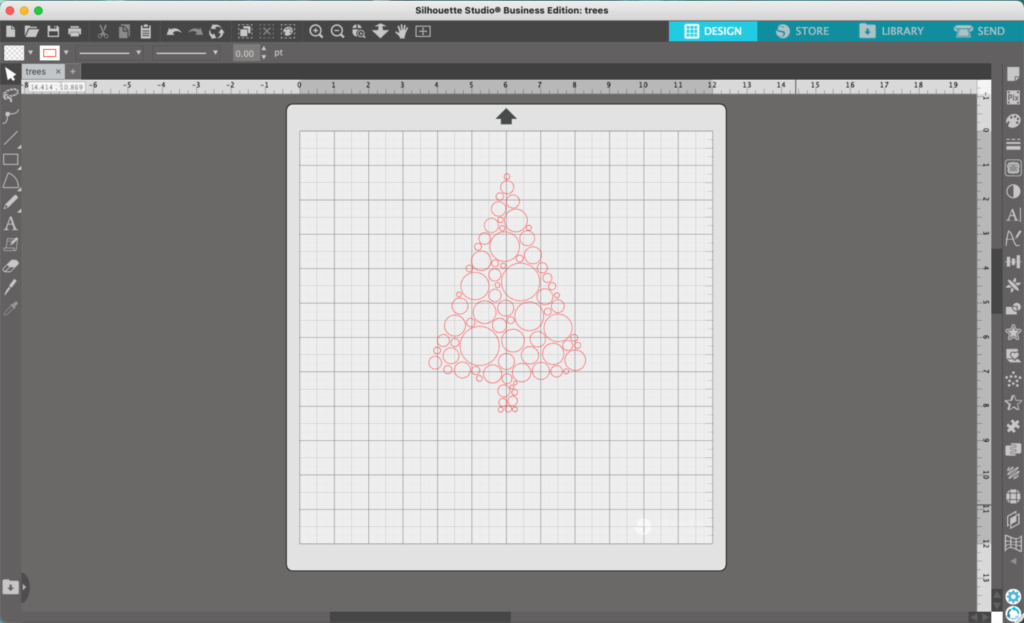
7. Delete the triangle and the rectangle.
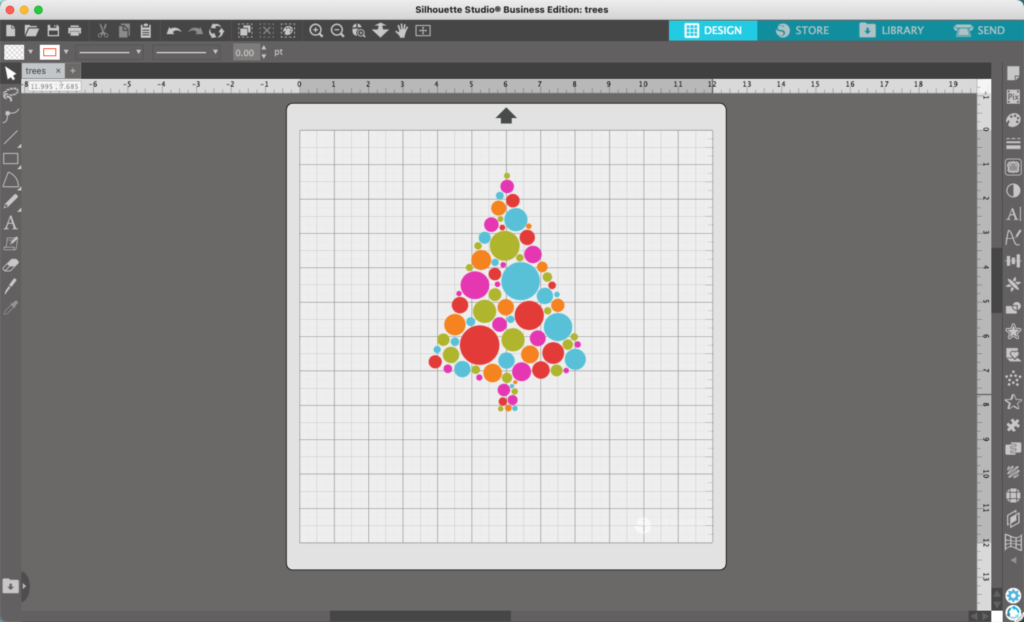
8. Add color to the design.
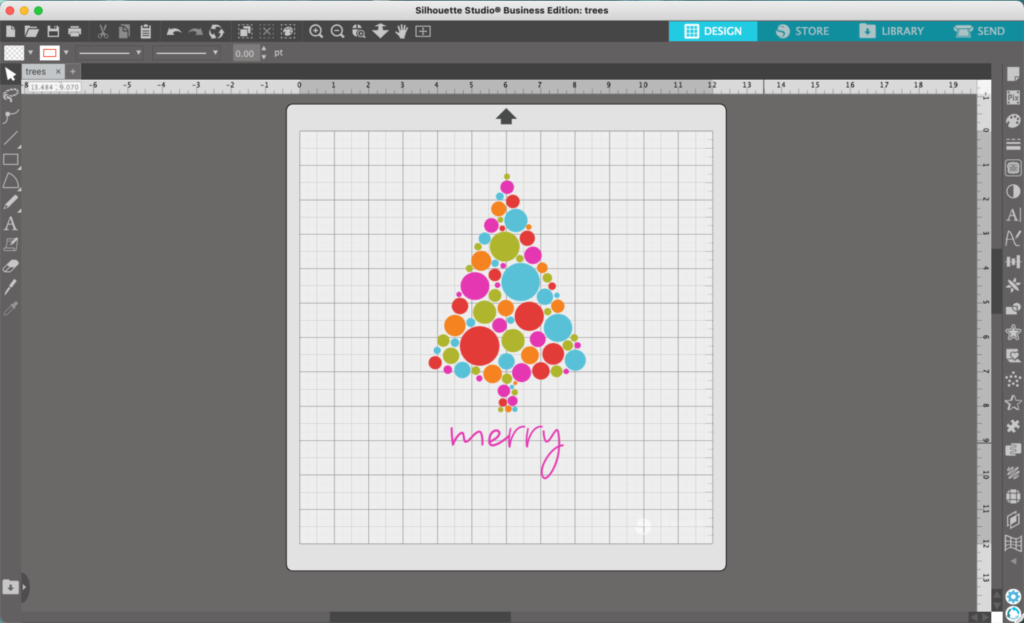
9. Add additional details or text. (Font used: Kate Johnson.)
This tutorial was fun with circles, but you could use anything: How about an alphabet themed Christmas tree for a bulletin board in a classroom? What about a dinosaur filled tree for a toddler boy’s shirt? What if you forgot the tree and used an entirely different shape? It’s your choice… you are the designer!
That’s it! Your funky Christmas tree is ready to go!
Don’t Forget to Save!
To save your new SVG creation, head to ‘File’, ‘Save As’, ‘Save to Hard Drive’, name the file, then select ‘SVG’ from the dropdown menu.
Want More SVG Tutorials?
View more Design with Me SVG tutorials.
Leave a Reply