Valentine’s Day is soon and I love red, pink, hearts, and… sublimation! Let’s look at a tutorial today.
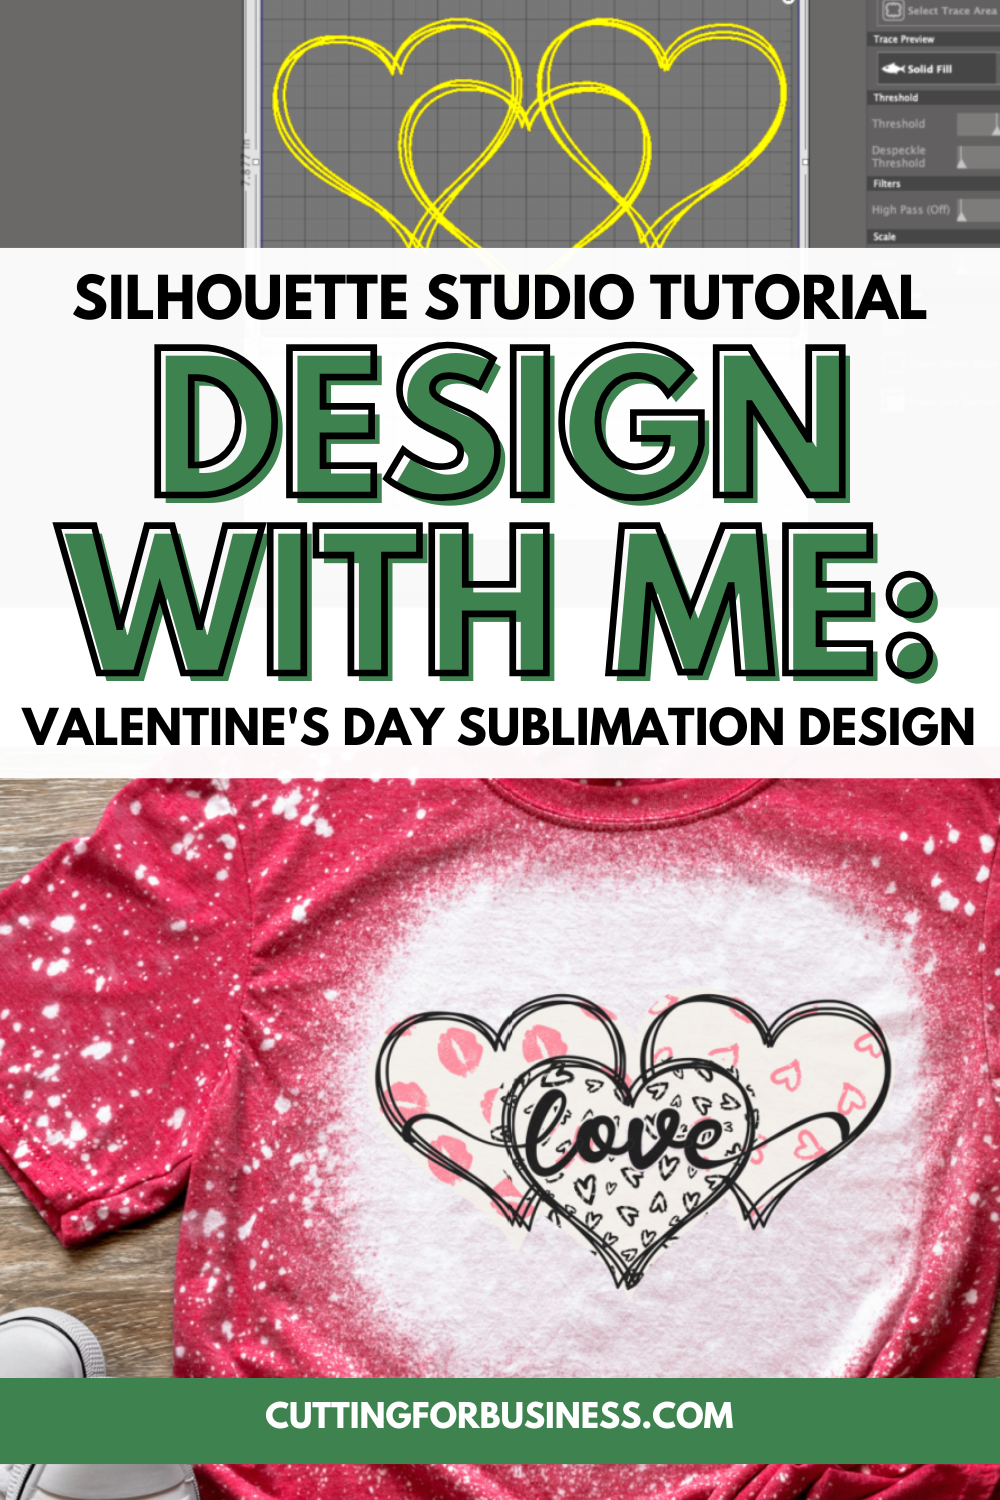
Tutorial: Valentine’s Day Sublimation Hearts
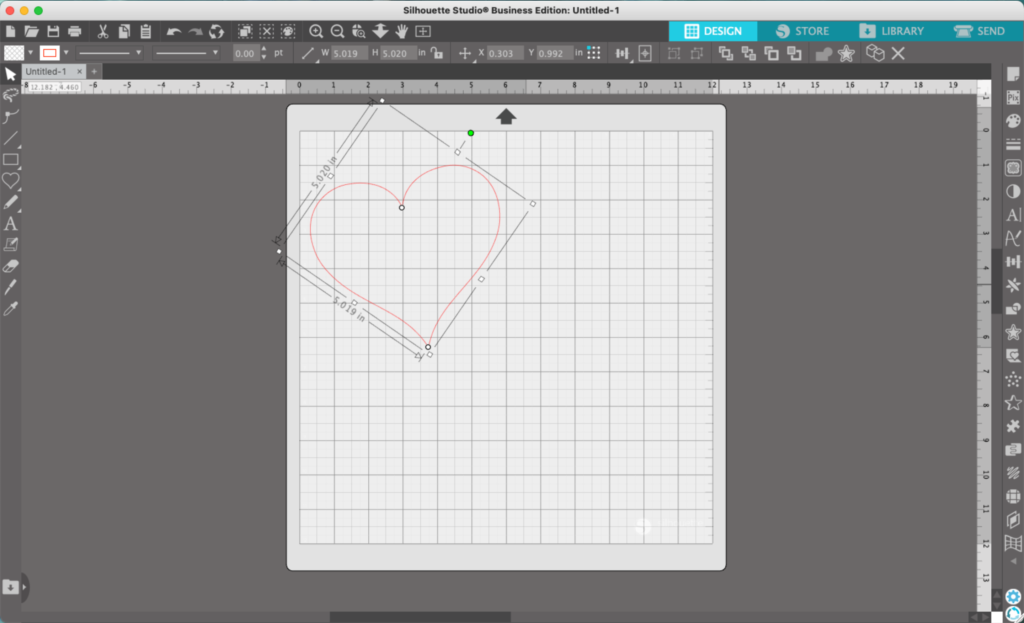
- In Silhouette Studio, use Flexishapes to draw a heart.
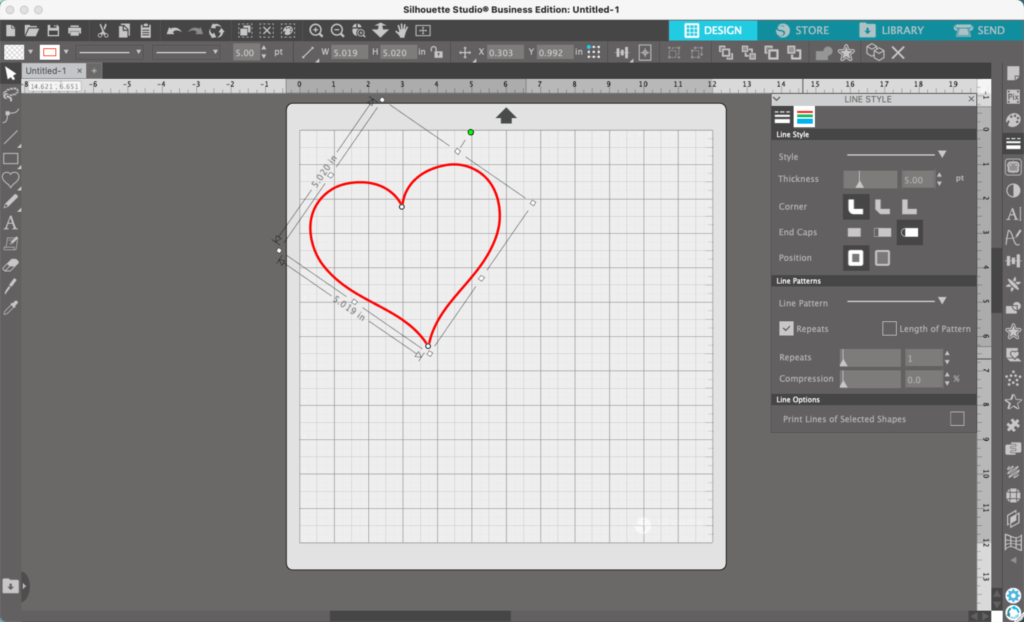
2. Navigate to ‘Panels’, ‘Line Style’, and thicken the line on your heart.
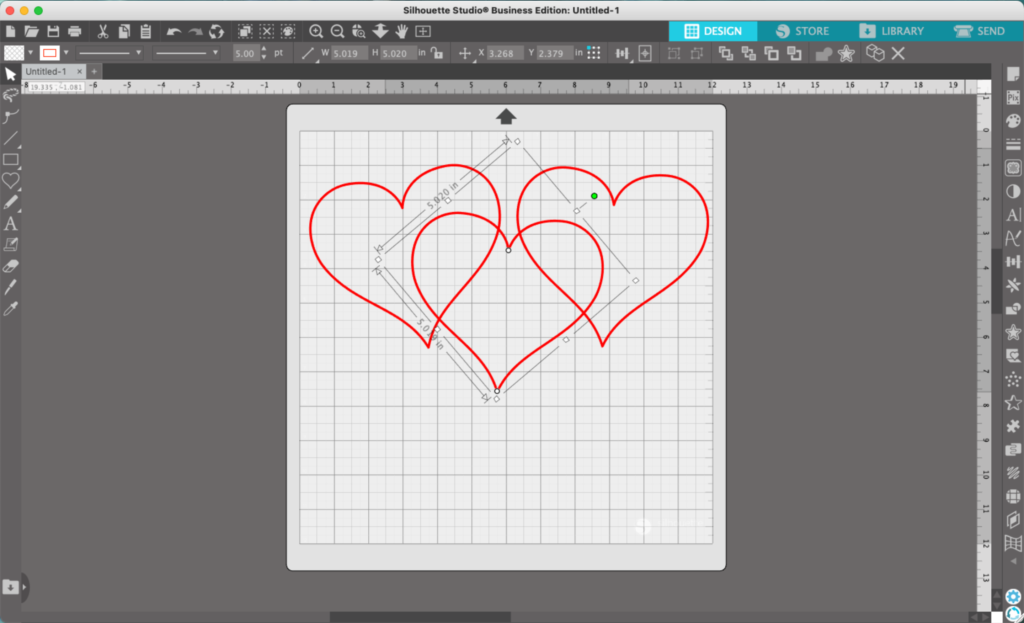
3. Duplicate the heart two times and arrange them as desired.
4. Now, duplicate your first heart and place the duplicates on top of the first heart.
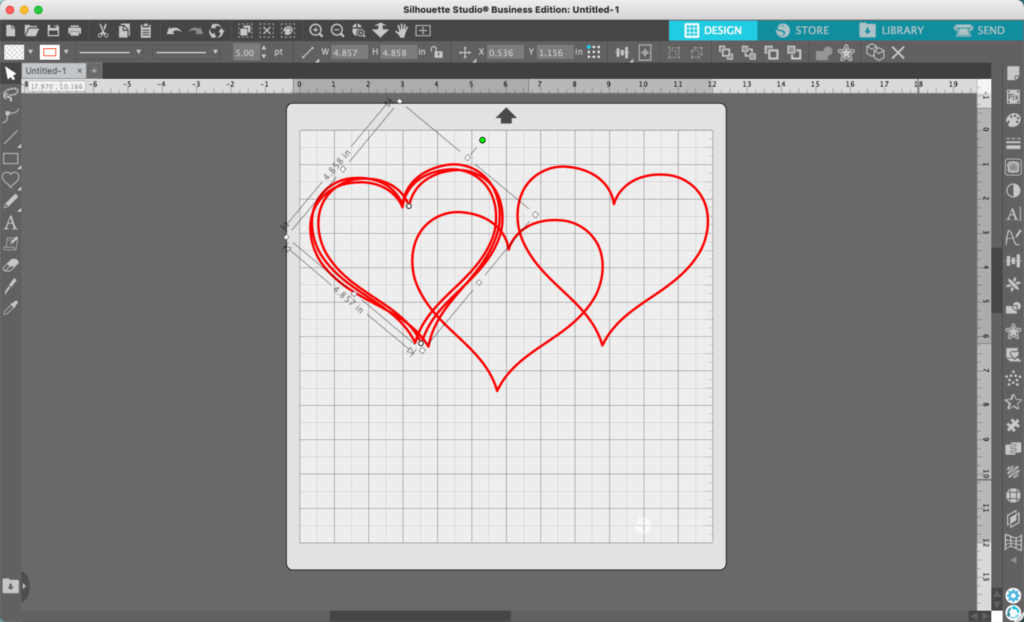
5. Repeat step 4 for hearts 2 and 3.
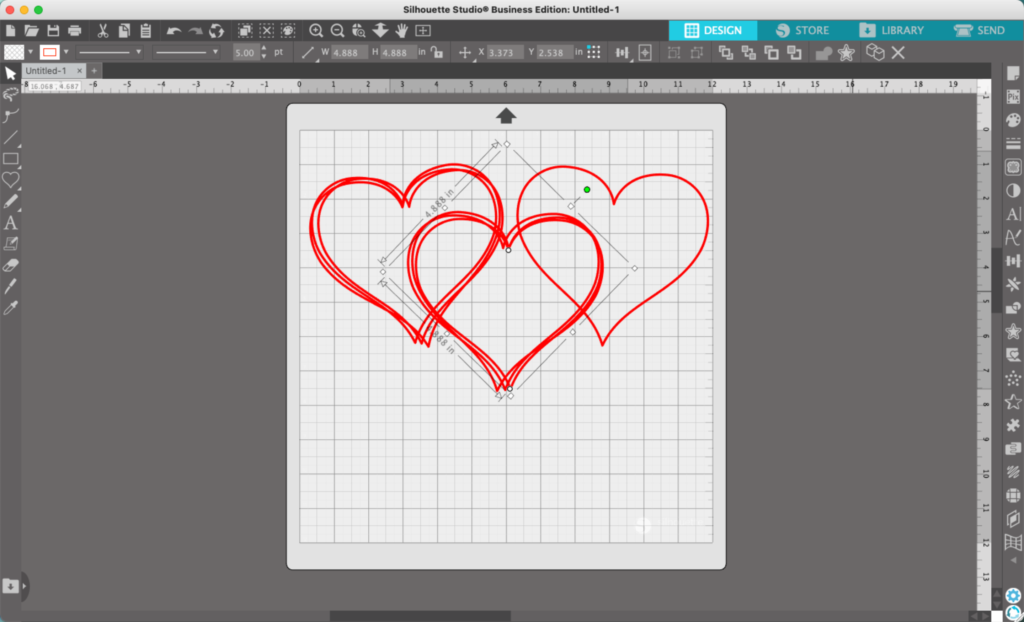
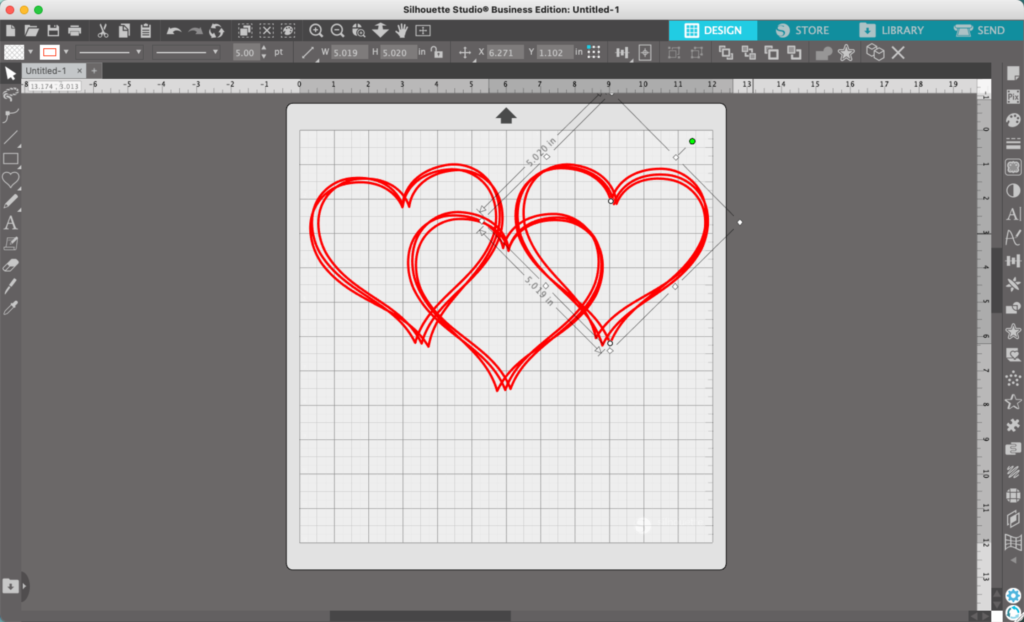
6. Navigate to ‘Panels’, ‘Trace’. Trace all the heart outlines you made.
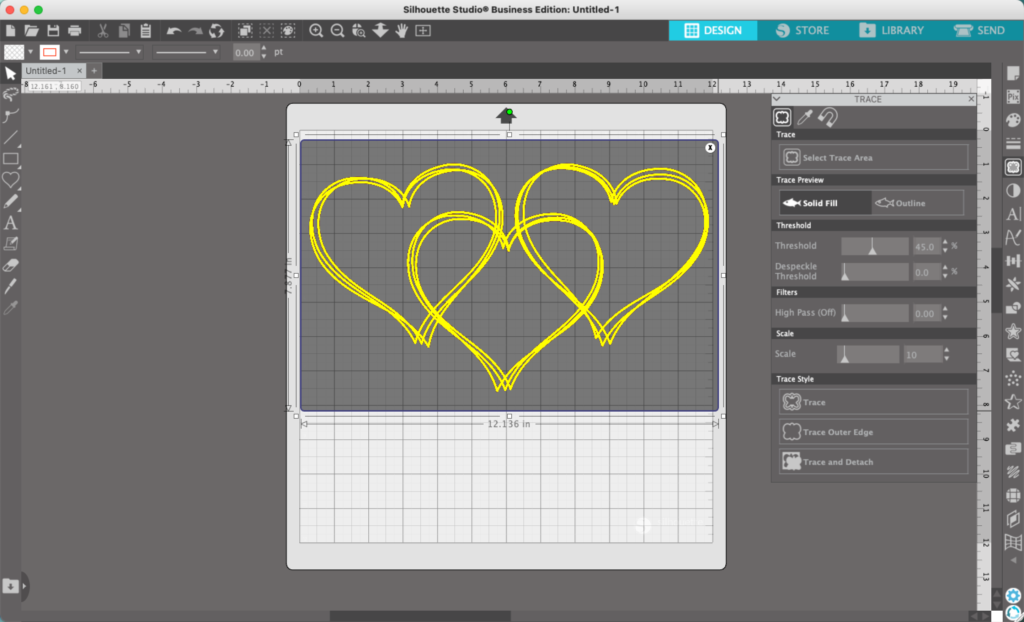
7. Delete the original hearts.
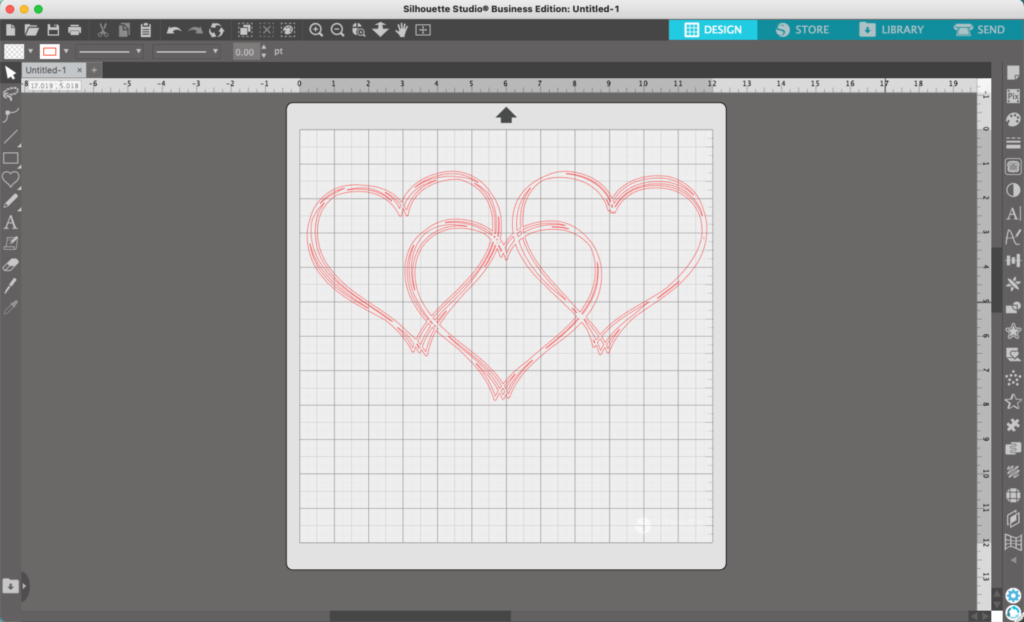
Now, there are several things you can do from here. The design can be cut now. It would look similar to this if cut from vinyl or paper:

But, you could use the knife tool and cut away the overlaps – then delete them.

And then, you could turn it into a sublimation design. Here’s how:
- Open a wallpaper in Silhouette Studio. I downloaded one from Adobe Stock.
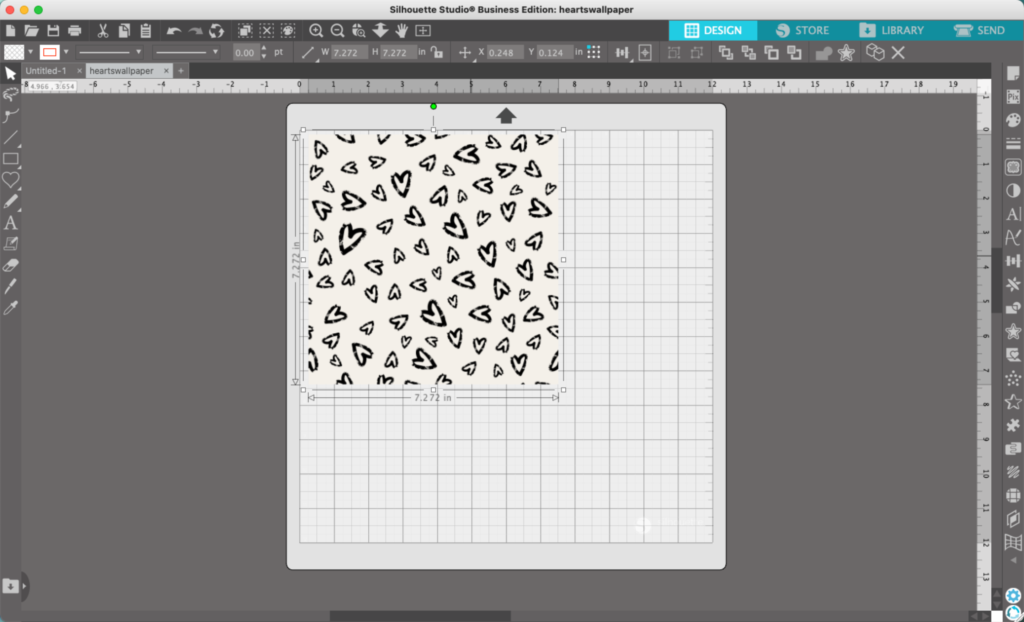
2. Use Flexishapes to draw a heart, roughly the same size of the other hearts.
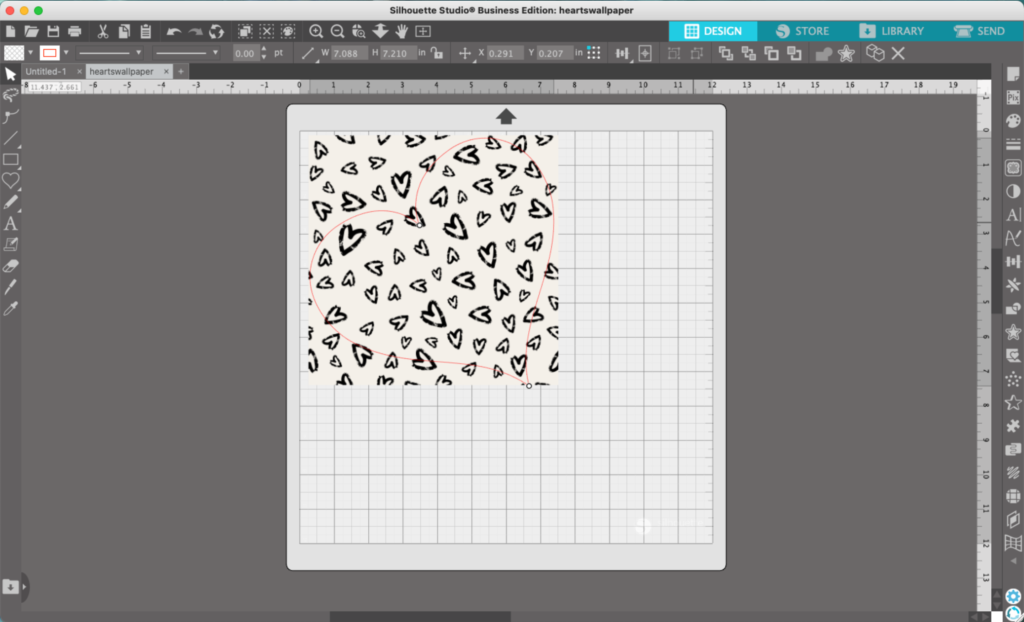
3. Select the heart and the wallpaper. Then, navigate to ‘Object’, ‘Modify’, and ‘Crop’.
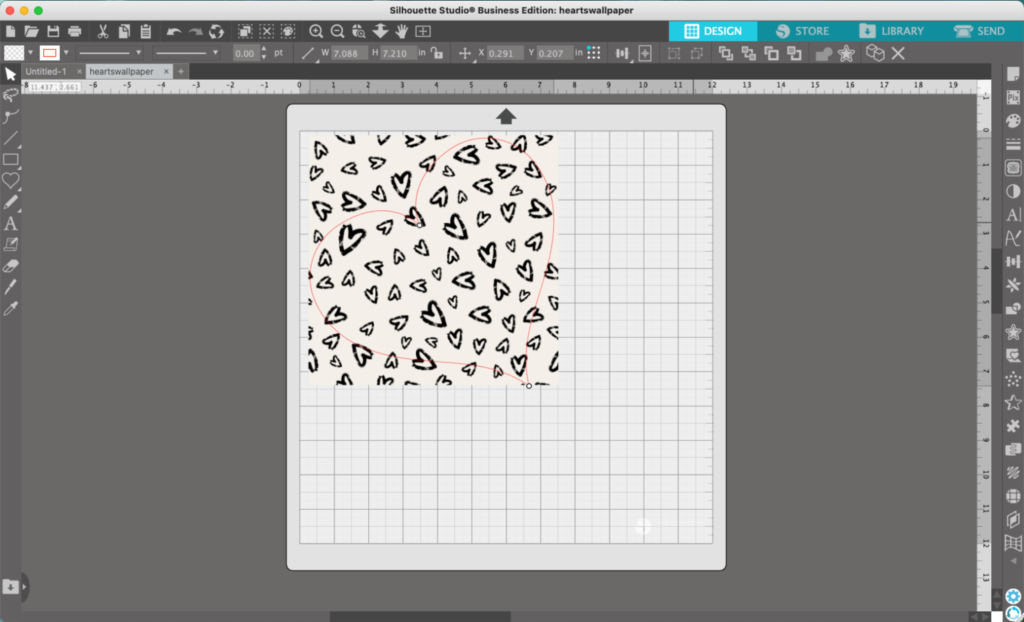
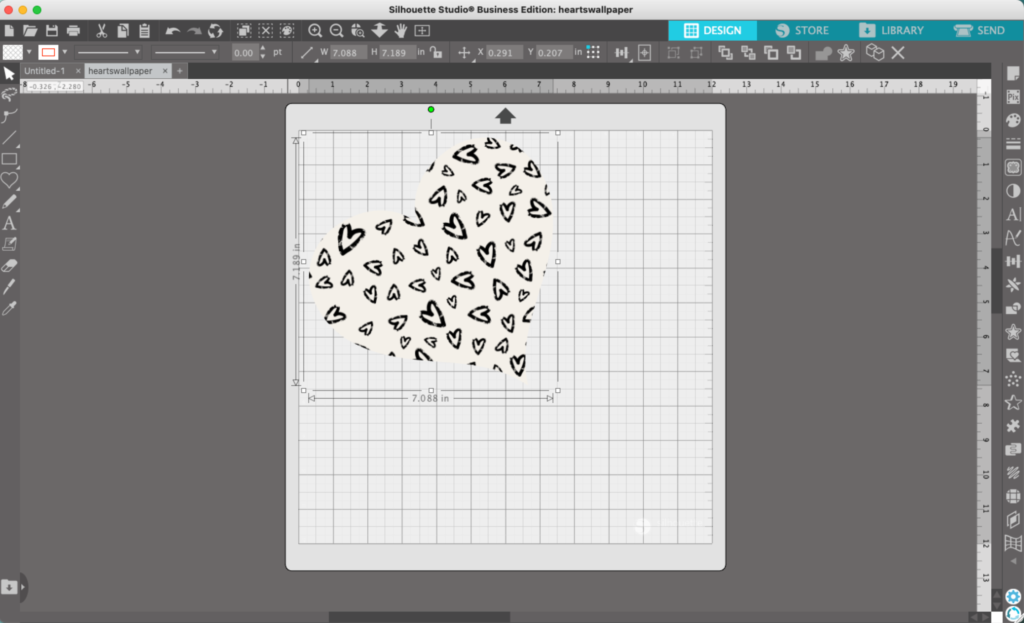
4. Copy and paste the heart onto your design.
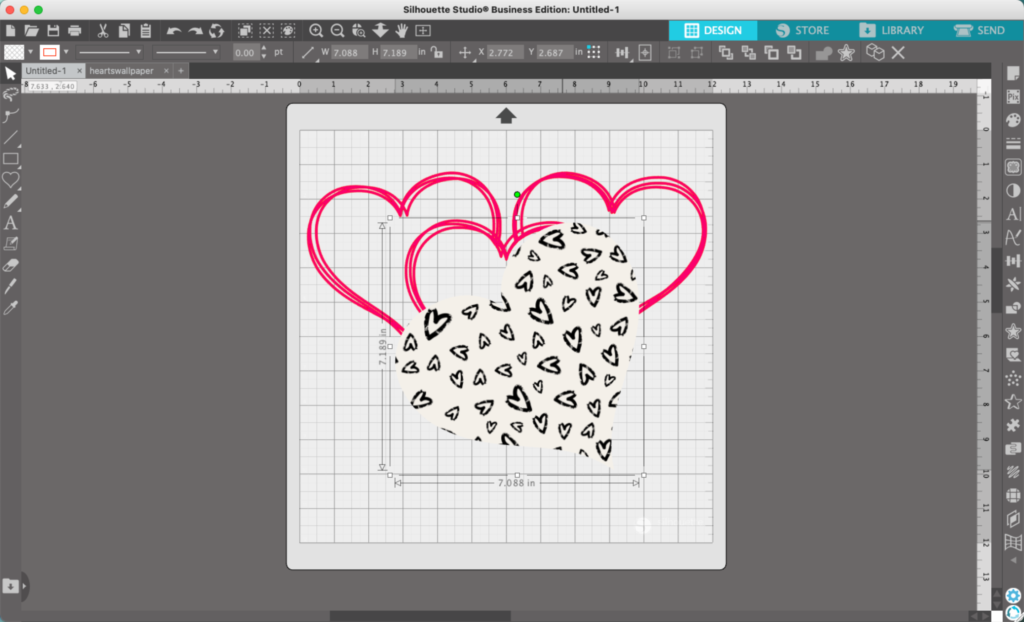
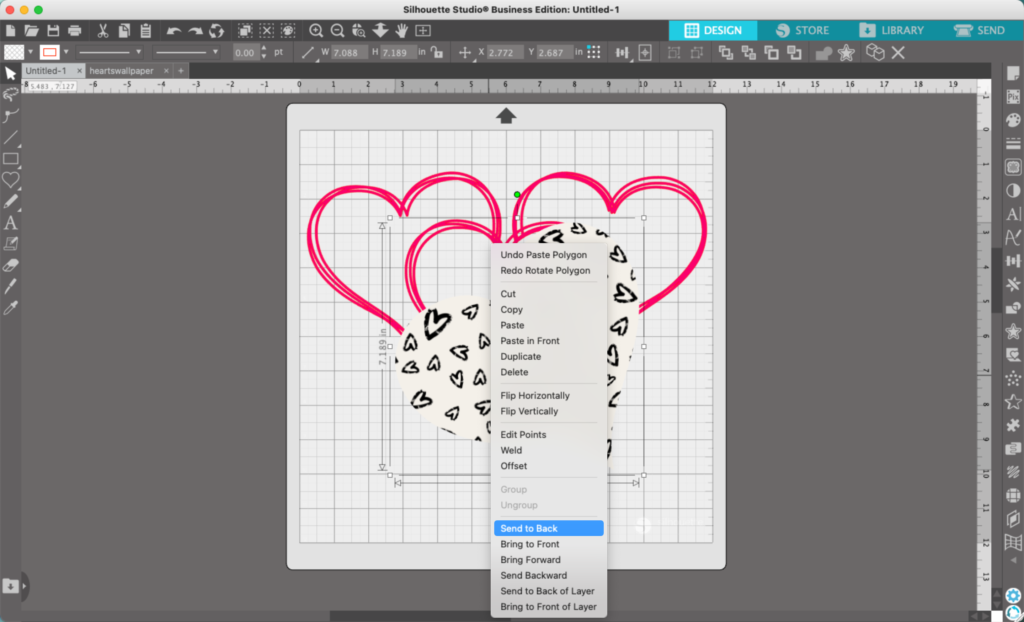
5. Right click the wallpaper heart, and select ‘Send to Back’.
6. Resize and move the wallpaper heart behind one of the hearts.
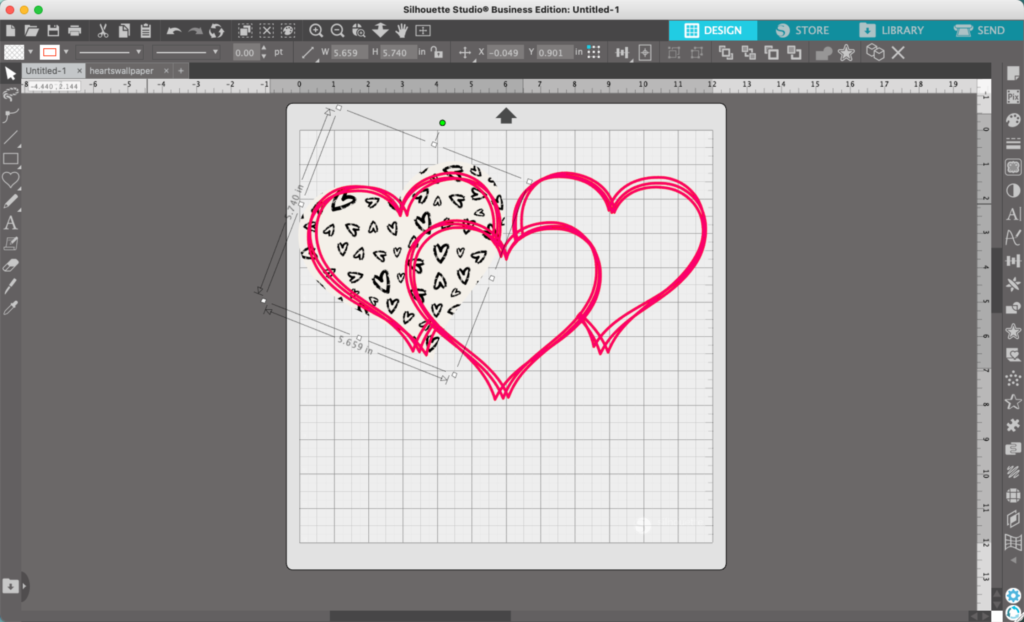
7. Repeat steps 1 to 6 for the remaining hearts.
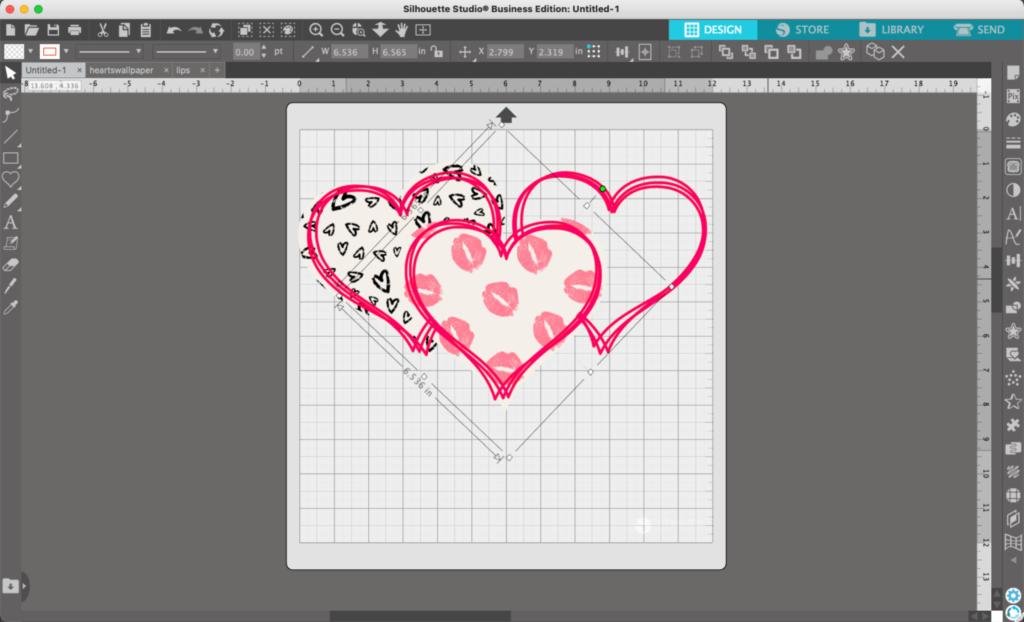
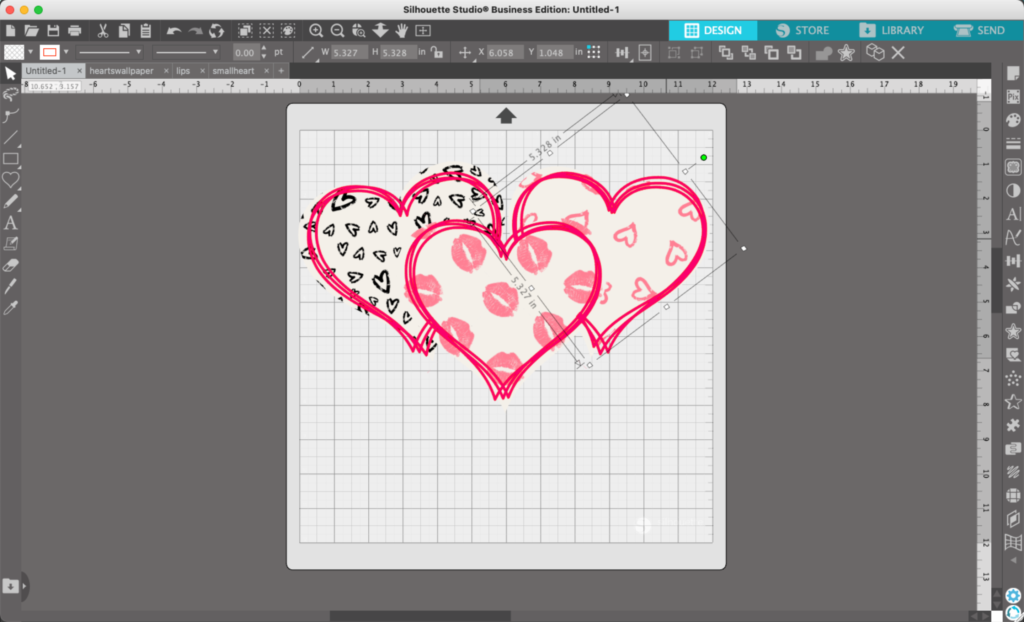
8. Change the colors or add text to finish the design. (You’ll also note that I moved the wallpaper hearts around.) If the font looks familiar, it is Watershed.
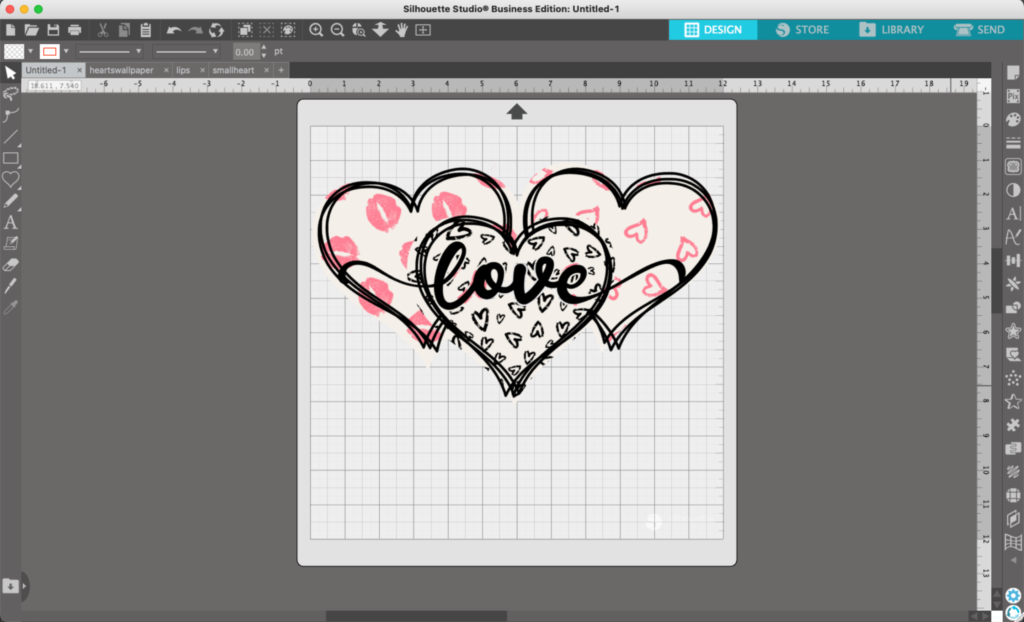
That’s it! Your design is ready to go!
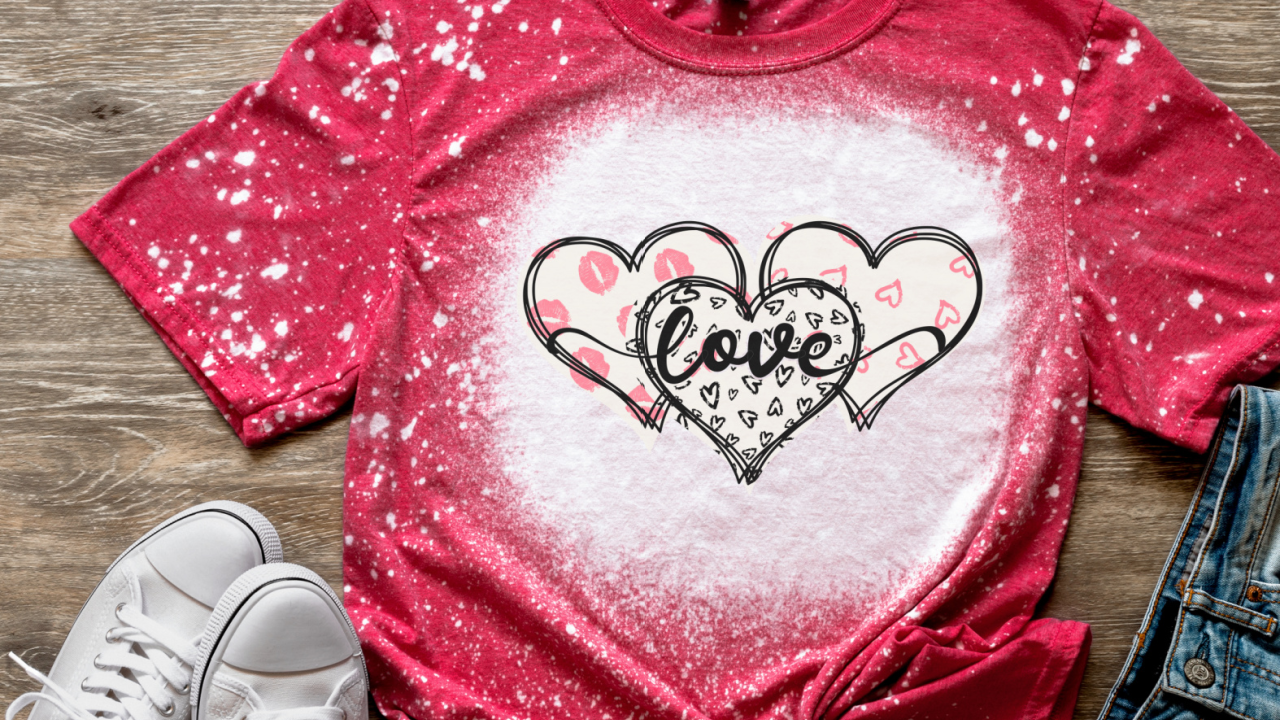
Don’t Forget to Save!
To save your new SVG creation, head to ‘File’, ‘Save As’, ‘Save to Hard Drive’, name the file, then select ‘SVG’ from the dropdown menu.
Want More SVG Tutorials?
View more Design with Me SVG tutorials.
Leave a Reply