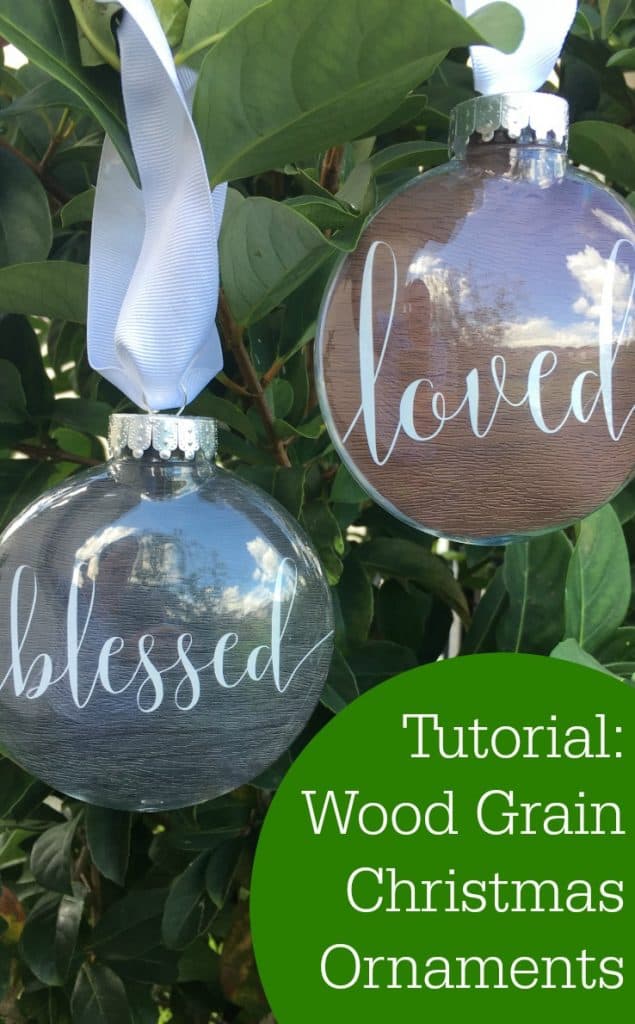
I’ve seen so many Silhouette Cameo and Cricut small business owners preparing to sell glitter Christmas ornaments for the upcoming holiday season. While I love seeing so many beautiful glittered ornaments – I know that this ultimately means that sellers are likely to face more competition and a lower selling price this year. Why not skip the glittered ornaments for today and try out something a little different? Today, I’m sharing a tutorial for wood grain ornaments:
Supplies
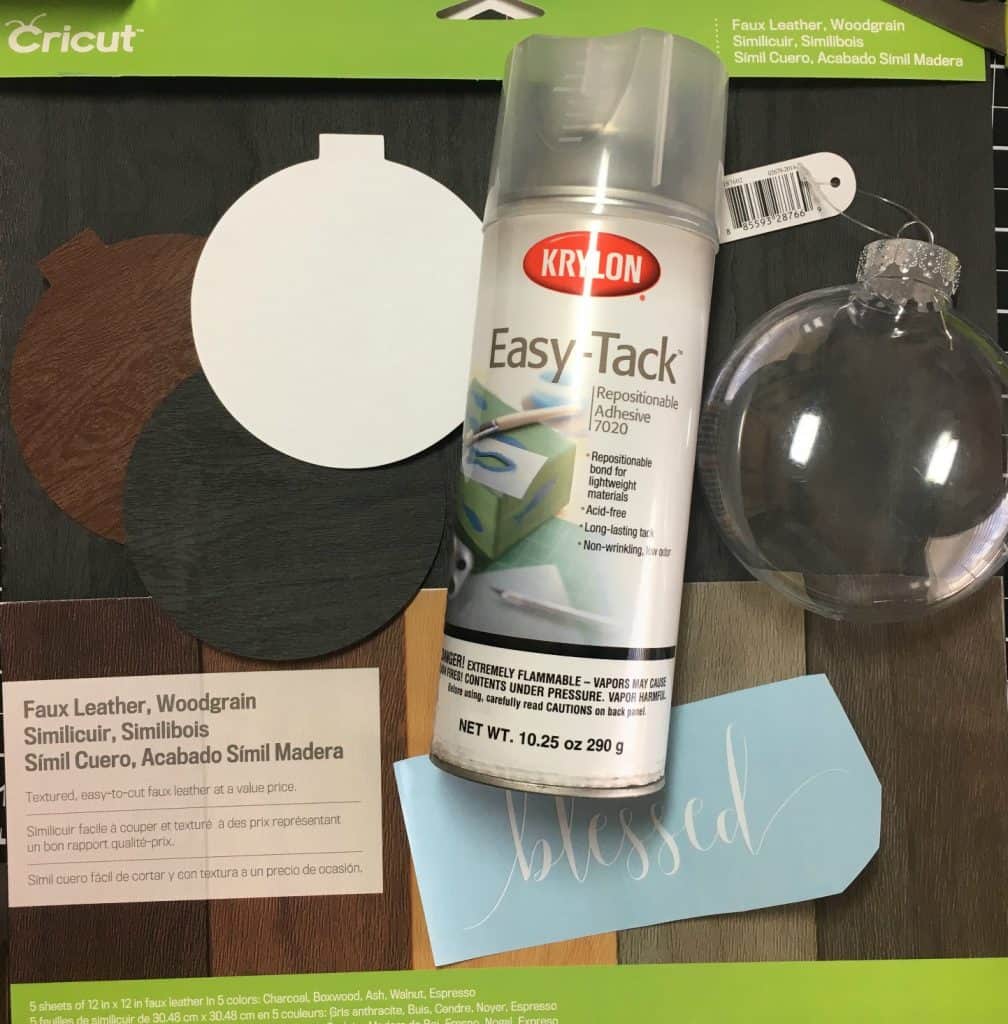
- Clear plastic or glass empty ornaments. I picked some up for pennies last year after Christmas, but you can find them in craft stores, big box retailers, and even Amazon.
- Glue or spray adhesive
- Cricut brand faux leather/wood grain material
- Cardstock – any color
- Adhesive Vinyl
- Transfer tape. I used paper so that it wasn’t so sticky.
Wood Grain Christmas Ornament Tutorial
- Gather all your supplies and create a design in Silhouette Studio or Design Space. I created two simple text designs (blessed and loved) using Smoothline Script.
- Cut a circle insert shape for your ornament using cardstock. Download the insert I designed (depending on the size of your ornament, you may need to size up or down) or create your own.
- Cut out the faux leather woodgrain the same size as you made your insert in the last step. I cut it on my Silhouette using the preset chipboard settings. Cut settings for Cricut are listed in the package.
- Place your vinyl design onto the faux material using transfer tape.
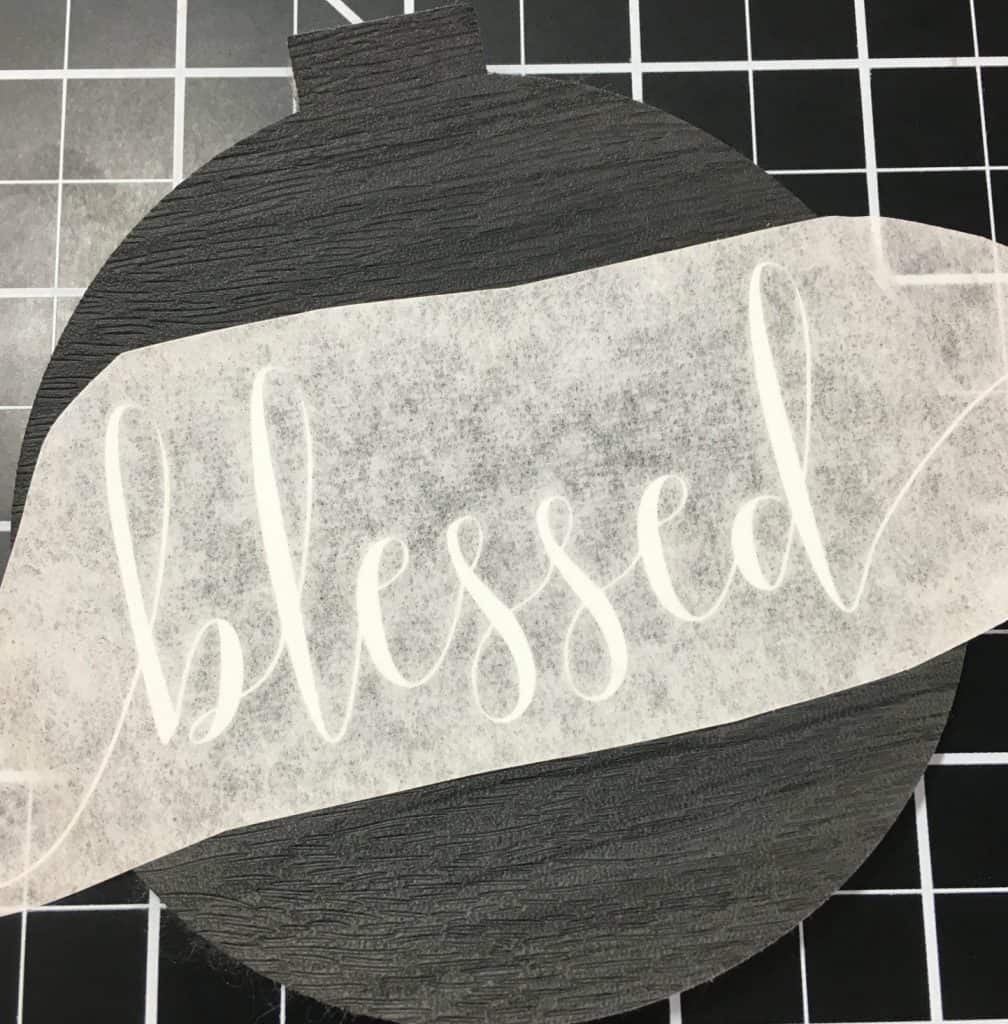
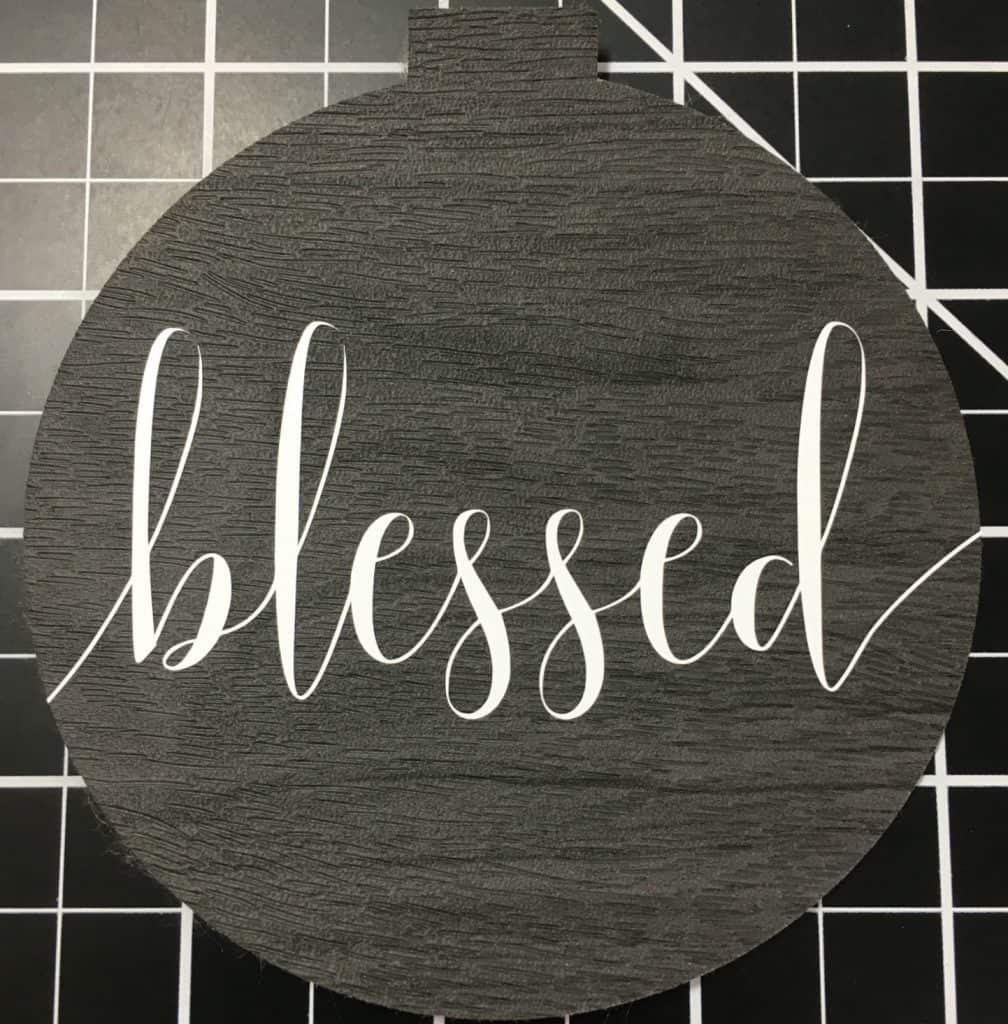
- Use glue or spray adhesive to attach your faux material to the cardstock. The faux material is a little floppy, so you’ll need to reinforce it. Allow a few minutes for it to set before moving on.
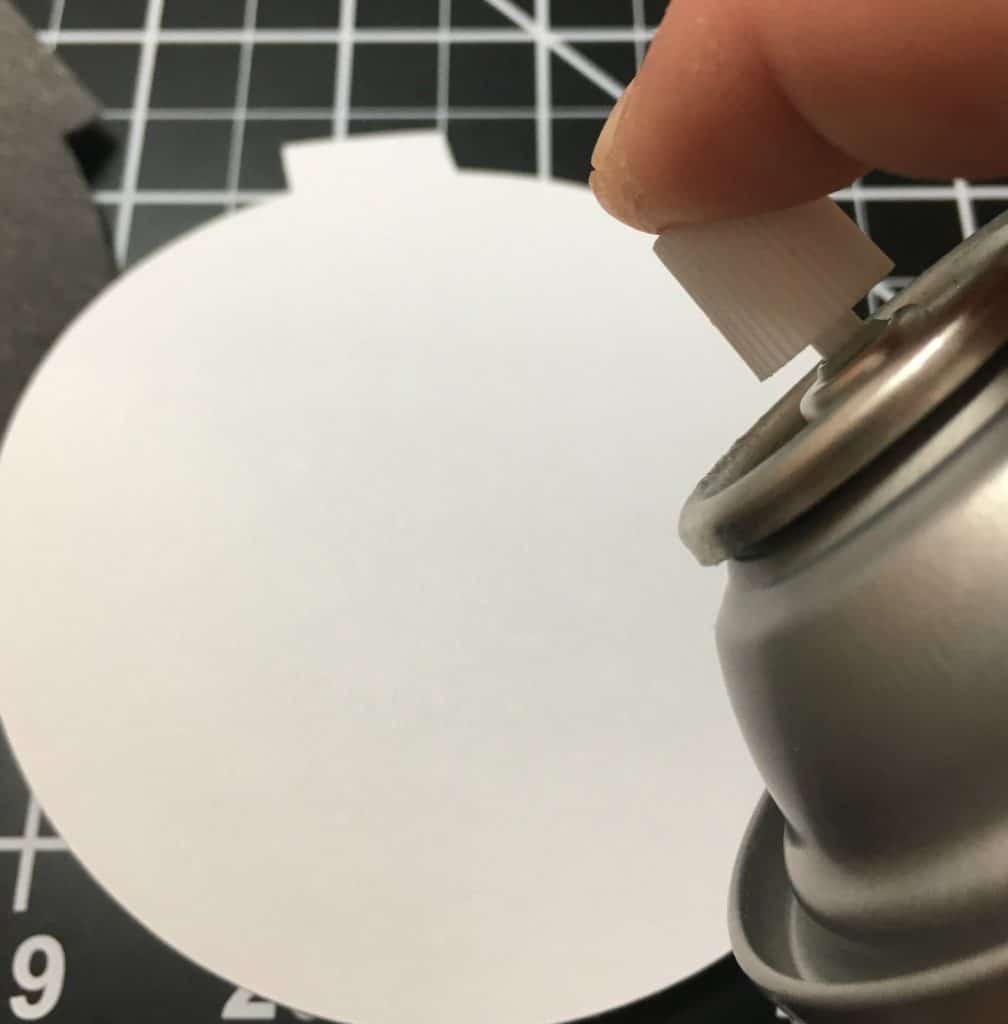
- Roll the cardstock and faux material and place it inside your blank ornament. You may need to use the end of a pencil to help it unroll.
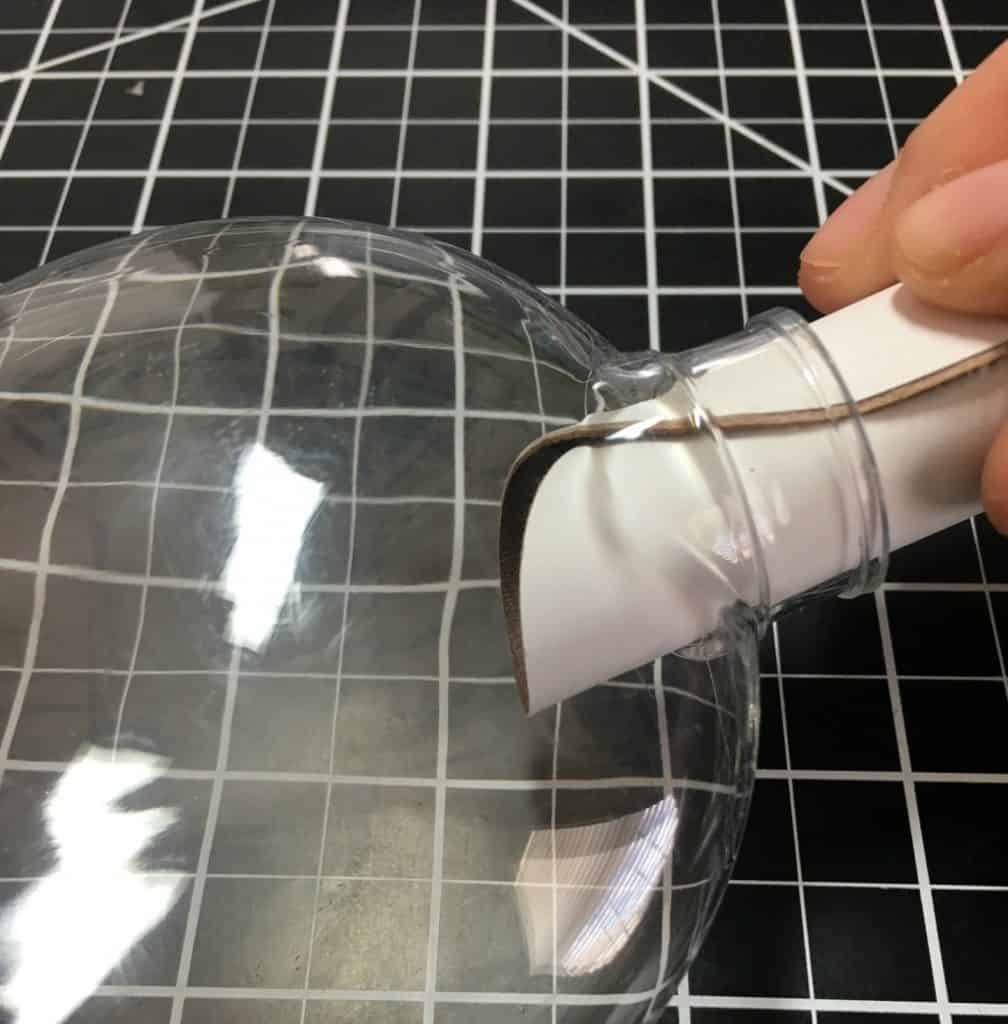
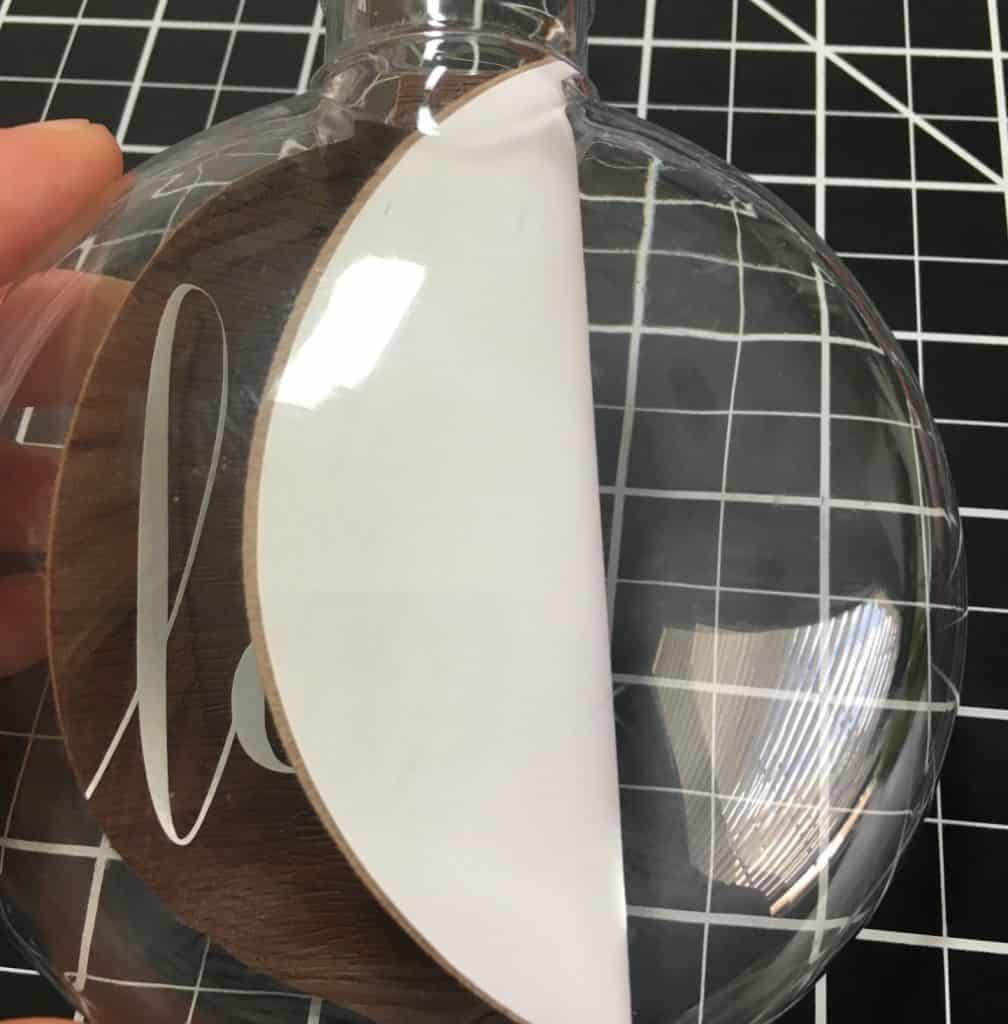
- That’s it! Place the ornament top back on and finish with a ribbon for hanging. See both my finished Christmas ornaments in the photo below.
Did you like this tutorial? Save it to Pinterest:
Leave a Reply