I get emails all the time with questions from Cutting for Business readers about making wood signs using their Silhouette Cameo or Cricut Explore or Maker. Let’s take a step-by-step walk through making a sign with your Silhouette or Cricut.
How to Perfectly Paint Signs with Your Silhouette Cameo or Cricut Explore or Maker
- Buy wood. Learn the ins and outs of buying wood for sign making in this post:

- Cut the wood. Find out what power tools you’ll need:

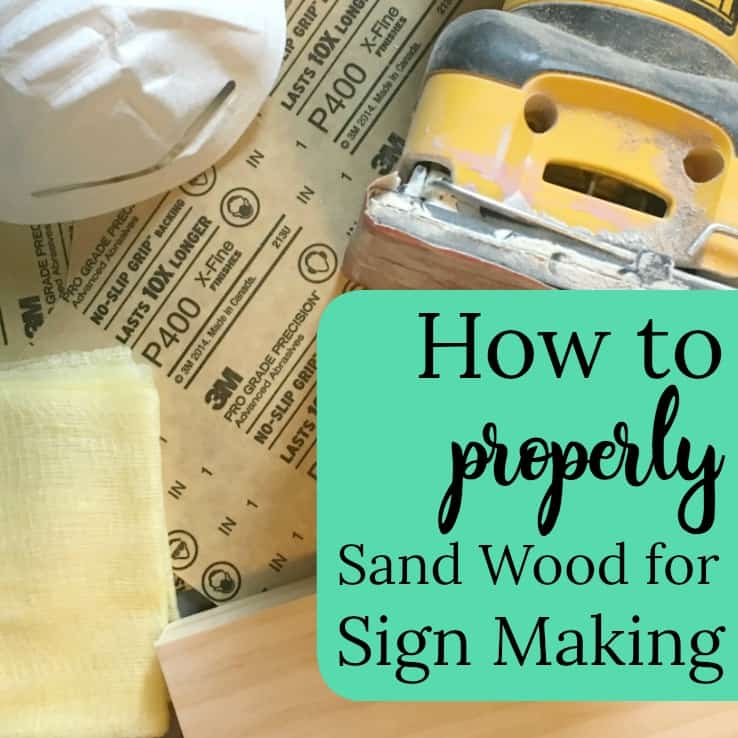
- Sand your wood. Don’t just sand it, sand it well:
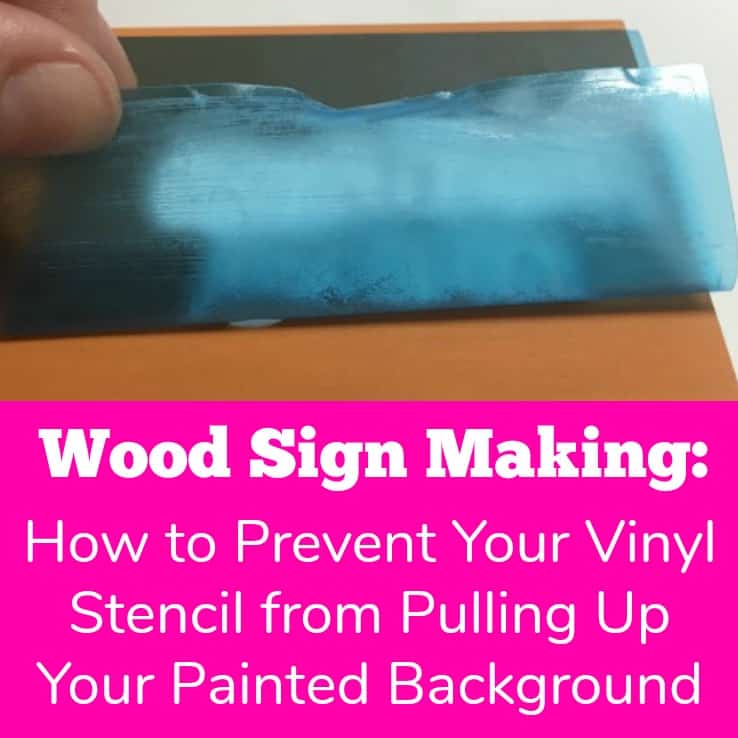
- Cut your stencil and paint your wood. I prefer to use Oramask 813 stencil film and GreenStar transfer tape. If you are having problems, troubleshoot in these posts.

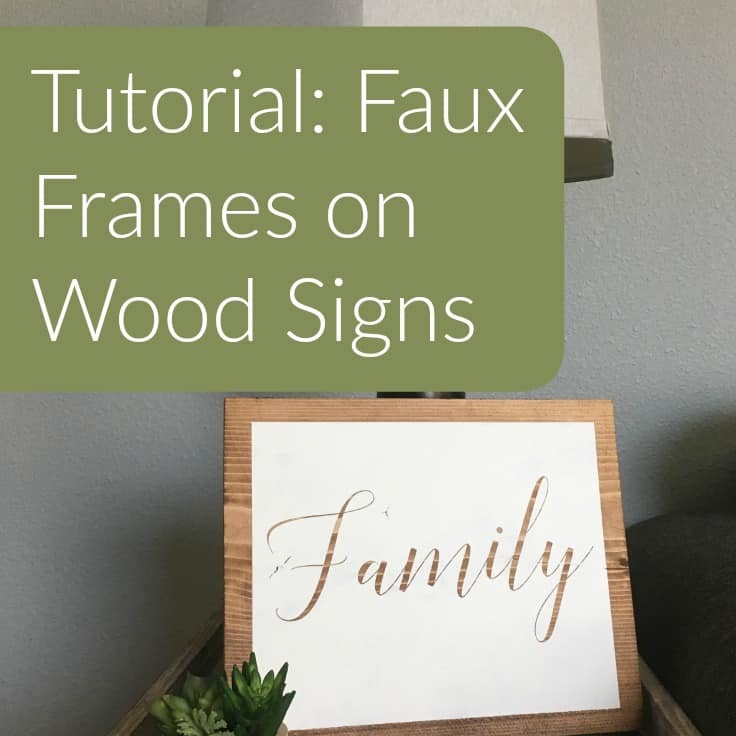
- Consider adding a frame:

- Selling your sign? Brand your sign with a stamp on the back with your Silhouette Mint. See the photo below for an example and read more about buying a Silhouette Mint here.

- Finally, package your sign to mail:

Once you get the hang of making wood signs, here’s some advanced tutorials:
- Get fancy with shaped wood blanks:

- Get in touch with your rustic side with barnwood:

- Or host a party with friends:

I promise, if you sand your wood well, use only a tiny amount of paint on your signs, and dab your brush up and down – you will be successful making signs with your Silhouette or Cricut.
Why not save this post on Pinterest so you can find it when you need it?
Leave a Reply