Author: christine

  • Tutorial: Chemica Magic Flex Heat Transfer Material

    I’m super excited to share a new product tutorial with you today! Chemica recently sent me a sample of their Magic Flex heat transfer material to share with Cutting for Business readers! Magic Flex has been available overseas, but is now being stocked in the USA. The material is a heat transfer that puffs up during application for a raised, 3D look. Let’s get to the tutorial.

    Magic Flex Heat Transfer Tutorial:

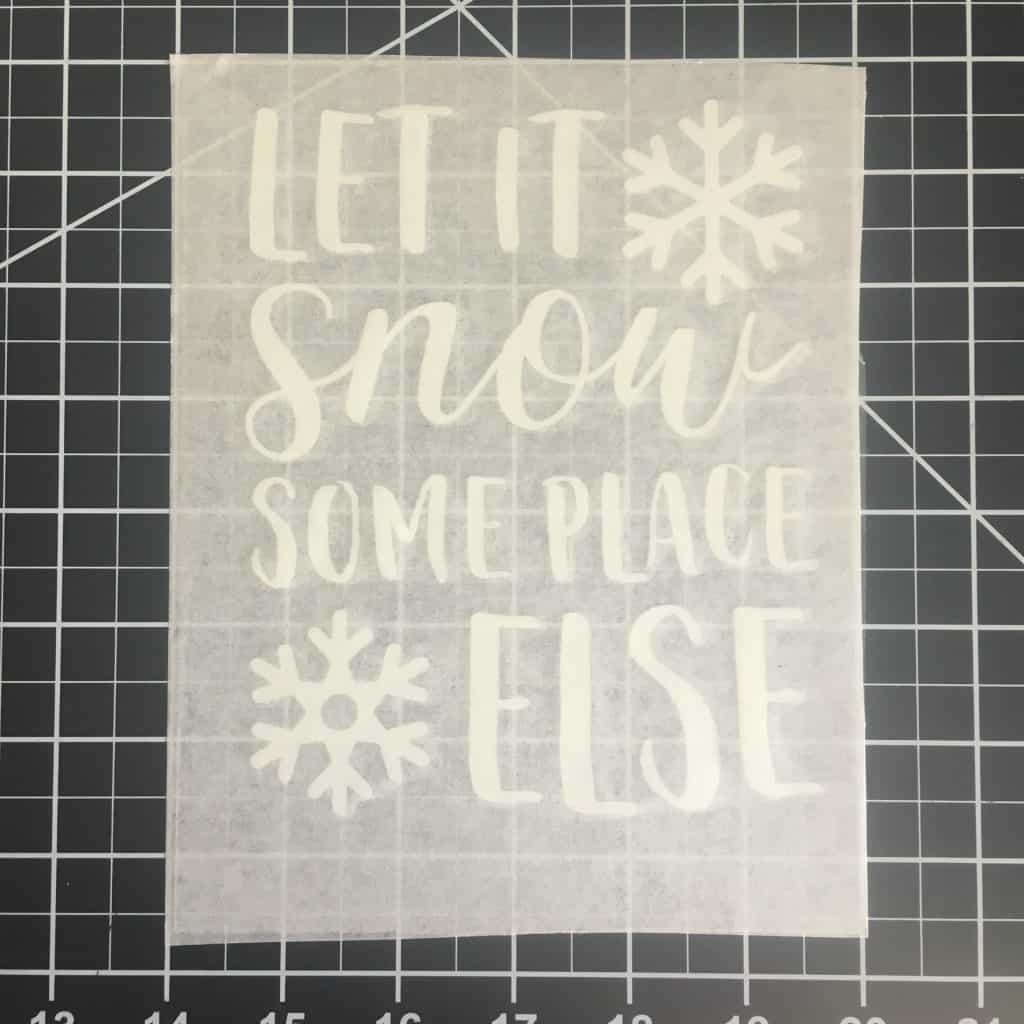
    1. Create your design and do not mirror it. This bears repeating: Do NOT mirror your Magic Flex material. After cutting the design, you’ll weed it. I had no problems weeding the material. If you are using a Silhouette Cameo 3, I used my autoblade with the standard heat transfer vinyl setting (smooth) and I double cut the material. Here’s what it looks like weeded: Tutorial: Chemica Magic Flex Heat Transfer Material with Silhouette Cameo 3 by cuttingforbusiness.com.

    2. You’l notice that there is no carrier sheet to transfer the vinyl to your apparel. Instead, you’ll need to use a heat resistant tape or paper like this one. Apply the tape. Tutorial: Chemica Magic Flex Heat Transfer Material with Silhouette Cameo 3 by cuttingforbusiness.com.
    3. Now, remove the plastic backing so that your design is on the transfer tape or paper. Tutorial: Chemica Magic Flex Heat Transfer Material with Silhouette Cameo 3 by cuttingforbusiness.com.
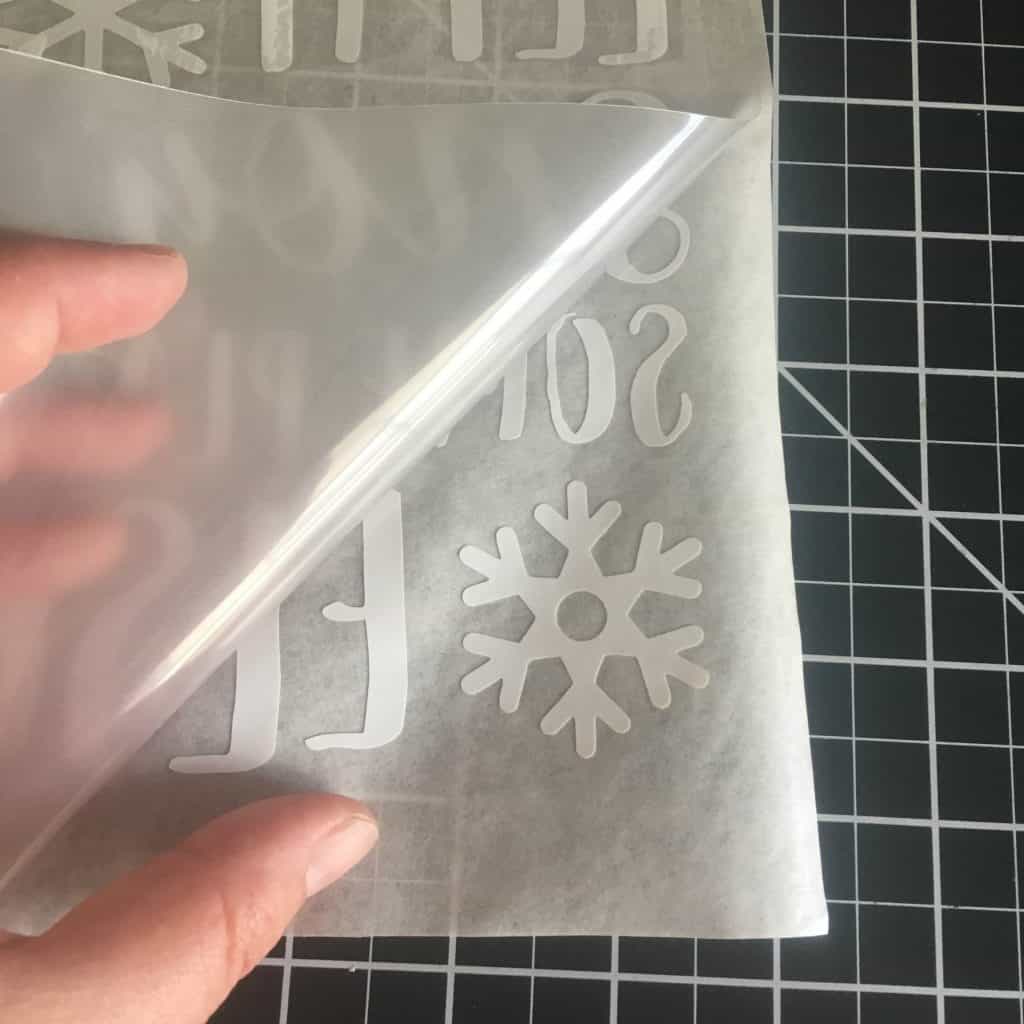
    4. You are ready to press using your heat press. I pressed for 30 seconds at 330 degrees using light pressure. You’ll want to be sure to peel the design while it is hot. In the photo below, you’ll see the Magic Flex on the left and regular heat transfer vinyl on the right. Tutorial: Chemica Magic Flex Heat Transfer Material with Silhouette Cameo 3 by cuttingforbusiness.com.
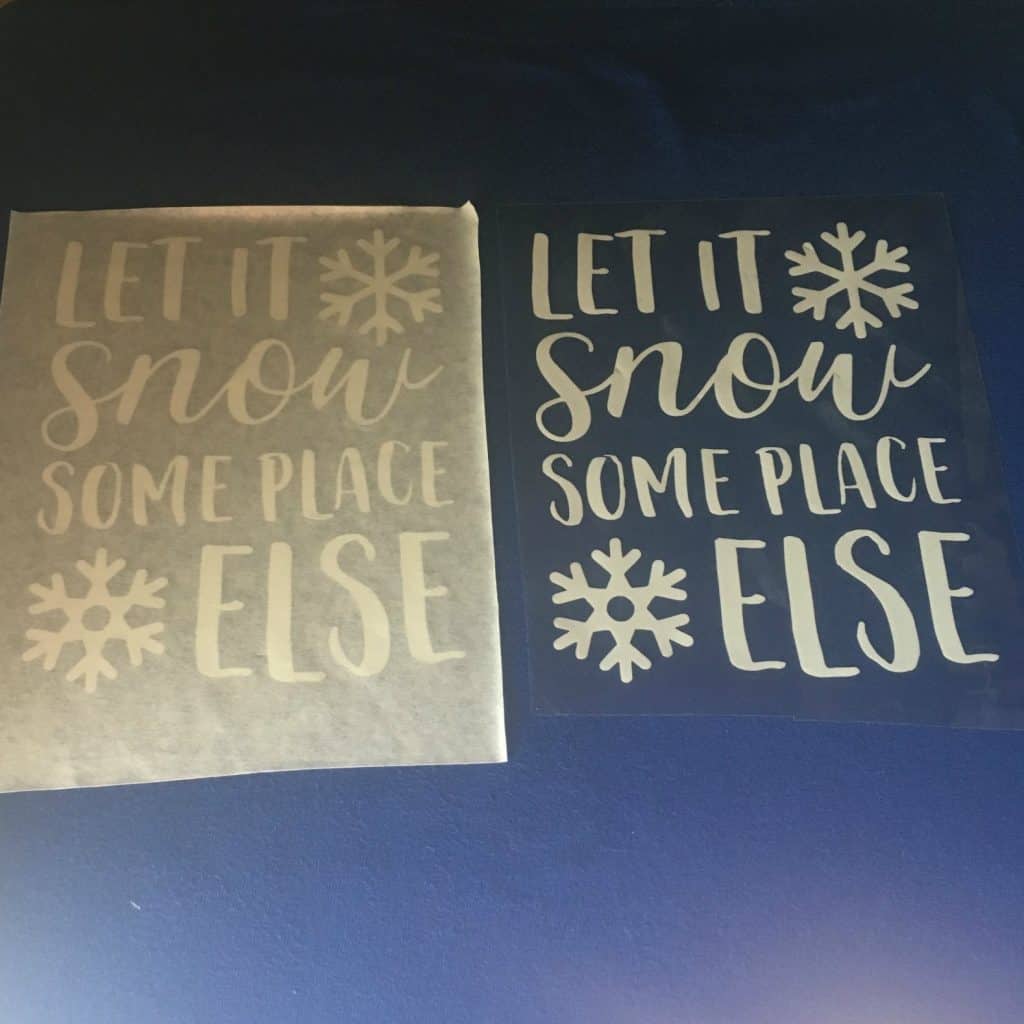
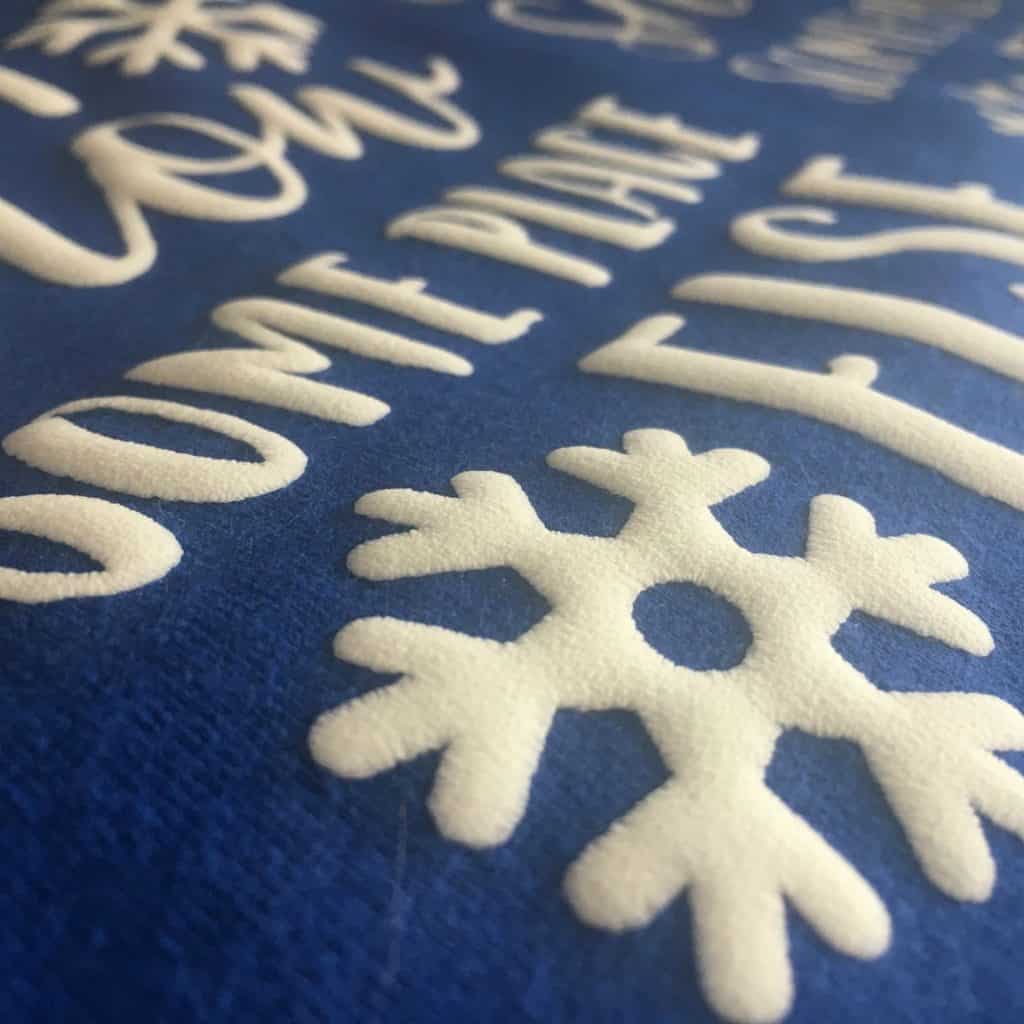
    5. Here’s some photos of how the Magic Flex looks once applied: Tutorial: Chemica Magic Flex Heat Transfer Material with Silhouette Cameo 3 by cuttingforbusiness.com.

    • Here is the same design in regular heat transfer vinyl: Tutorial: Chemica Magic Flex Heat Transfer Material with Silhouette Cameo 3 by cuttingforbusiness.com.

    • Here is a side view so that you can see the puffiness: Tutorial: Chemica Magic Flex Heat Transfer Material with Silhouette Cameo 3 by cuttingforbusiness.com.
    Magic Flex by Chemica is available in white or black and can be purchased through any Chemica distributor. Special thanks to Amy from Chemica US for sending over a sample so that I can show everyone!

    Do you dislike the snow, too? Download the SVG I created for this tutorial at this link. As always, feel free to use the file for commercial use, but you cannot sell the digital file. The font I used in the design can be found here.

    Save this tutorial to Pinterest:
    Tutorial: Chemica Magic Flex Heat Transfer Material with Silhouette Cameo 3 by cuttingforbusiness.com.

  • DIY Christmas Chalkboard Ornaments

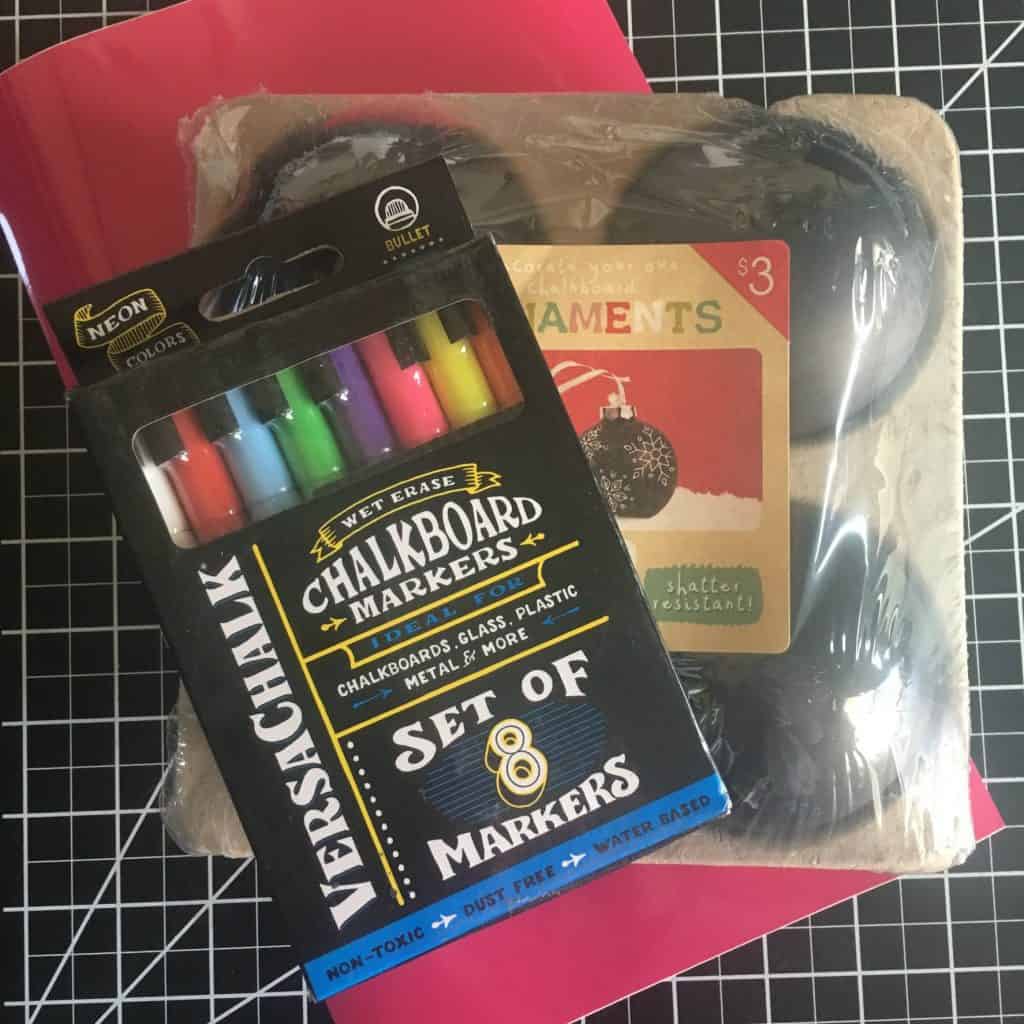
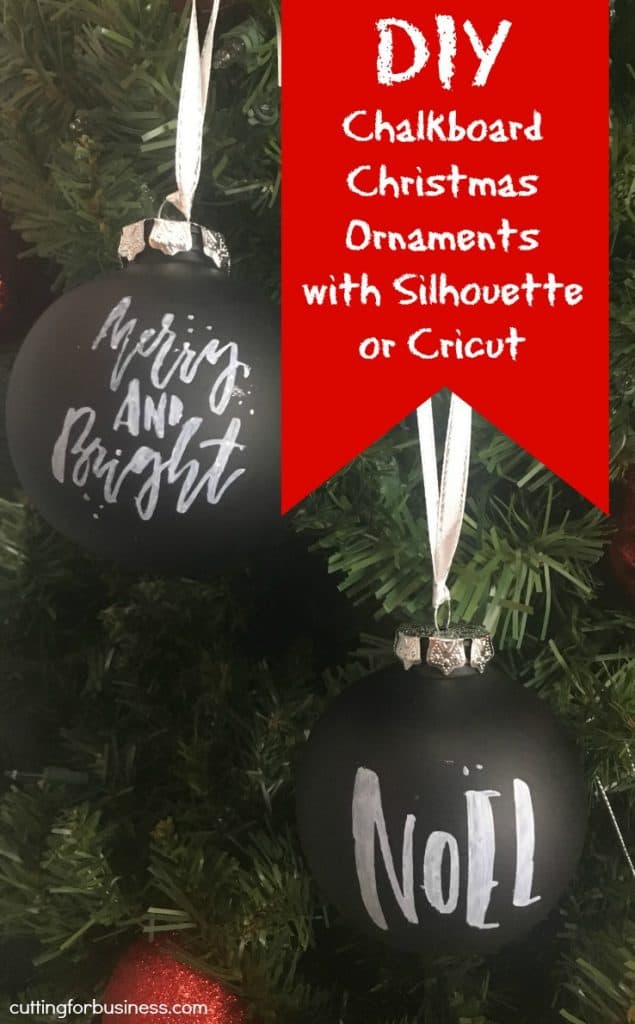
    As you are doing holiday craft shows and fairs, be sure to have products available in all price ranges. Today, I’m showing you how I quickly created chalkboard ornaments using chalk markers and some inexpensive ornaments I picked up at the Target Dollar Spot.

    Supplies Needed

    Chalkboard Ornaments – If your Target Dollar Spot is out, check here for some.
    VersaChalk Chalkboard Markers –  I purchased these.
    Christmas Designs – I purchased this pack and traced the graphics.
    Adhesive Vinyl
    Transfer tape
    Cricut Explore or Silhouette Cameo

    DIY Christmas Chalkboard Ornaments with Silhouette Cameo or Cricut Explore and VersaChalk Markers - by cuttingforbusiness.com.

    Chalkboard Ornament Tutorial with VersaChalk Markers

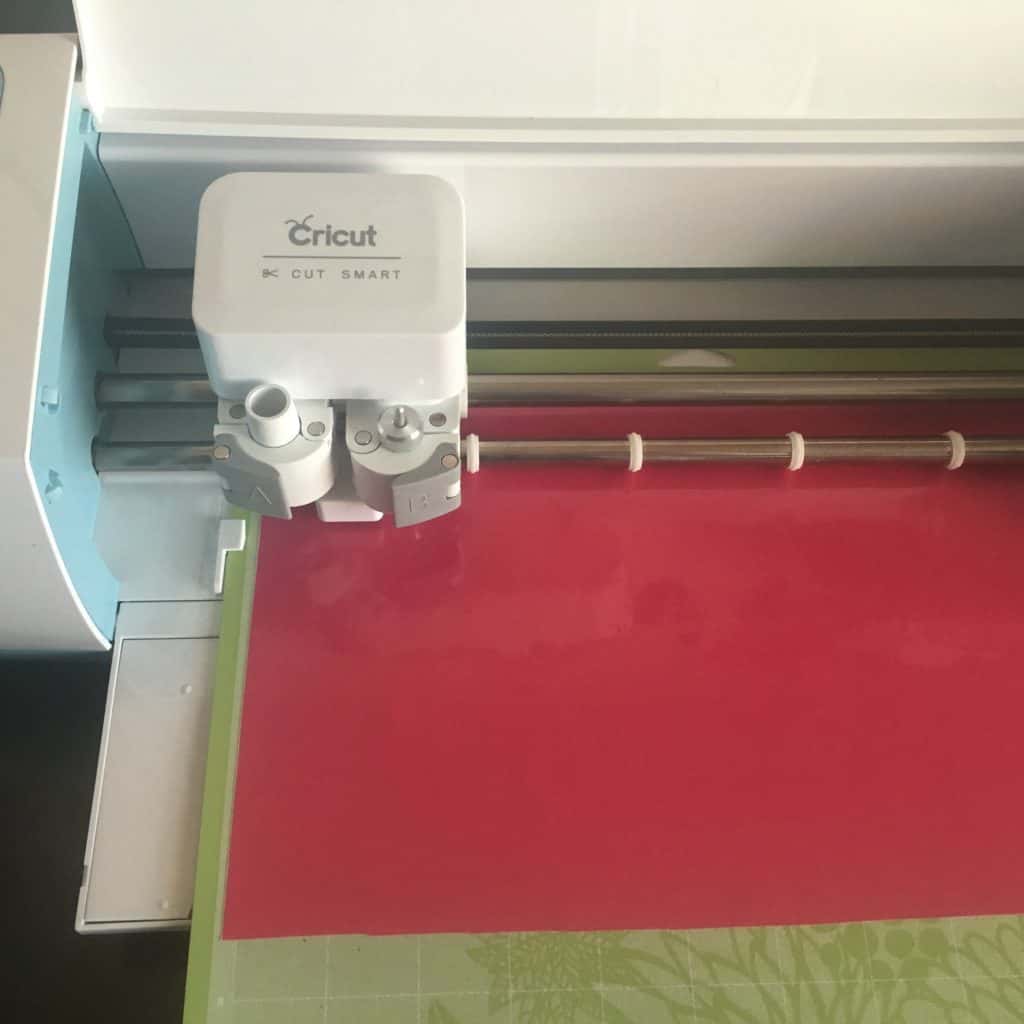
    1. Use scrap vinyl to cut your designs on your Silhouette Cameo or Cricut Explore. DIY Christmas Chalkboard Ornaments with Silhouette Cameo or Cricut Explore and VersaChalk Markers - by cuttingforbusiness.com.
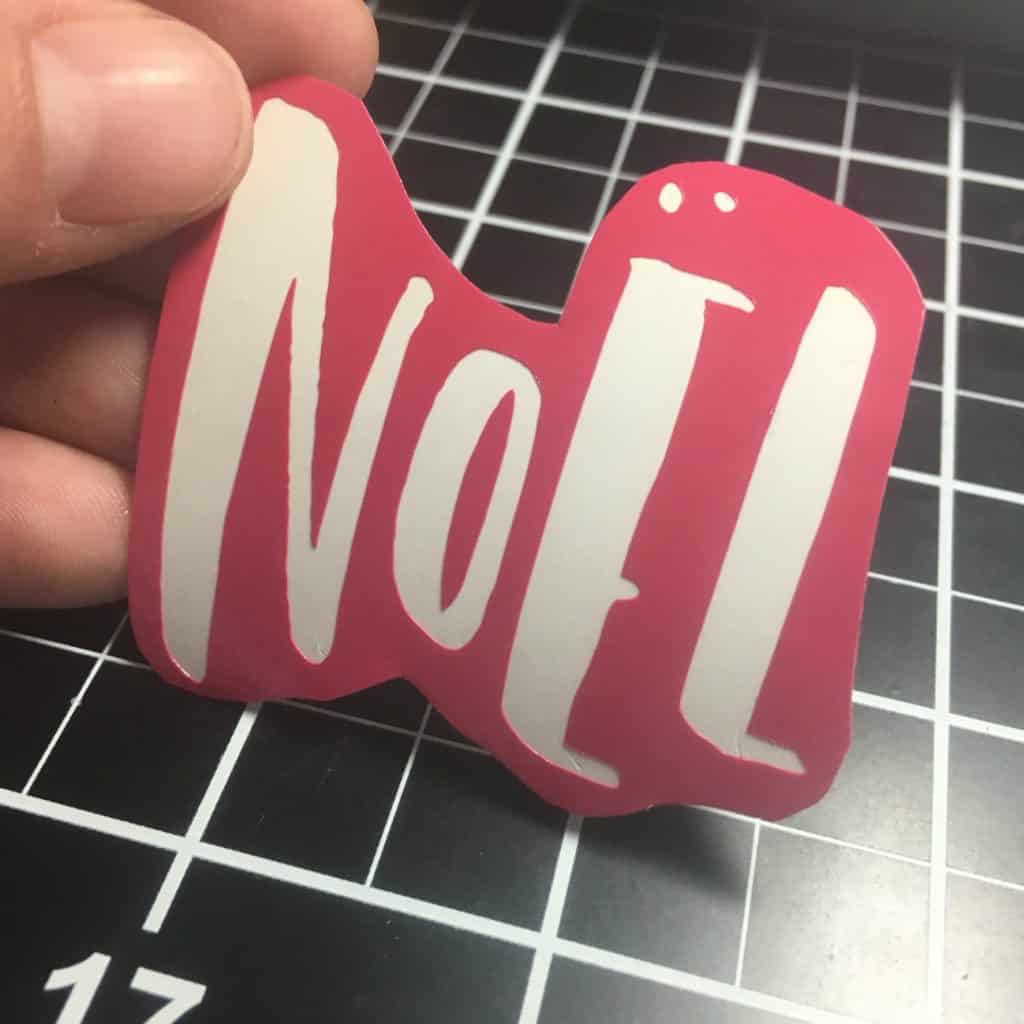
    2. Apply the designs to your ornaments. Since I used round ornaments, I cut the vinyl close to the design to make application easier. DIY Christmas Chalkboard Ornaments with Silhouette Cameo or Cricut Explore and VersaChalk Markers - by cuttingforbusiness.com.
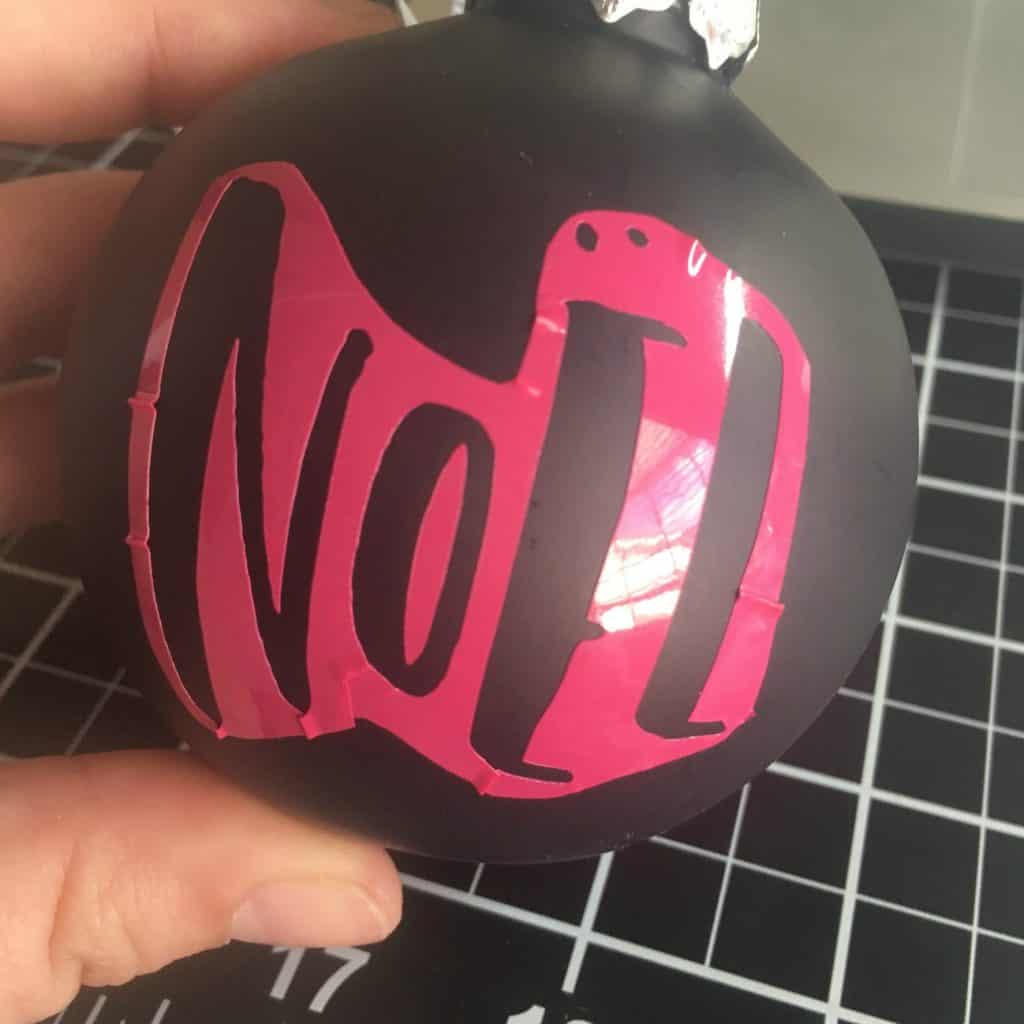
    3. Apply the vinyl using transfer tape to your ornament. I didn’t worry much about bubbles and creases.DIY Christmas Chalkboard Ornaments with Silhouette Cameo or Cricut Explore and VersaChalk Markers - by cuttingforbusiness.com.
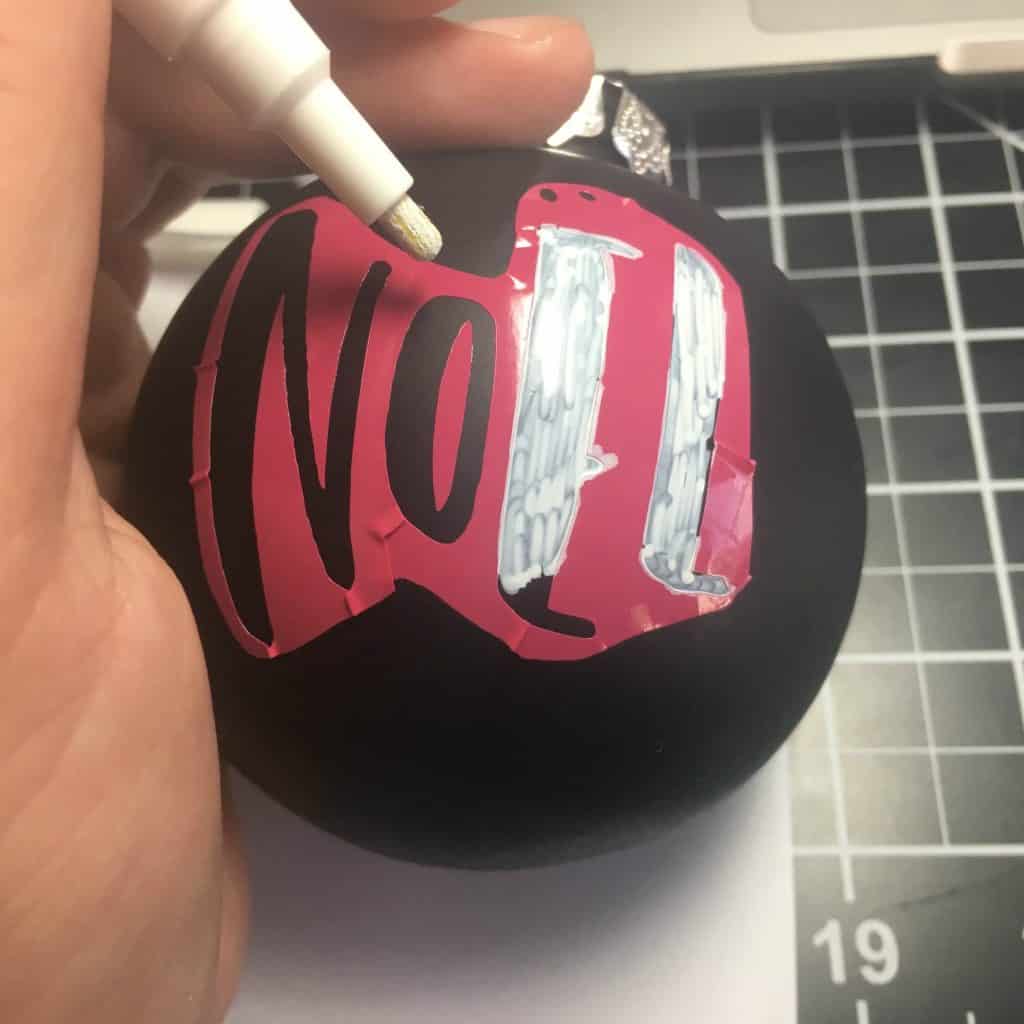
    4. Use the VersaChalk marker and fill in the design. DIY Christmas Chalkboard Ornaments with Silhouette Cameo or Cricut Explore and VersaChalk Markers - by cuttingforbusiness.com.
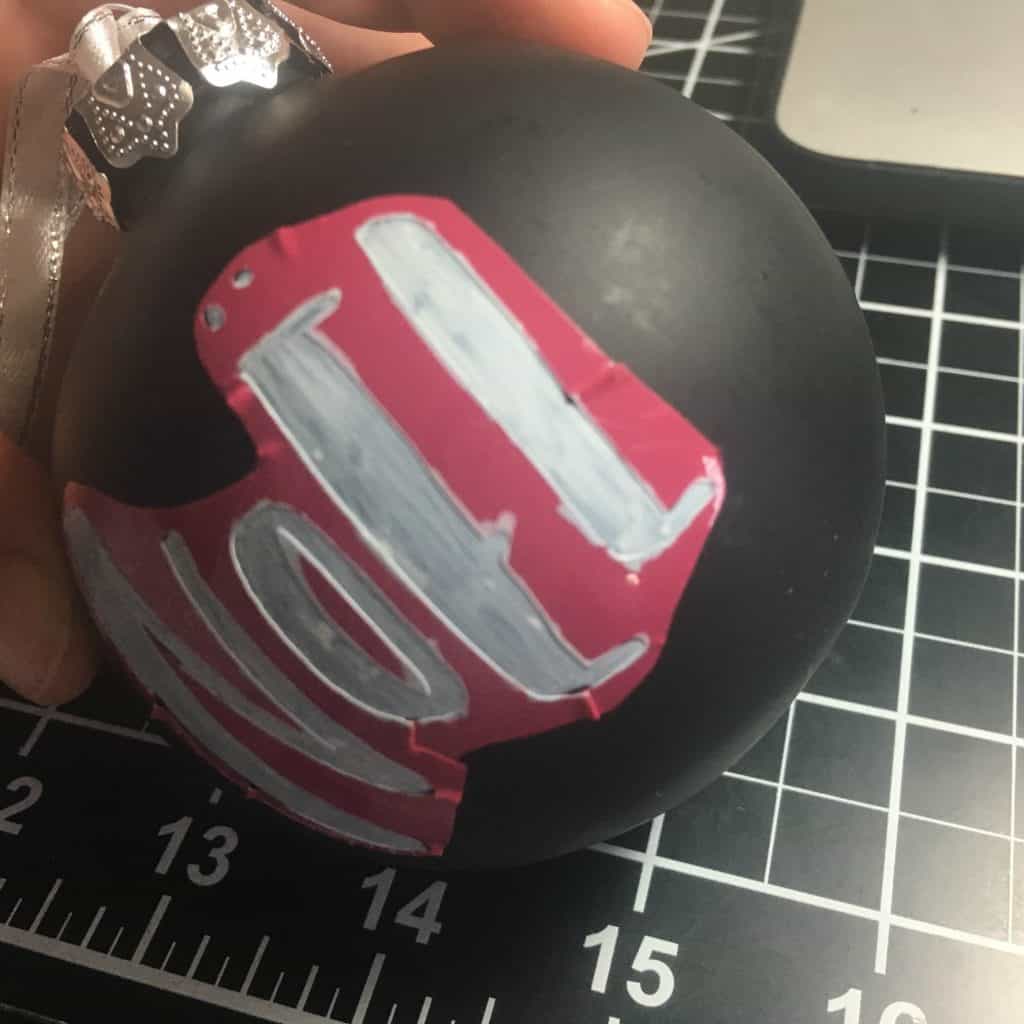
    5. You’ll need a few coats to make sure it isn’t streaky.DIY Christmas Chalkboard Ornaments with Silhouette Cameo or Cricut Explore and VersaChalk Markers - by cuttingforbusiness.com.
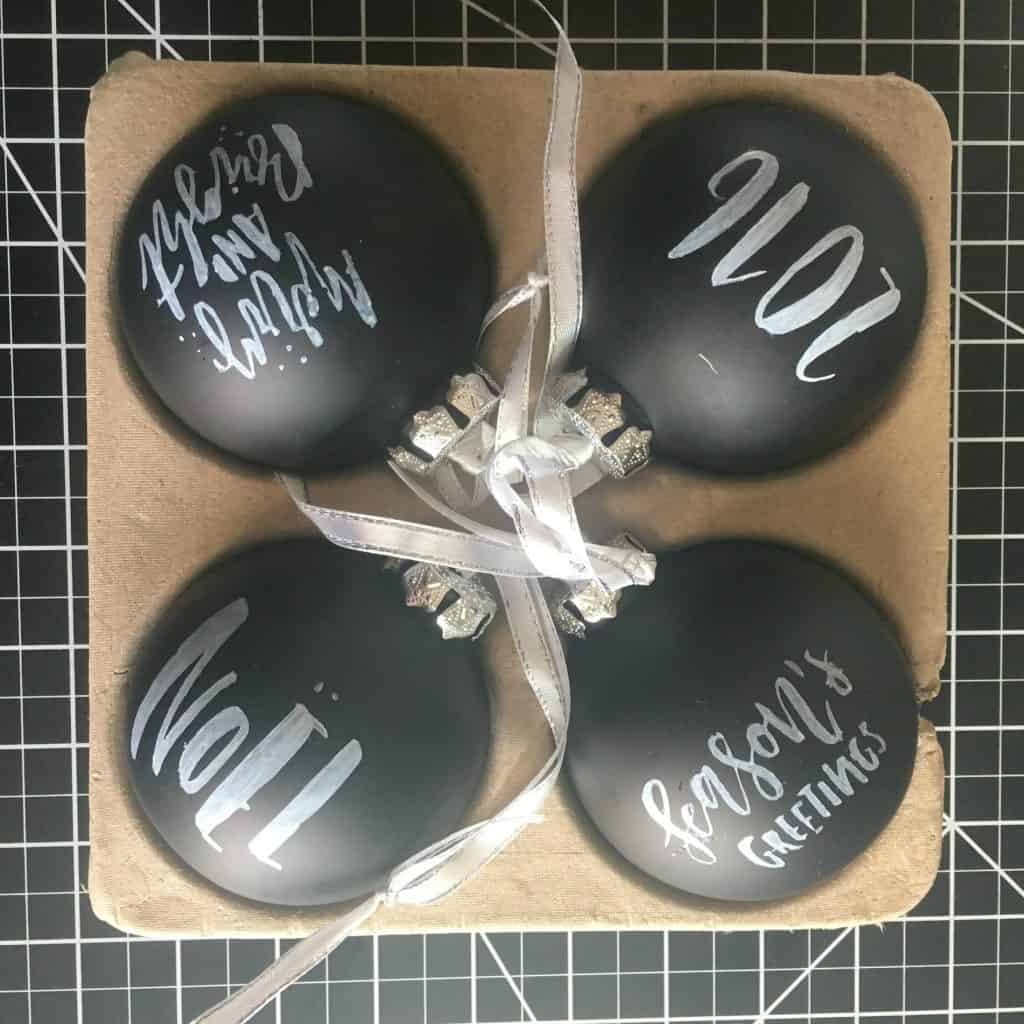
    6. Peel off the vinyl when you are done! Use a wet cotton swab to fix any mistakes. DIY Christmas Chalkboard Ornaments with Silhouette Cameo or Cricut Explore and VersaChalk Markers - by cuttingforbusiness.com.

    If you are selling these, you might consider putting them in a box so that they don’t smear. Here’s a link to a post to create your own.

    Want to do a different style ornament? Try my tutorial for wood grain ornaments – it’s like a wooden sign in an ornament!

    OH! Doing some holiday shopping this year online at Target? (Me, too!) Get free shipping on your order over $25 when you use this link.

    Save this post to Pinterest:
    DIY Christmas Chalkboard Ornaments with Silhouette Cameo or Cricut Explore and VersaChalk Markers - by cuttingforbusiness.com.

  • FAQ: Common Power Tools in Your Craft Business

    Recently, I wrote a post about buying wood to use in your craft business. Lately, I’ve been getting a lot of questions about what power tools you need when working with wood in your craft business.

    Let’s head to my garage and I’ll show you some common power tools used in craft businesses.

    FAQ: Common Power Tools in Your Craft Business - cuttingforbusiness.com

    What Brand of Tools Do I Use?

    I’m a fan of Dewalt tools because they are affordable, readily available, and parts are available if something breaks.

    Dewalt is not the cheapest brand, and they aren’t the most expensive either.

    I also love that most of my Dewalt tools operate on a rechargeable batteries (that can be switched between the tools) and come with carrying/storage cases.

    Common Power Tools in Your Craft Business

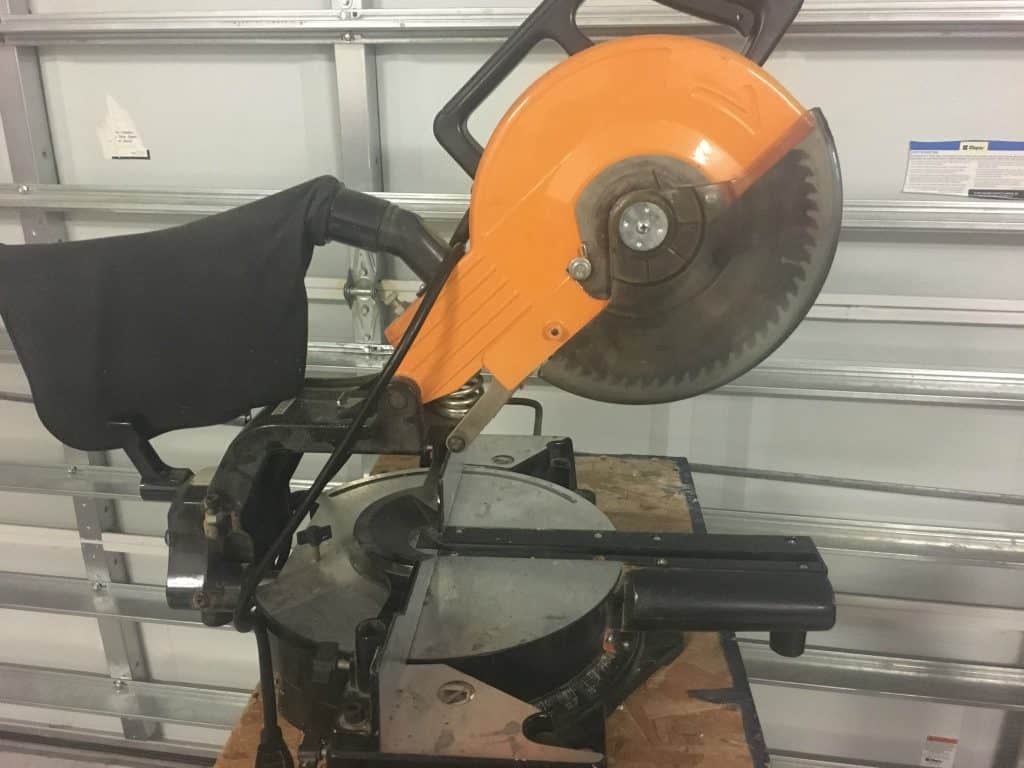
    Miter Saw

    A miter saw sits on top of your workbench and is great for cutting wood. It’s easy to use – you simply pull down the top of the saw which lowers the blade and cuts the wood. Use a miter saw for small cuts. My miter saw is ancient, but a workhorse!

    Shop miter saws.

    FAQ: Power Tools in Your Silhouette or Cricut Business - by cuttingforbusiness.com
    Miter saw

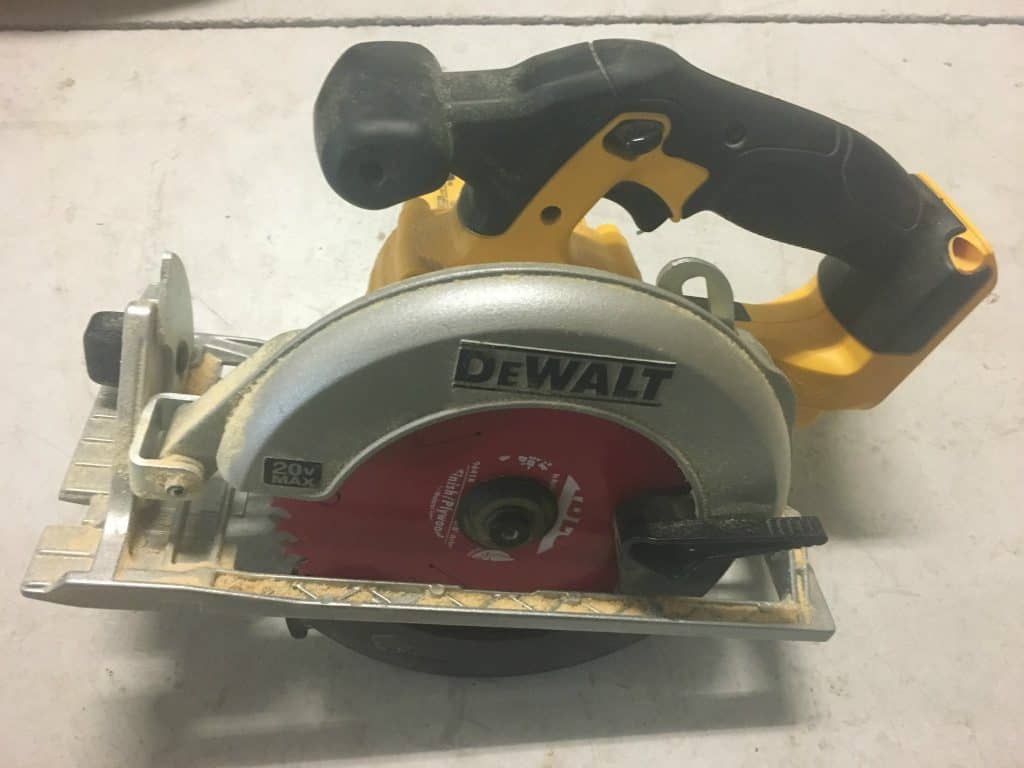
    Circular Saw

    A circular saw allows you to make longer cuts that aren’t possible on a miter saw. A circular saw takes more practice to get the hang of, because you have to have a steady hand to get a straight cut.

    Like I mentioned above, my circular saw is battery operated. If you can’t afford both a miter saw and a circular saw, a circular saw can do the work or both, you’ll just need a little practice to get straight cuts. 

    Shop circular saws.

    FAQ: Power Tools in Your Silhouette or Cricut Business - by cuttingforbusiness.com
    Circular saw

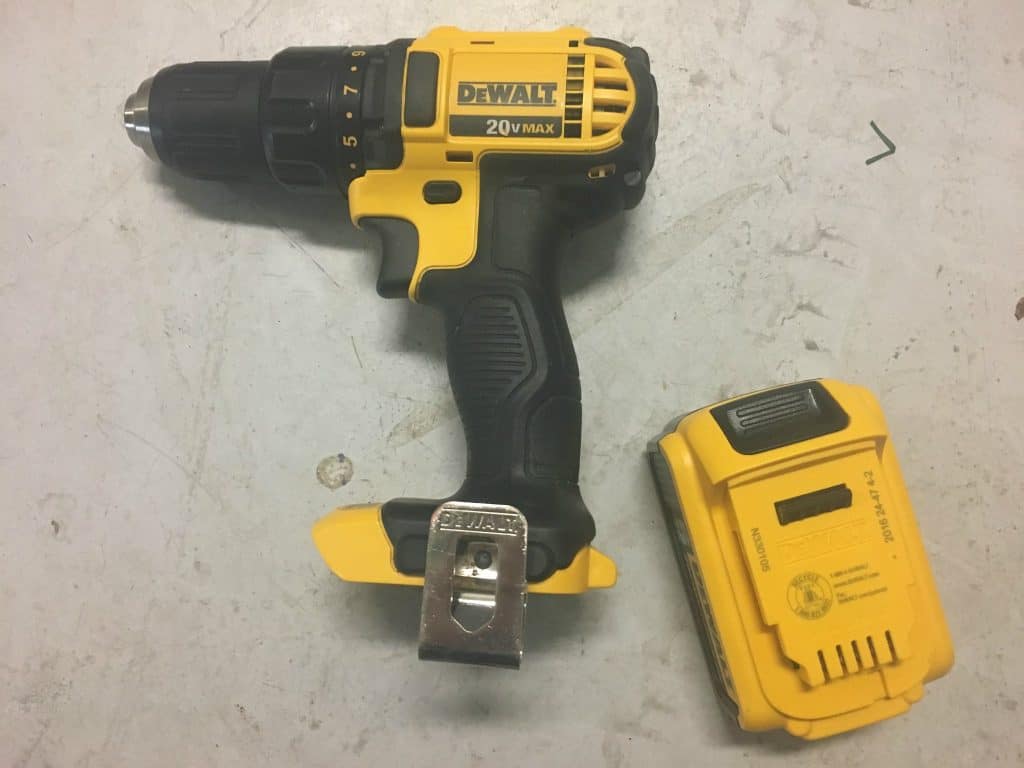
    Drill

    You’ll need a drill (and drill bits) to make holes, attach hardware to your finished signs, and to attach pieces of wood together.

    Shop drills.

    FAQ: Power Tools in Your Silhouette or Cricut Business - by cuttingforbusiness.com
    Drill with rechargeable battery

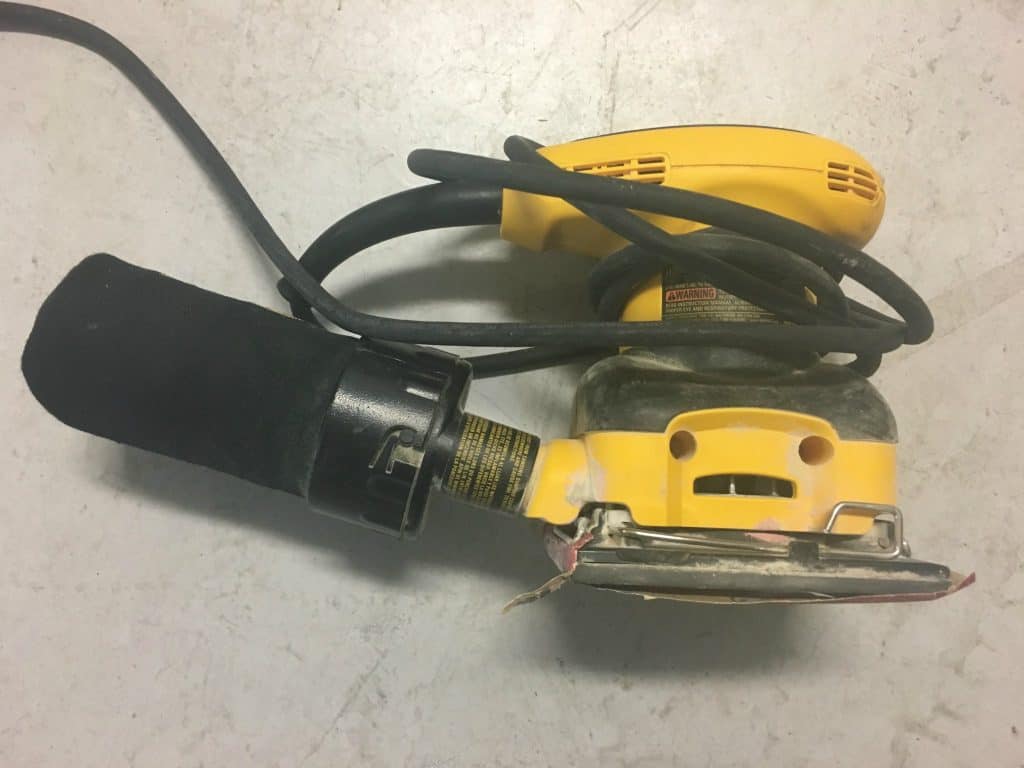
    Sander

    If you plan to use your Silhouette or Cricut to make stencils for your wood projects, a sander is a must have. After you’ve cut your wood, you’ll want to sand down the wood so that stencils will easily adhere.

    Shop sanders.

    FAQ: Power Tools in Your Silhouette or Cricut Business - by cuttingforbusiness.com
    Sander

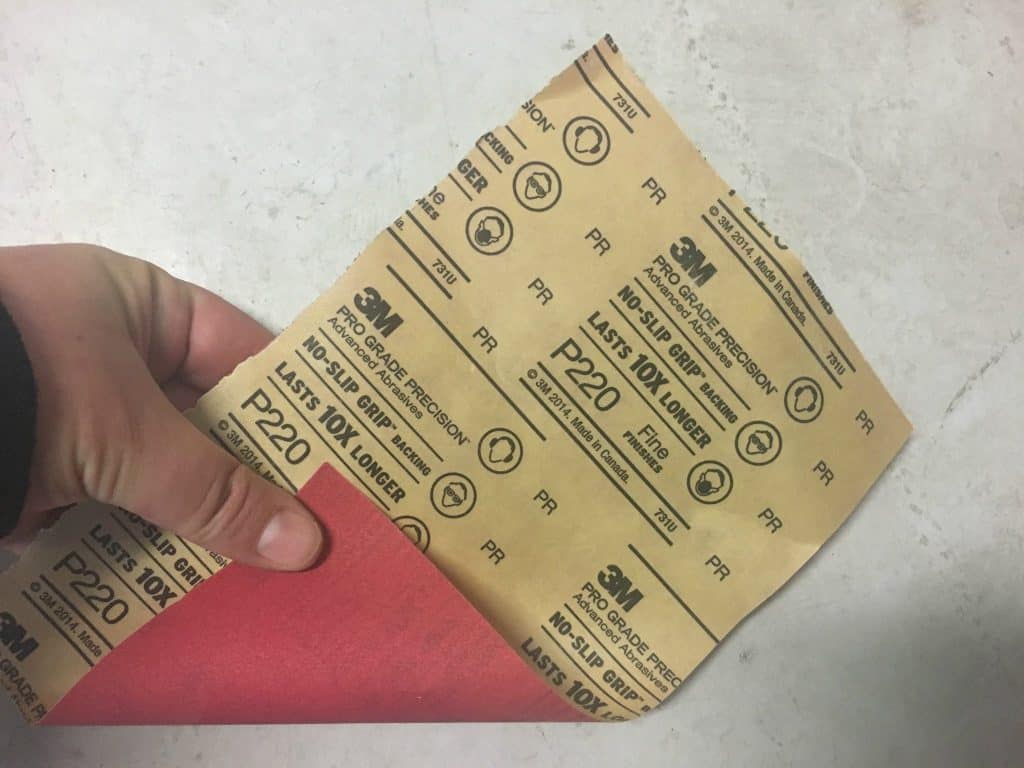
    Sandpaper

    When choosing sandpaper for your sander, be sure to pick up several grits (this refers to the size of the particles on the sandpaper). You’ll start with the lowest number grit to remove the most, then progress to the finest grit for finishing.

    I have an article on properly sanding wood for craft projects.

    Shop sandpaper.

    FAQ: Power Tools in Your Silhouette or Cricut Business - by cuttingforbusiness.com
    Sandpaper

    Planer

    While I don’t regularly use a planer, many crafters do. A planer cuts the surface of the wood into different thicknesses.

    I buy wood that it already the thickness I need, but if you’d like to look into planers, here’s a link to shop planers.

    Other Important Woodworking Tools

    Safety should be your number one priority when working with wood.

    You should invest in a pair of goggles, a woodworking respirator, and a good pair of gloves.

    Other Woodworking Resources

    [mv_create key=”25″ type=”list” title=”Wood Craft Project Resources” thumbnail=”https://cuttingforbusiness.com/wp-content/uploads/2017/10/sandsq.jpg” layout=”hero”]
  • How to Be More Productive in Your Home Craft Business

    There’s so many time wasters – especially when working online or even on the computer. And, Cutting for Business readers regularly email me asking me for help with time management. Today, I’m sharing an awesome resource I stumbled across online called RescueTime.

    What Is Rescue Time?

    Rescue Time is an online time tracker. It runs in the background on your computer and logs the websites you go to each day. You can then track what you’ve been doing online, set goals for better productivity, and even limit the amount of time spent on certain sites.

    What Have I Found Out Using Rescue Time?

    I’ve been using rescue time for about 3 weeks, and (not surprisingly) it has shown that I get distracted with social media and shopping sites throughout the day. Honestly, I didn’t need an app to tell me this – BUT I’ve made a conscience effort to stay off social media sites during my daytime working hours. So far, my productivity is increasing a few percentage points every few days. This has led to me finishing work earlier in the day – and less “scatter brain” moments throughout the day because I am not multitasking as much.

    How Much Does Rescue Time Cost?

    I’m happy to report that there is a free forever plan, as well as a paid plan. Get more information at this link.

    Want my recommendation for a great book to read on time management? Click here.

    Since Rescue Time is free, I can’t wait to hear about your experience! Tell me in the comments.

    Save this post to Pinterest:
    How to Be More Productive in Your Home Craft Business - Great for Silhouette Cameo and Cricut Explore Crafters - by cuttingforbusiness.com.

  • Tutorial: Wood Disc Jewelry with Silhouette Curio

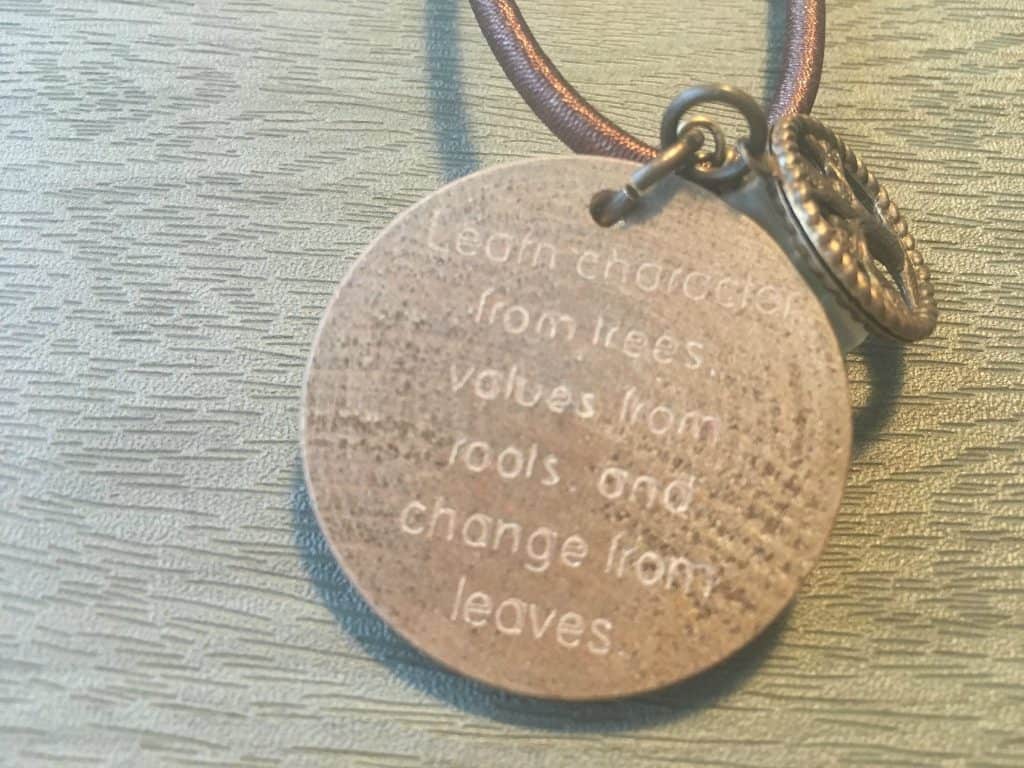
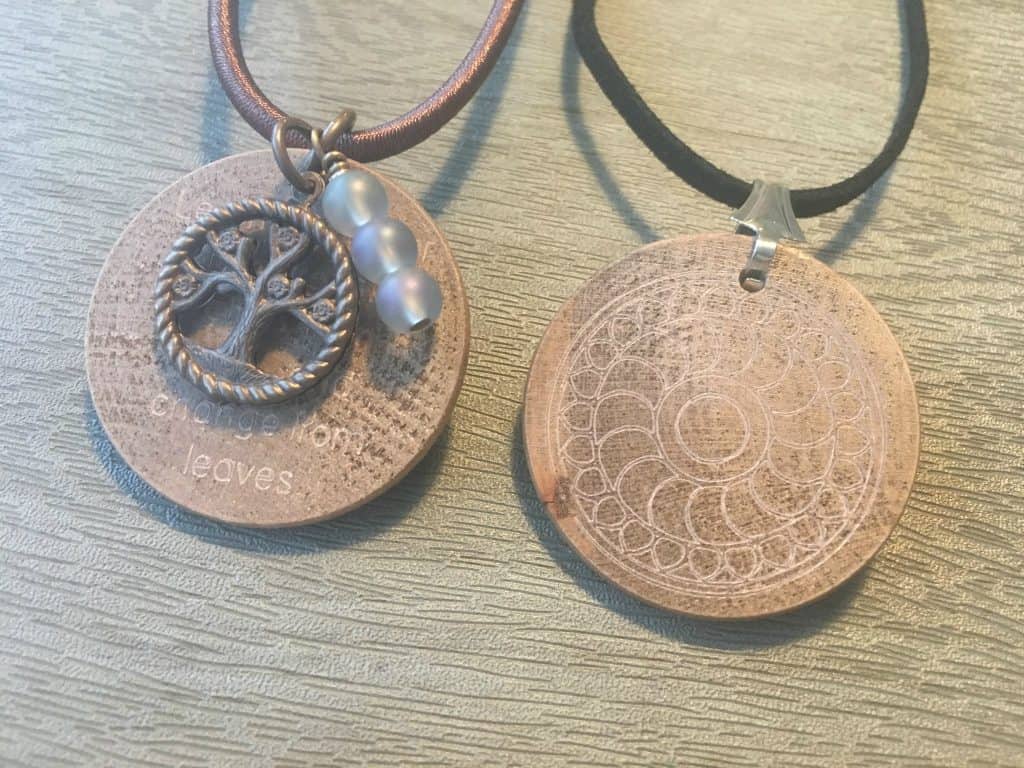
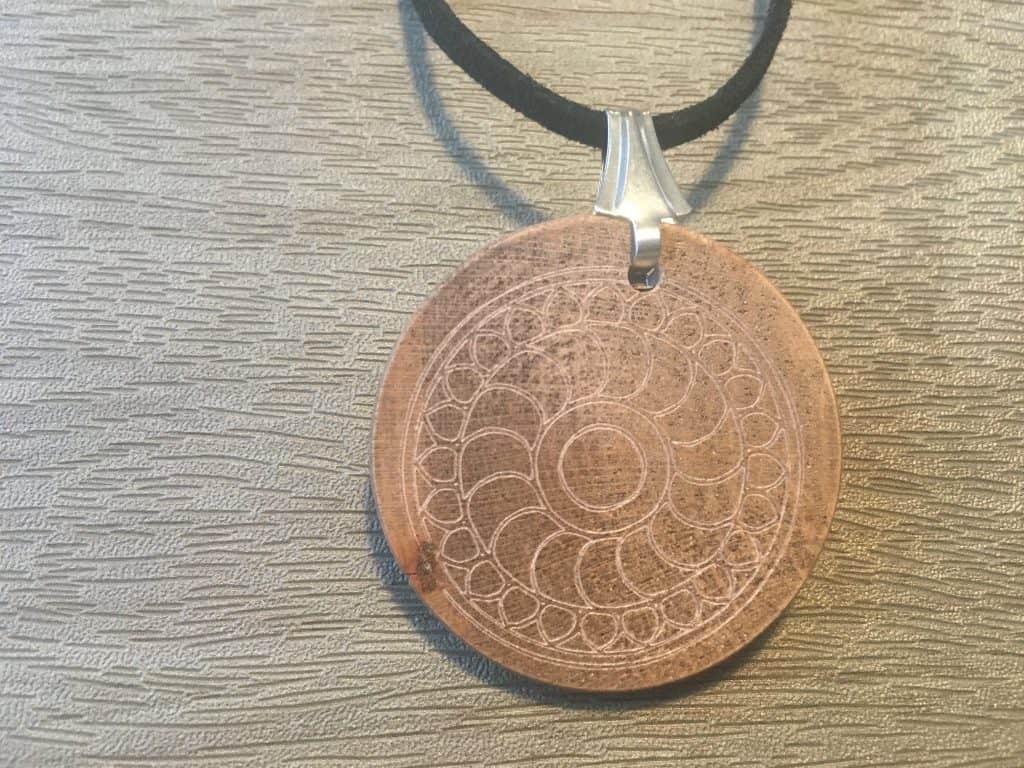
    Like most crafters and small business owners – I hate wasting materials! Remember all those leftover wooden discs after yesterday’s Christmas advent calendar tutorial? I decided to make them into jewelry using my Silhouette Curio.

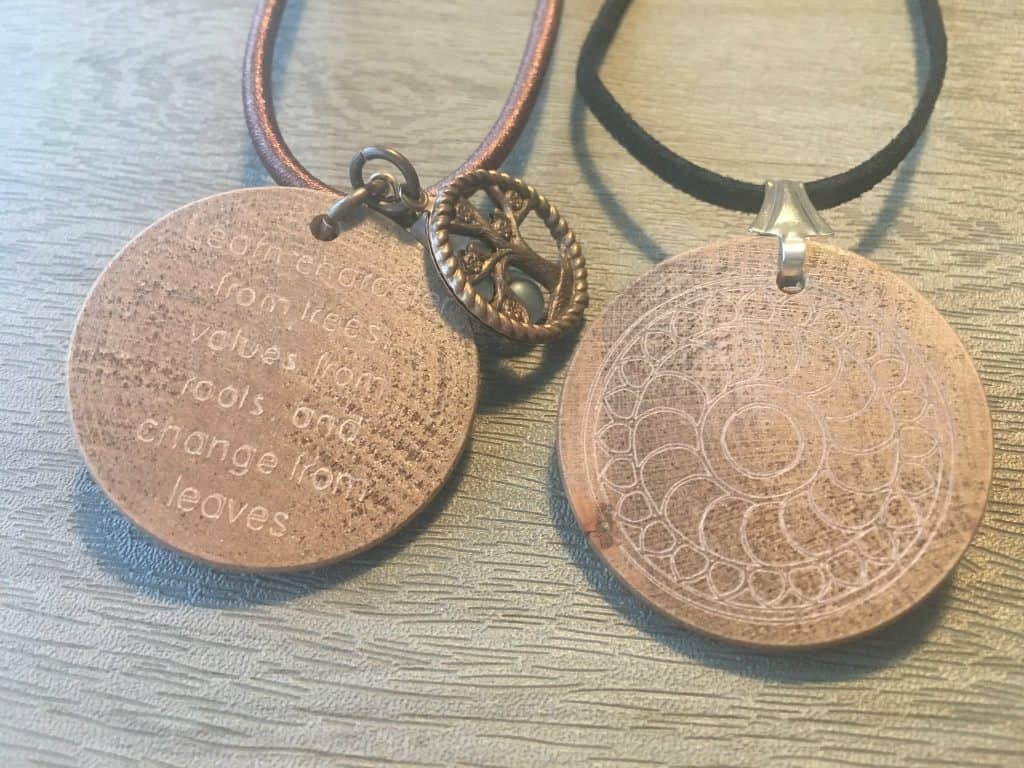
    Here’s pictures of the two necklaces I made:

    Tutorial: Wooden Disc Jewelry with Silhouette Curio by cuttingforbusiness.com.

    Tutorial: Wooden Disc Jewelry with Silhouette Curio by cuttingforbusiness.com.
    Tutorial: Wooden Disc Jewelry with Silhouette Curio by cuttingforbusiness.com.
    Tutorial: Wooden Disc Jewelry with Silhouette Curio by cuttingforbusiness.com.

    Here’s how I made these:

    1. Created designs in Silhouette Studio. For the text, I used a one line font. You can find a list of free single line fonts (good for engraving, etching, and sketching) from this blogger’s post.
    2. Stain the wooden disc and let it dry.
    3. Load the disc into the Curio. I used just a mat with no platforms. The discs are a little bit over 3mm thick, so once I put them on the embossing mat, I was set to go.
    4. My settings were Emboss (Fine), speed 5, thickness 33, double cut using the Chomas Etching Tool.
    5. After the discs were etched, string them on to your favorite corded necklace using jump rings or bails.

    Save this post to Pinterest:
    Tutorial: Wooden Disc Jewelry with Silhouette Curio by cuttingforbusiness.com.

  • DIY Wood Sign Christmas Advent Calendar Tutorial

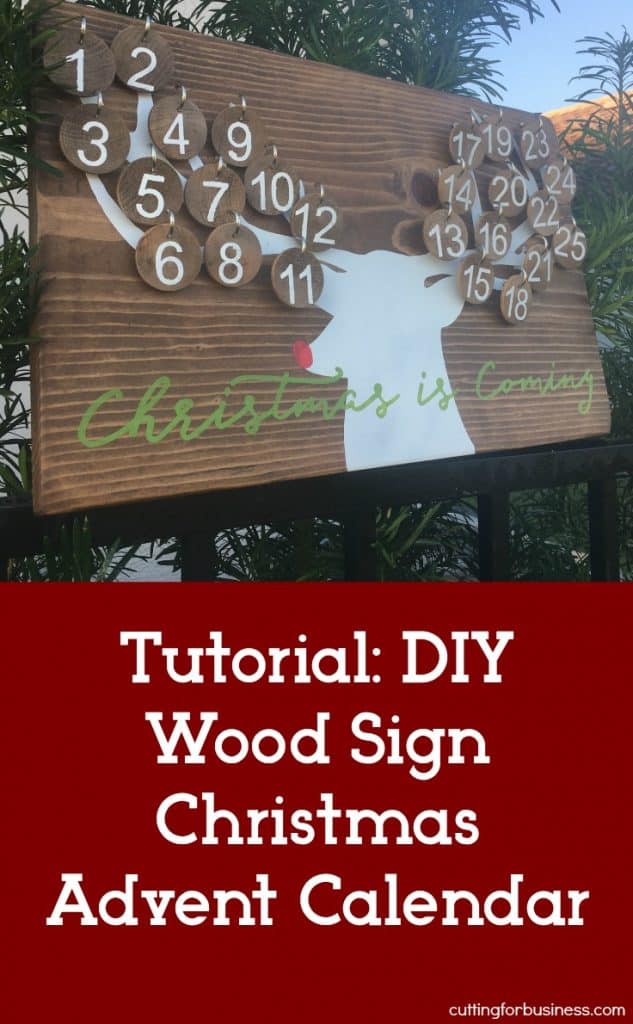
    It’s no secret that Silhouette Cameo and Cricut small business owners that sell unique products often do better than those that sell the same thing as other shops. Today, I’m offering a tutorial to create a wood sign advent calendar to sell this holiday season.

    Supplies Needed

    Step by Step Wood Sign Advent Calendar Tutorial

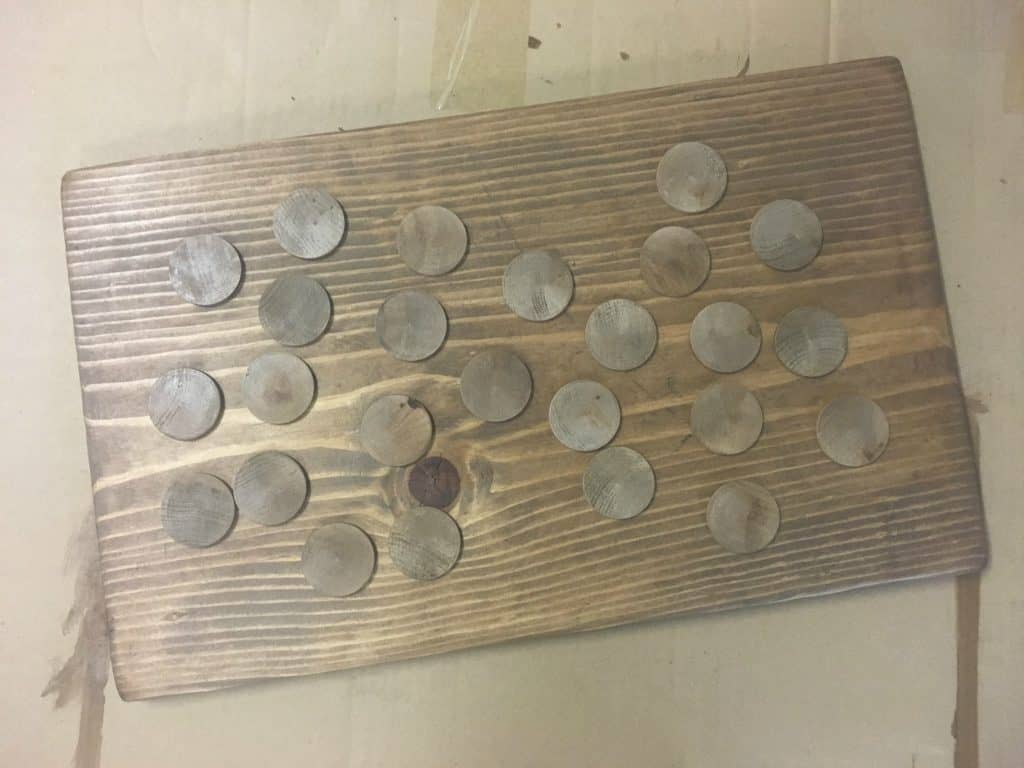
    1. Cut, sand, and stain your wood and 25 wood discs. Allow everything to dry completely. DIY Wood Sign Christmas Advent Calendar Tutorial. Great for small business Silhouette Cameo and Cricut Explore crafters. By cuttingforbusiness.com.
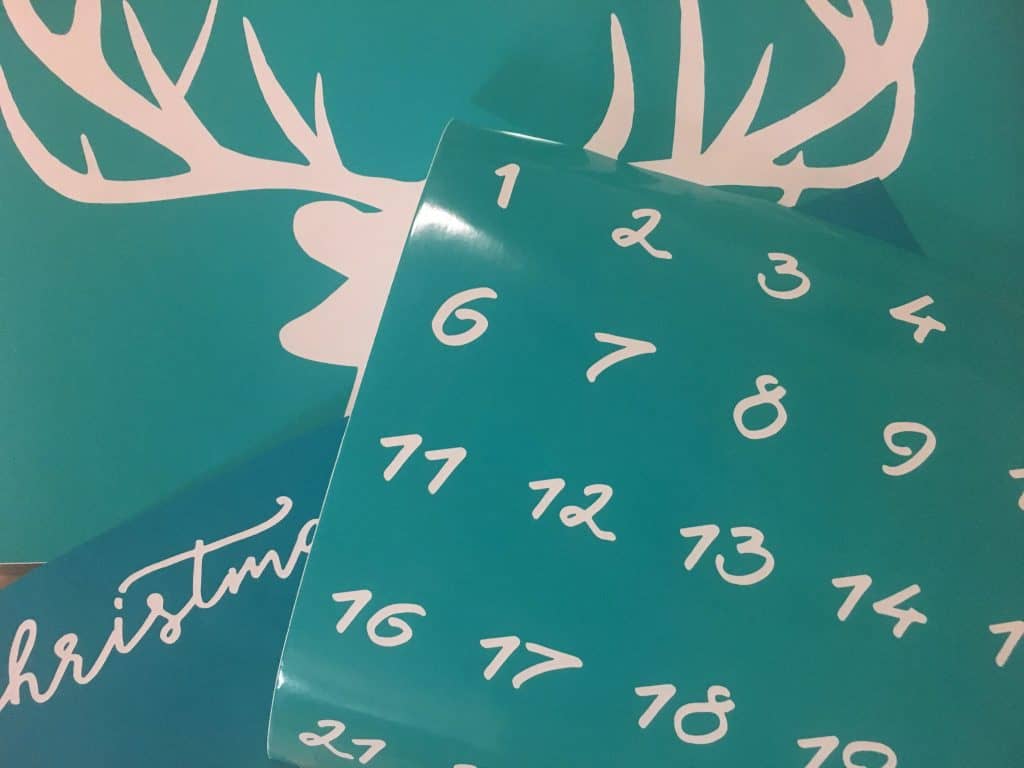
    2. Cut all three stencils in vinyl using your Silhouette or Cricut and weed them. DIY Wood Sign Christmas Advent Calendar Tutorial. Great for small business Silhouette Cameo and Cricut Explore crafters. By cuttingforbusiness.com.
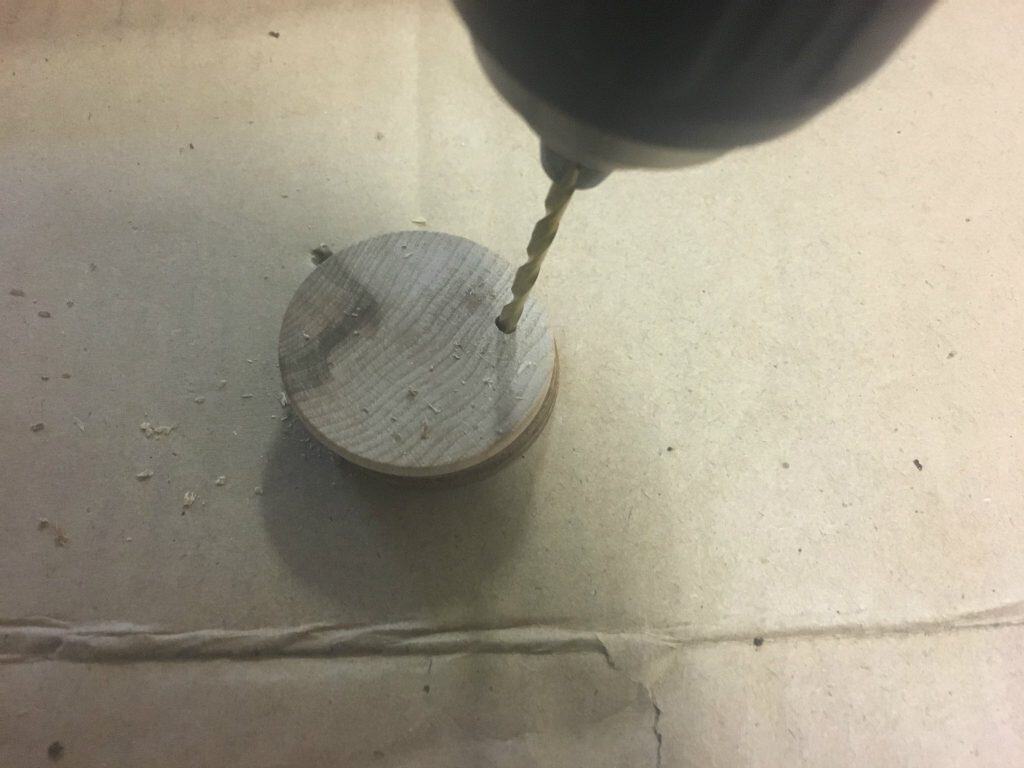
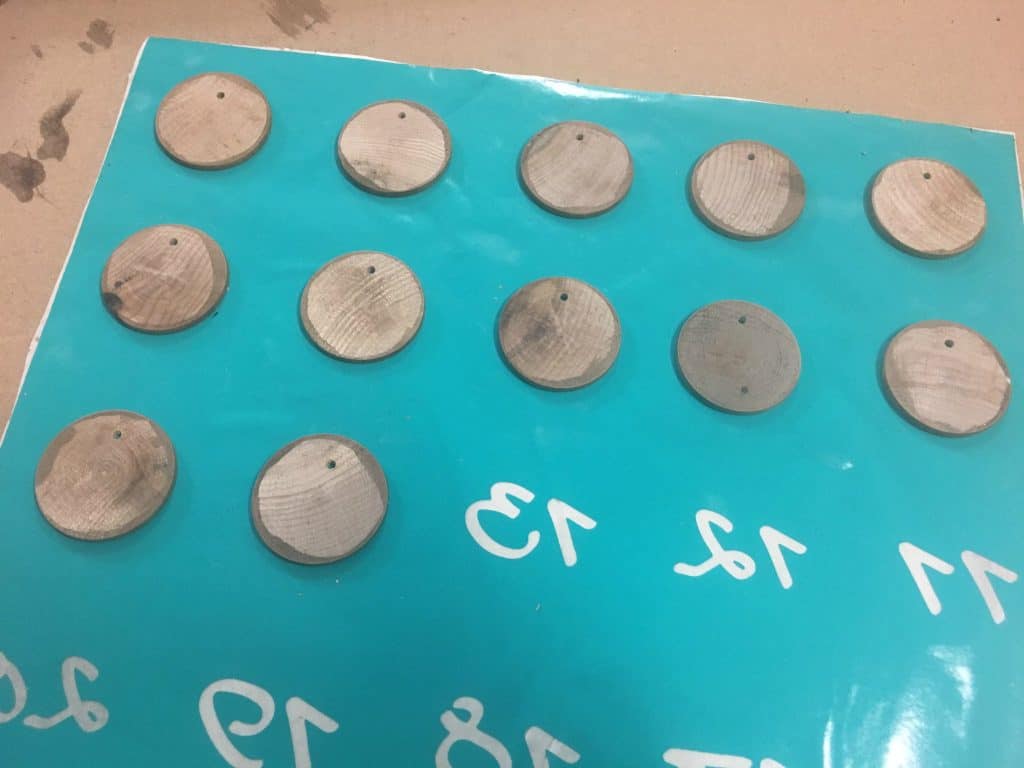
    3. Drill holes in each wood disc. I put the hole centered and near the middle. DIY Wood Sign Christmas Advent Calendar Tutorial. Great for small business Silhouette Cameo and Cricut Explore crafters. By cuttingforbusiness.com.
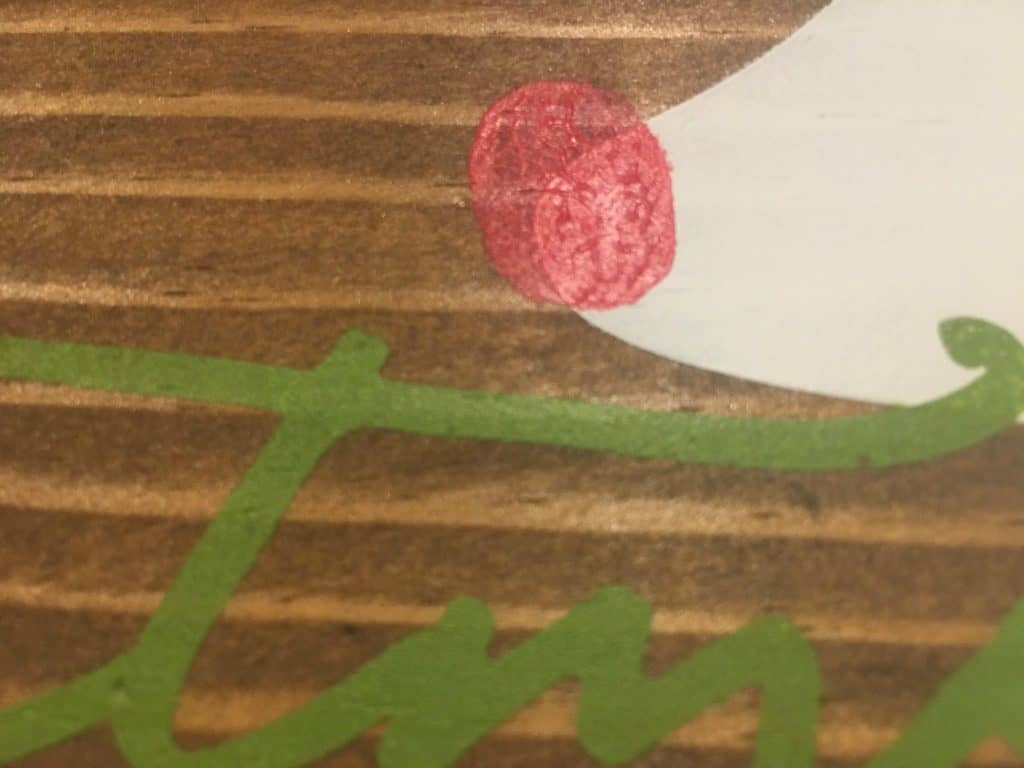
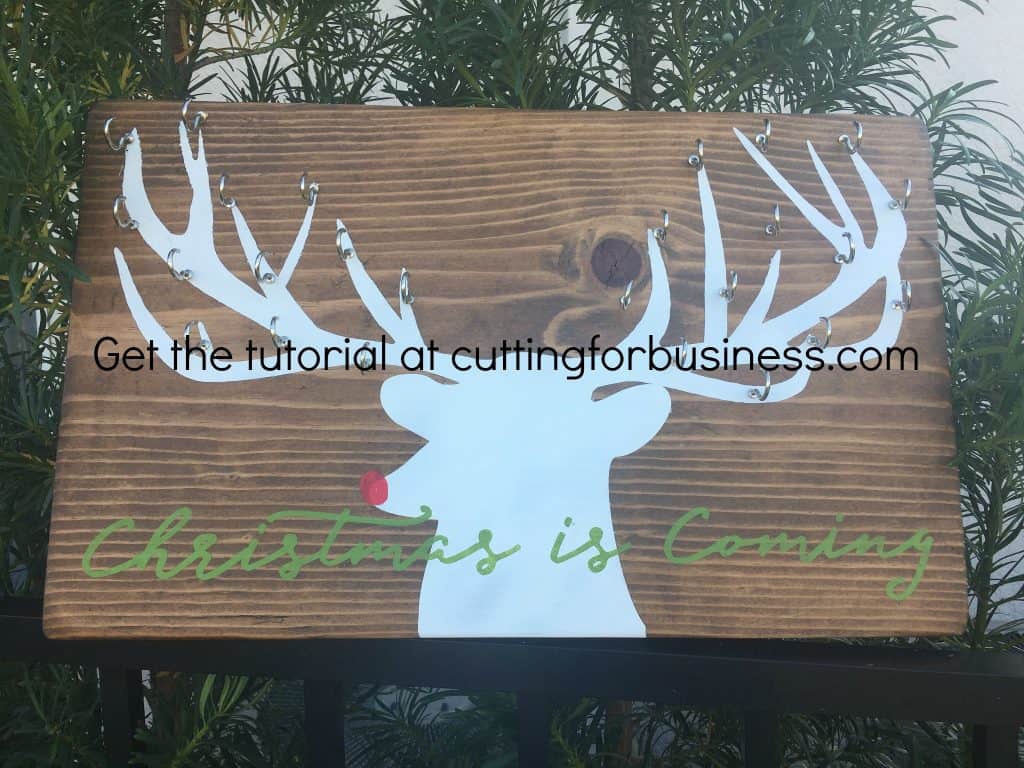
    4. Using the stencils, paint the sign. First paint the reindeer, then add the lettering after the stencil has dried. I like to add a personal touch to my signs, so I used my fingerprint to make a red nose for Rudolph. Need help with crisp paint lines? See this postDIY Wood Sign Christmas Advent Calendar Tutorial. Great for small business Silhouette Cameo and Cricut Explore crafters. By cuttingforbusiness.com.
    5. While your sign is drying, paint numbers onto the wooden discs. I turned my stencil upside down and put the discs on, then turned it over, removed the transfer tape, and spray painted them all at once.DIY Wood Sign Christmas Advent Calendar Tutorial. Great for small business Silhouette Cameo and Cricut Explore crafters. By cuttingforbusiness.com.
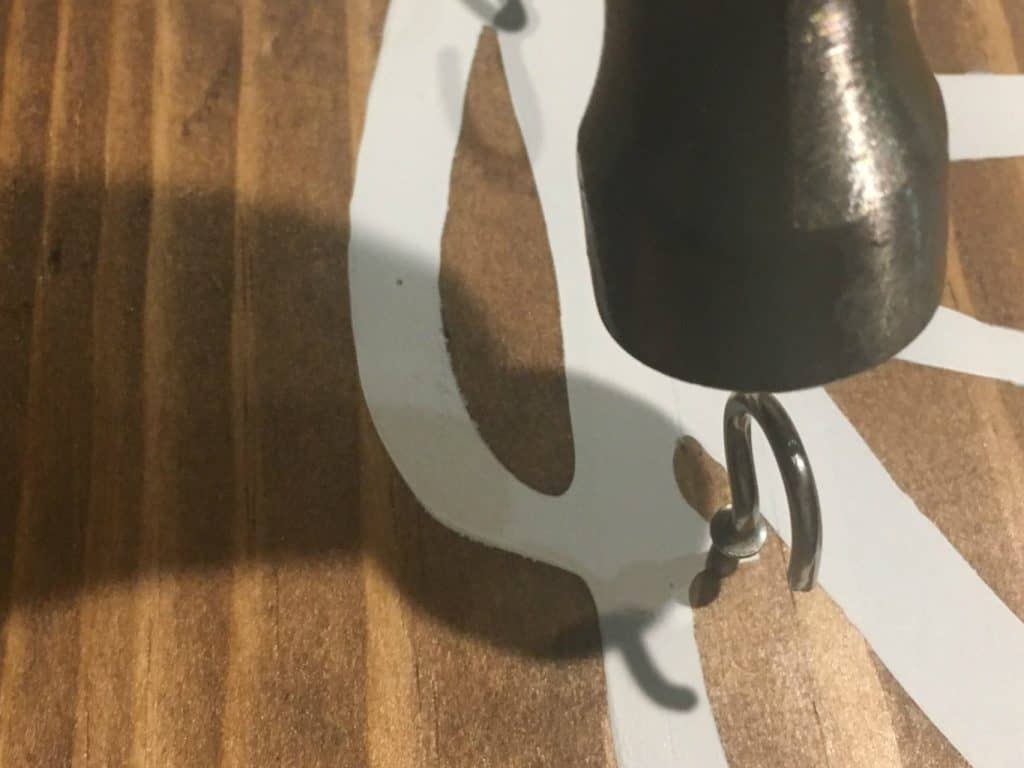
    6. Next, screw in your hooks throughout the antlers. There is no right or wrong placement. I found it helpful to use a hammer to tap each hook in and then screw it the rest of the way. Be careful not to overtighten or you’ll crack the board. DIY Wood Sign Christmas Advent Calendar Tutorial. Great for small business Silhouette Cameo and Cricut Explore crafters. By cuttingforbusiness.com.
      DIY Wood Sign Christmas Advent Calendar Tutorial. Great for small business Silhouette Cameo and Cricut Explore crafters. By cuttingforbusiness.com.
    7. Hang your discs on the hooks, add a hanger of your choice to the back, and you are done!

    This is a labor intensive product to create, so be sure that you price accordingly. In my area, I would sell for $80 to $100+.

    Download the files used in this tutorial: Reindeer SVG, Christmas is Coming SVG, Numbers SVG or these Numbers SVG. (There’s two sets of numbers to choose from depending on your preference.) The font I used can be found here.

    Love this tutorial? Save it to Pinterest:
    DIY Wood Sign Christmas Advent Calendar Tutorial. Great for small business Silhouette Cameo and Cricut Explore crafters. By cuttingforbusiness.com.

  • Tutorial: How to Use Subliflock & Free Cut File

    A few weeks ago, my inbox filled up with questions about how Etsy sellers were selling intricate iron on transfers. Here’s two of the links that were sent to me: fox and flowers.

    Today, I’ll show you how to create these using subliflock heat transfer material, a sublimation printer (read my sublimation series here), a heat press, and print and cut with a Silhouette Cameo.

    Step by Step Subliflock Tutorial

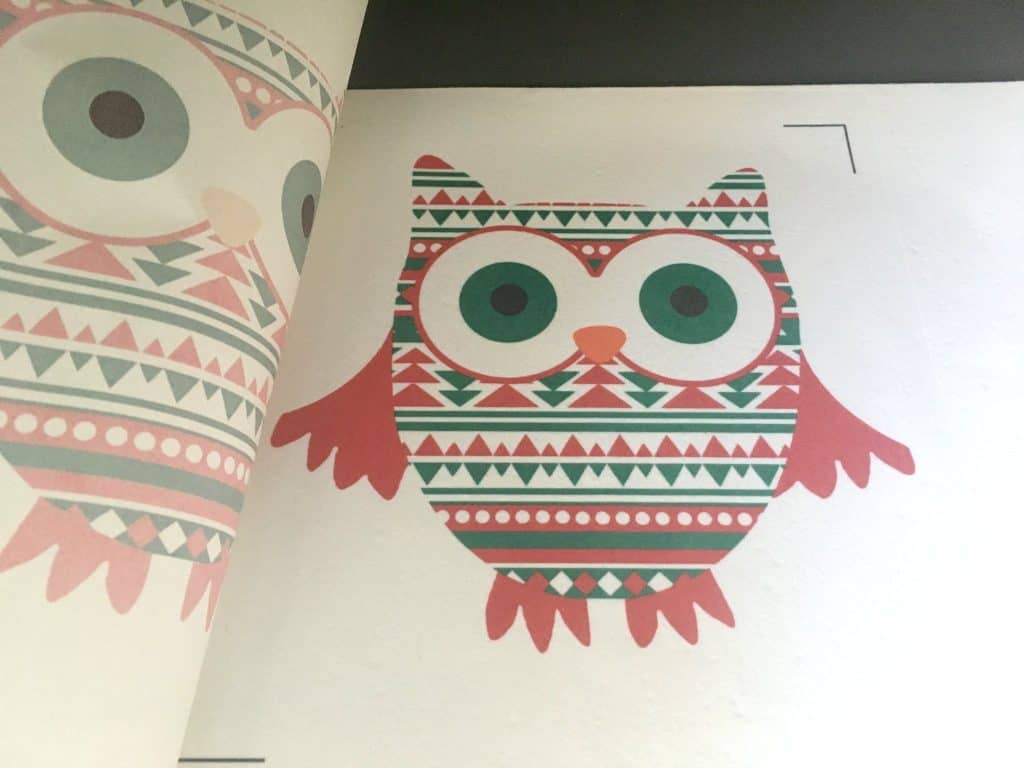
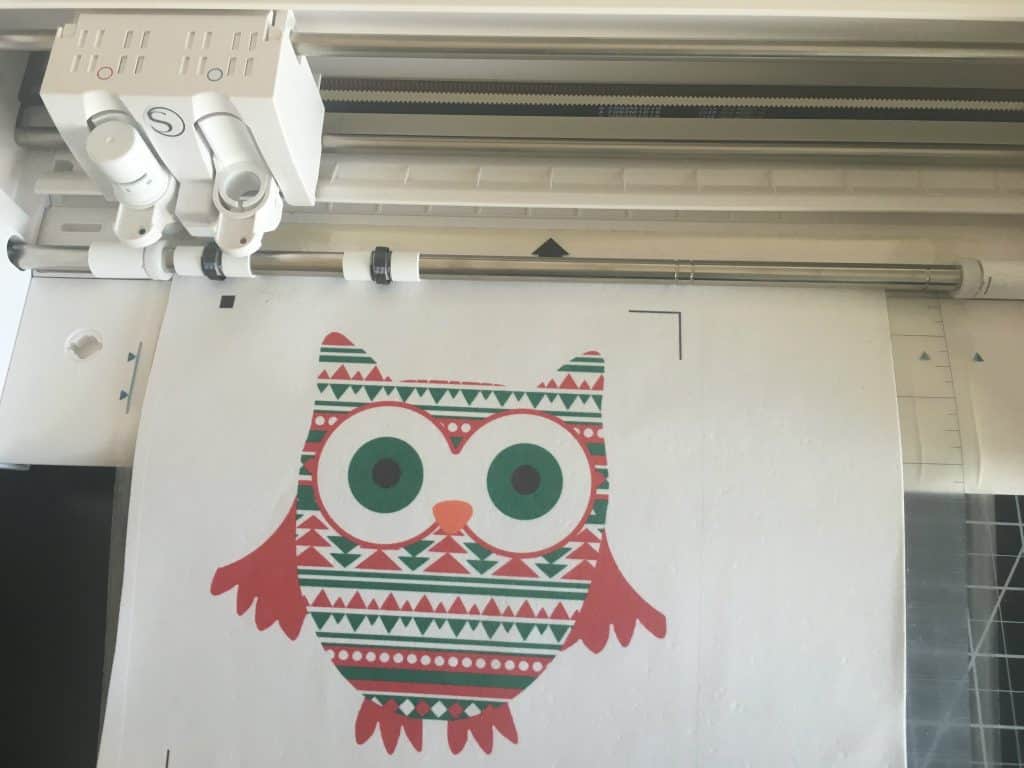
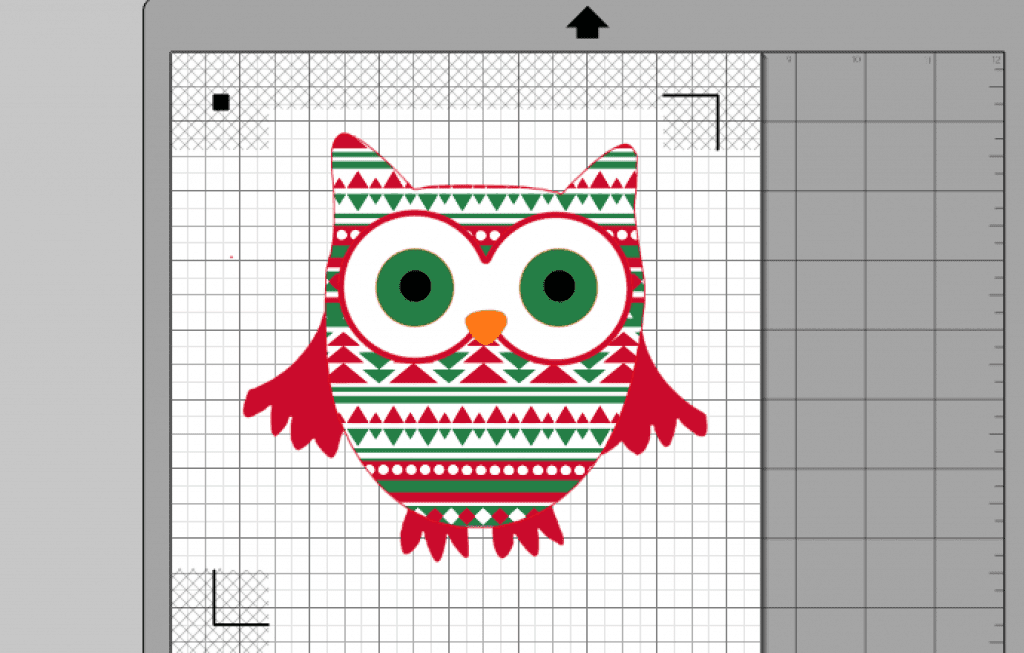
    1. Create your design in Silhouette Studio. I’m using an Aztec Christmas owl (a request by my 5 year old)! Be sure to turn on registration marks.Tutorial: How to Use Subliflock & Free Silhouette Cameo Cut File by cuttingforbusiness.com.
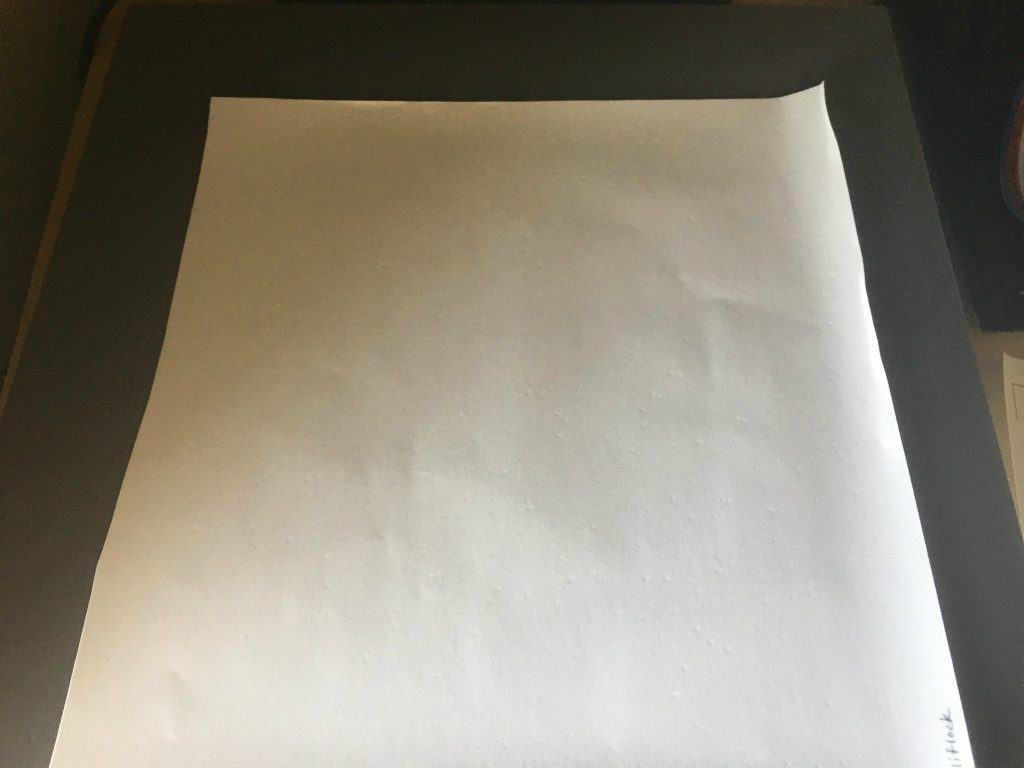
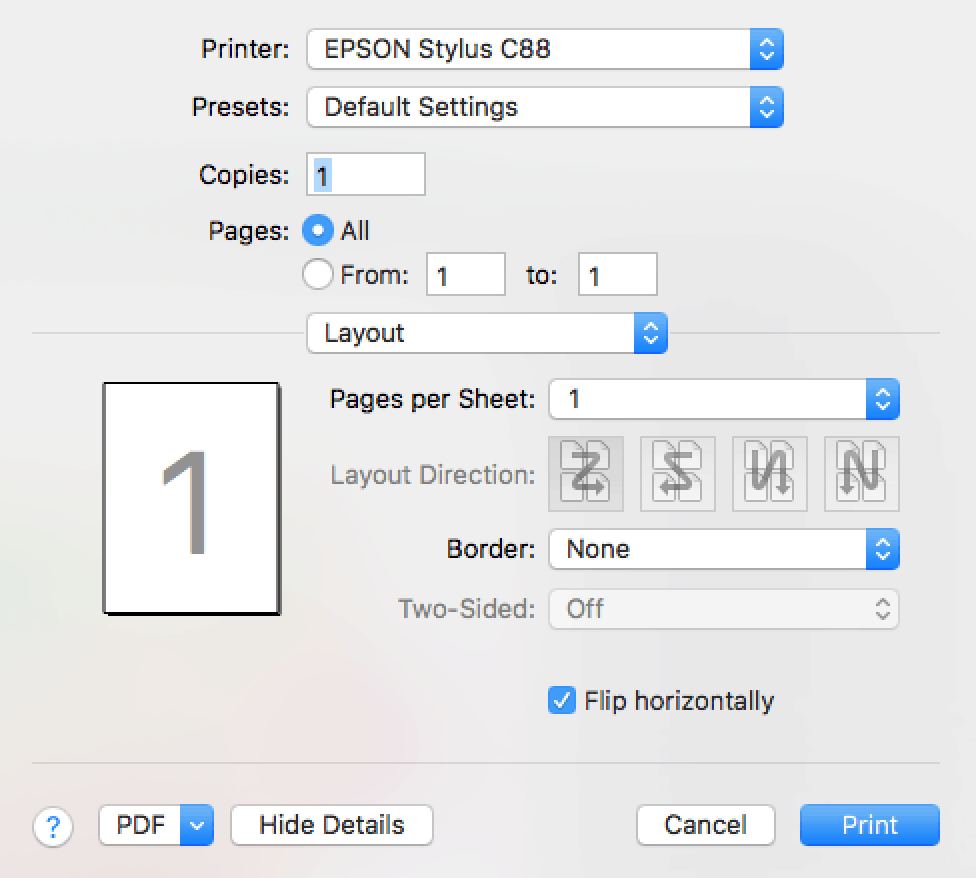
    2. Print your design onto sublimation transfer paper. You’ll need to mirror the design, but don’t mirror it in Silhouette Studio. Instead, mirror the entire page using your printer utility so that the registration marks are also mirrored. On my computer (Mac) the window that pops open is shown below. All I did was check the box that reads “Flip horizontally”.Tutorial: How to Use Subliflock & Free Silhouette Cameo Cut File by cuttingforbusiness.com.
      Tutorial: How to Use Subliflock & Free Silhouette Cameo Cut File by cuttingforbusiness.com.
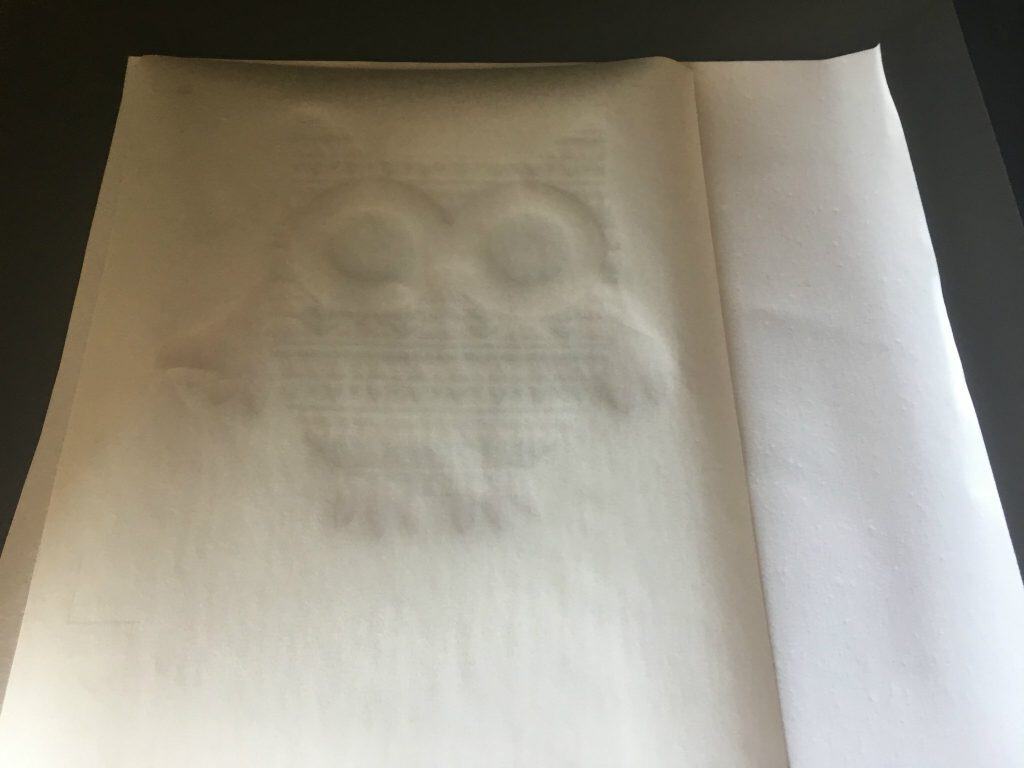
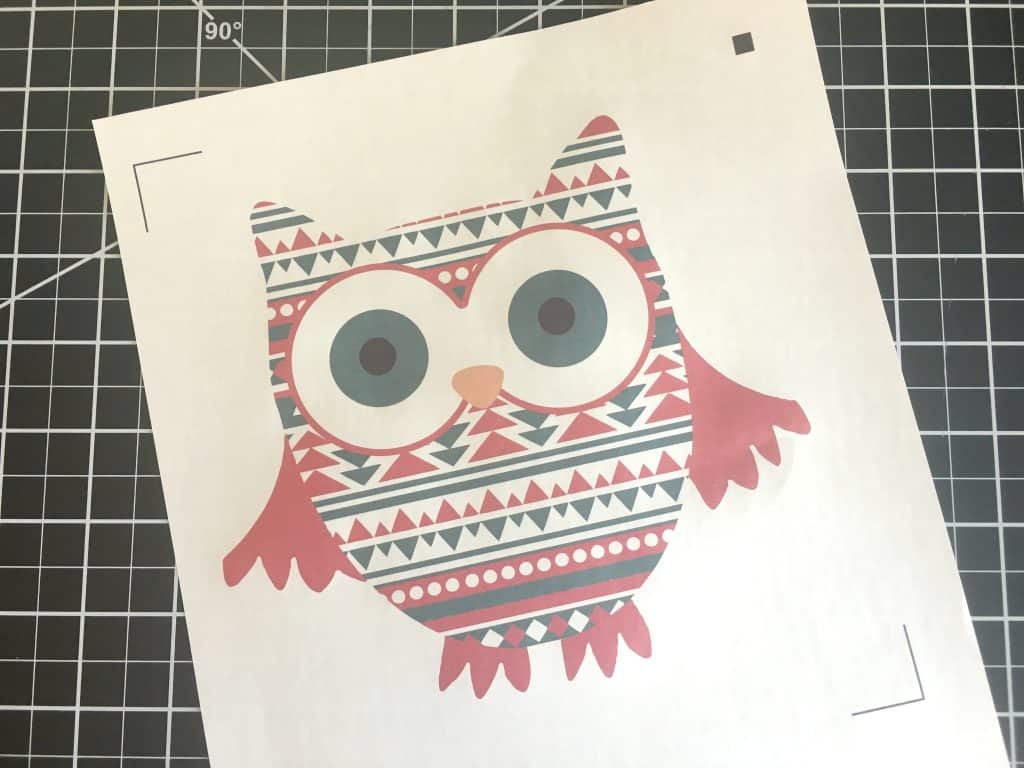
    3. After you print your design, you’ll transfer it to your subliflock. Put the subliflock (fuzzy side up) into your heat press. Put your printed design (ink side down) on top of the subliflock and cover it with a teflon sheet. Press at 375 degrees for 45 seconds. When you peel the sublimation transfer paper off, your design (and registration marks) will be on the subliflock.Tutorial: How to Use Subliflock & Free Silhouette Cameo Cut File by cuttingforbusiness.com.
      Tutorial: How to Use Subliflock & Free Silhouette Cameo Cut File by cuttingforbusiness.com.
      Tutorial: How to Use Subliflock & Free Silhouette Cameo Cut File by cuttingforbusiness.com.
      Tutorial: How to Use Subliflock & Free Silhouette Cameo Cut File by cuttingforbusiness.com.
    4. Now, load the subliflock into your Silhouette Cameo and using the registration marks, cut around the outside edge. Tutorial: How to Use Subliflock & Free Silhouette Cameo Cut File by cuttingforbusiness.com.
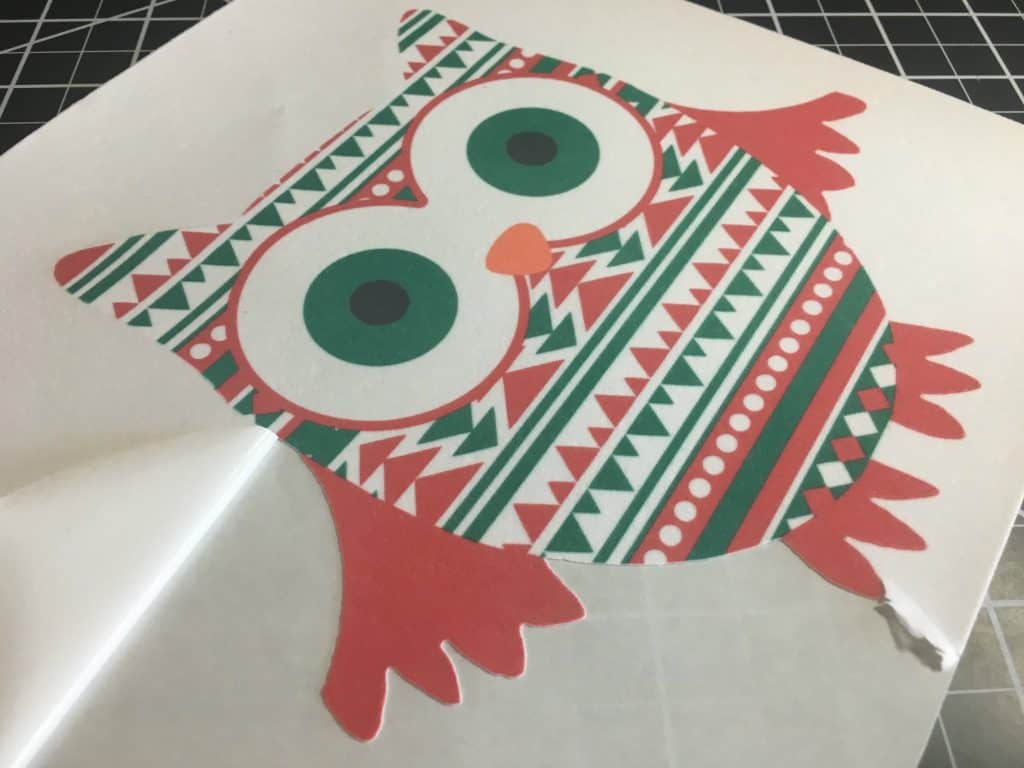
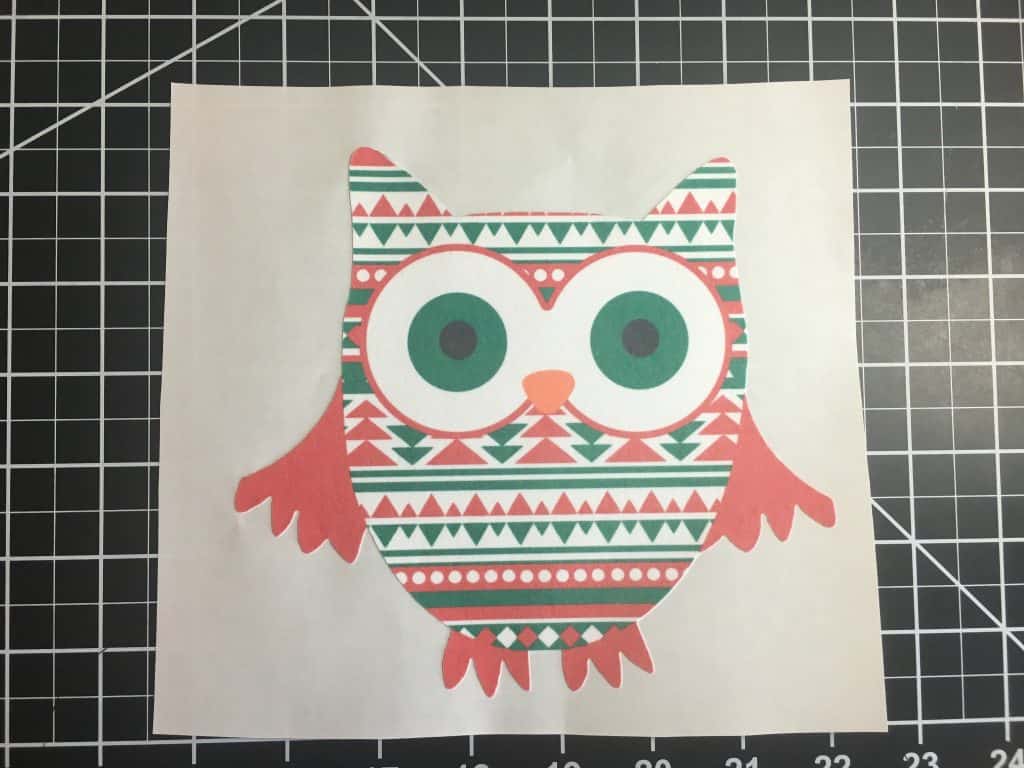
    5. Now, you’ll need to weed the excess vinyl. Subliflock weeds easily! Tutorial: How to Use Subliflock & Free Silhouette Cameo Cut File by cuttingforbusiness.com.
      Tutorial: How to Use Subliflock & Free Silhouette Cameo Cut File by cuttingforbusiness.com.
    6. You can either sell the design as an iron on, or apply it to apparel. If you sell the design, be sure to include application instructions for your customer to apply it with a heat press or iron.
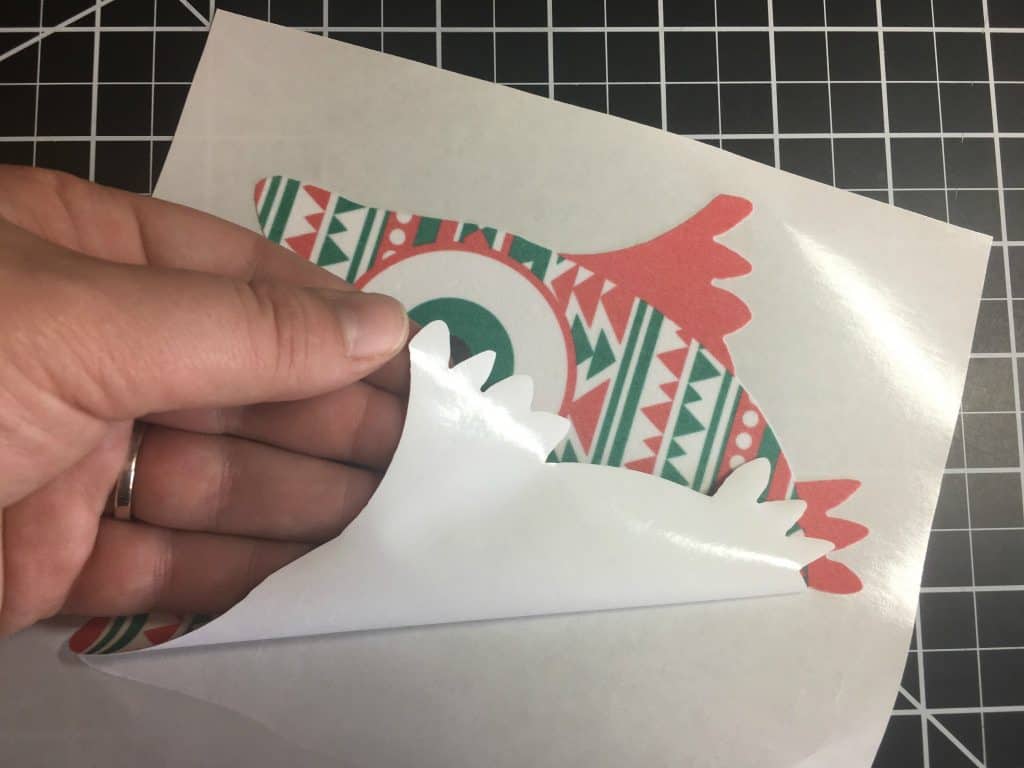
    7. To apply the design to apparel, simply peel off the paper backing, put it in place and press at 325 degrees for 15 seconds. Tutorial: How to Use Subliflock & Free Silhouette Cameo Cut File by cuttingforbusiness.com.
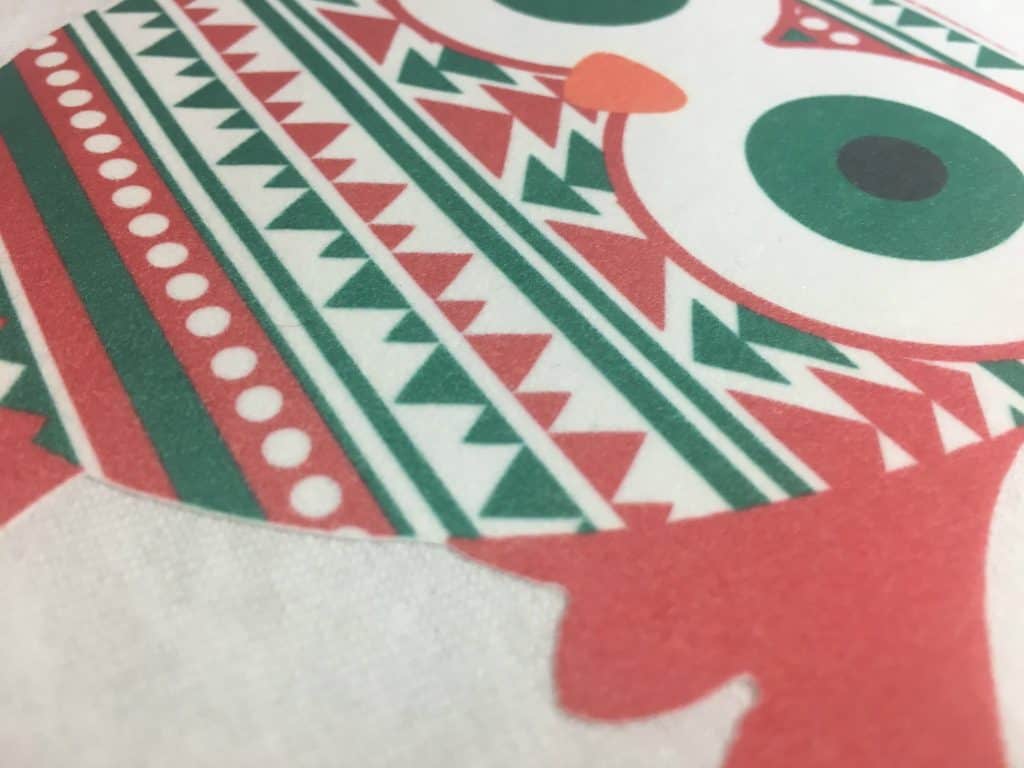
    8. Here’s a closeup of the subliflock pressed onto a shirt. You’ll notice how it is slightly fuzzy! Tutorial: How to Use Subliflock & Free Silhouette Cameo Cut File by cuttingforbusiness.com.

    Want my aztec Christmas owl cut file for Silhouette? Download it here.

    What do you think of subliflock? Let me know in the comments!

    Save this post to Pinterest:
    Tutorial: How to Use Subliflock & Free Silhouette Cameo Cut File by cuttingforbusiness.com.

  • Black Friday, Small Business Saturday, and Cyber Monday Sale Ideas for Etsy Sellers

    Cutting for Business readers – brace yourself – we are officially entering the holiday season. Next week is Black Friday, followed by Small Business Saturday, and Cyber Monday. If you are selling your crafts through Etsy, social media, your website, or anywhere else – I urge you to participate in at least one of their high traffic shopping days. Today, I’m giving you some quick ideas for you to use this week – and not go broke!

    2016 Dates

    • Black Friday is Friday, November 25th, 2016. It’s generally the kick off to the holiday shopping season.
    • Small Business Saturday is Saturday, November 26th, 2016. This American Express created event highlights shopping with small businesses. You can pick up Small Business Saturday logos, register your store, and get more information about the day at this link.
    • Cyber Monday is Monday, November 28th, 2016. Cyber Monday was created by marketers in 2005 as a way to lure shoppers to online retailers. Online retailers offer discounts on orders placed online.

    Sale Ideas for Small Craft Business Owners

    1. Offer a substantial discount in your store or offer substantial discounts on certain items in your store.
    2. Advertise a free product with a minimum purchase of $XX. Examples of inexpensive products include decals (personalized or generic), keychains, earrings, headbands, Christmas ornaments, cupcake toppers, or greeting cards.
    3. Give a gift certificate with a minimum purchase. This is a great way to encourage shoppers to return at a later time. Since many shoppers are buying gifts for the holidays, you can advertise a gift certificate to spend on themselves at a later date. Example: Free $15 gift certificate with $100 purchase.
    4. Consider extending free shipping to customers. This approach is especially good for Cyber Monday shoppers who will be offered free shipping at most big box retailers.
    5. Offer a “bounce back” offer when you ship your products. It is likely that you will get some new customers during your sale, so offer them a coupon code to shop in your store again.
    6. Consider having timed promotions throughout the day or weekend. For example, from 8am to 12pm have a sale on one product, from 12pm to 4pm offer a different product on sale, and from 4pm to 8pm offer yet another product.
    7. Host a giveaway for your sale. The easiest way to accomplish this is everyone who buys from you on a certain day will be automatically entered into your giveaway.
    8. If possible, operate on a fast turnaround time. Holiday shoppers are often impatient and want their items quickly!

    How to Advertise Your Sale

    • Use your business’ social media. Offer your coupon codes to your social media followers. Tip: If you make coupon codes unique to each social media network, you can see which campaigns were most successful. Encourage your followers to share your posts and help spread the word.
    • If you sell on Etsy, change your shop banner to a banner with information about your sale. While not officially used anymore, feel free to tag your products that are on sale with “Black Friday”, “Small Business Saturday”, and “Cyber Monday”.
    • Use hashtags relevant to the event on social media. For example, #blackfriday #blackfridaysale #shopsmall #smallbizsat #cybermonday.

    Don’t forget: If you want to schedule a sale for Etsy – check out this post about Etsy on Sale.

    I wish everyone a profitable week and weekend! I always host a sale on Cutting for Business – so be sure to follow the blog on Facebook and watch for it.

    Black Friday, Small Business Saturday, and Cyber Monday Sale Ideas for Etsy Sellers by cuttingforbusiness.com

  • How to Host a Christmas Ornament Making Party

    Glittered Christmas ornaments are popular every year and are a great way to making money with your Silhouette Cameo or Cricut Explore. Some crafters love making and selling ornaments, while others prefer to teach the technique. Today, let’s look how to host your own ornament making party.

    *You should be familiar with making glittered ornaments before attempting to host a party. This tutorial deals only with the party aspect and does not offer a tutorial for the ornaments.

    Supplies Needed – General

    Supplies Needed – Per Person

    Time Needed

    A successful ornament party will probably take around 2 hours. This leaves enough time for visiting with friends, creating the ornaments, snacking, and clean up.

    Party Sign Up & Payments

    There are a few different ways to collect signups and payments for party attendees. Depending on your setup, you can use a Facebook Event from your business page and then a Paypal invoice for payment, a custom product on your website, or even a custom Etsy listing. No matter what method you choose you will want to collect the attendees’ basic information, the number of ornaments they want to make, any requests for personalized vinyl cuts, and their payment. I would charge no less than $10 per ornament. Be sure to collect all payments before the party begins.

    Party Space

    You can choose to offer the party in your house or in a hostess’s house. If you are doing the party at someone else’s home, consider letting the hostess make her ornaments for free in exchange for hosting the party.

    Before the Party Prep Work

    1. Cut all vinyl designs before the day of the party. You could cut customized designs that an attendee specifies when they sign up for the party, or you could cut generic designs and sayings.
    2. On the day of the party, set up the party space with tables and chairs, tablecloths, and/or newspaper.

    At the Party

    Here’s a sample flow of how your Christmas ornament party will run:

    1. After all attendees have arrived, start crafting!
    2. Pass out the vinyl designs and demonstrate how to weed the vinyl. Have each attendee weed their vinyl designs.
    3. Demonstrate how to apply transfer tape or paper and transfer the design onto the ornament. Have the attendees cut the transfer paper close to the design to make transfer easier, and then have attendees apply their designs to their ornaments. (If you’ve noticed, I recommend you having everyone apply the vinyl design before glittering the ornament. This is simply to combat drying time.)
    4. Show how the ornaments come apart and how to pour Polycrylic into the ornament and swirl it around. Then show attendees how to add glitter using a funnel and swirl it around to get good coverage. Distribute Polycrylic to attendees in 3 ounce paper cups and have them pour it into their ornaments and add glitter. After attendees finish glittering their ornament, have them turn it upside down in a large paper cup.
    5. Allow attendees to choose a ribbon and tie it to the top of the ornament.
    6. Before attendees leave, let them know that they should let the ornament stay upside down in the paper cup for 24 to 48 hours. Then, they can put the top and ribbon on the ornament and hang it from their Christmas tree or ornament holder.

    That’s it!

    After the Party

    Before cleaning up, be sure to take a few photos. You’ll be able to use these photos to promote future classes.

    A quick note: During the party, mention that you cut the vinyl designs using your Silhouette Cameo or Cricut Explore. Small events like these can easily get people hooked on crafting and may be able to lead you to teaching others to use their new machine.

    Have you hosted an ornament making party? If so, share your favorite tips in the comments.

    Save this post to Pinterest:
    How to Host a Christmas Glitter Ornament Making Party with Your Silhouette Cameo or Cricut Explore - by cuttingforbusiness.com.

  • Where to Buy Blank Christmas Pajamas for Crafting

    Both Silhouette Cameo and Cricut small business crafters can use heat transfer vinyl and their machine to easily customize blank pajamas. Every year, I get emails asking where to buy Christmas themed pajamas. Honestly, it is best to buy these as early in the season as you can because they sell out every year. If you are just now looking to purchase or need to replenish your stock, I’ve rounded up who currently has them in stock as of today (November 9th, 2016). Since I understand that most Cutting for Business readers will embellish and resell them, only pajamas under $20 a set are listed below.

    If you know of a supplier that still has Christmas pajamas in stock and are under $20 a set let me me know in the comments. Remember, as sellers sell out and can’t fulfill orders, raise the price on your sets if you still have them in stock.

    Save this post to Pinterest:
    Where to Buy Blank Christmas Pajamas for Silhouette Cameo and Cricut Crafting - by cuttingforbusiness.com