Author: christine

  • Tutorial: How to Create an Email Signature in Canva

    I get a lot of emails here in the Cutting for Business office. I’ve been recently surprised at the amount of Silhouette and Cricut craft business owners who don’t have an appropriate email signature – or one at all!

    Let’s go through a quick tutorial today to learn how to create an email signature in Canva.
    Tutorial: How to Create an Email Signature in Canva - cuttingforbusiness.com

    What is an Email Signature?

    An email signature is simple a way to close your emails. It generally offers your name, website address, and social media links. It’s like an electronic business card. Email signatures make your business more professional, plus it’s free advertising.

    What is Canva?

    Canva is a free online graphic design tool. It’s easy for beginners to use and can be used to create business cards, social media graphics, event flyers, invitations, and more.

    Sign Up for a Canva Account

    If you don’t already have a Canva account, sign up for a Canva account.

    Tutorial: How to Create an Email Signature in Canva

    1. Head to canva.com, then click the ‘Create an email signature’ button.
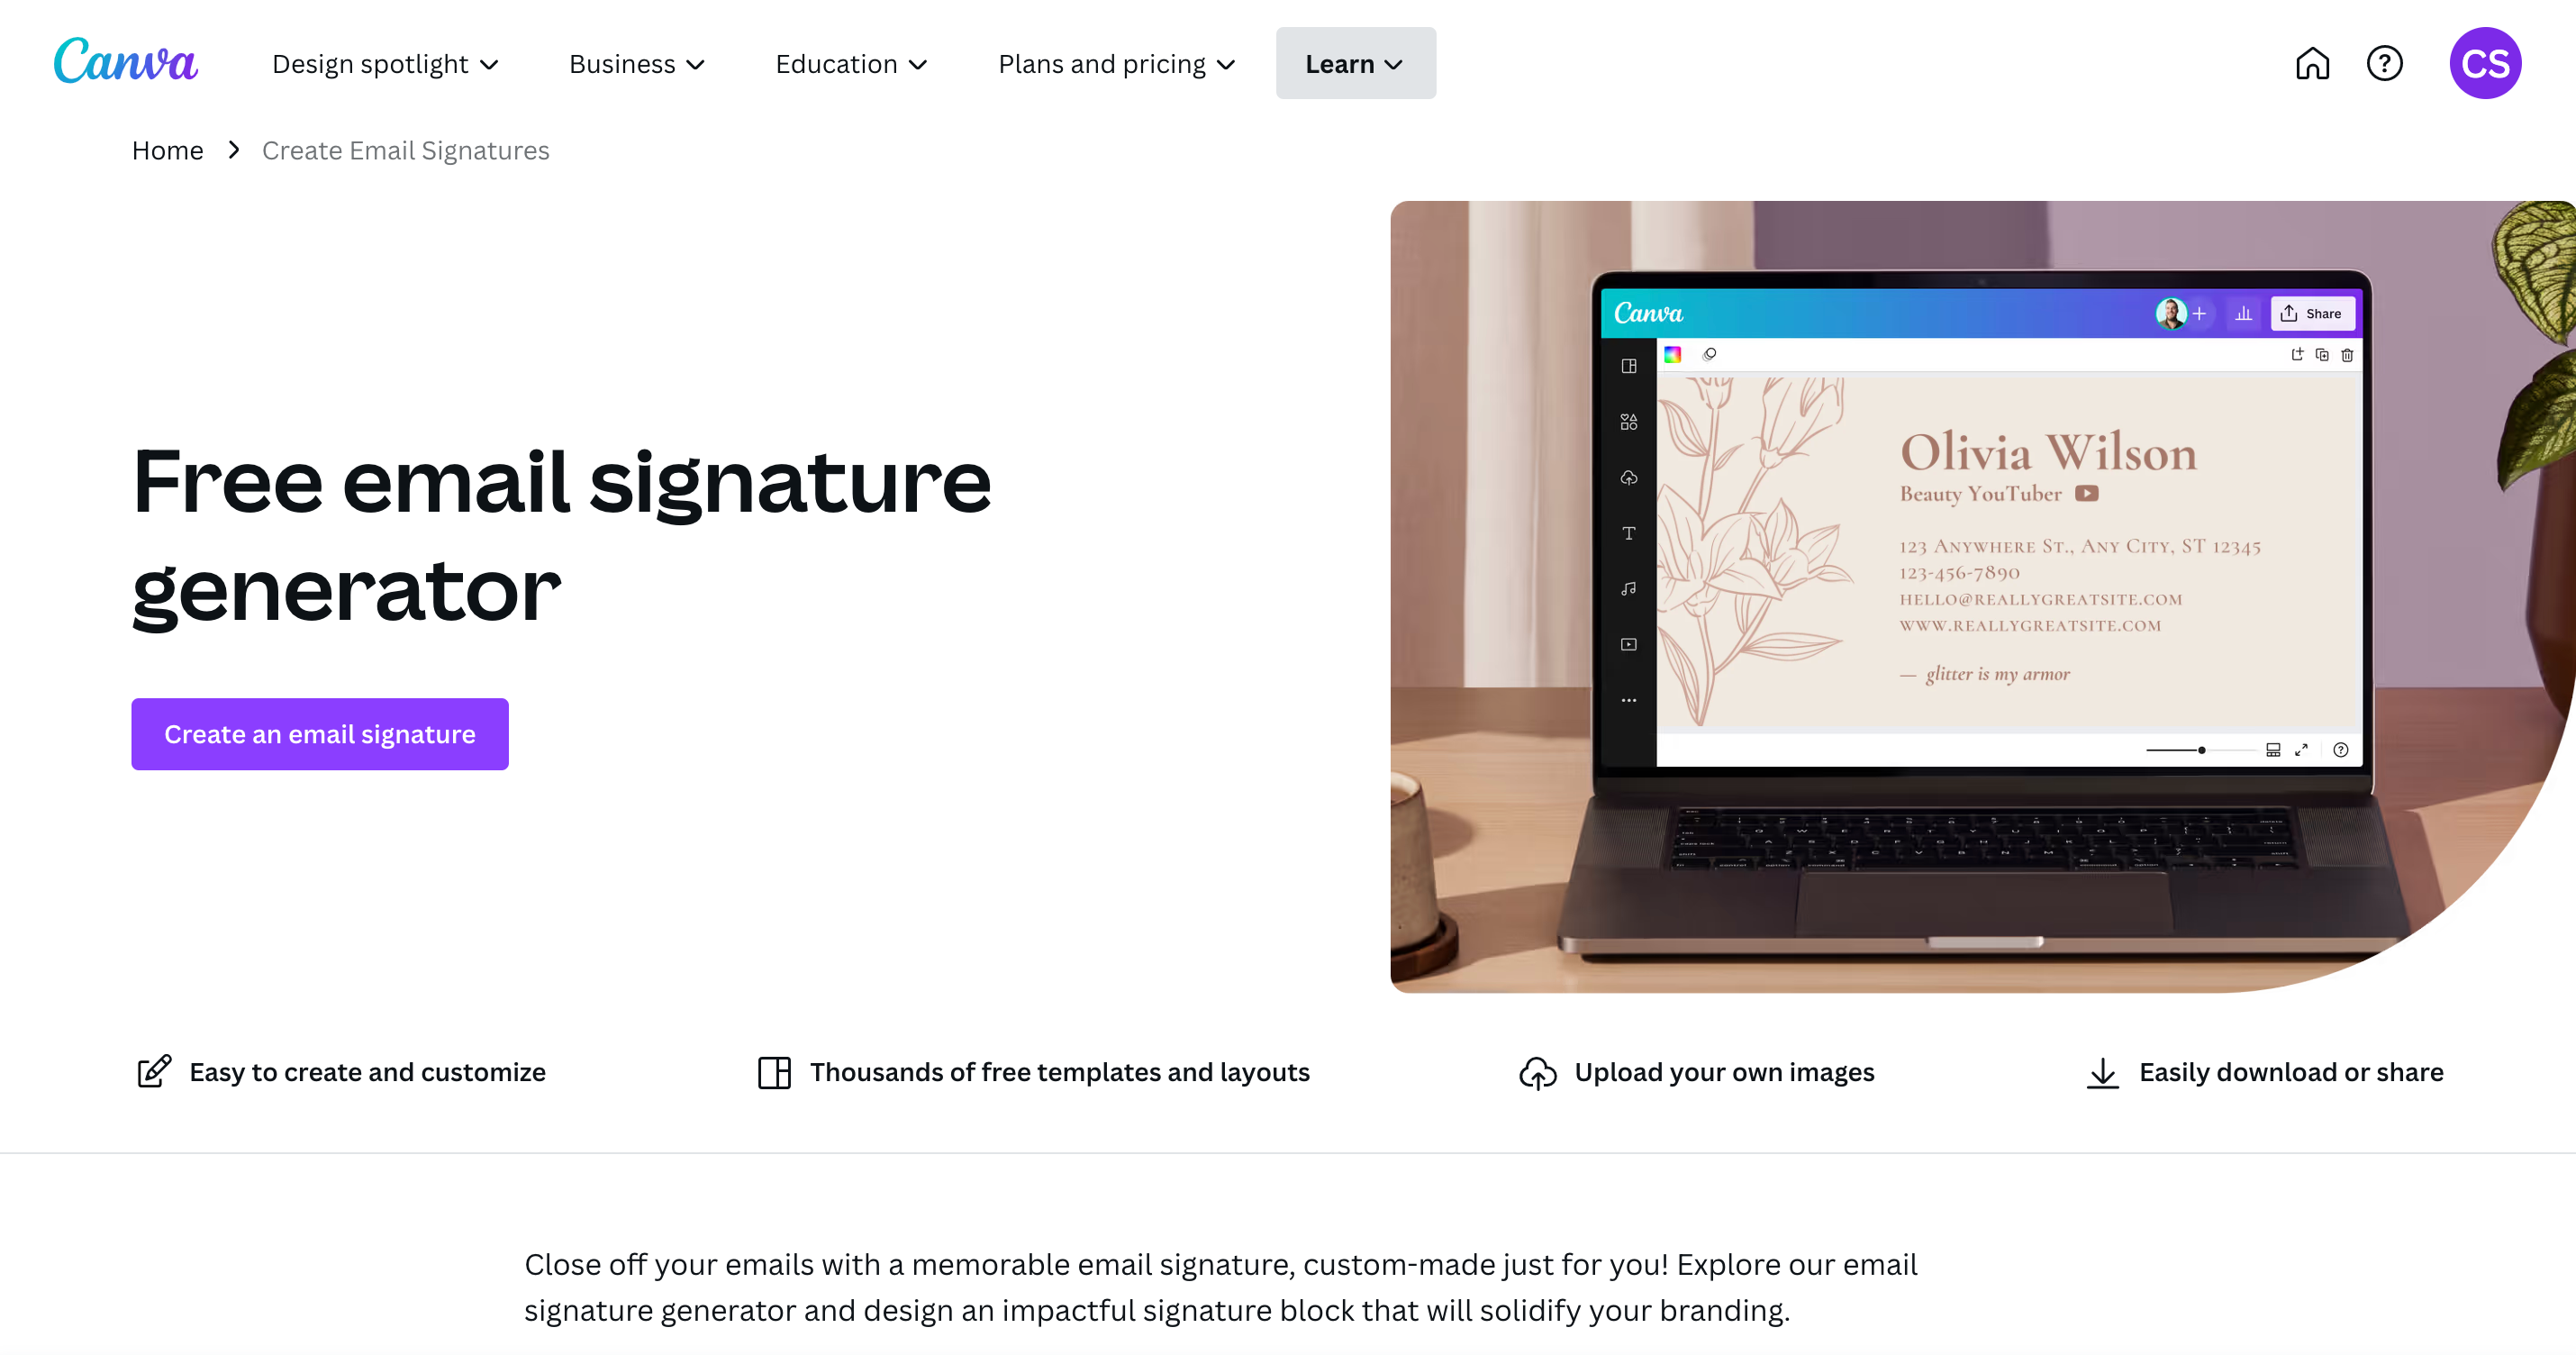
    Screenshot from canva.com.

    2. You’ll be taken to a Canva workspace with templates on the left hand side. Choose a template by clicking on it.
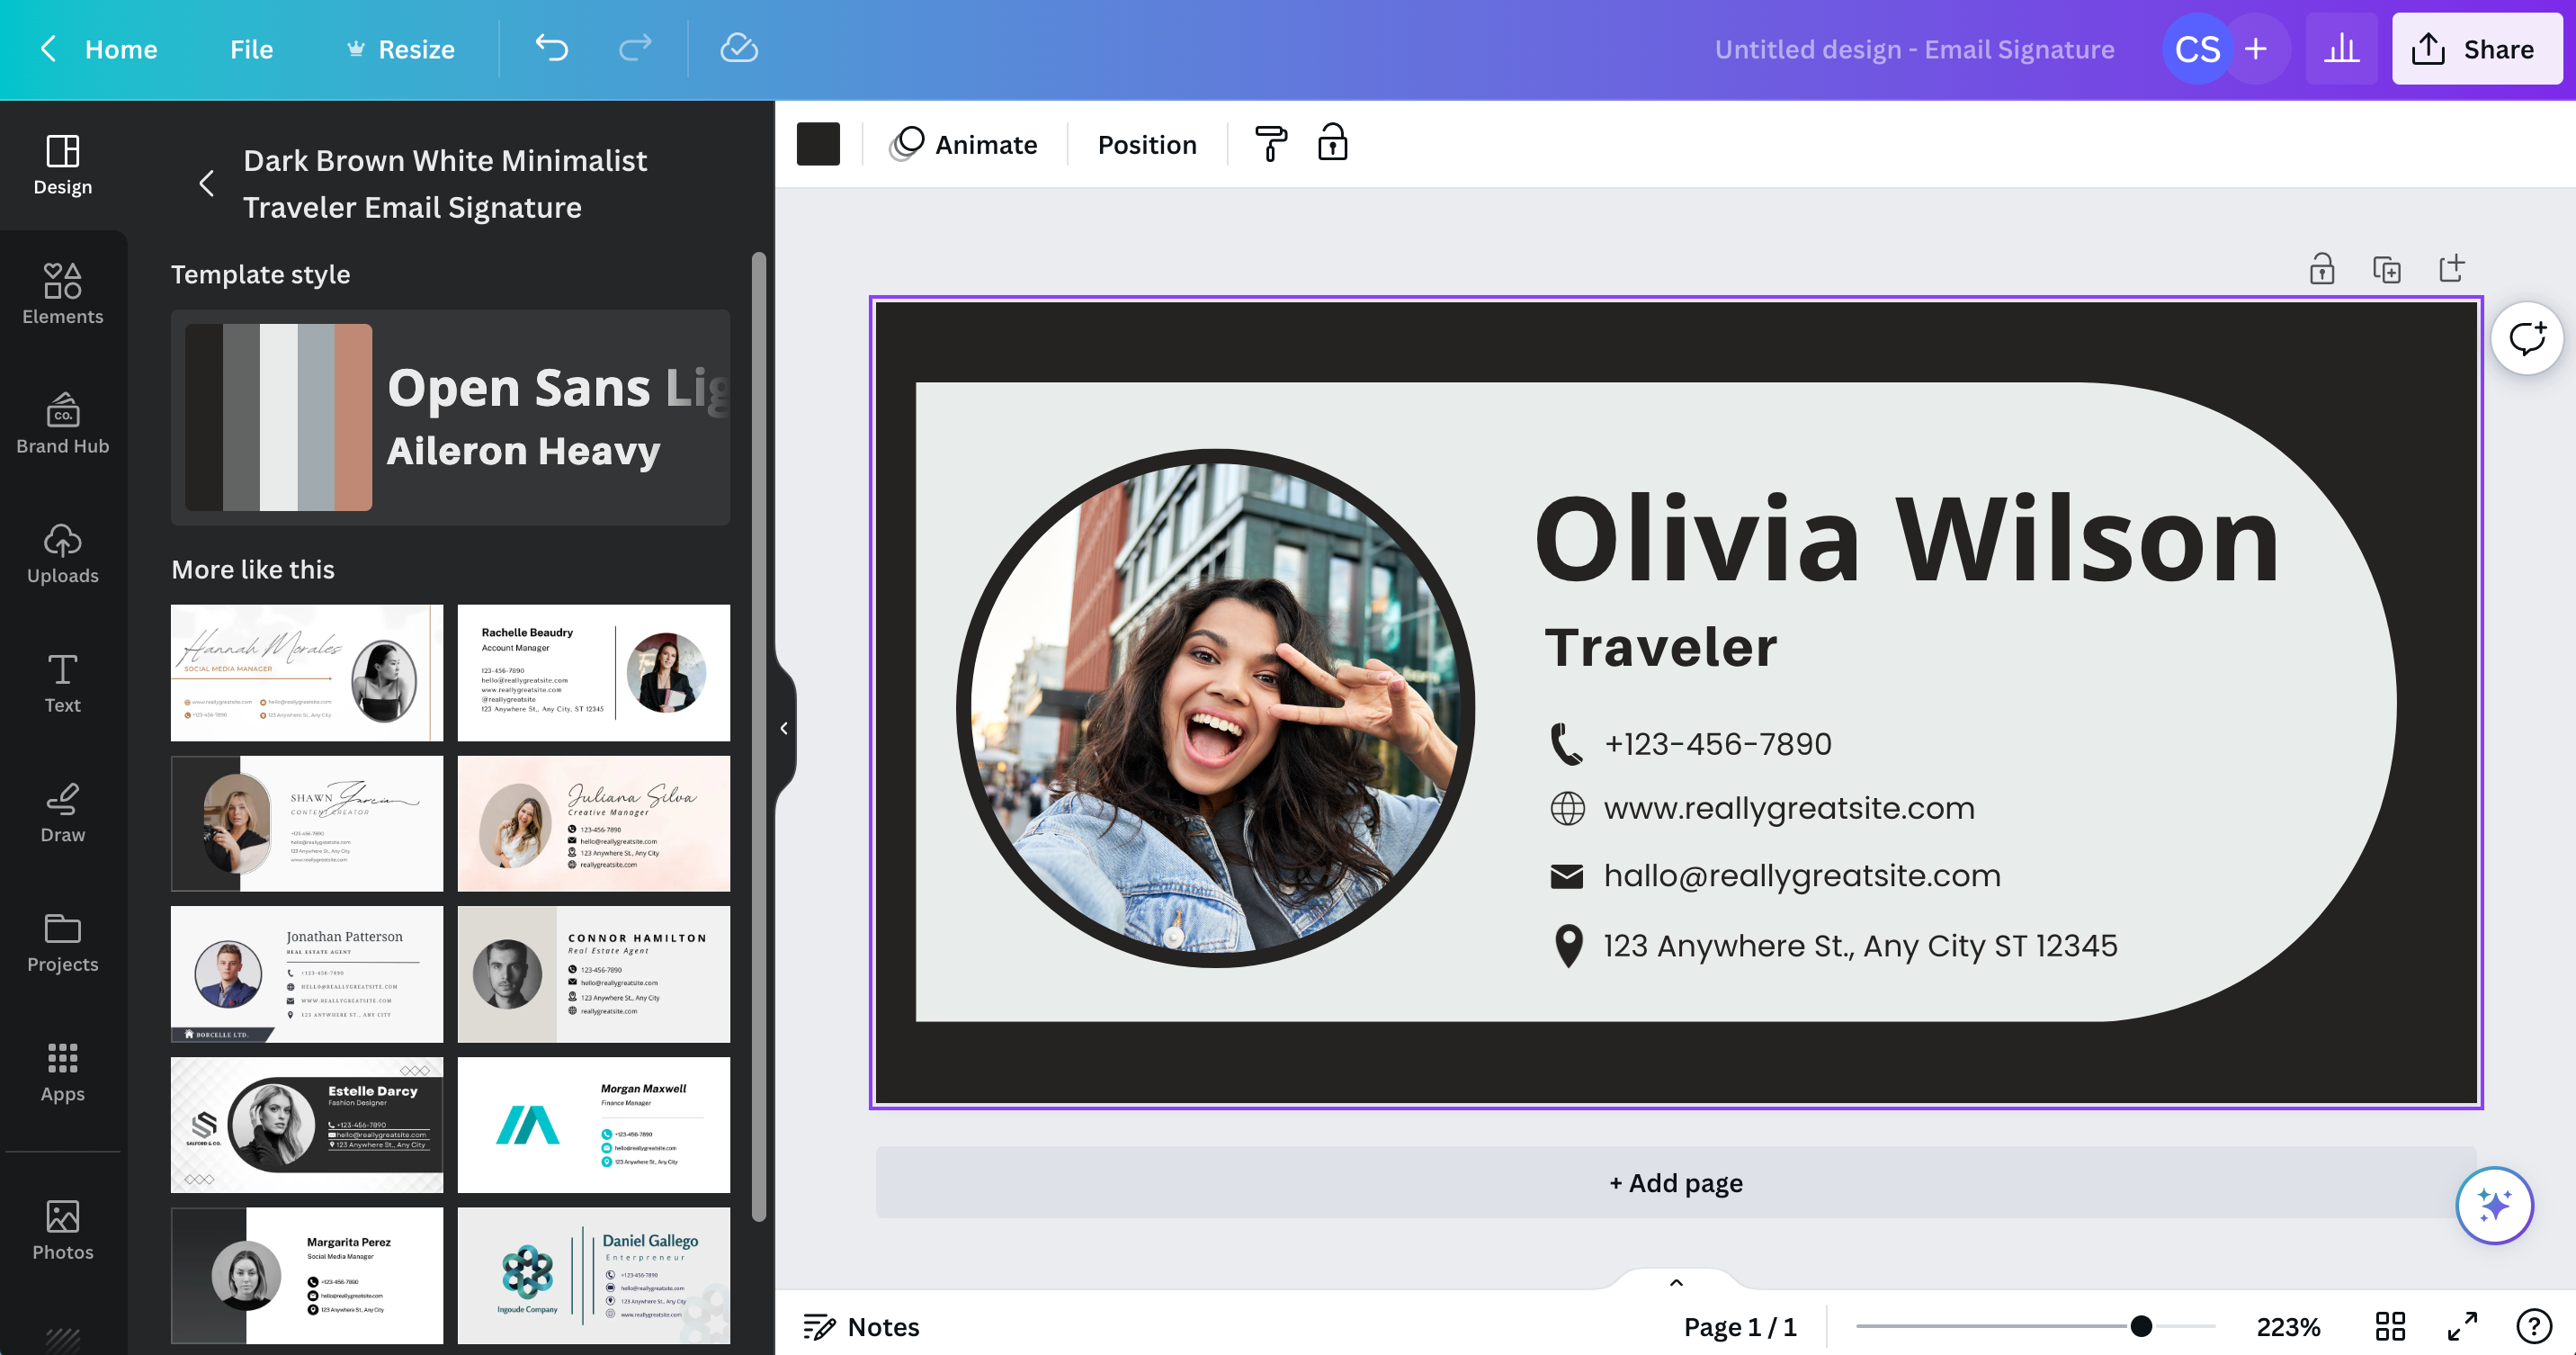
    Screenshot from canva.com.

    3. Edit the template with your information. Use the guidelines to make sure the elements line up properly, and delete anything not needed.
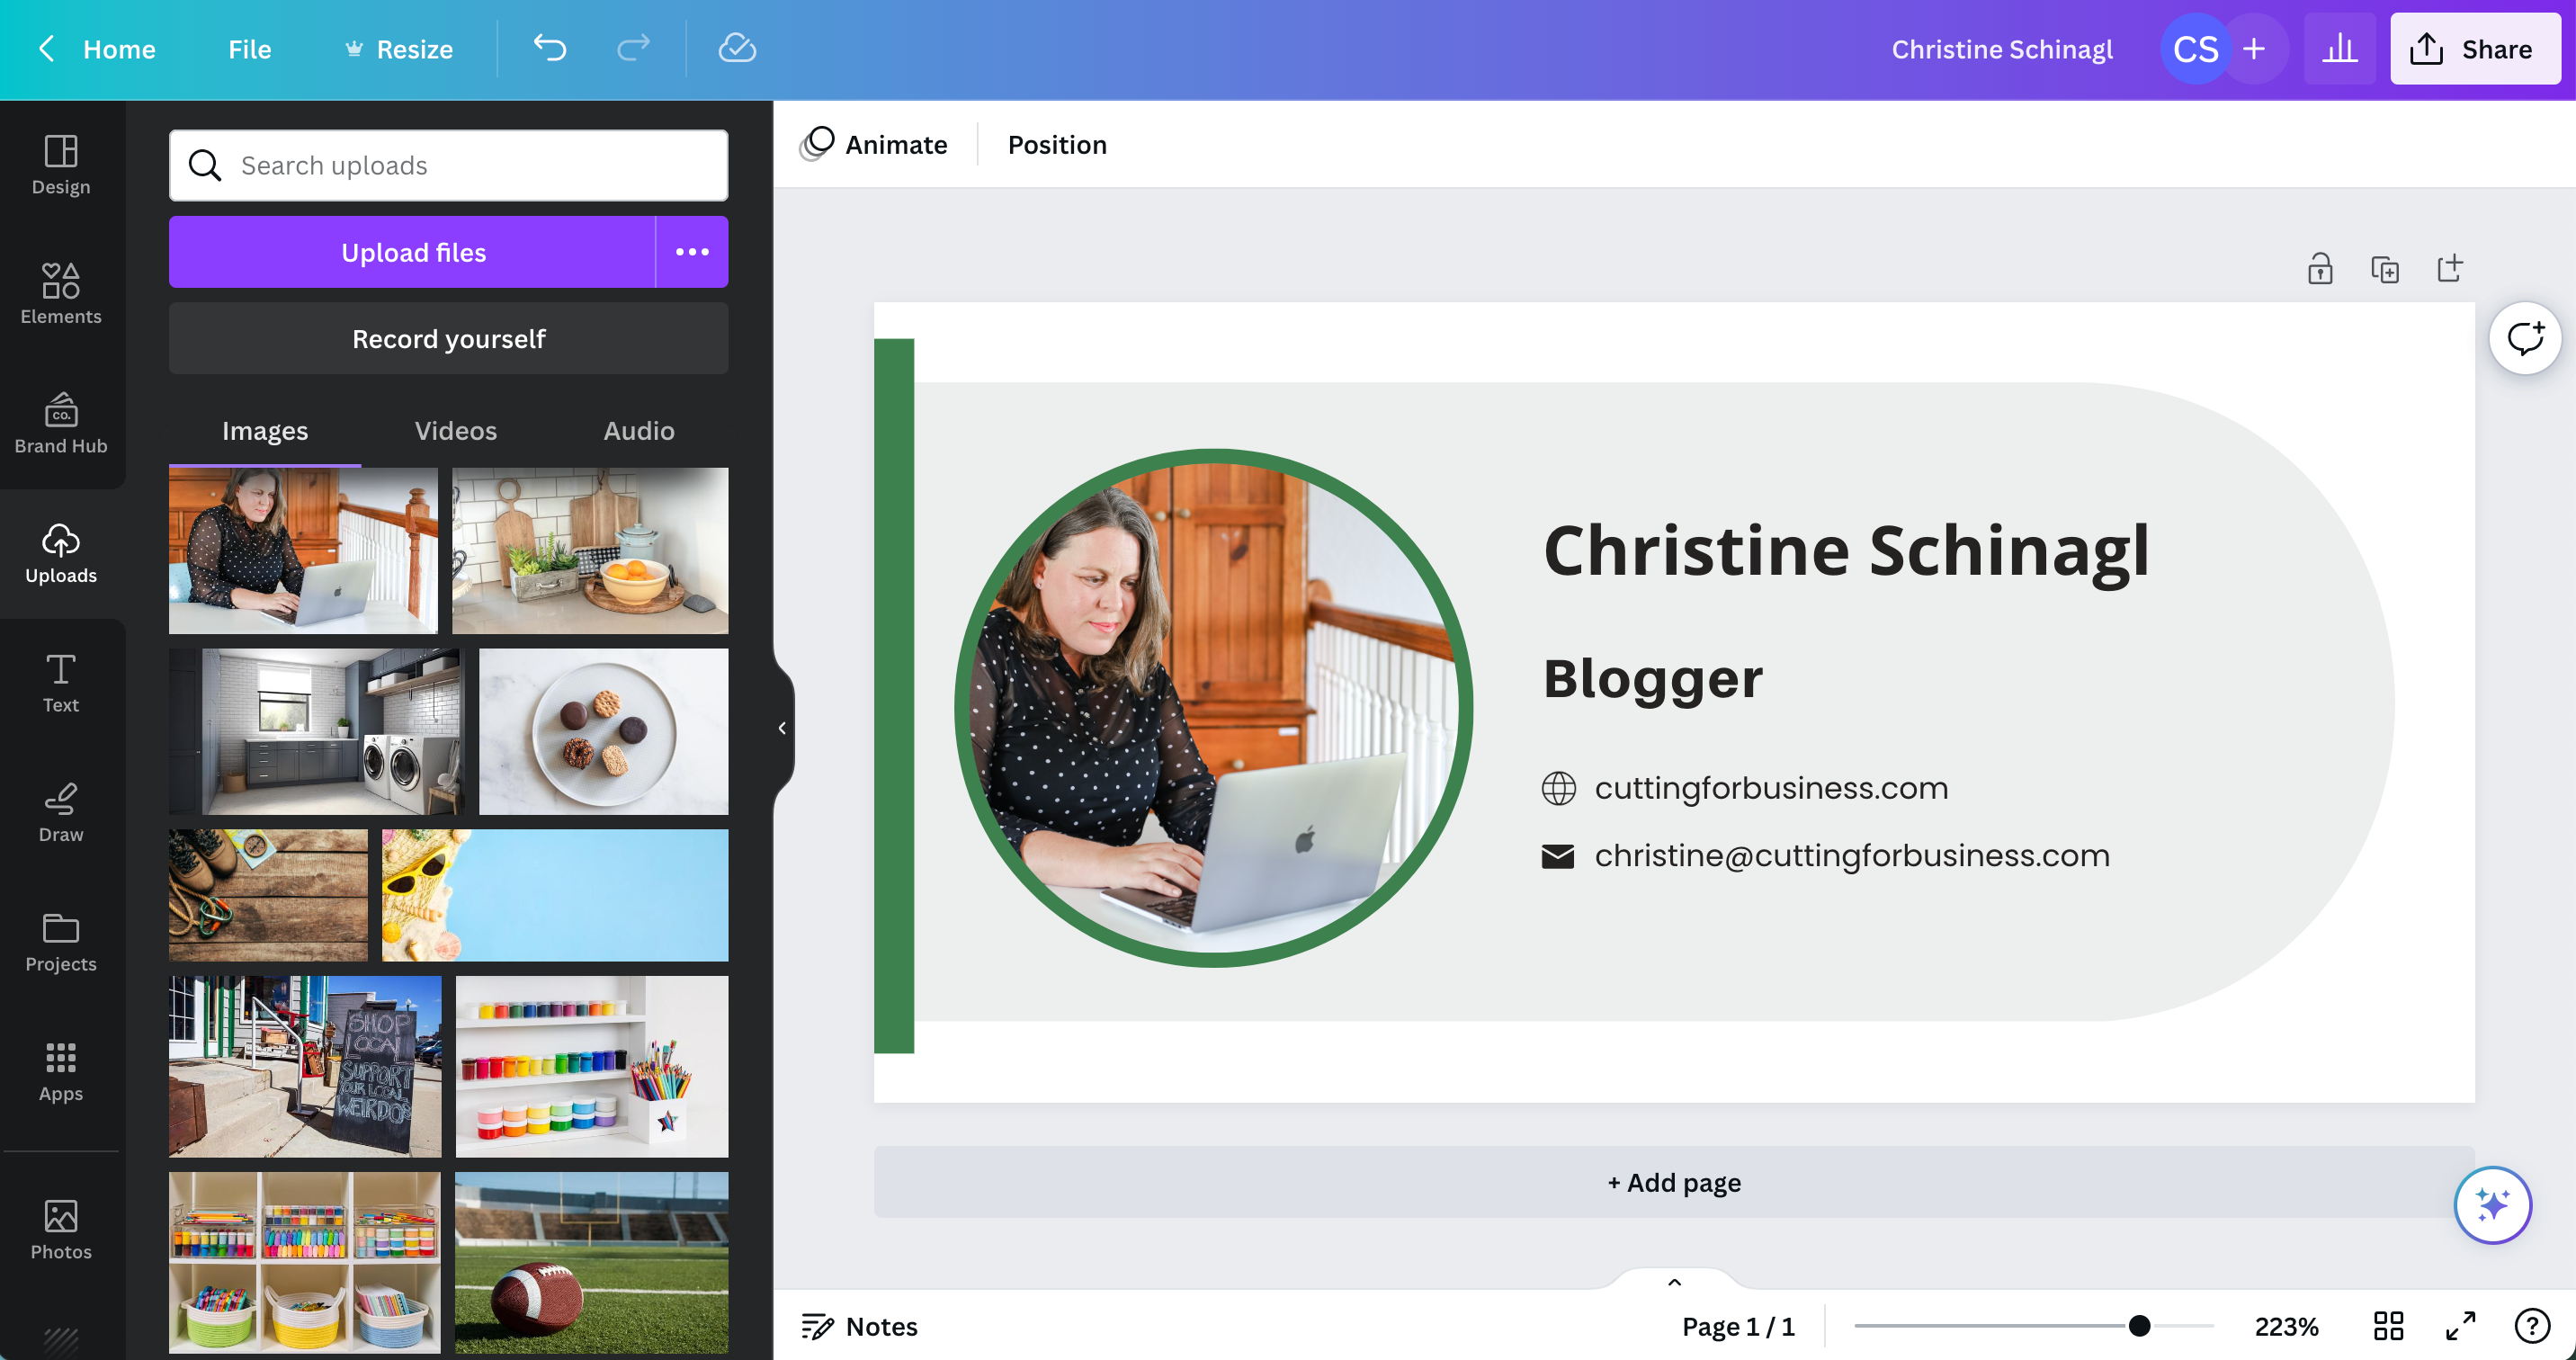
    Screenshot from canva.com.

    4. To save your email signature, click the ‘Share’ button in the top right corner. Then, select ‘Download’. I downloaded my signature as a JPG image.
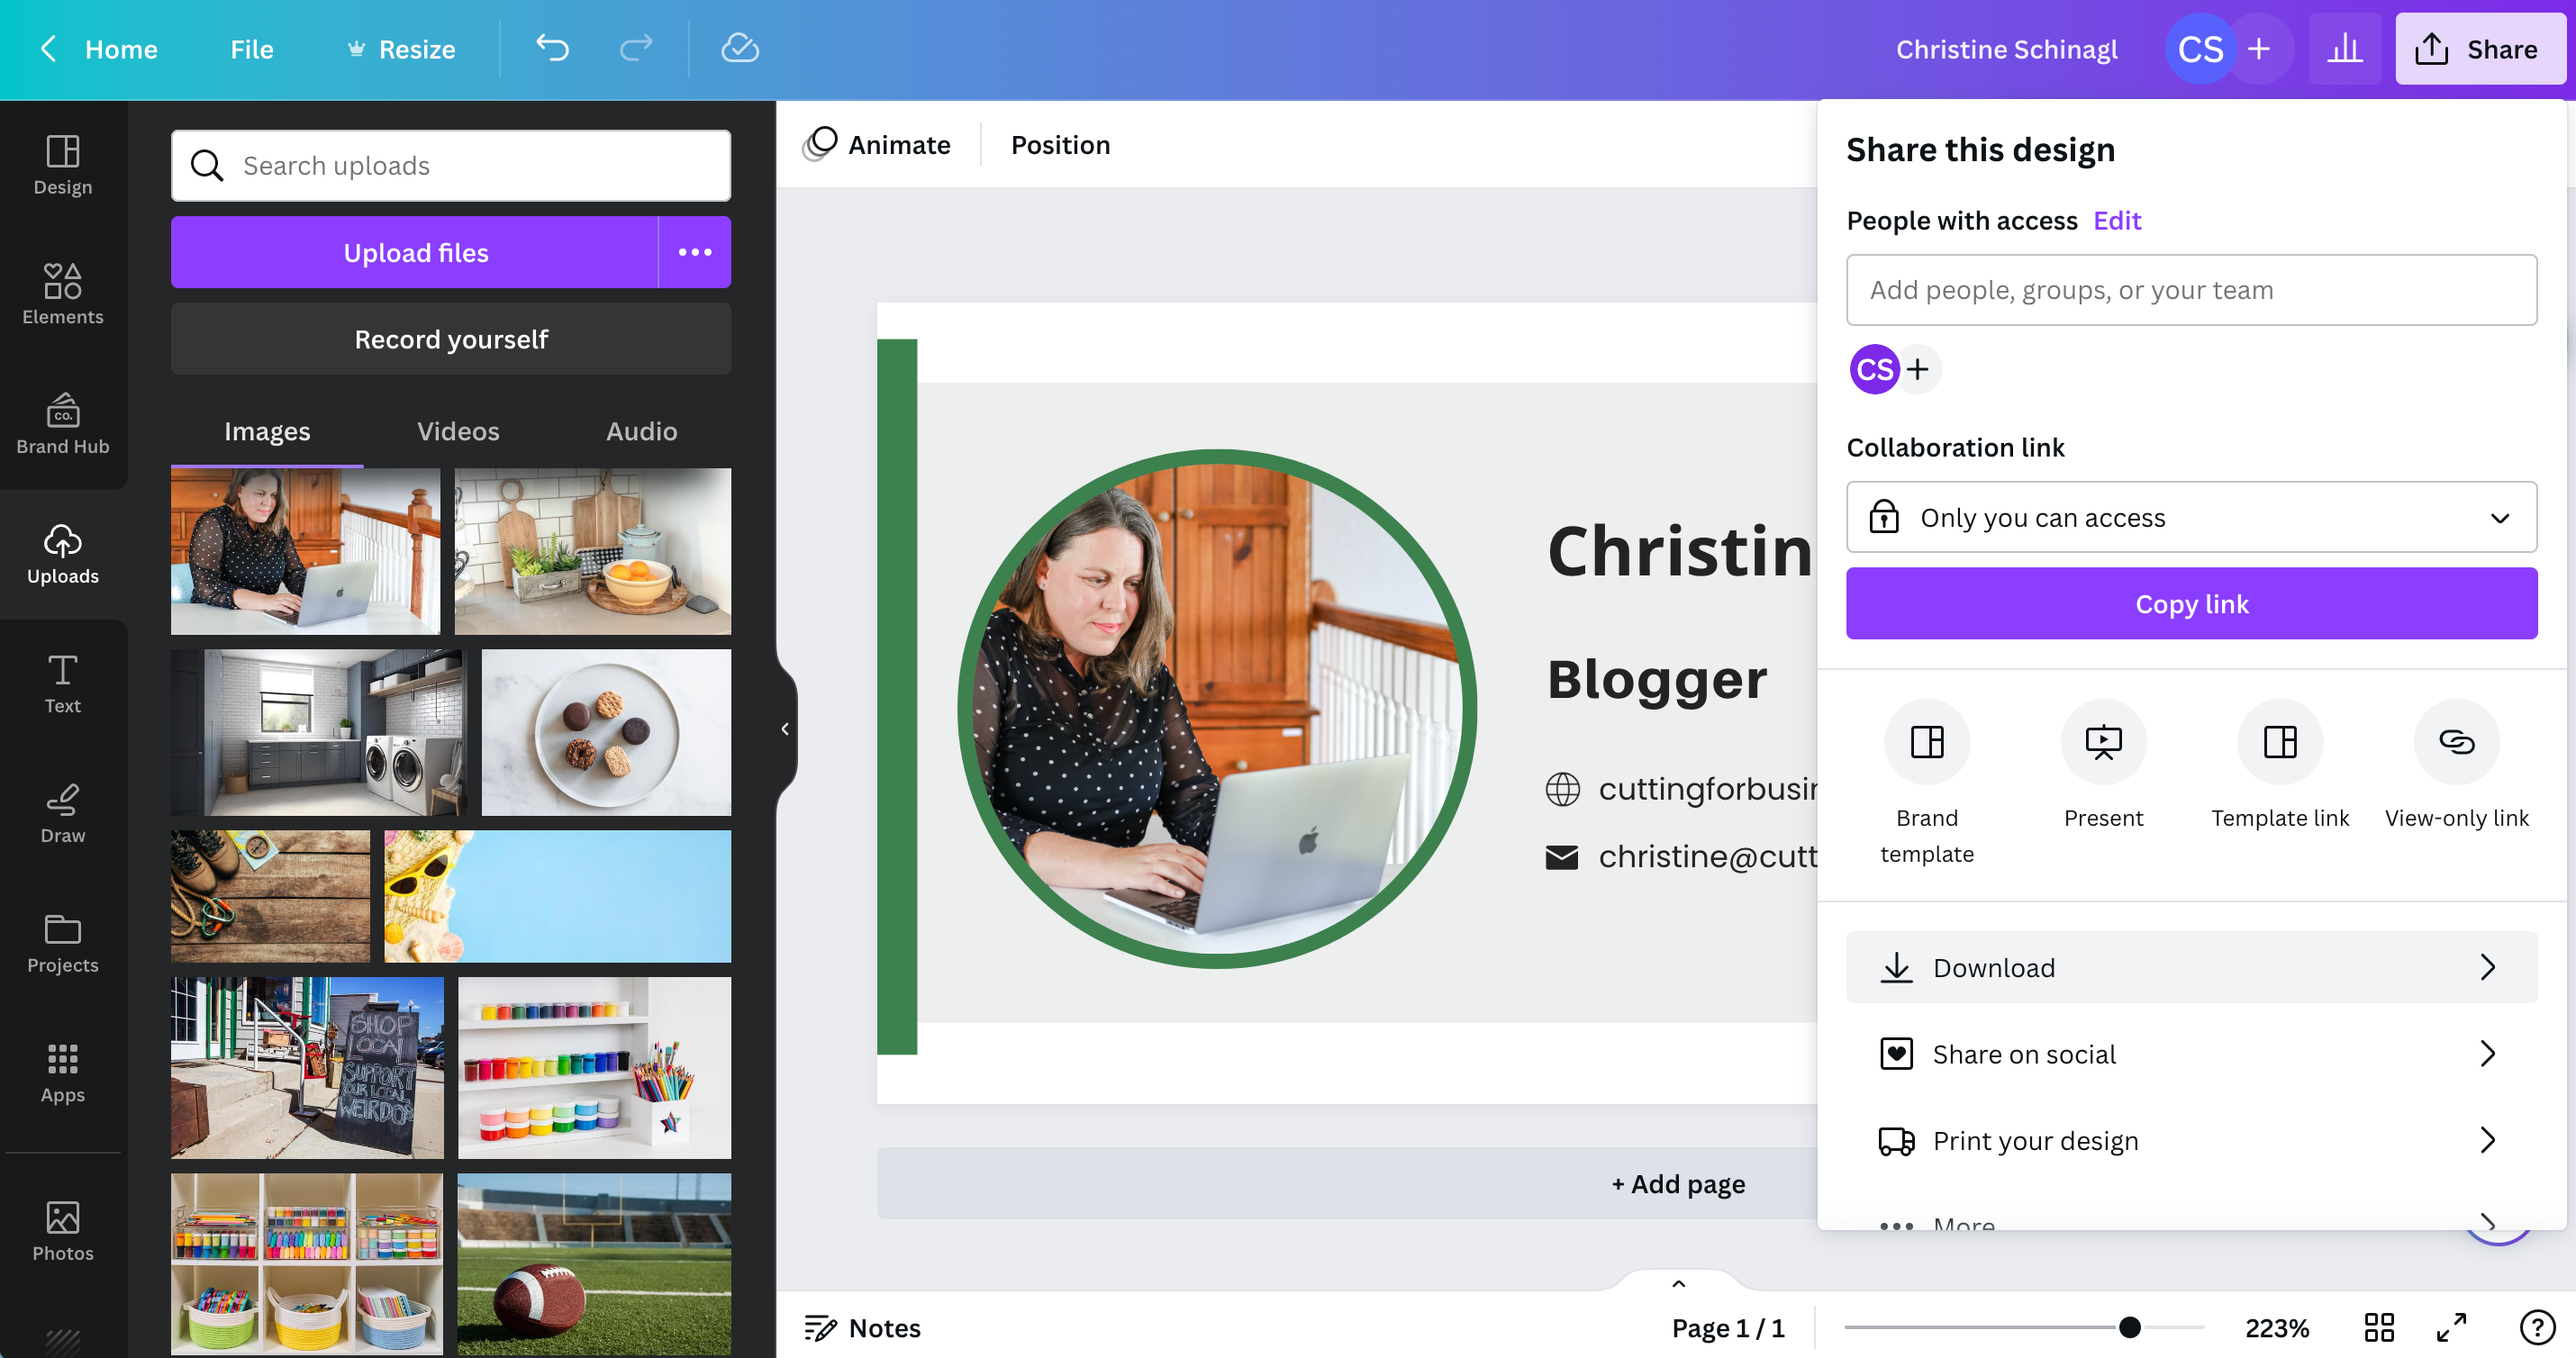
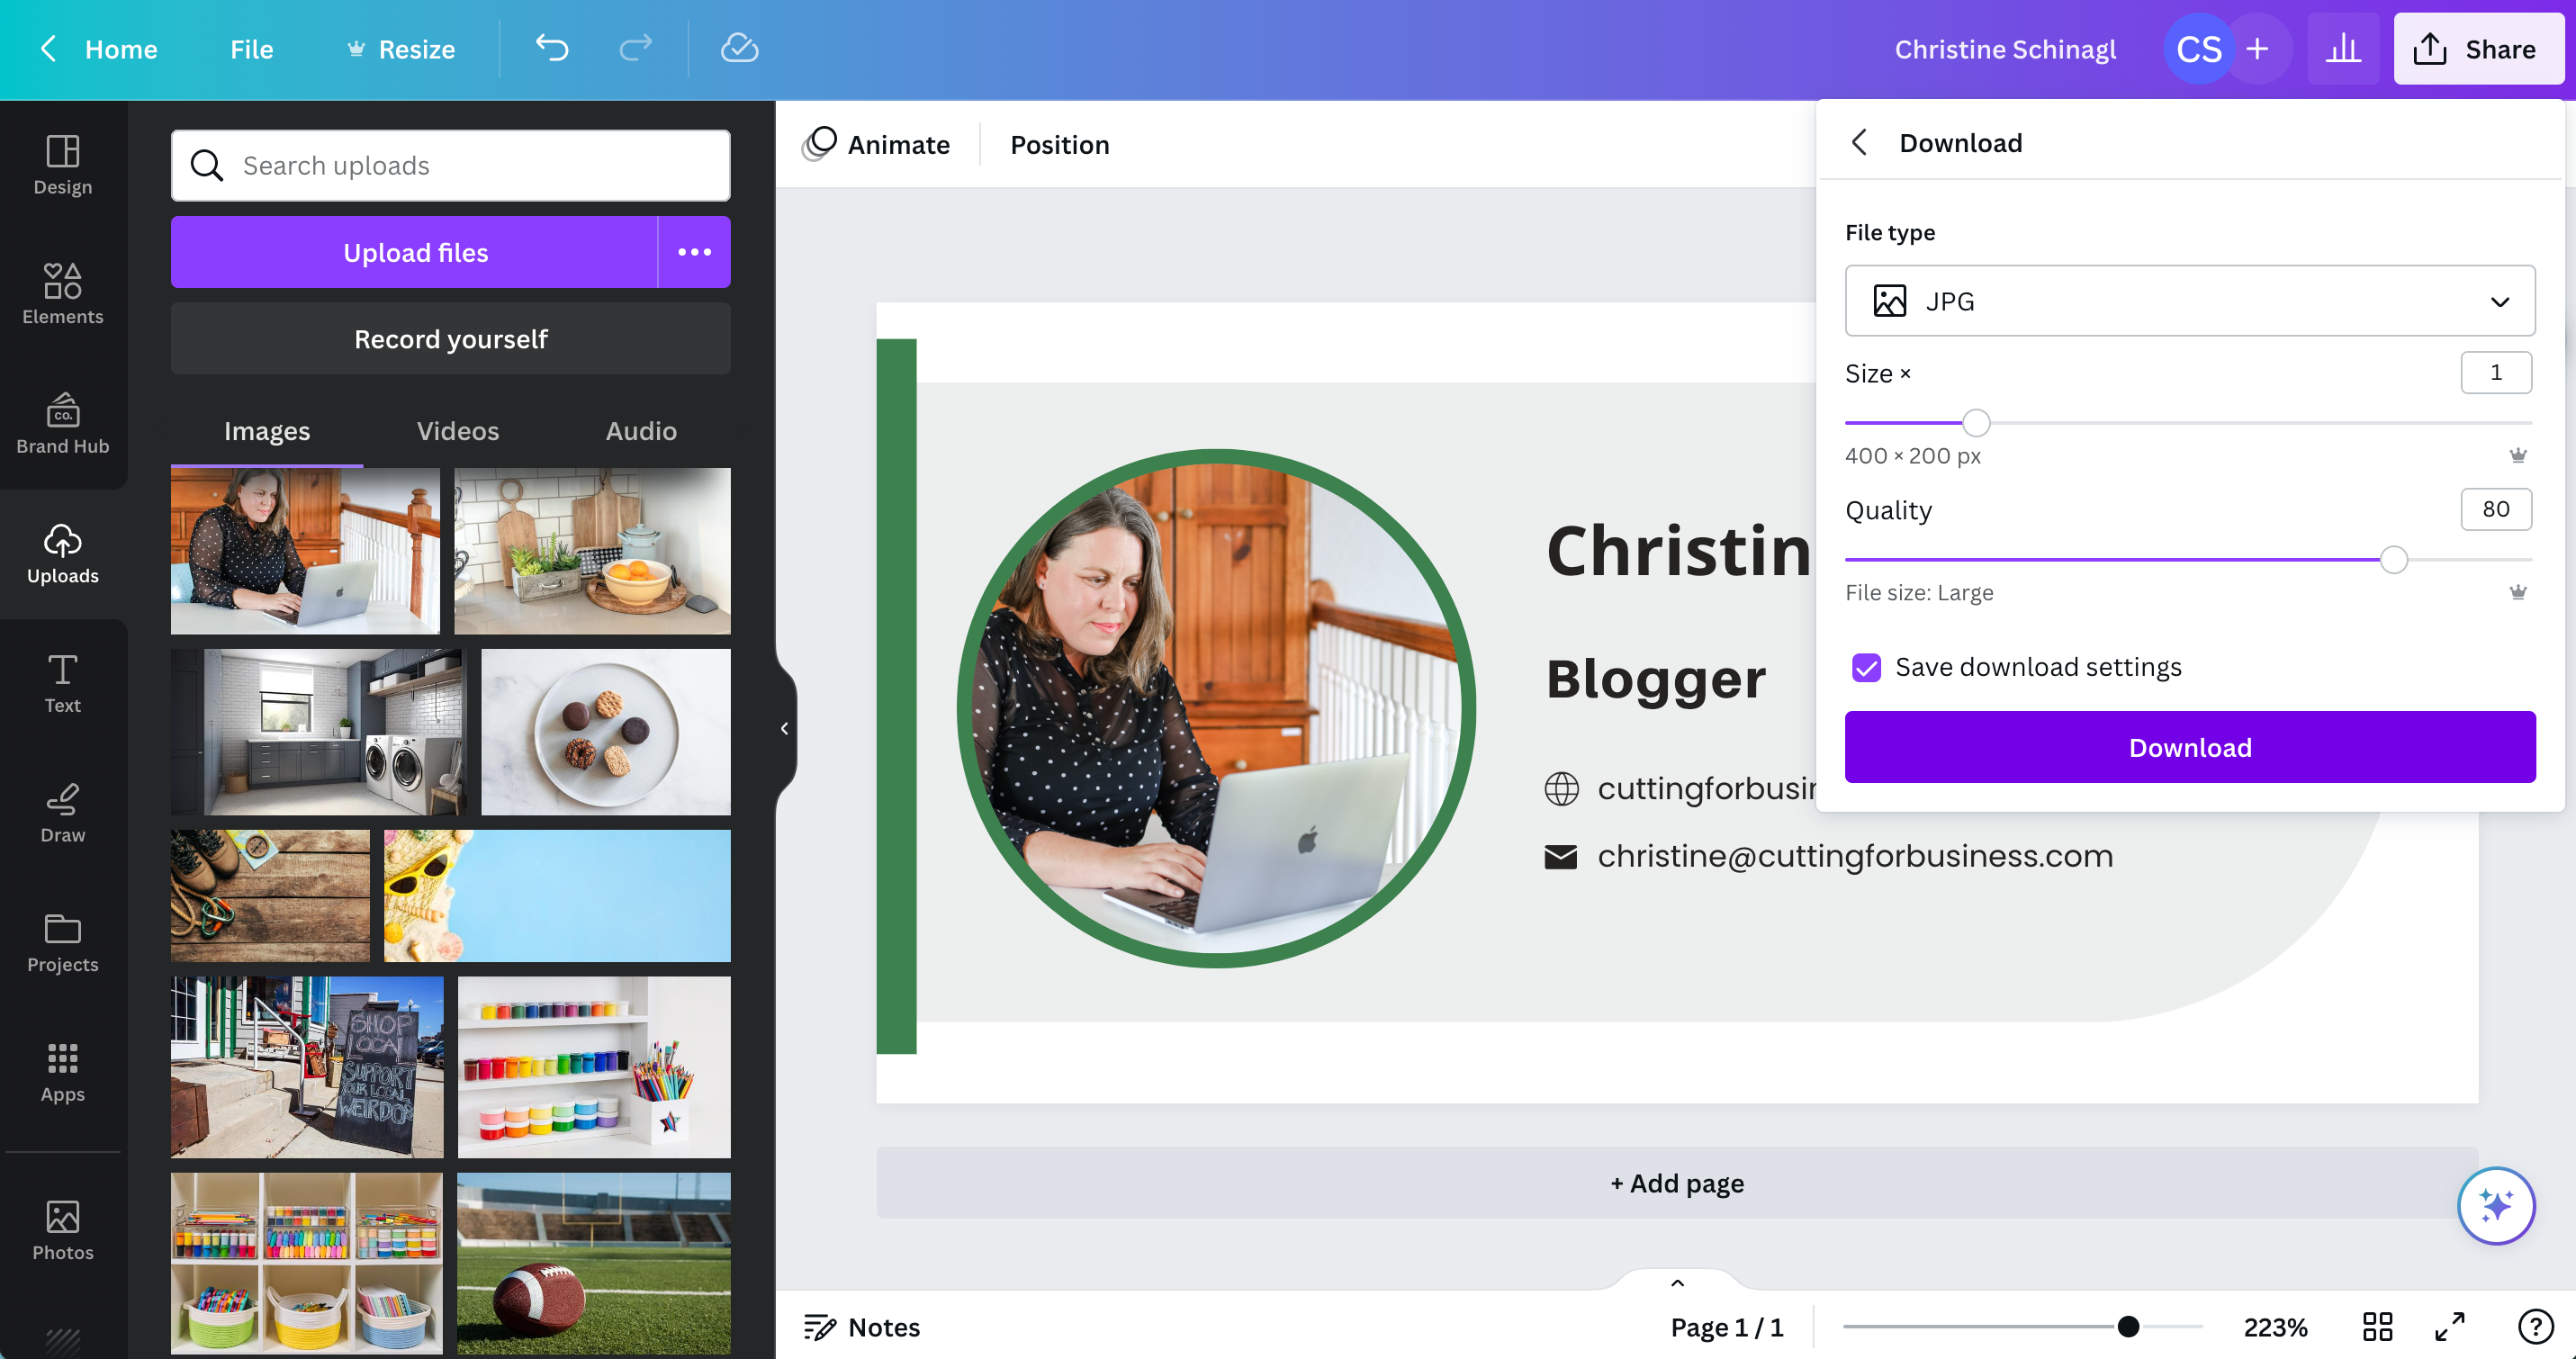
    Screenshot from canva.com.
    Screenshot from canva.com.

    How to Install Your Email Signature in Gmail

    After you’ve created an downloaded your email signature in Canva, head to your Gmail account. Click the gear icon at the top, then ‘See All Settings’.

    Scroll down to ‘Signature’, then click the ‘Create New’ button.
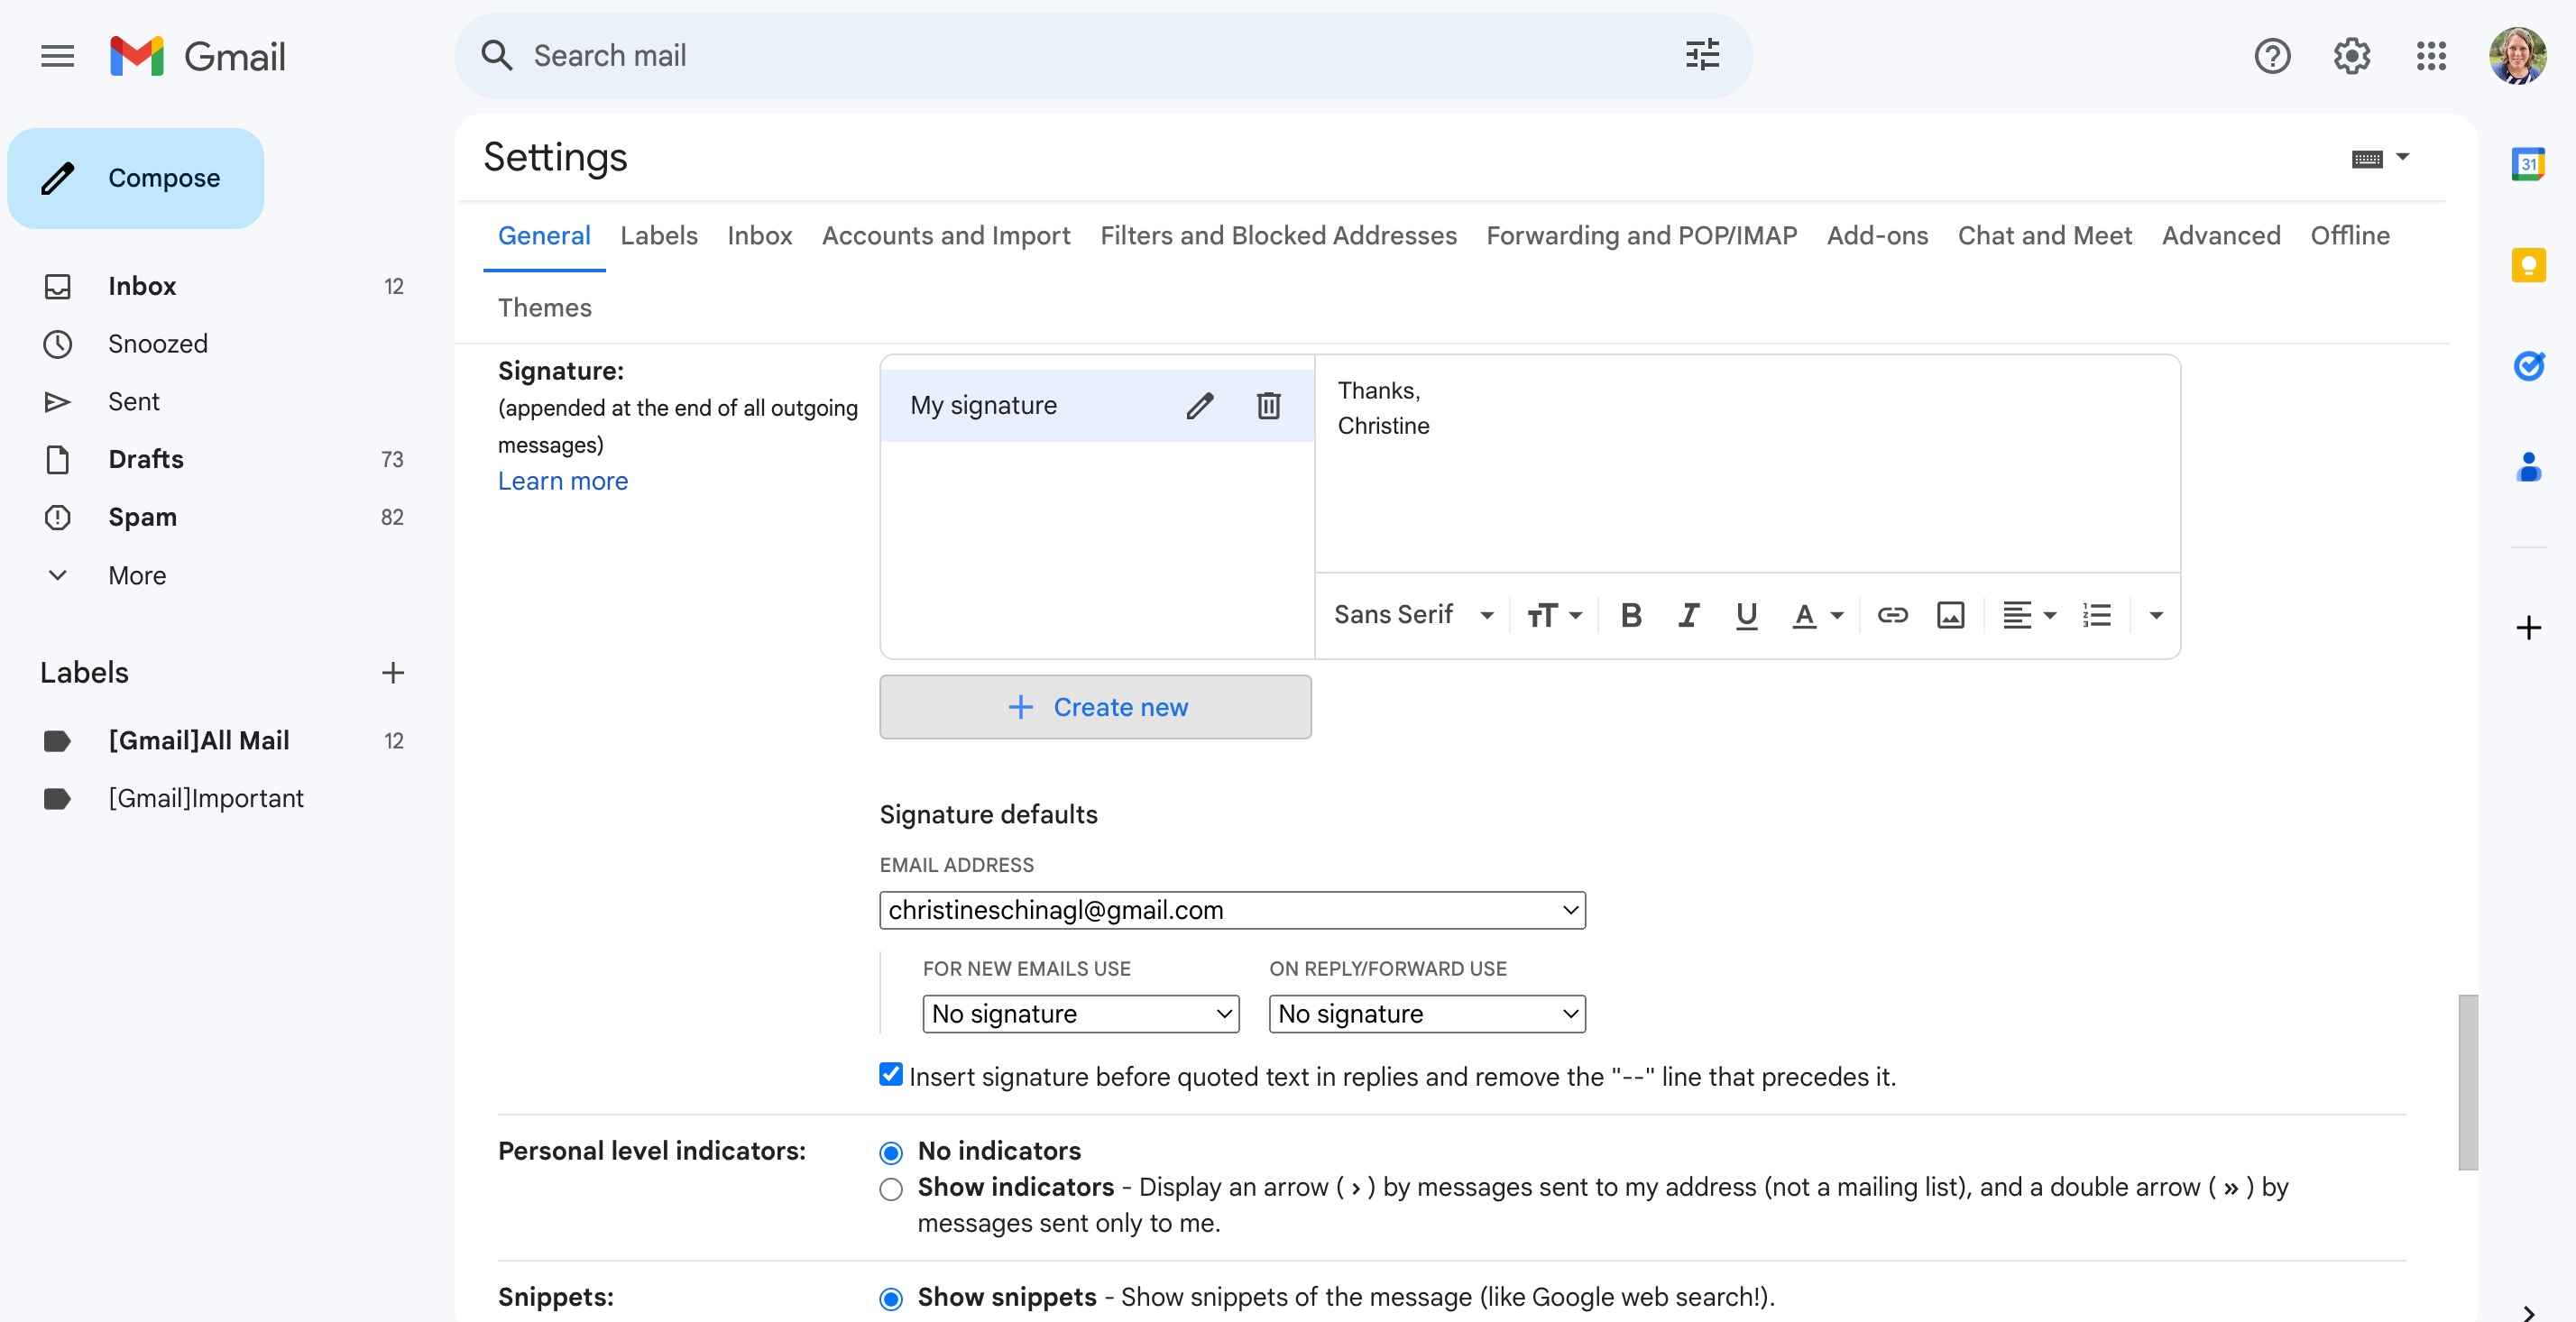
    Screenshot from gmail.com.

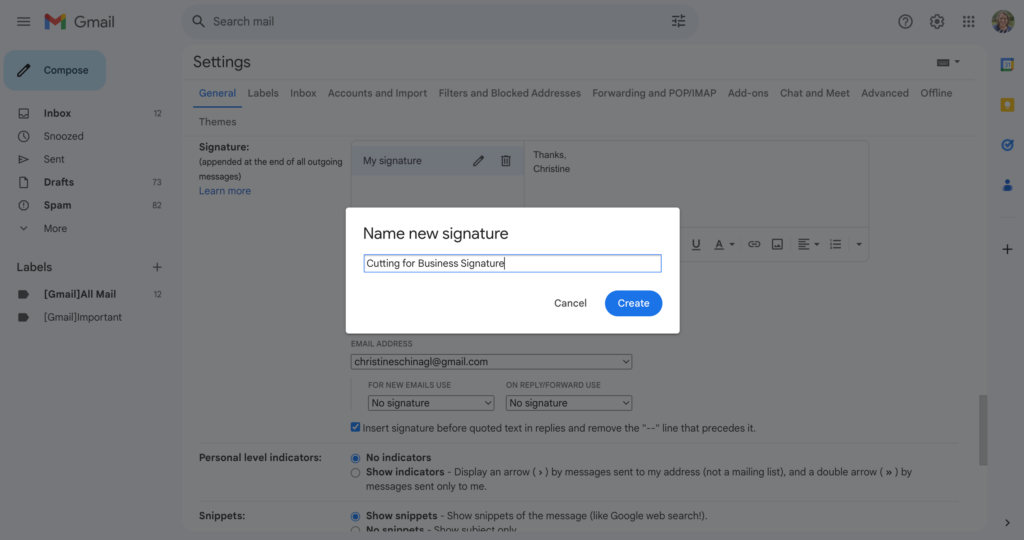
    Give your signature a name.

    Screenshot from gmail.com.

    Click the photo button, then add your signature from Canva.
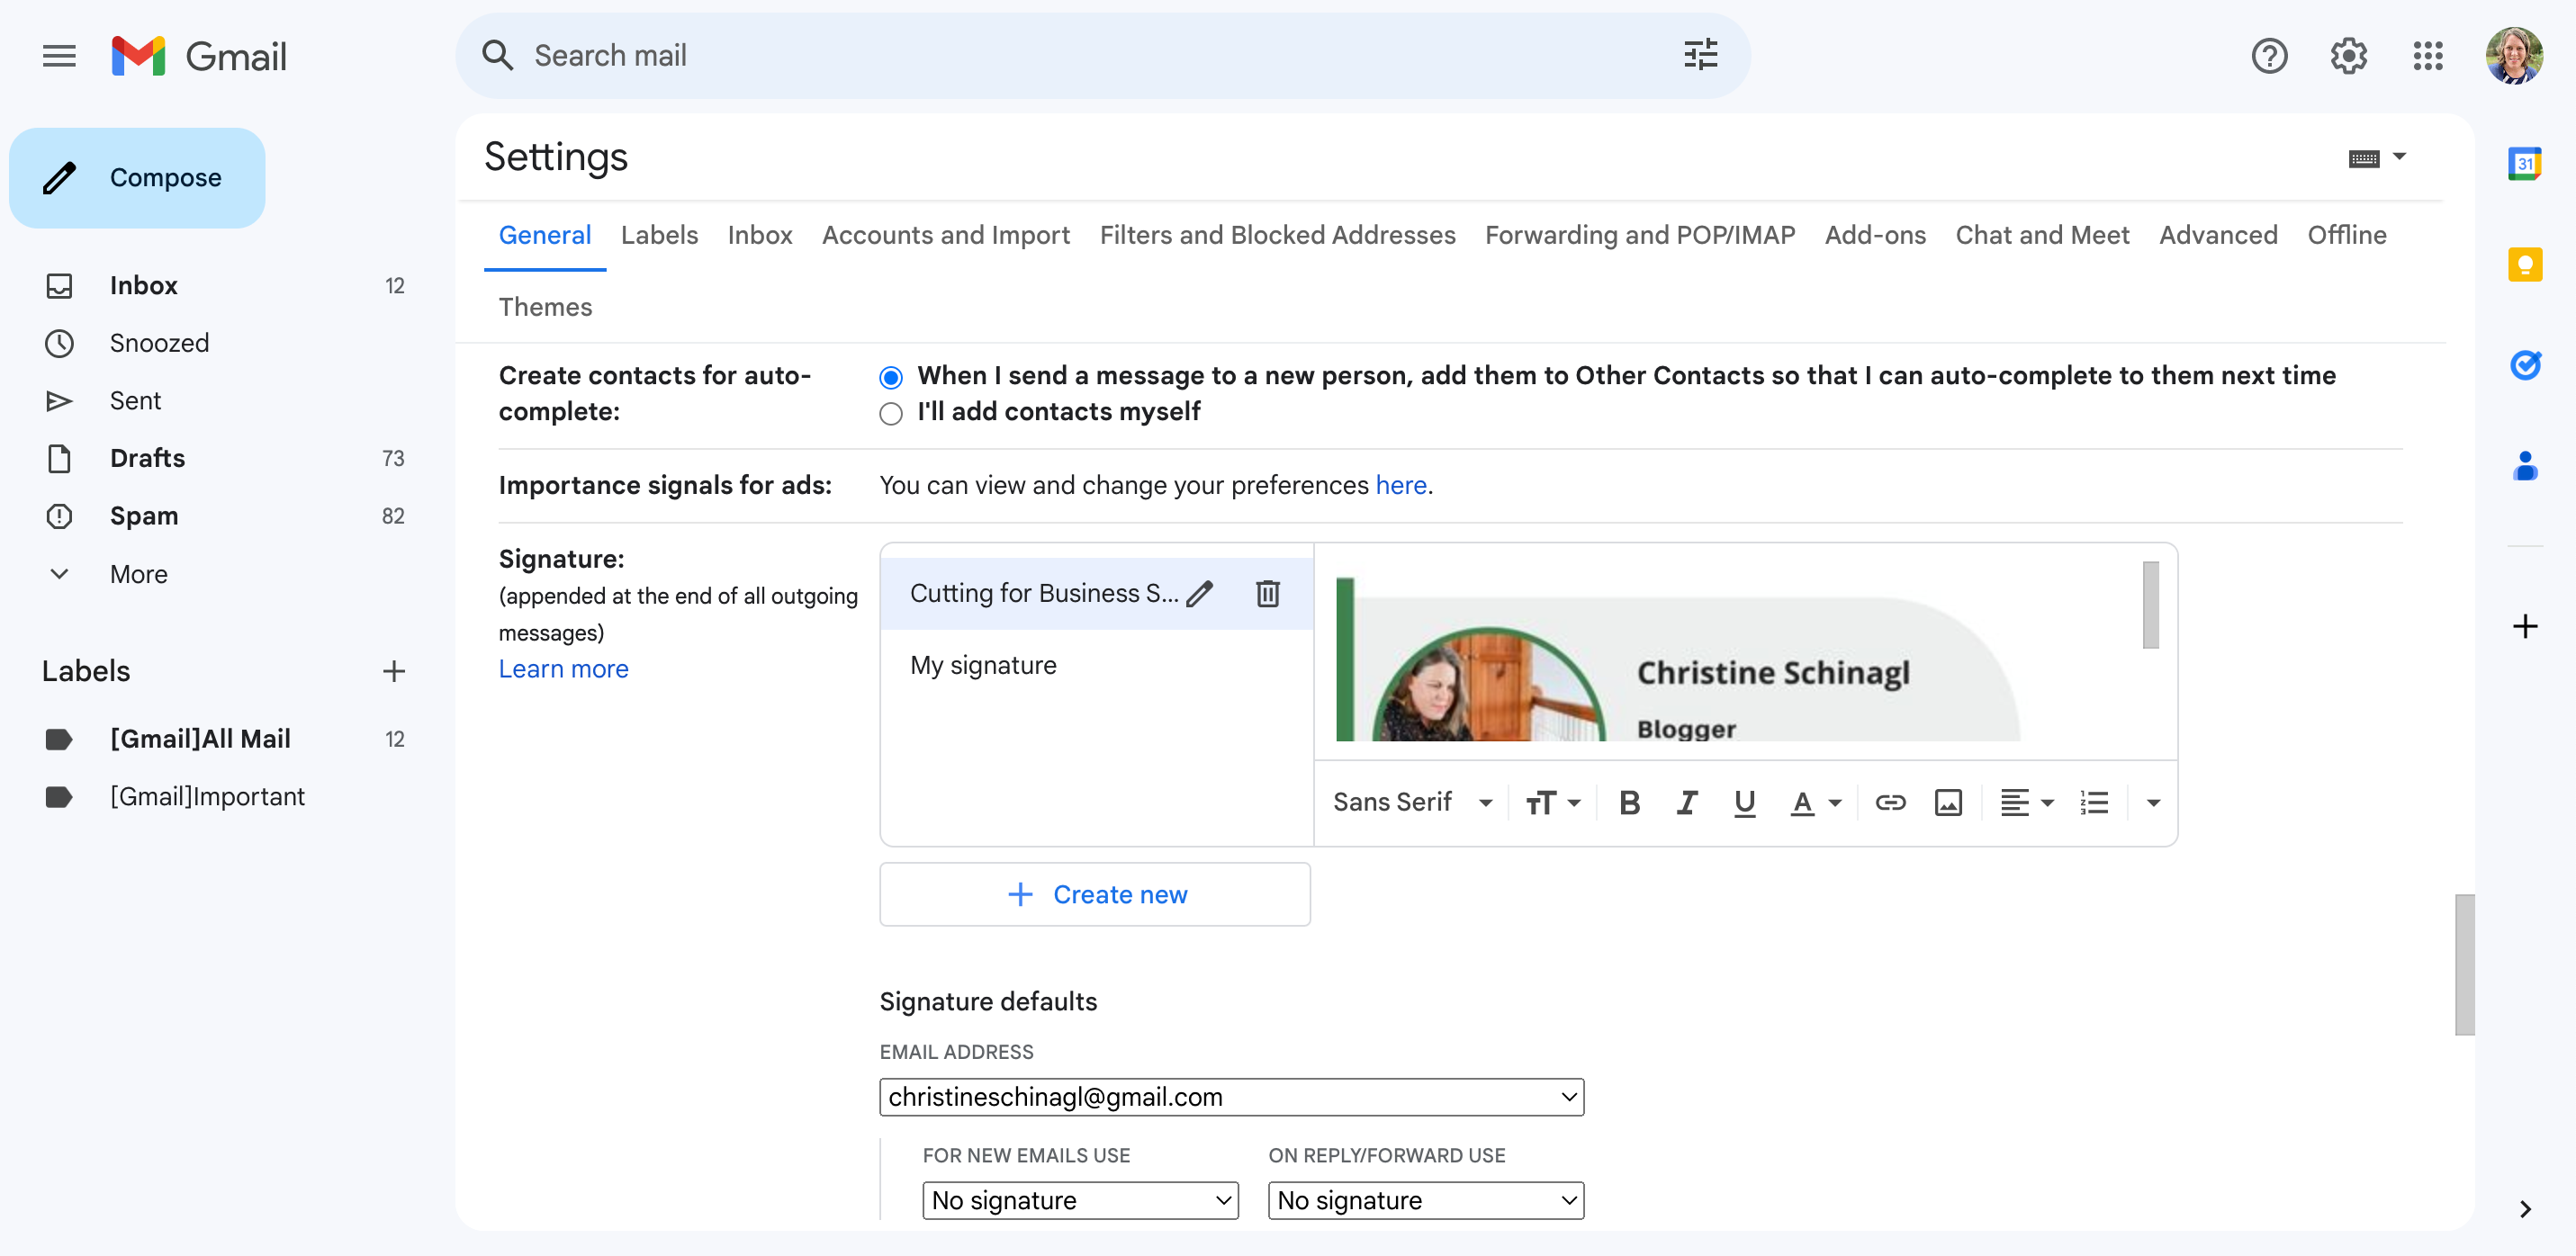
    Screenshot from gmail.com.

    Scroll down and click the ‘Save’ button to save your email signature.

    Don’t use Gmail? If you can’t figure out how to add your signature to your email program, I’m sure there is a tutorial online. Search Google for “Name of your email provider + how to add signature”.

    Get Your Own Domain

    While I prefer to use Gmail to manage my emails, I still use a branded email address ‘christine@cuttingforbusiness.com’. Learn why you need your own domain name.
  • Four Ways to Backup Your Silhouette or Cricut Cut Files

    Imagine this: It’s Monday morning and you just sat down in your craft workspace to pump out orders for your Silhouette or Cricut small business. You turn on your computer and nothing happens – your computer is dead. No warning signs – just completely and entirely dead. You haul your computer off to the nearest computer repair shop and the technician tells you that it cannot be repaired or restored. You break down and purchase a brand new computer. All of your cut files are now gone – including the ones you use in your business.

    If you don’t think that one will happen, what about all the online horror stories of updating to the newest version of software only to realize that all of your previously saved designs are gone? In a panic, you contact the company and they say they can’t restore them!

    In either case, if you had backed up your files, you wouldn’t have an issue.

    Let’s face it, good business owners have a backup plan. Today, I’m sharing four ways to back up your Silhouette or Cricut files.

    4 Ways to Back Up Your Cut Files

    1. Buy an external drive. A lot of people store all of their cut files on an external hard drive. Personally, I don’t like this idea because external drives can fail just as a computer does.
    2. Purchase a service that backs up your files daily. There are many, many services that will scan and backup all your files to their servers. In the event that your computer fails, you just log in and download everything from their server. The downfall to this is that you have to pay a monthly subscription fee. (Examples: Carbonite, IDrive, or Crashplan.)
    3. Use Silhouette’s Cloud or store your files in Design Space. In my opinion, Silhouette Cloud has had some issues – and Design Space can be quite buggy. For that reason, I simply don’t store my designs in either.
    4. So, what do I do? I use a cloud storage program and store all of my cut files and font download folders (actually, I store everything from my computer in it). There’s another benefit to using a cloud, too: I can access all of my files from my phone, tablet, or any other computer. (Examples: Google Drive, iCloud, Dropbox.) Most of these start free, and then have a fee as you use more space.

    No matter which method you choose, please choose one and regularly use it. I can’t tell you how many emails I receive where a Silhouette or Cricut seller has recently lost all their files and is seeking advice on how to get back up and running.

    How do you backup your Silhouette or Cricut cut files? Let me know in the comments.

    Did you find this information helpful? Save the image below to Pinterest and spread the word.

    Four Ways to Backup Your Silhouette or Cricut Cut Files - Portrait or Cameo and Explore or Maker - by cuttingforbusiness.com

  • How Efficient is Your Craft Space?

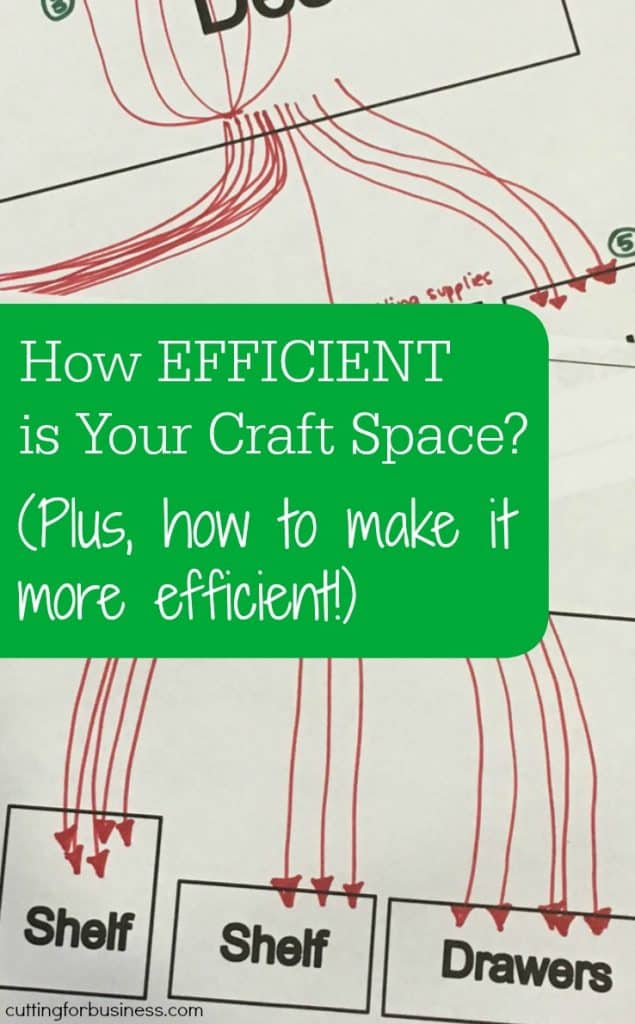
    An easy way to increase the time you have in your Silhouette Cameo or Cricut small business is to improve the efficiency in your workspace. Recently, I noticed while working on projects, I kept having to get up from my project to retrieve a supply, my camera, etc. So, I set out to fix the lack of efficiency in my workspace. Today, I am challenging you to do the same!

    How to Improve the Efficiency in Your Craft Workspace

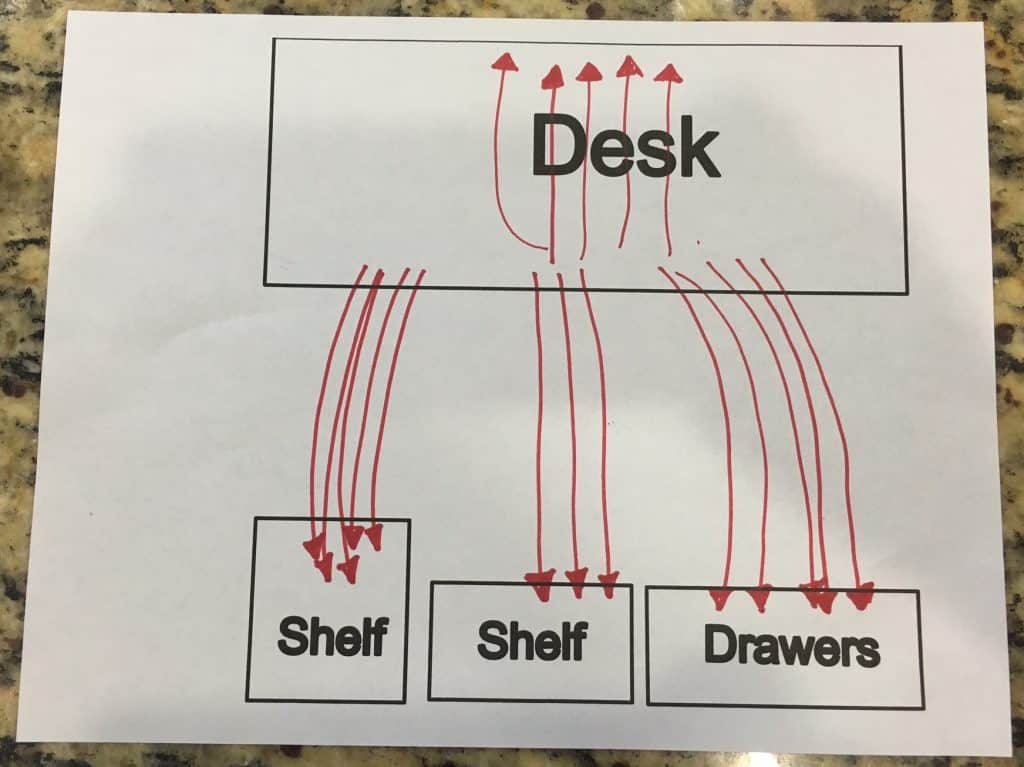
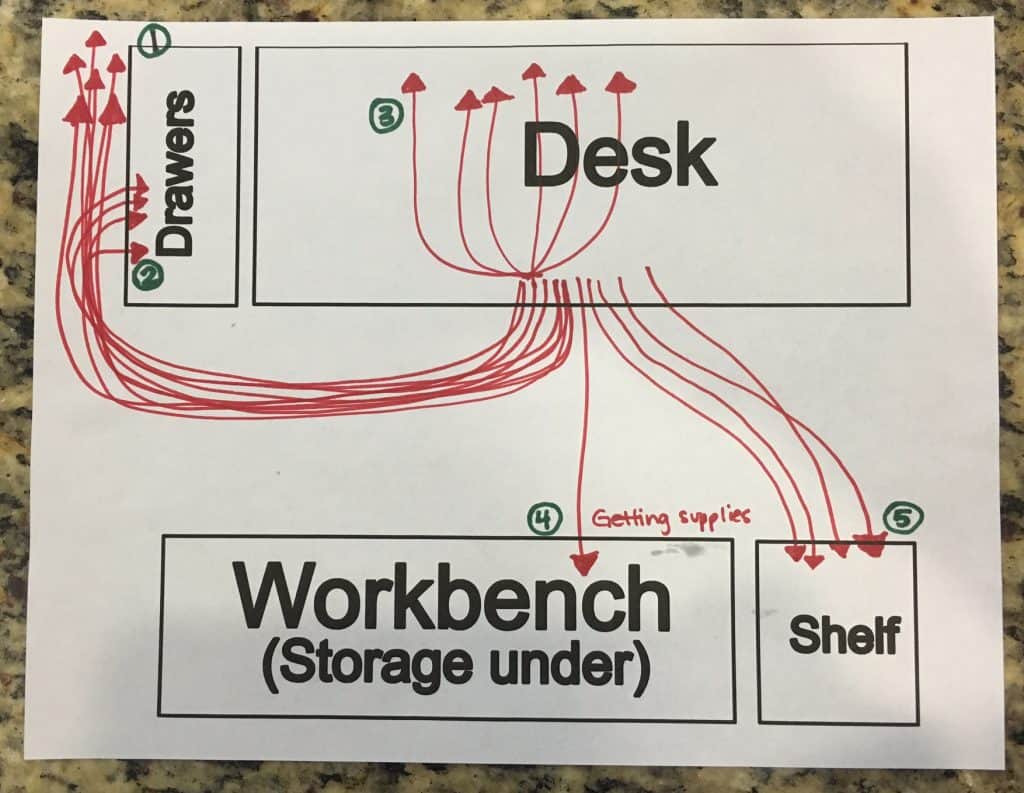
    1. Draw a map of your workspace.
    2. When working on your next projects, draw a line every time you get up to get a supply or reach for something.
    3. Evaluate the lines and see which ones you can eliminate either by moving supplies you use frequently or rearranging furniture.

    Let’s take a look at my efficiency map.
    To make it easier to explain, I’ve numbered each section.

    How Efficient is Your Craft Space? Great for Silhouette Cameo or Cricut Crafters. By cuttingforbusiness.com.

    1. These arrows denote trips to a closet where I store some craft supplies (mostly vinyl).
    2. A short chest of drawers where I store blank products. My heat press also sits on top of it. I have a tiny craft space and have to walk around the chest to use the heat press.
    3. The arrows above my desk refer to hanging buckets I have mounted on the wall for small supplies like markers and blades.
    4. In addition to my desk, I have a second workspace in my craft area. I rarely used the workbench top. Instead, I only use the storage below it.
    5. This shelf houses all of my machines.

    What I learned from my efficiency map:

    1. I really need to move all the craft supplies into my craft room.
    2. It’s a pain to walk around the drawers to use the heat press.
    3. I don’t really need the second workspace in my craft space because it is only being used a storage.

    What I did next and my improved workflow:

    I moved the workbench out of my space, turned the drawers, and added an additional shelf. You do not have to make a second map, but I did to show you how my efficiency improved with a few simple changes. Look at my improved workflow:

    fullsizerender-10

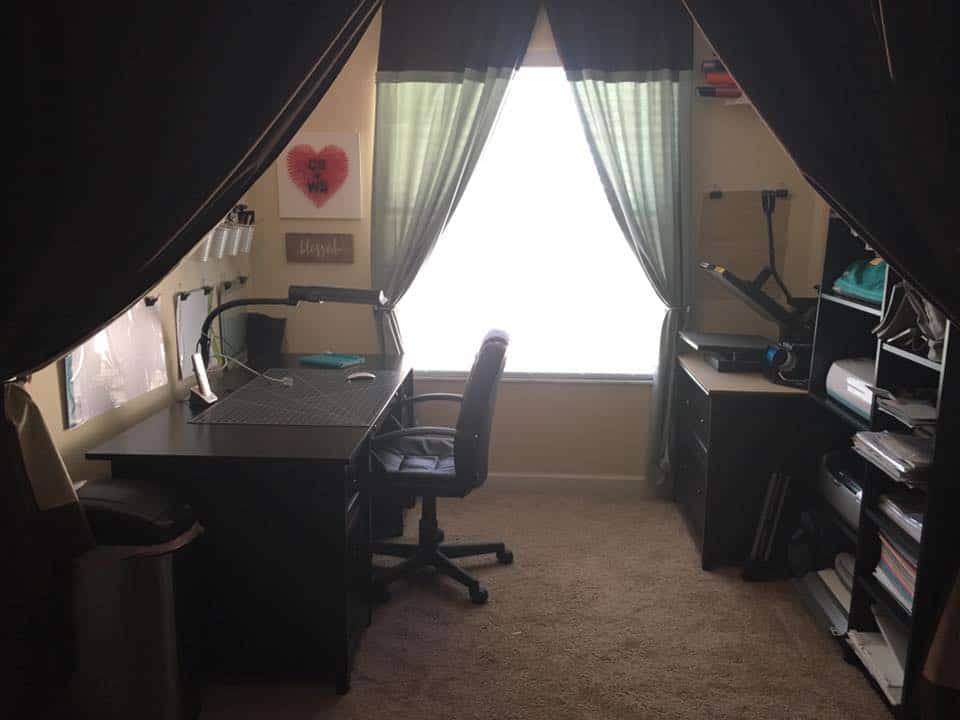
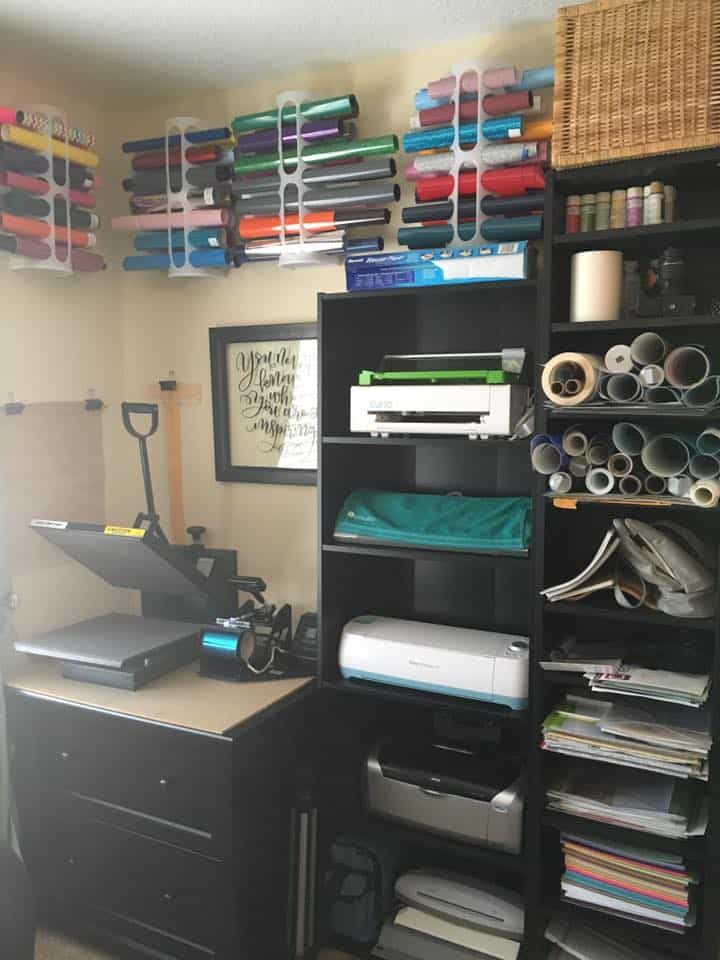
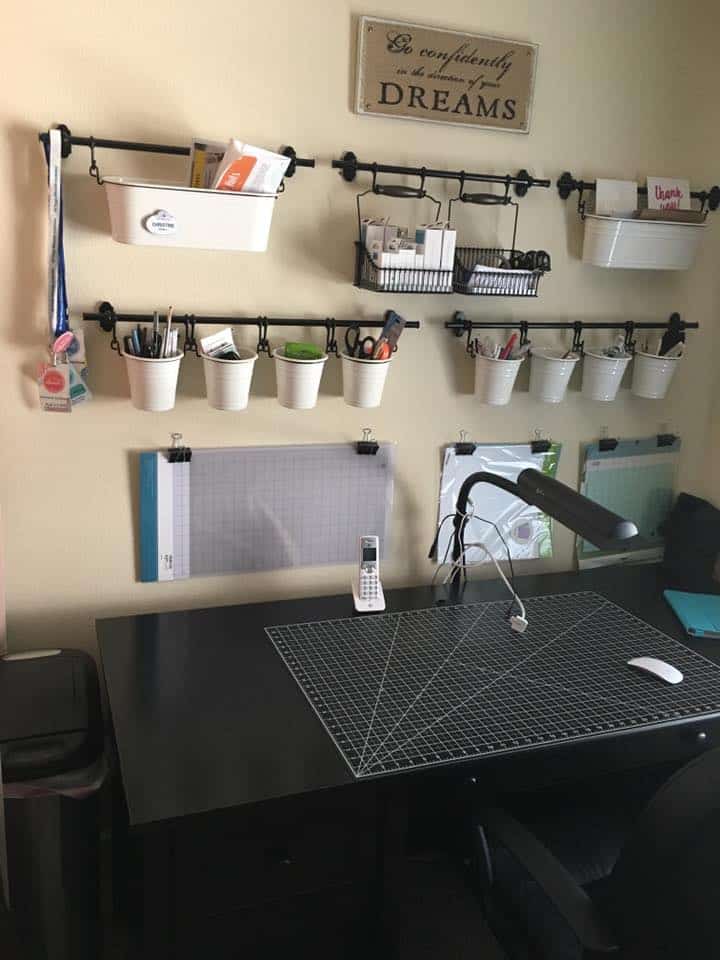
    Need inspiration for a teeny tiny craft space? As professional organizers pointed out in this post, go vertical. Here’s a peek at my craft space:

    How Efficient is Your Craft Space? Great for Silhouette Cameo or Cricut Crafters. By cuttingforbusiness.com.

    How Efficient is Your Craft Space? Great for Silhouette Cameo or Cricut Crafters. By cuttingforbusiness.com.

    How Efficient is Your Craft Space? Great for Silhouette Cameo or Cricut Crafters. By cuttingforbusiness.com.

    Now, it’s your turn to look at the efficiency in your workspace.

    Save this post to Pinterest before you start drawing your map:

    How Efficient is Your Craft Space? Great for Silhouette Cameo or Cricut Crafters. By cuttingforbusiness.com.

  • How Much to Pay Yourself in Your Craft Business

    I’ve talked pricing on the blog before. First, I outlined how to price your craft items for sale. Then, I talked about pricing products when your supplies were on sale. There’s no right or wrong way to determine how much to pay yourself – it’s completely subjective. Today, let’s look at how much to pay yourself.

    Two Ways to Guide Yourself

    1. If you recently worked outside of your home, you should pay yourself at least the equivalent to what you previously paid. There are some limitations to using this method. For example, if you previously made $120,000 working in a high demand job you likely won’t be able to set your prices competitively enough in the craft market.
    2. You should pay yourself at least minimum wage for your state. Here in Florida, that means at least $8.05. In contrast, minimum wage in California is $10.00 an hour; while minimum wage in New York is $9.00. As your skills increase and your products get more technically difficult – you’ll raise your hourly wage.

    It’s just that simple! Remember, your business won’t get far if you don’t pay yourself enough. Underpaid working from home crafters are likely to get burned out faster, too.

    How much do you pay yourself per hour? Share in the comments.

    Save this post to Pinterest:

    How Much to Pay Yourself in Your Craft Business - Great for Silhouette Cameo or Cricut Small Business Owners - by cuttingforbusiness.com

  • Foil on Apparel: Tutorial – Chemica Metallic

    Yesterday I showed you how to use Siser’s Adhesive with Crown Leaf Foil for a metallic look on apparel. Today, I’m showing you another way to get the foil look. This time, we are looking at Chemica’s Metallic heat transfer material.

    Here’s how it works:

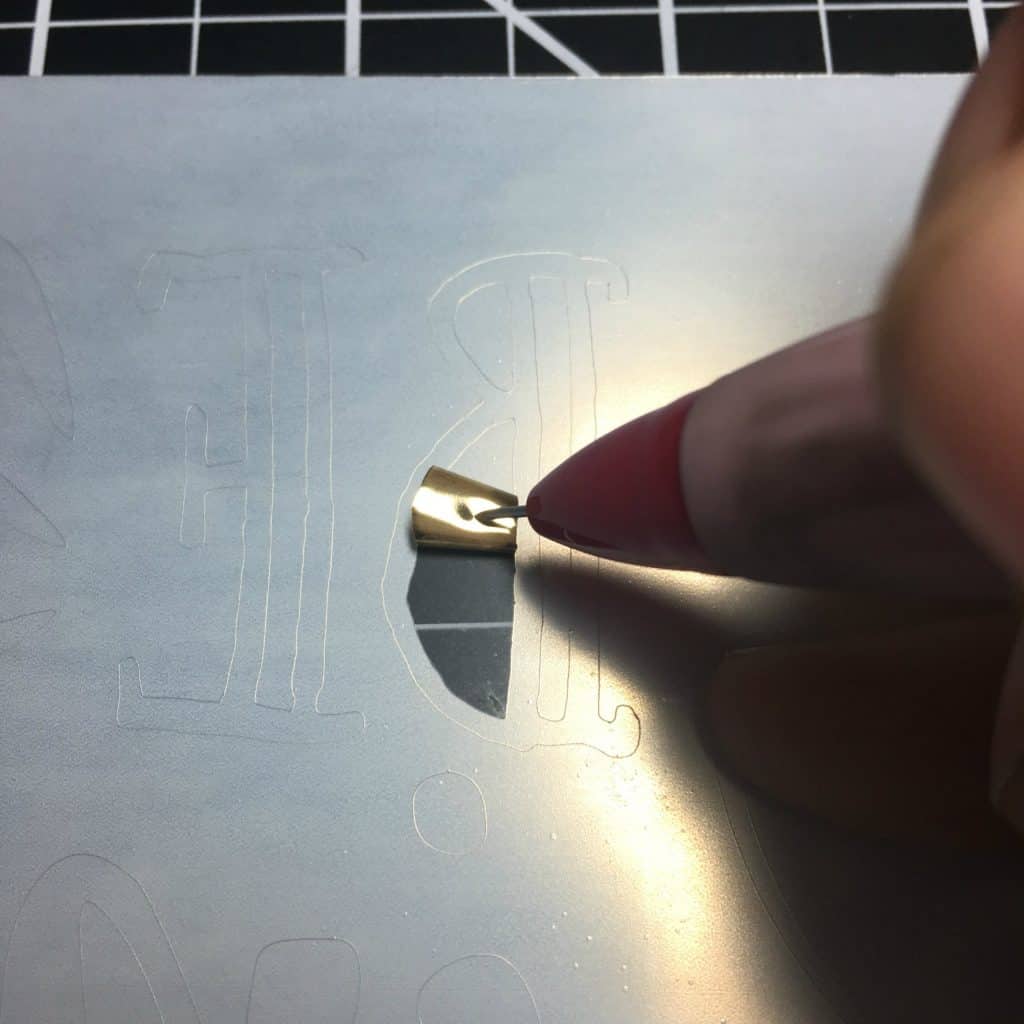
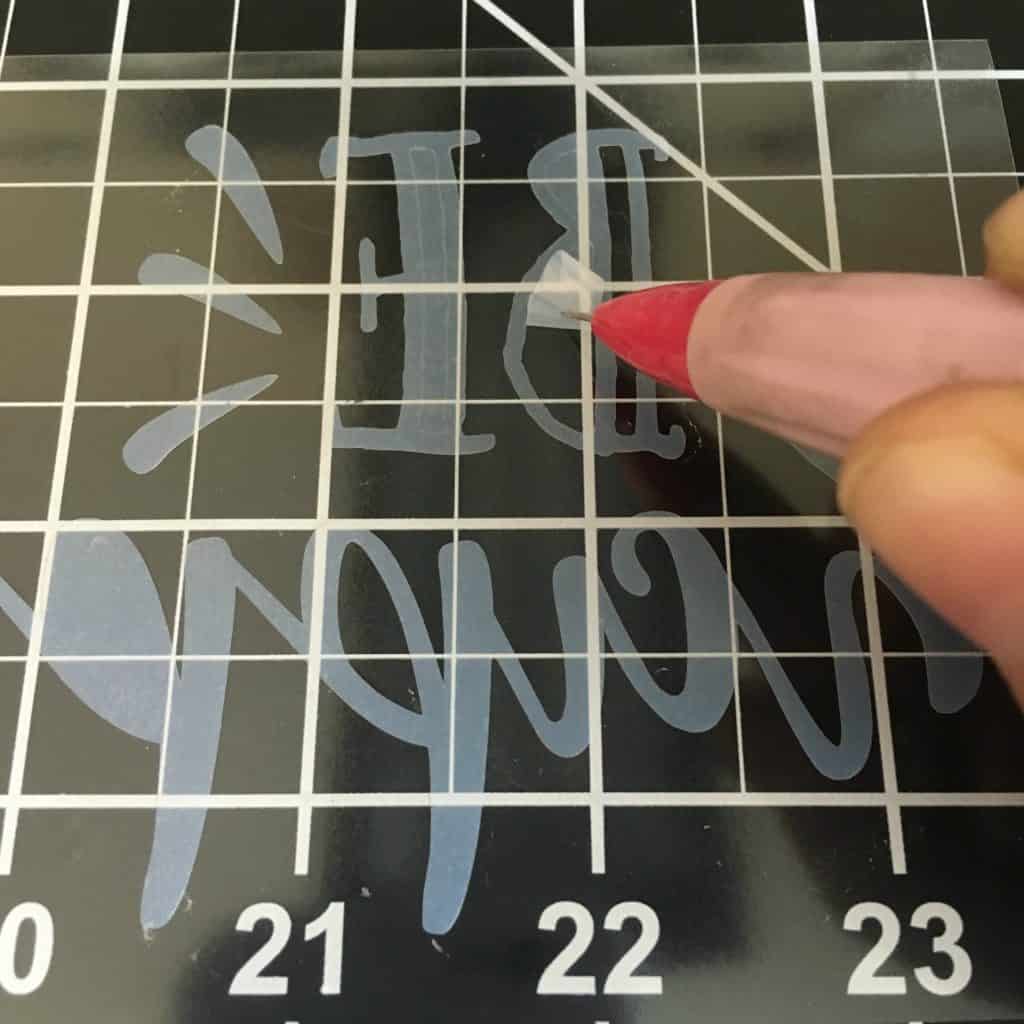
    1. Create your design, mirror it, cut it on your Silhouette or Cricut. You’ll weed it like any other heat transfer vinyl. I found the material to be easy to both cut and weed. Foil on Apparel: Tutorial - Chemica Metallic for Silhouette Cameo or Cricut Crafters - by cuttingforbusiness.com
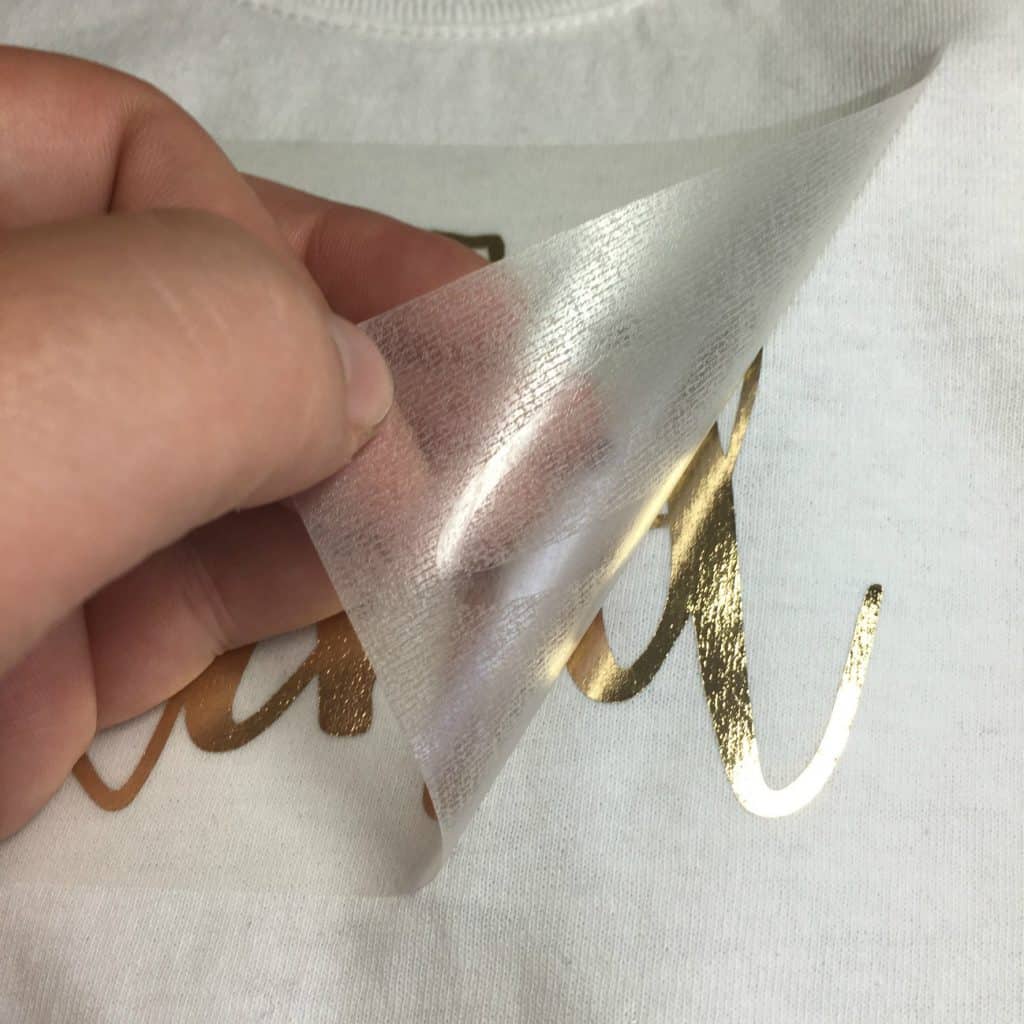
    2. Align your design and press on your heat press. (Wondering if you really need a heat press? See this post.) I pressed with medium pressure at 290 degrees for 15 seconds. You’ll peel if off when it is warm or cold. Foil on Apparel: Tutorial - Chemica Metallic for Silhouette Cameo or Cricut Crafters - by cuttingforbusiness.com
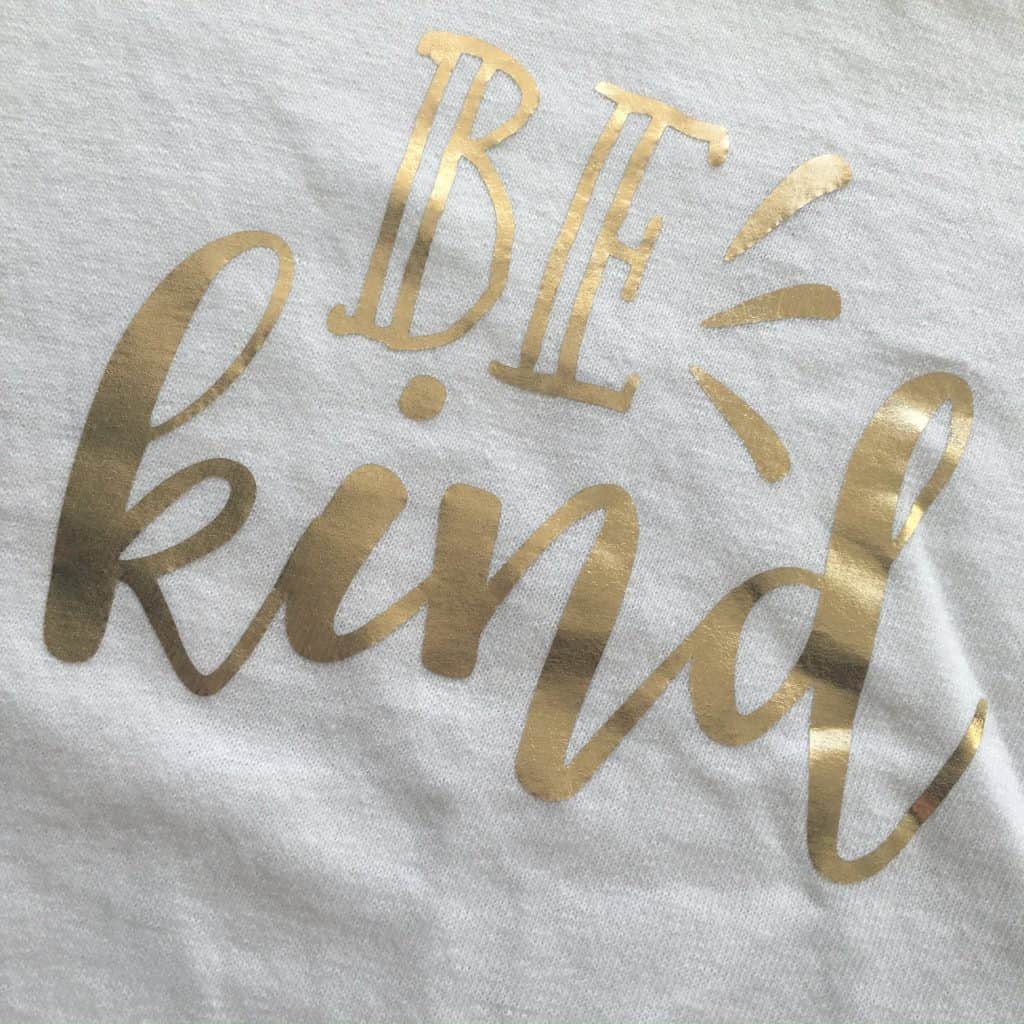
    3. I’m sure you’ve noticed that applying the Chemica Metallic is the same as most other heat transfer material. But, does the result compare with the more traditional foiling method? Here’s the finished product: Foil on Apparel: Tutorial - Chemica Metallic for Silhouette Cameo or Cricut Crafters - by cuttingforbusiness.com
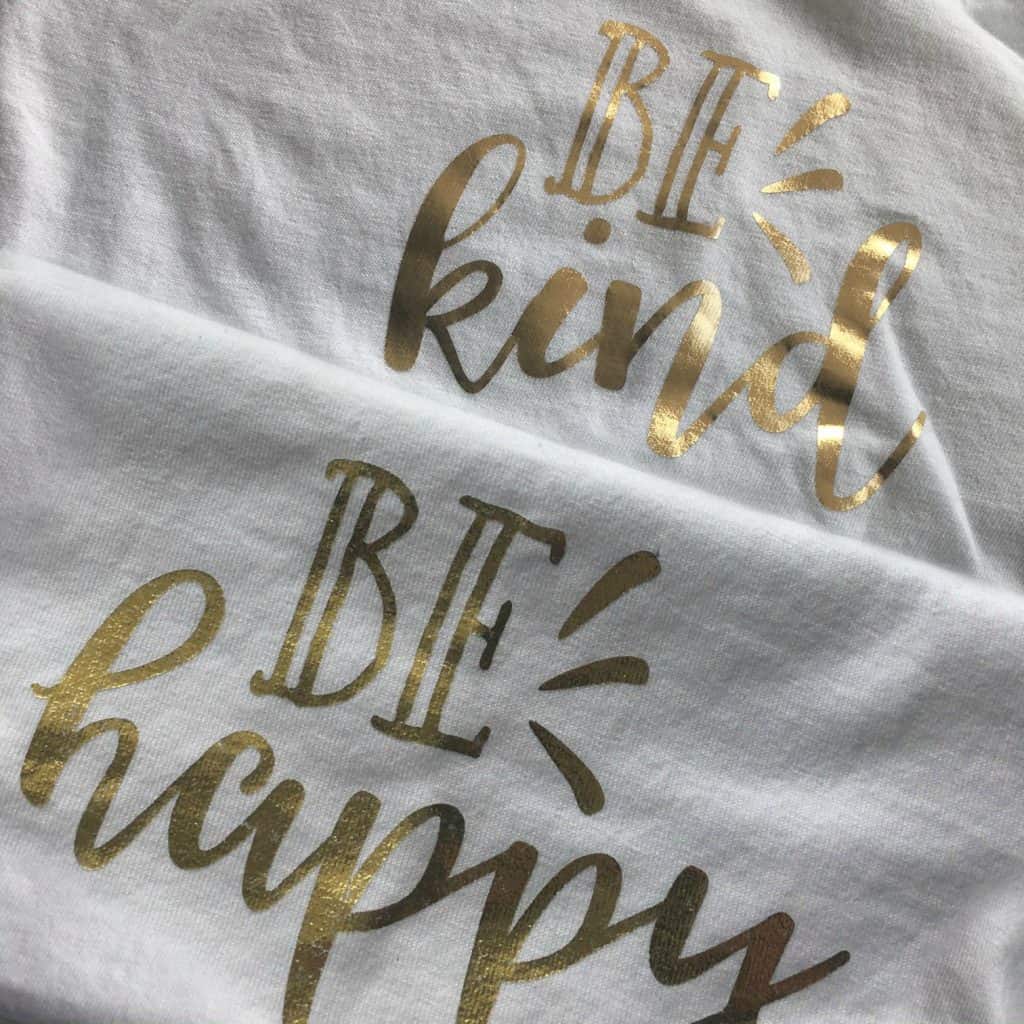
    4. Let’s look the the two methods next to each other. Be happy is Siser Adhesive with Crown Leaf Foil; Be kind is Chemica Metallic in Super Gold. I prefer the one step application of Chemica, but it’s your turn to decide what is best for you and your customers.Foil on Apparel: Tutorial - Chemica Metallic for Silhouette Cameo or Cricut Crafters - by cuttingforbusiness.com

    Before you go, if you’d like the Be Kind file above – download it here. Feel free to use it for commercial use, no credit to me required. Then, share this post on Pinterest:

    Foil on Apparel: Tutorial - Chemica Metallic for Silhouette Cameo or Cricut Crafters - by cuttingforbusiness.com


  • Foil on Apparel: Tutorial – Siser Adhesive & Crown Leaf Foil

    There’s no argument that foil and metallics are trendy right now! One aspect of owning your own Silhouette or Cricut based business is choosing what products are best for you and for your customers. Today and tomorrow, I’ll show you two different products to add foil (or the foil look) to your Silhouette or Cricut small business.

    First, let’s look at one of Siser’s newer products – adhesive heat transfer material.

    Here’s how it works:

    1. Once you’ve created your design, mirror it and cut out the adhesive heat transfer material on your Silhouette or Cricut. You’ll then weed it as you would with any other heat transfer vinyl product. I found that it weeds easily. Foil on Apparel: Tutorial - Siser Easyweed & Crown Leaf Foil by cuttingforbusiness.com
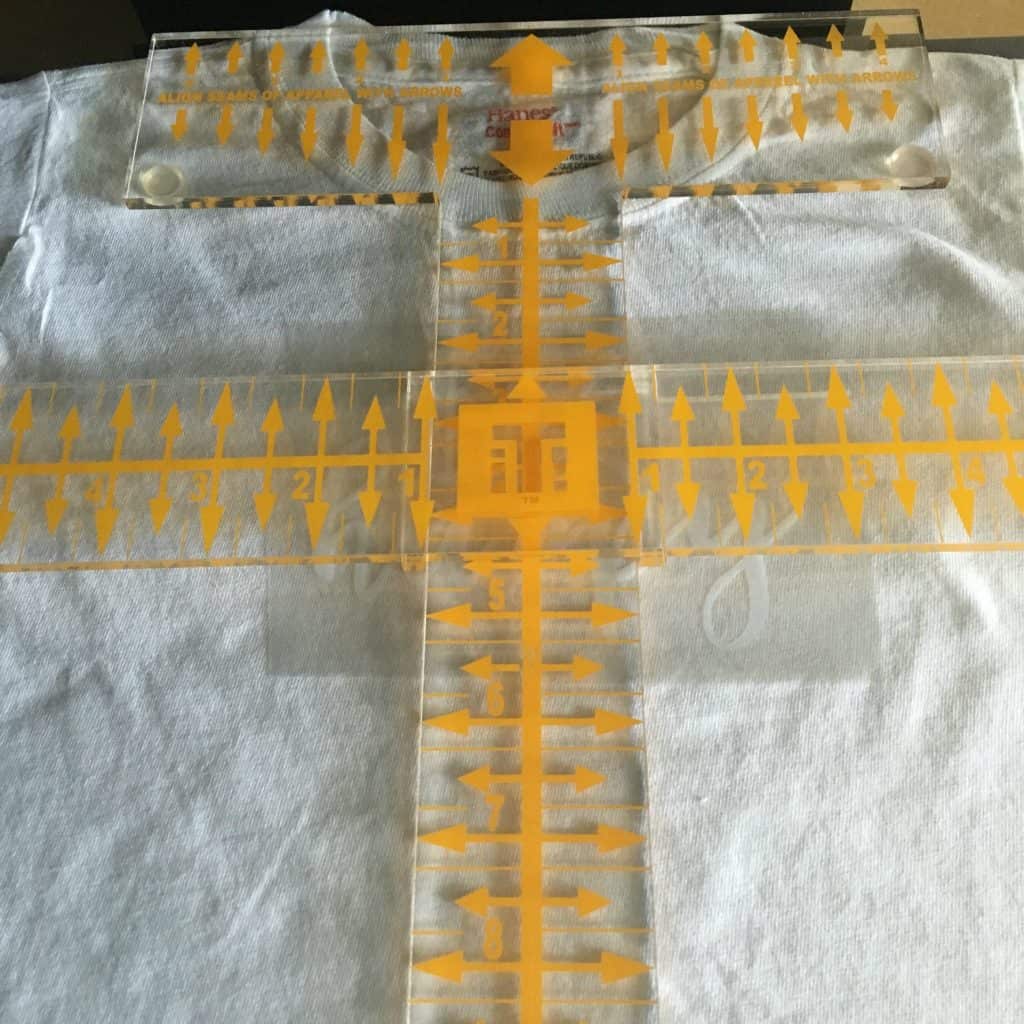
    2. Line up the adhesive vinyl and press it onto your apparel with your heat press. I used medium pressure, and pressed for about 20 seconds at 305 degrees. (Of course, I used a Tee Square It to align everything!) Foil on Apparel: Tutorial - Siser Easyweed & Crown Leaf Foil by cuttingforbusiness.com
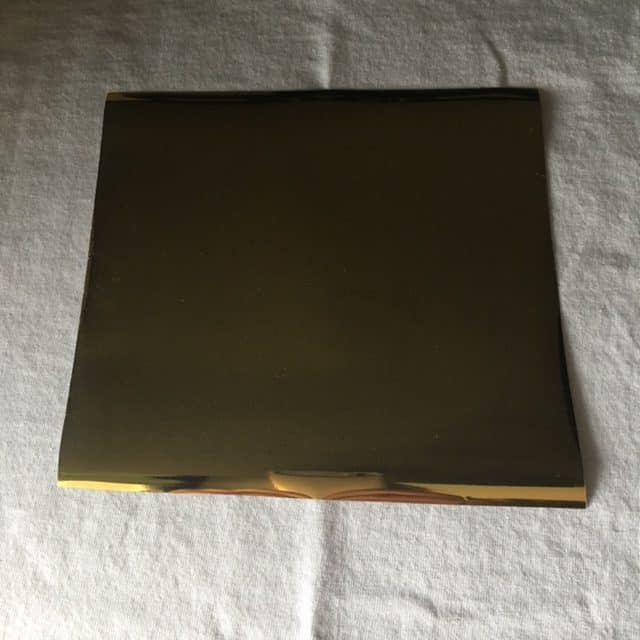
    3. Now, you’ll take your foil (in this tutorial I used Crown Leaf Foil I purchased here) on top of the Siser Adhesive. You’ll place it foil up and press with medium pressure for 15 seconds at 305 degrees on your heat press. Foil on Apparel: Tutorial - Siser Easyweed & Crown Leaf Foil by cuttingforbusiness.com
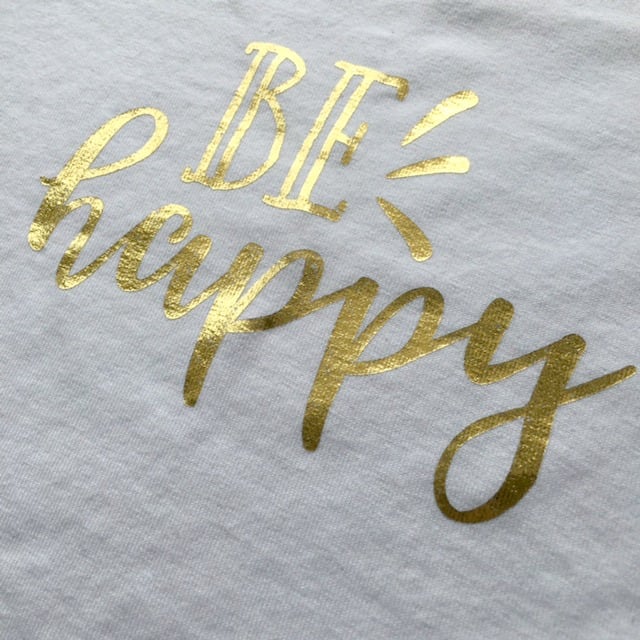
    4. Last, peel the foil off once it is cooled. Here’s the finished product shown below.
      Foil on Apparel: Tutorial - Siser Easyweed & Crown Leaf Foil by cuttingforbusiness.com

    Easy, right? Continue on to the next post where I show you another way to achieve the foil look with your Silhouette or Cricut. Then, you can make an informed decision about which product is best for you and your customers.

    Before you go, if you’d like the Be Happy file above – download it here. Feel free to use it for commercial use, no credit to me required. Then, share this post on Pinterest:

    Foil on Apparel for Silhouette Cameo or Cricut Crafters: Tutorial - Siser Easyweed & Crown Leaf Foil by cuttingforbusiness.com

  • Use Silhouette Studio to Create Home Decor and Jewelry with Sublimation

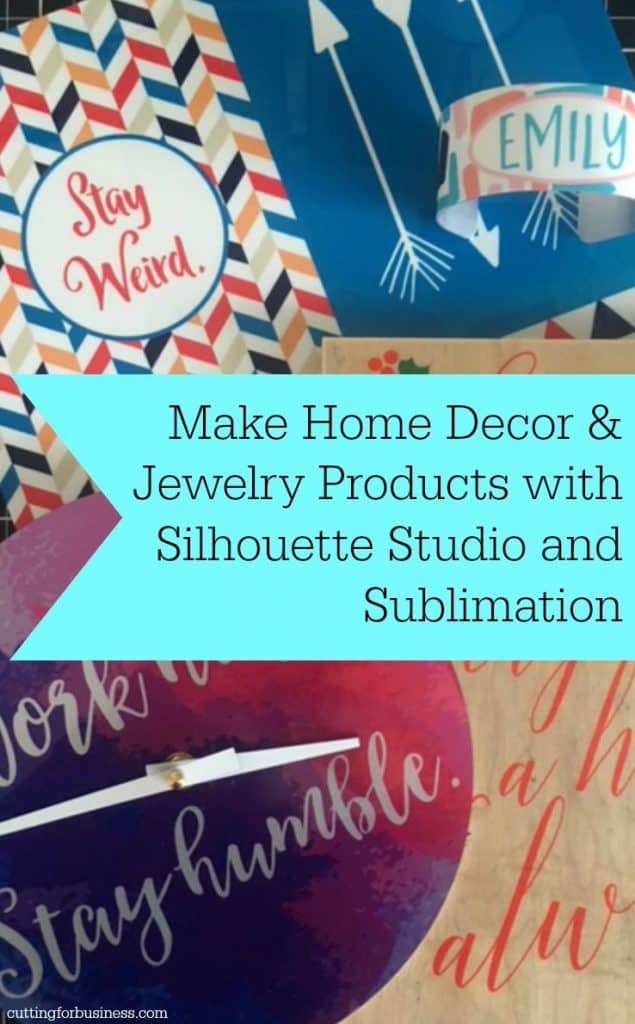
    A few months back, I shared a beginner’s series on sublimation. In some cases, I think that sublimation is a better choice than vinyl. For example: When you use sublimation on coffee mugs, the design becomes permanent and won’t wash off – unlike vinyl. (Learn how to do sublimation on mugs here.) Today, I’m sharing a few quick sublimation products that Unisub sent over to me. If you aren’t familiar with Unisub, they are a manufacturer of hard goods for sublimation. Their product line is extensive and includes: wood and metal photo blanks, jewelry blanks, clipboards, tags, puzzles, serving trays, and much more. Unisub doesn’t sell to the public, but you can find distributors at this link.

    Quick and Easy Bracelets with Sublimation

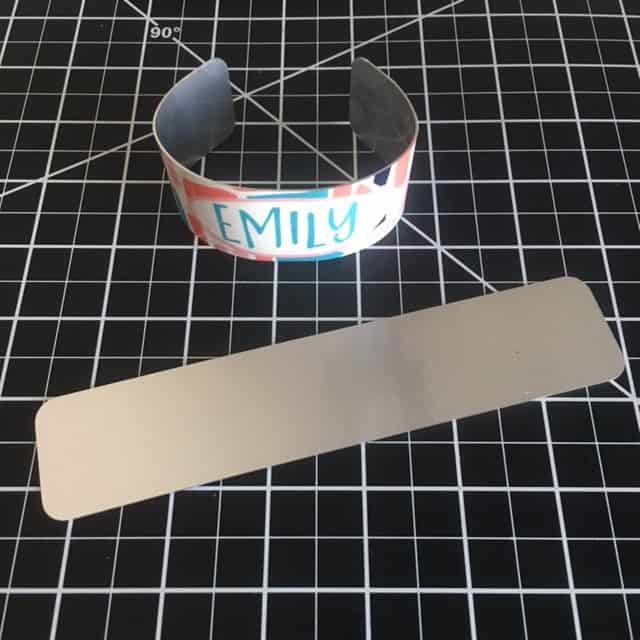
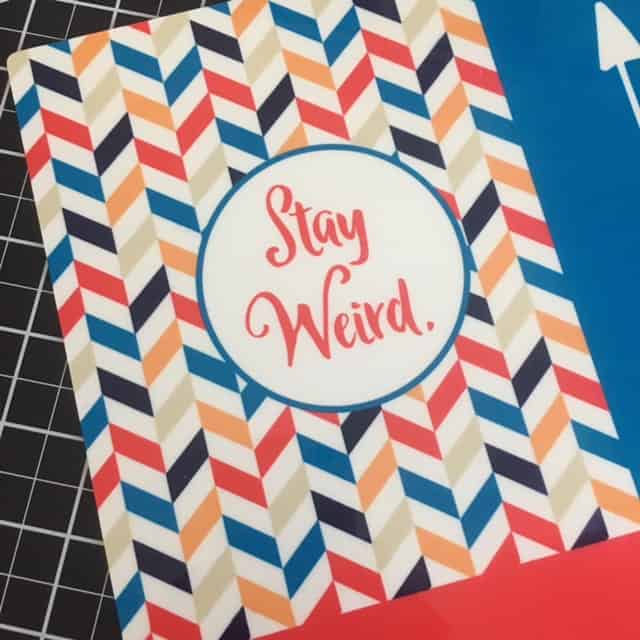
    I used a Unisub Standard Cuff Bracelet (Unisub Product Number 4636) to create a cuff bracelet. I first designed the image in Silhouette Studio, printed it on my sublimation transfer paper, then used a heat press to transfer the design.

    After transferring the image, I used an EZ Bender Tool (Unisub Product Number 4656) to bend the bracelet into a curve.

    Use Silhouette Studio to Create Home Decor and Jewelry with Sublimation - by cuttingforbusiness.com

    Wooden Sign Home Decor Without the Mess of Paint

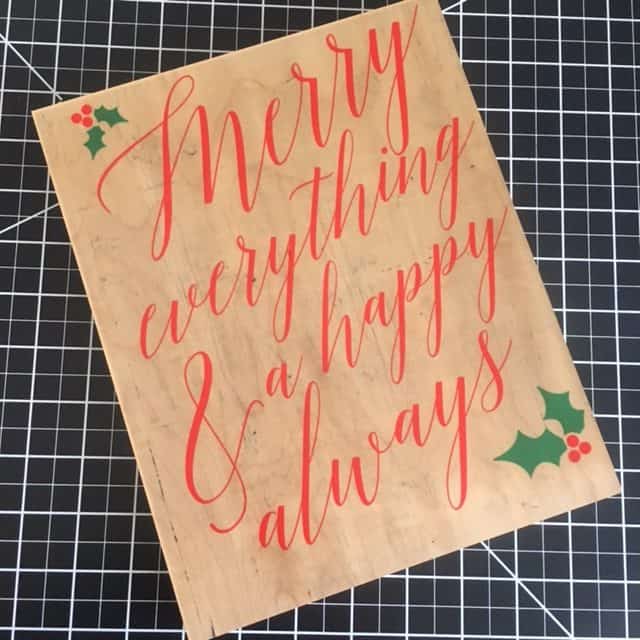
    I created a Christmas home decor sign using Unisub ChromaLuxe Natural Wood Print (Unisub Product Number 5882). After designing the image in Silhouette Studio, again, I just printed it onto sublimation transfer paper and applied it with my heat press. (If you missed this cut file on the blog last week, download it here.)

    Use Silhouette Studio to Create Home Decor and Jewelry with Sublimation - by cuttingforbusiness.com

    Tween Friendly Clock with Sublimation

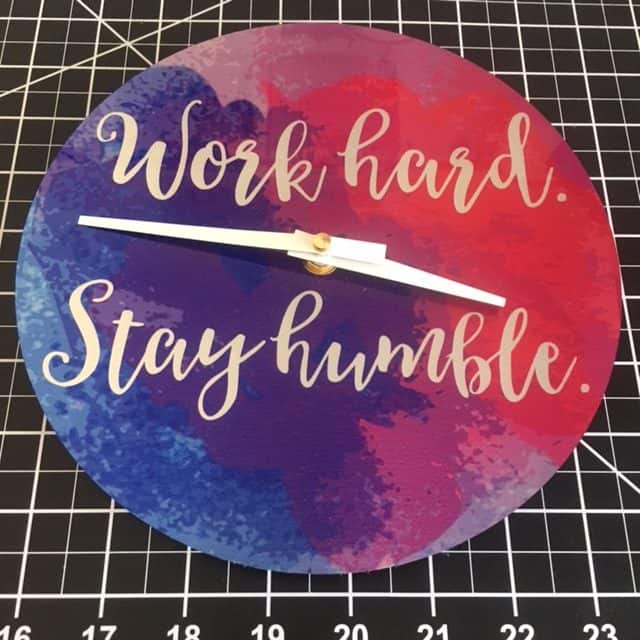
    We’ve recently been making over Emily’s room as she is headed towards tweendom! I used Unisub Silver Wall Clock (Unisub Product Number 5823) to create a clock. Again, I designed the image in Silhouette Studio. Pick up wall clocks at this link.

    Use Silhouette Studio to Create Home Decor and Jewelry with Sublimation - by cuttingforbusiness.com

    Metal Memo Board with Sublimation

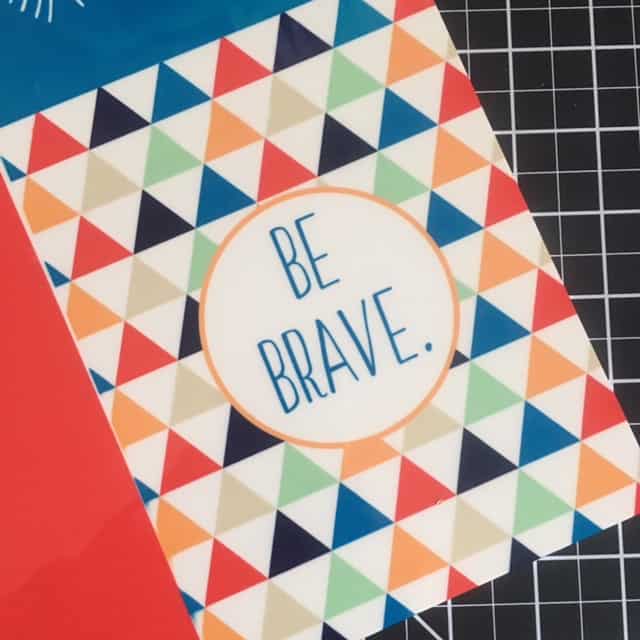
    Using Unisub ChromaLuxe Gloss White Metal Print (Unisub Product Number 5882), I was able to easily create a metal memo board to finish out the decor in Emily’s updated room. Looking for metal blanks? Grab them at this link.

    Use Silhouette Studio to Create Home Decor and Jewelry with Sublimation - by cuttingforbusiness.com
    Use Silhouette Studio to Create Home Decor and Jewelry with Sublimation - by cuttingforbusiness.com

    This post highlights some of the products that you can quickly make using Silhouette Studio, a sublimation printer, Unisub blanks, and your heat press.

    Ready to give it a try? Unisub has provided a goodie box (with a retail value of over $200!) full of sublimation products for me to give to a Cutting for Business reader. Enter for your chance to win:

    a Rafflecopter giveaway

    After you enter the giveaway, save this post to Pinterest:

    Use Silhouette Studio to Create Home Decor and Jewelry with Sublimation - by cuttingforbusiness.com
  • A Paper Cutter You’ll Fall in Love With

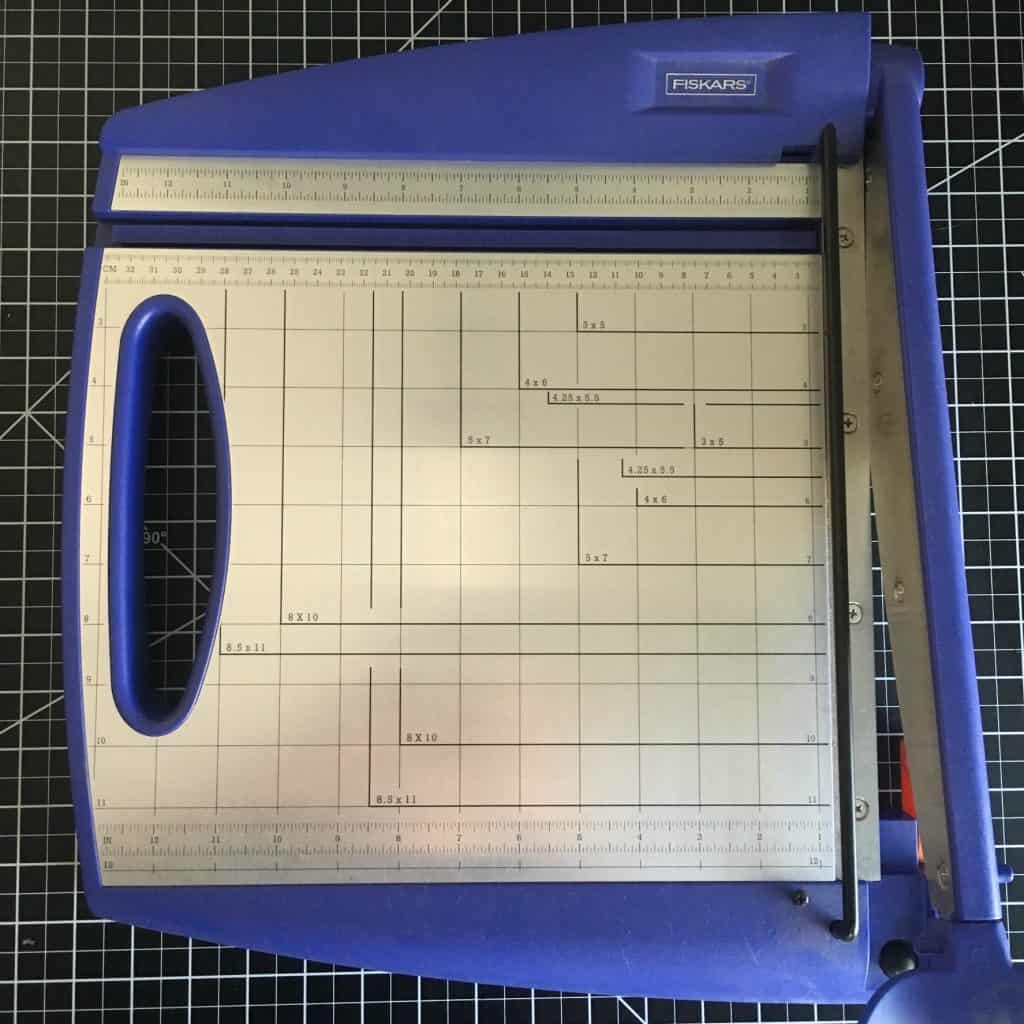
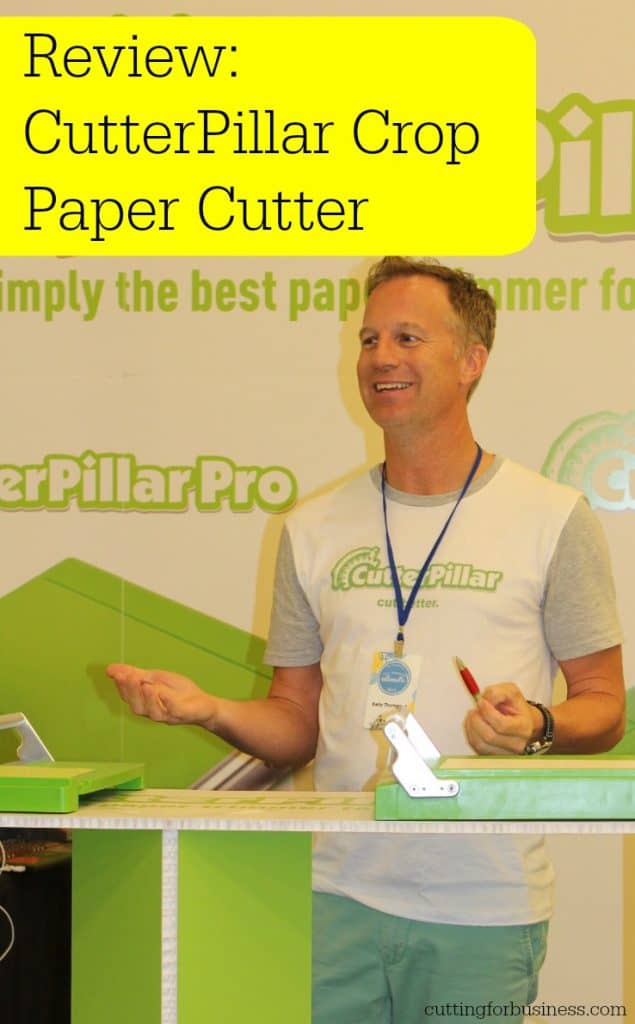
    At the All Things Silhouette Conference, I met up with Kelly from CutterPillar and they sent me home with one of their paper cutters to try out and share with Cutting for Business readers. After using it for a few weeks, I can confidently say that the CutterPillar Crop is replacing my old Fiskars guillotine cutter.

    RIP Fiskars

    A Paper Cutter You'll Fall in Love With - CutterPillar Crop by cuttingforbusiness.com

    Why I Love the CutterPillar Crop

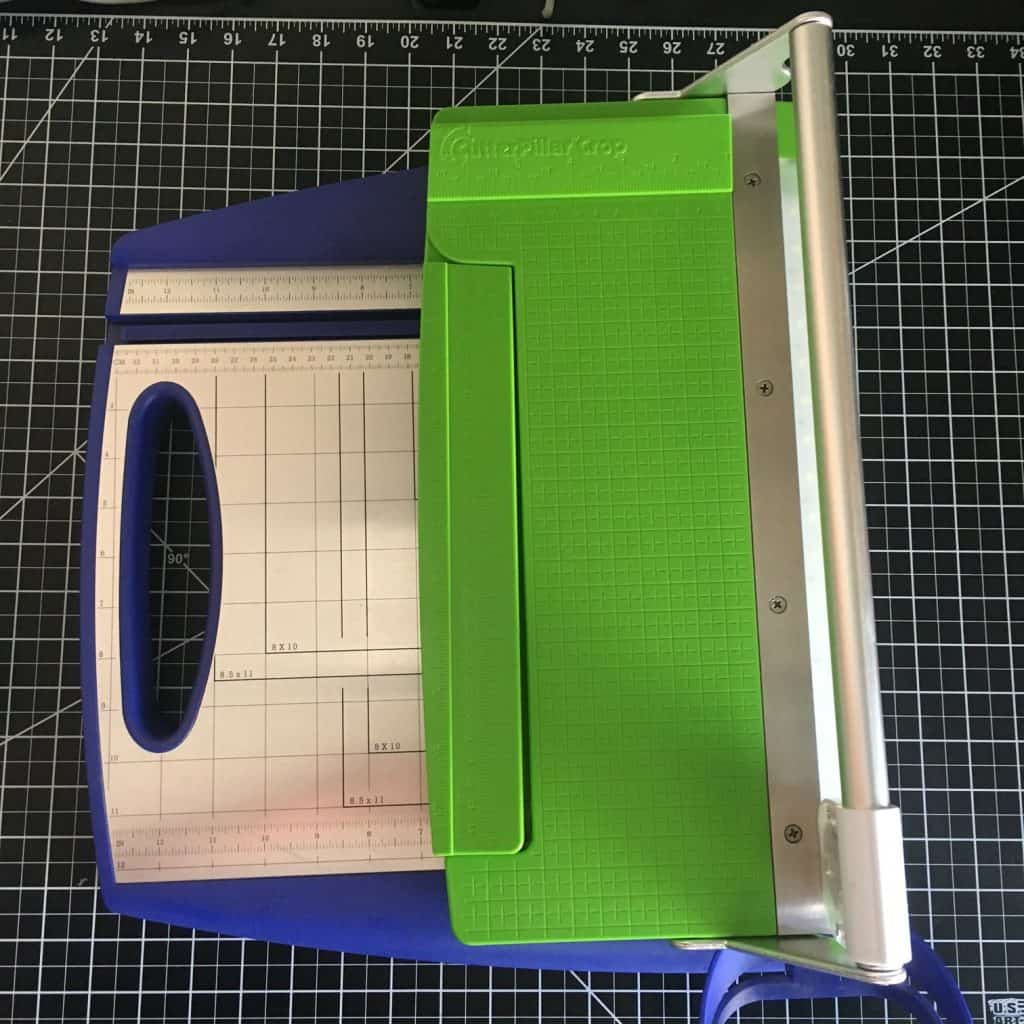
    The CutterPillar team sent me home with the smaller of their two cutters – the CutterPillar Crop. As you can see, it’s footprint is only about half of my old Fiskars.

    A Paper Cutter You'll Fall in Love With - CutterPillar Crop by cuttingforbusiness.com

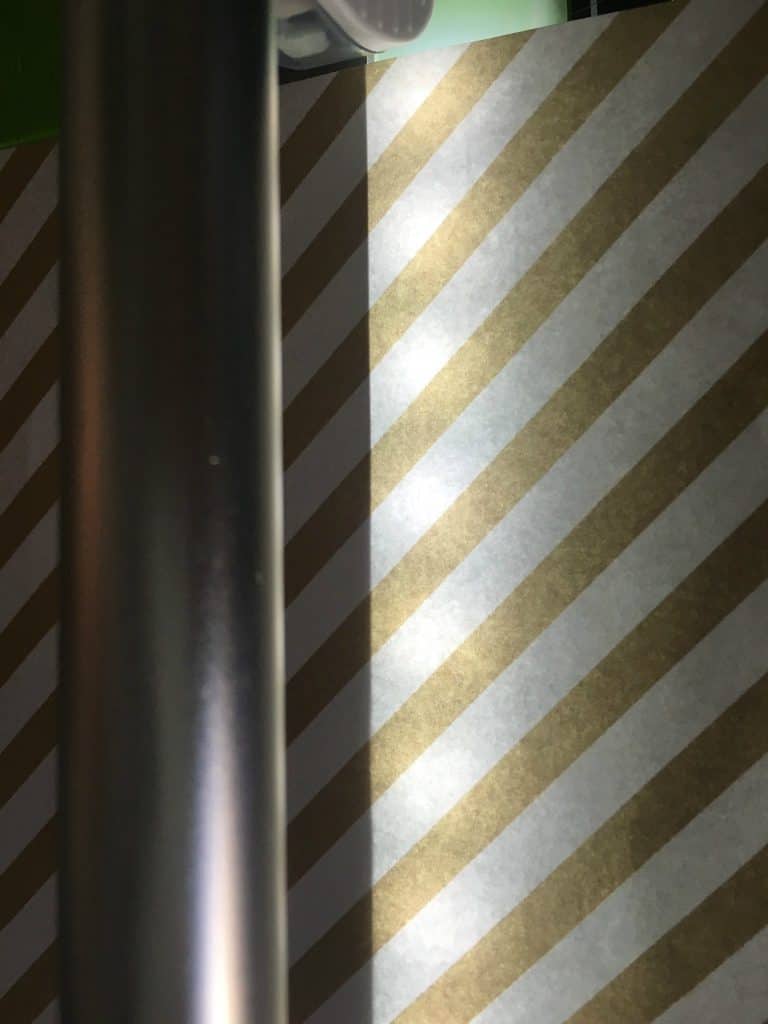
    The CutterPillar Crop has a light along the blade so that you can see EXACTLY where it will cut. It’s battery operated and an LED, so I doubt that it will ever burn out.

    A Paper Cutter You'll Fall in Love With - CutterPillar Crop by cuttingforbusiness.com

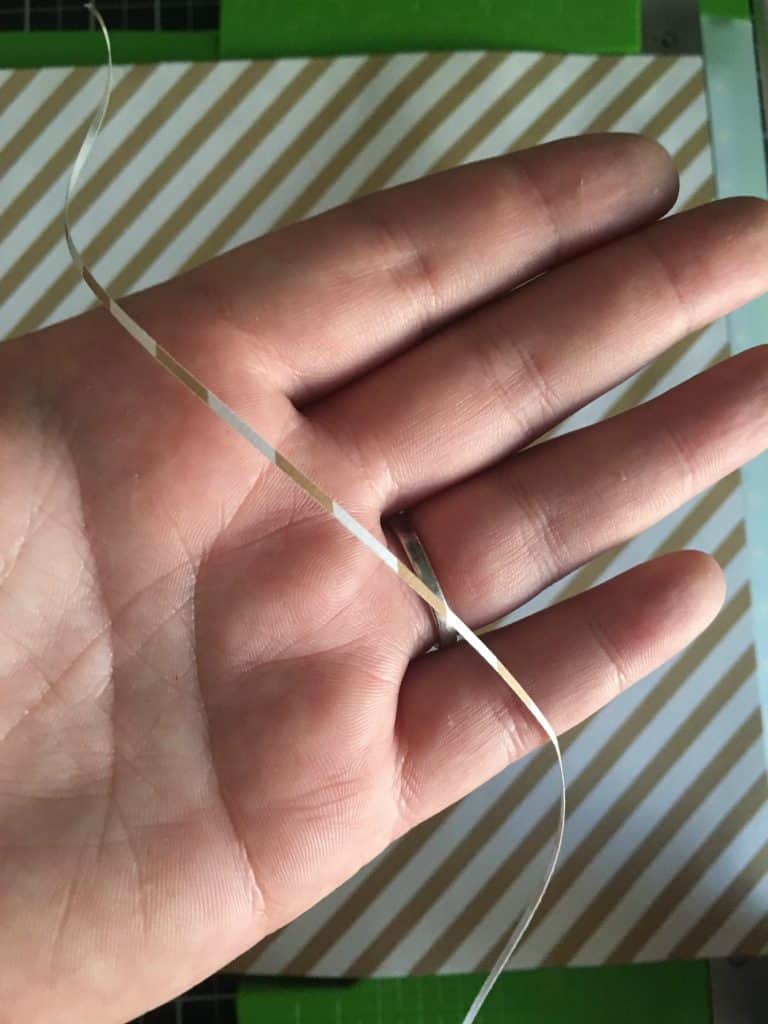
    The CutterPillar Crop will cut up to 5-7 sheets of paper at the same time. It’s accuracy is great and it will cut tiny edges without bending the paper.

    A Paper Cutter You'll Fall in Love With - CutterPillar Crop by cuttingforbusiness.com

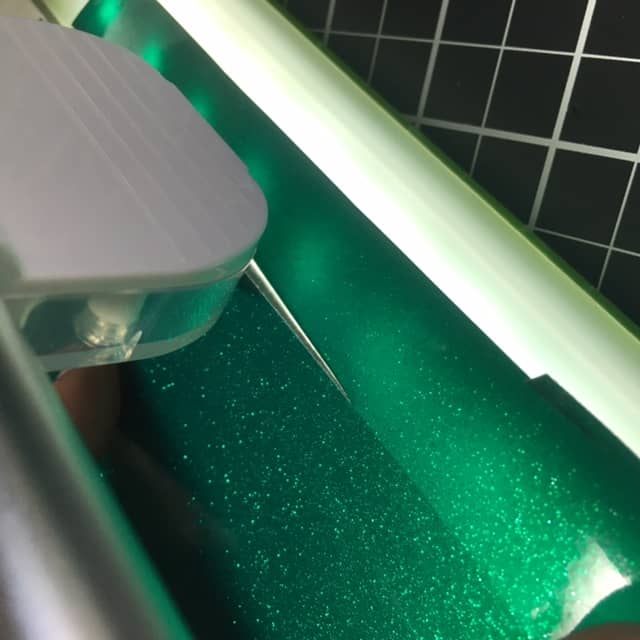
    The CutterPillar Crop isn’t just for paper, it cuts vinyl great, too!

    A Paper Cutter You'll Fall in Love With - CutterPillar Crop by cuttingforbusiness.com

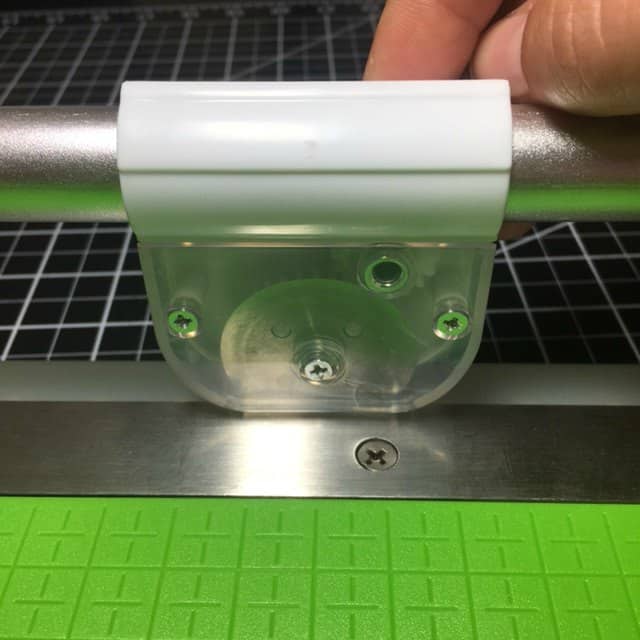
    In contrast to my guillotine paper cutter, the CutterPillar Crop is gear driven and the blade slides back and forth across a bar. While it’s moving, the rotary blade is actually being sharpened against the edge of the cutter. Unlike my old Fiskars, I won’t need to sharpen it! Also, since the blade is encased – it will be harder for me to cut myself.

    A Paper Cutter You'll Fall in Love With - CutterPillar Crop by cuttingforbusiness.com

    I wholeheartedly recommend this cutter to Silhouette Cameo or Cricut small business owners and crafters. You can purchase a CutterPillar Crop here or view the larger CutterPillar Pro ABS here.

    What cutter do you love? Share in the comments!

    Save this post to Pinterest:

    Review: A Paper and Vinyl Cutter You'll Fall in Love With - CutterPillar Crop by cuttingforbusiness.com

  • How To Price Handmade Products When Your Supplies Were on Sale

    As the seasons change, retailers clearance out the old products to make room for new ones. Cutting for Business readers are always sharing great deals they have been getting at local craft stores with me. (That I always seem to miss!) In any case, I wanted to take a few minutes and write a quick post about pricing handmade items when you’ve bought supplies on sale or clearance.

    How to Price Handmade Products When Your Supplies Were on Sale

    Rule of thumb to follow: No matter which pricing method or which pricing calculator you use, you should price your handmade item with the assumption that you paid full price for the supply.

    Example: A supply normally costs $9.99, and you got it on clearance for $0.99. You should use the $9.99 price point when pricing your handmade product for sale. If you are having problems pricing your items – see this post.

    Two More Strategies

    There’s two more ways to take advantage of great deals:

    1. If you’ve picked up a great deal, you can also use it to your advantage and implement what’s called a low cost strategy. This simply means that you determine your retail price and set your product price below the appropriate retail price in order to gain exposure to your business or get people talking about your company.
    2. When advertising your product for sale, use words like “Limited Quantity”, “Special Release”, or something similar. By using this style of wording, you can often get buyers to buy immediately because they understand when the product runs out – there is no more!

    I hope you’ve scored some great deals lately that will help grow your small business!

    Was this information helpful? Save the image below to Pinterest.

    How To Price Handmade Products When Your Supplies Were on Sale - by cuttingforbusiness.com
  • Can Crafters Buy Vinyl Wholesale?

    Are you a crafter looking for a cheaper way to buy adhesive vinyl, printable vinyl, or heat transfer vinyl? You probably landed on this page because you are wondering can crafters buy vinyl wholesale.

    No. Crafters can usually not buy vinyl wholesale. Let’s look at why.

    Can Crafters Buy Vinyl Wholesale? - cuttingforbusiness.com

    Flow of Vinyl to Crafters

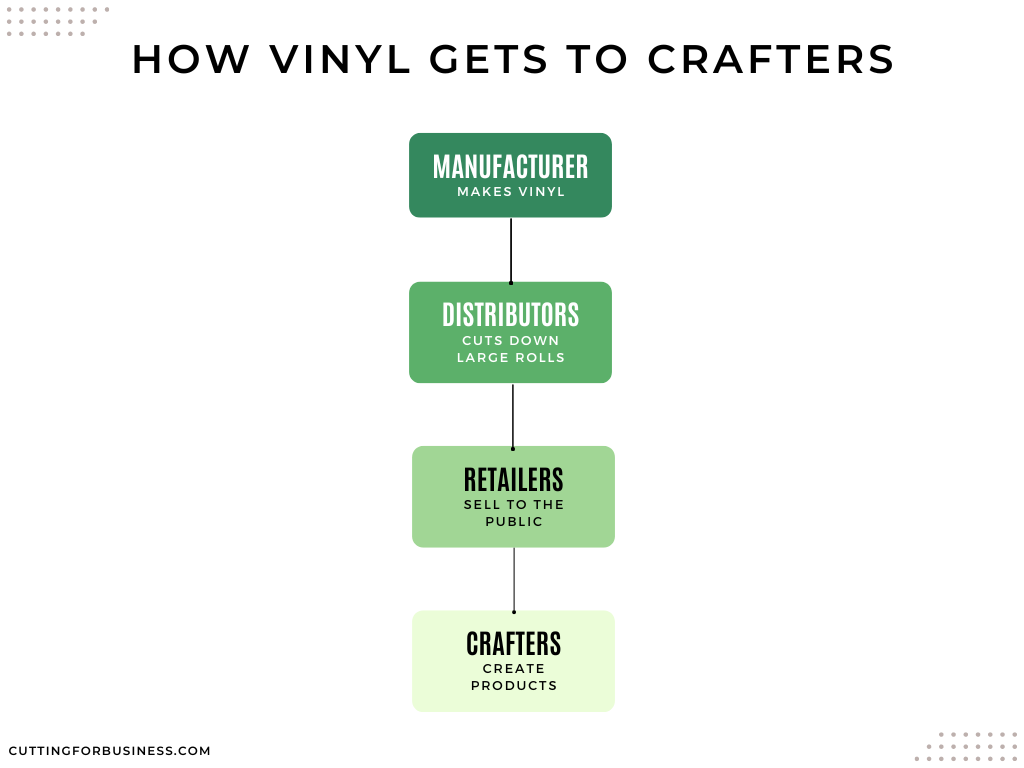
    To understand why crafters cannot buy vinyl wholesale, we have to look at the flow of the vinyl before it gets in your hands.

    First, a manufacturer makes the vinyl. This takes place in large factories with large equipment. Some well known manufacturers of vinyl are Siser, Chemica, 3M, Orafol, Avery, and more.

    Next, the manufacturer sells vinyl to distributors. These distributors buy large rolls of vinyl and cut them down to size. Distributors also often have large warehouses. (Note: Some manufacturers also have their own distribution centers.)

    Now, the vinyl is sold to retailers who sell the vinyl to crafters either online or in a brick and mortar store.

    Flow Chart - How Vinyl Gets to Crafters - cuttingforbusiness.com.

    How to Buy Vinyl Wholesale

    1. Make sure that you are a registered business in your state or county. Vinyl manufacturers will not sell to hobbyists.
    2. Be sure that you do not have any conflicts of interest. This means that you will only sell vinyl, not sell products made with vinyl. Unfortunately, this is a deal breaker for most crafters. Most vinyl distributors will not allow you to buy wholesale vinyl and sell handmade projects directly to consumers.
    3. Have a written plan that you can share with the manufacturer detailing how and where you will sell the vinyl.
    4. Reach out to the manufacturer of the vinyl you would like to buy wholesale. You’ll be expected to purchase several thousands of dollars of vinyl for your first order and, in most cases, meet monthly minimums. Some specifics for popular manufacturers: Orafol – the opening order is around $100,000. Siser – the opening order is around $10,000 with monthly minimums of around $5,000.

    You’ll Need to Choose: Vinyl Distributor or Craft Retailer

    If you want to continue selling handmade products – you’ll need to continue buying vinyl from your favorite distributor.

    If you would like to abandon selling handmade products and become a vinyl retailer – make sure your paperwork is in order and contact your favorite vinyl manufacturer.