Author: christine

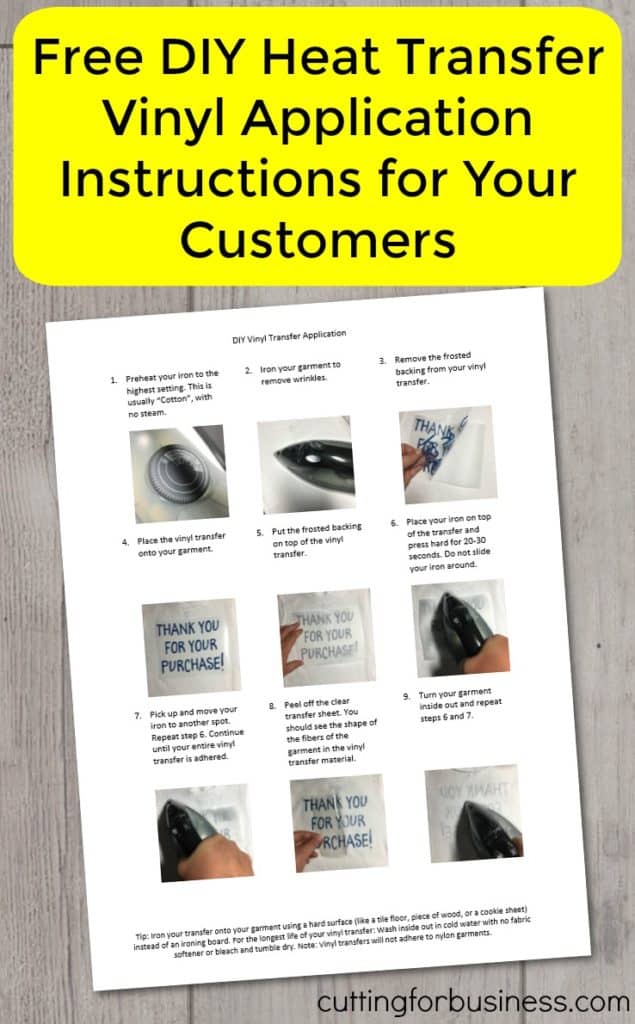
  • Free Printable DIY Heat Transfer Vinyl Application Instructions

    I’m on a roll with printable instruction sets this week, and I’ve had a few blog readers ask for instructions to give customers to iron on their own heat transfer vinyl. If you need some, here they are!

    Tips for Selling Customer Applied Heat Transfer Vinyl (HTV)

    • You should assume that customers will be using an iron to apply the heat transfer vinyl.
    • If you are planning to sell heat transfer vinyl transfers to customers to apply themselves, you must include instructions.
    • You should send the weeded decal on parchment paper. When the customer removes the parchment paper from the back of the heat transfer vinyl, they will be able to take the parchment paper and use it to iron the vinyl to the garment. I called the parchment paper “frosted backing” in the instructions, because there is no need to divulge all the “secrets”.

    Ready to download? First, save the image below to Pinterest. Then, download the instruction set below. Looking for other instruction sets? See more free, printable instructions on Cutting for Business.

    Free DIY Heat Transfer Vinyl Application Instructions to Use for Customers in Your Silhouette Cameo or Cricut Small Business - by cuttingforbusiness.com
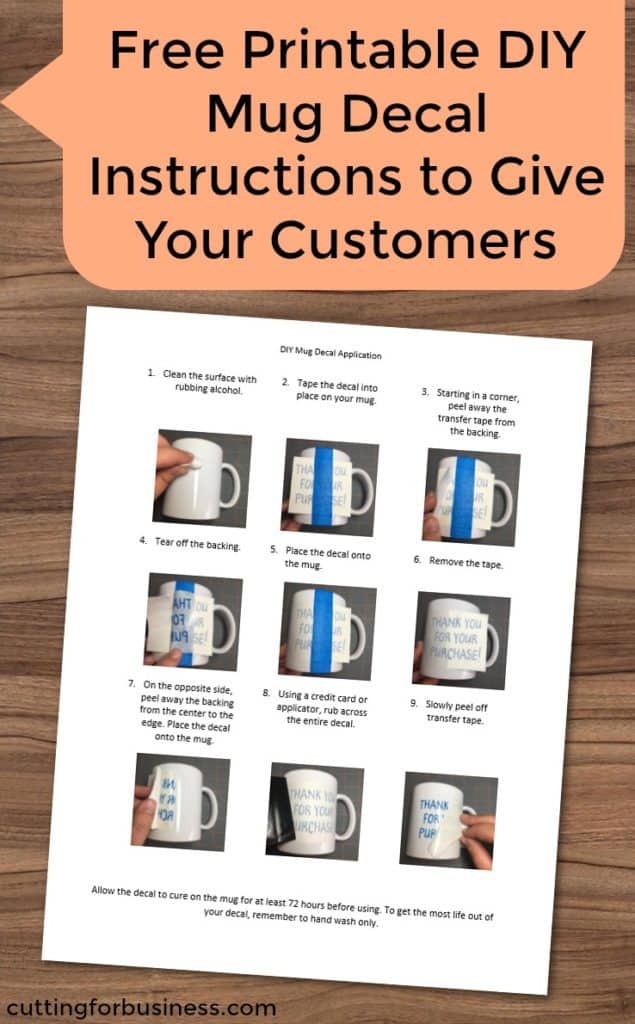
  • Free Unbranded Printable Mug Application Instructions

    Yesterday I shared tumbler application instructions. Today, I’m giving you free mug decal application instructions. Like tumblers, you can’t sell a decal for a mug without application instructions – so download them below. As always, you are welcome to use them for your own customers – no need to credit back to me.

    Ready to download? First save the image below to Pinterest. Then, download the instruction set below. Looking for more instruction sets on the blog? Head to this post.

    Free, printable DIY coffee mug application instructions to give to customers in your Silhouette Cameo or Cricut small business - by cuttingforbusiness.com
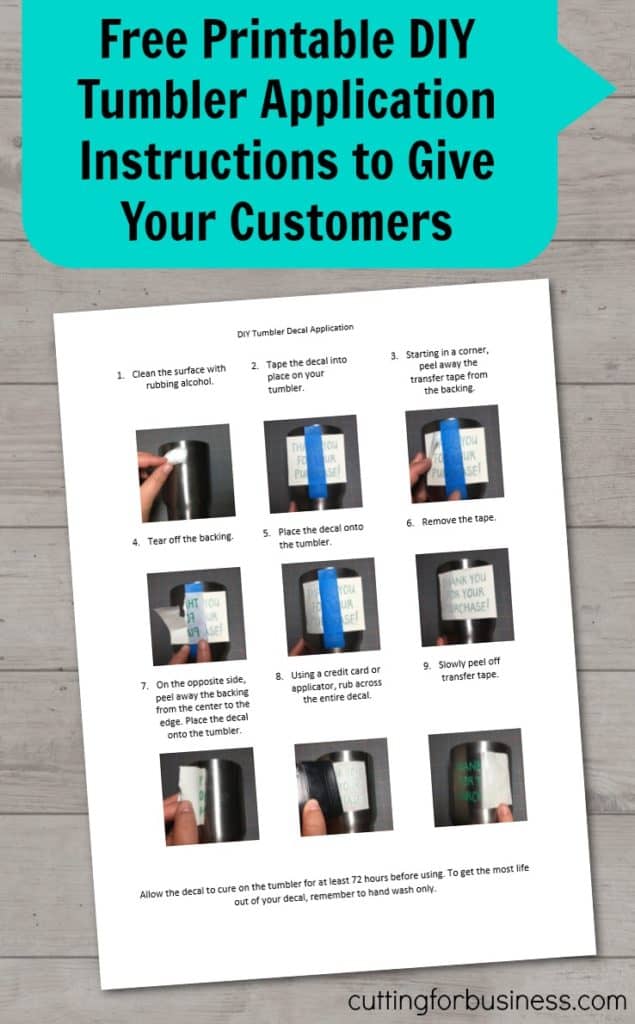
  • Free Unbranded Printable Tumbler Application Instructions

    Decals are easy to sell for Silhouette and Cricut small business owners.

    Since tumblers are trendy right now, many sellers are selling decals for customers to apply to their own tumblers. You can’t sell a tumbler decal without application instructions for your customer. I don’t mind doing the “boring” backend details in business, so I’m more than happy to share a set of unbranded tumbler decal application instructions today.

    As always, you are welcome to use them for your own customers – no need to credit back to me.

    Ready to download? First, save the image below to Pinterest. Then download the instruction set below.

    Free, printable DIY tumbler application instructions to give to customers in your Silhouette Cameo or Cricut small business - by cuttingforbusiness.com
  • Why It’s Important to Set Office Hours for Your Craft Business

    I swear, Cutting for Business blog readers are some of the hardest working people that I know. Why do I say that? Because I keep in pretty close contact with a lot of blog readers through different social media outlets including the Cutting for Business Insider’s Club. It’s recently come to my attention that a lot of readers could have a better work/life balance. Running a home business is just like having a 9-5 job. While I understand that often, you have to work odd hours (evenings, weekends, or late nights), that doesn’t mean you can’t have a regular schedule.

    Today, I challenge you to write out a working schedule. This will vary per small business, but write out the times per day that you will work and the times that you are off. After you’ve got it in writing, hang it somewhere you will always see it – and stick to it! Feel free to also advertise your office hours to customers. This way, if a customer emails you after you are closed for the day – they will know to expect a response at a later time.

    When writing out your schedule, be sure to include time for these tasks:

    • Designing and creating products
    • Inventory and workspace clean up
    • Scheduling social media
    • Customer service – like answering emails
    • Networking
    • Advertising for new customers

    This whole post can be summed up with one question: When you die, do you want your kids to remember you constantly working or do you want them to remember the laughing, smiling, and time you spent with them? If you don’t have kids, think of your partner, your family, or your close friends.

    If you need some help with time management, head to this post.

    Save this reminder to Pinterest:

    Why it's important to set office hours for your Silhouette Cameo or Cricut based home business - by cuttingforbusiness.com

  • 6 Places to Buy Blank Dog Shirts for Crafting

    Today, it’s another supplier spotlight – and a few product ideas for Silhouette Cameo and Cricut small business owners. On to the good stuff: Where to buy blank dog shirts for crafting?

    The best advice that I can give you is to look at your favorite source for human clothes. From my previous post, Where to Buy Tee Shirts for Crafting, you might be surprised that several of my favorite human clothing suppliers offer dog clothing. You’ll find that most of these sites sell the same brand (Doggie Skins).

    6 Places to Buy Blank Dog Shirts for Crafting - cuttingforbusiness.com

    6 Places to Buy Blank Dog Shirts for Crafting

    Mirage Pet Products

    I’ve worked extensively with Mirage Pet Products, and they are a favorite of mine. Honestly, they are a one stop shop for all pet related products. Read more about Mirage Pet Products.

  • 3 Ways to Protect Your Product Photos without a Watermark

    I’ll be honest and blunt: Crafters and companies that steal other crafter’s photos suck. And unfortunately, this runs rampant in the craft business world.

    We, as sellers, need to try to protect our product photos. One way to protect photos is using a watermark. However, not everyone likes to use watermarks.

    3 Ways to Protect Your Product Photos without a Watermark - cuttingforbusiness.com

    3 Reasons to Not Watermark Your Product Photos

    1. Easy to Remove. In our technology driven world, there are Facebook Groups devoted to removing watermarks, apps to remove watermarks, and tutorials all over the internet on how to remove watermarks.
    2. Limits Visibility. If you use a watermark on photos while selling on certain marketplaces it can affect your ability to advertise, as well as the visibility in the search results.
    3. Requires Photo Editing. Adding a watermark to product photos takes additional time and photo editing skills.

    3 Alternatives to Watermarking Product Photos

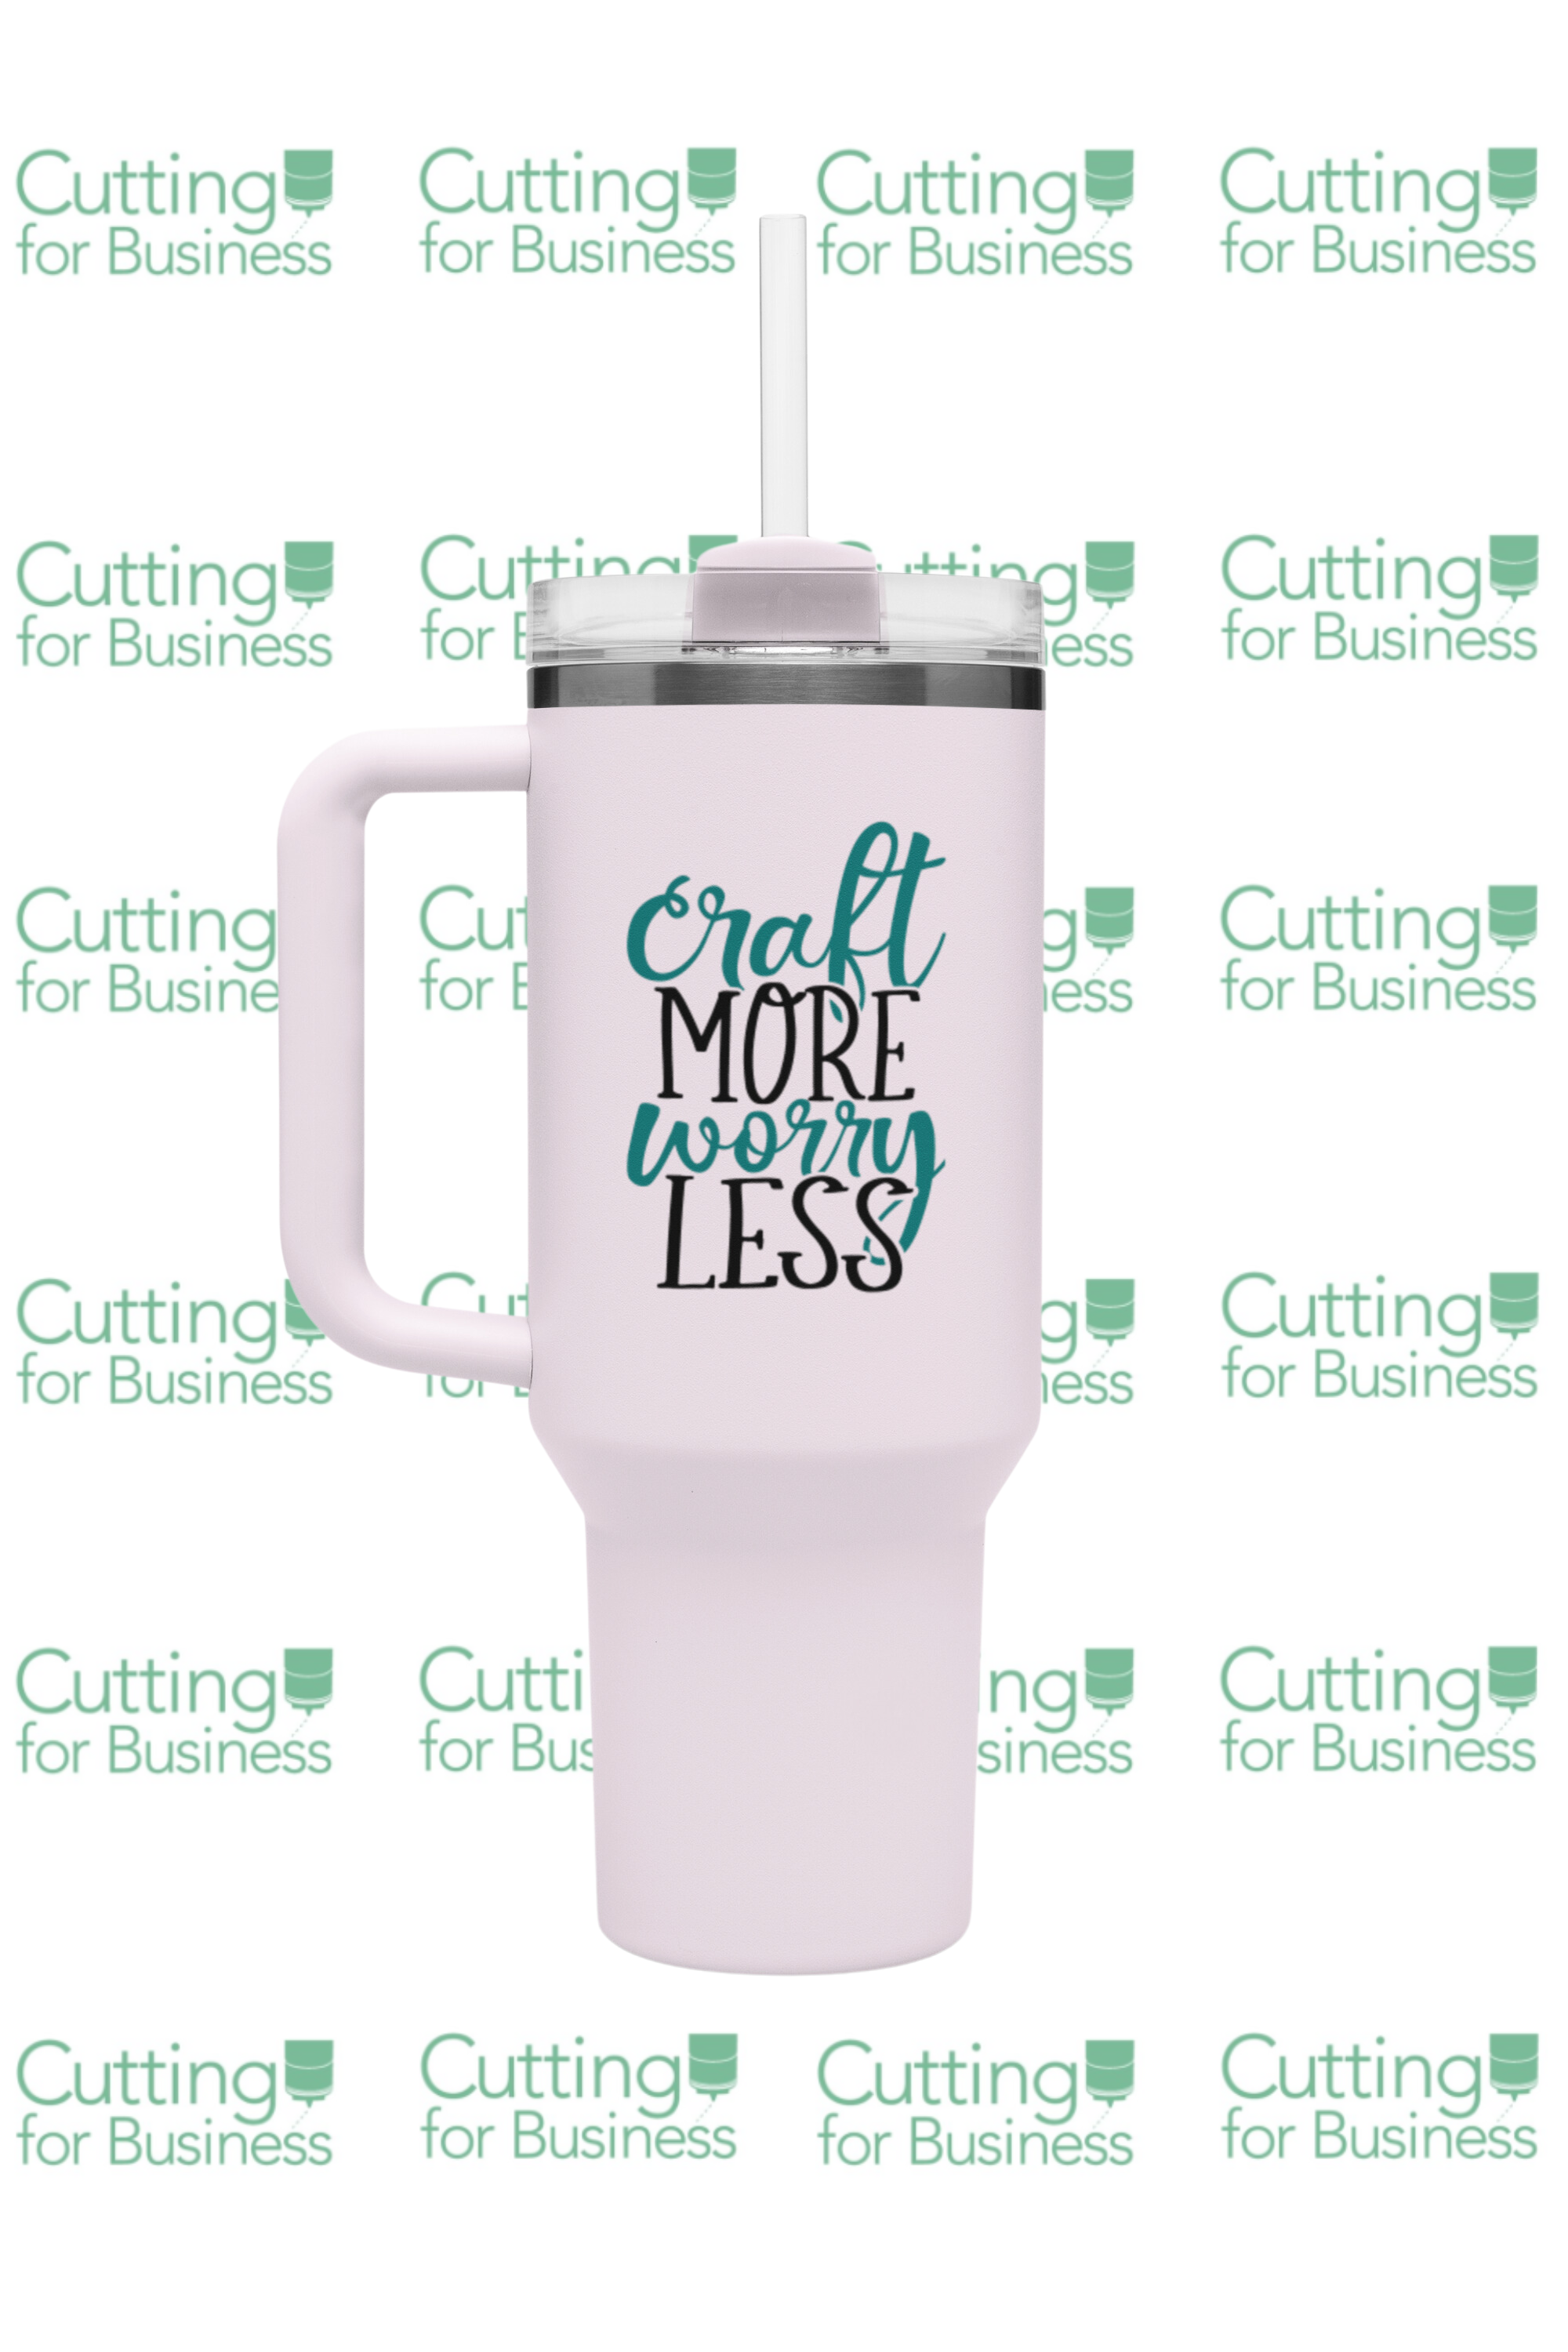
    Rather than use a watermark on your product photo, consider including a branded product in your product photo. This could be as simple as putting your business card near the shirt you are photographing or creating a customized background with your business name and logo to take product pictures in front of. Let’s look at a few examples.

    Example 1 – Use a Branded Background

    Instead of a watermark, invest in a branded background. There are a few ways to accomplish this.

    Use a Digital Background

    For this, you would take your product photo, remove the background (or use a green screen), and use a photo editing program to digitally add your branded background.

    How to Protect Your Product Photos without a Watermark - Example 1 - cuttingforbusiness.com.

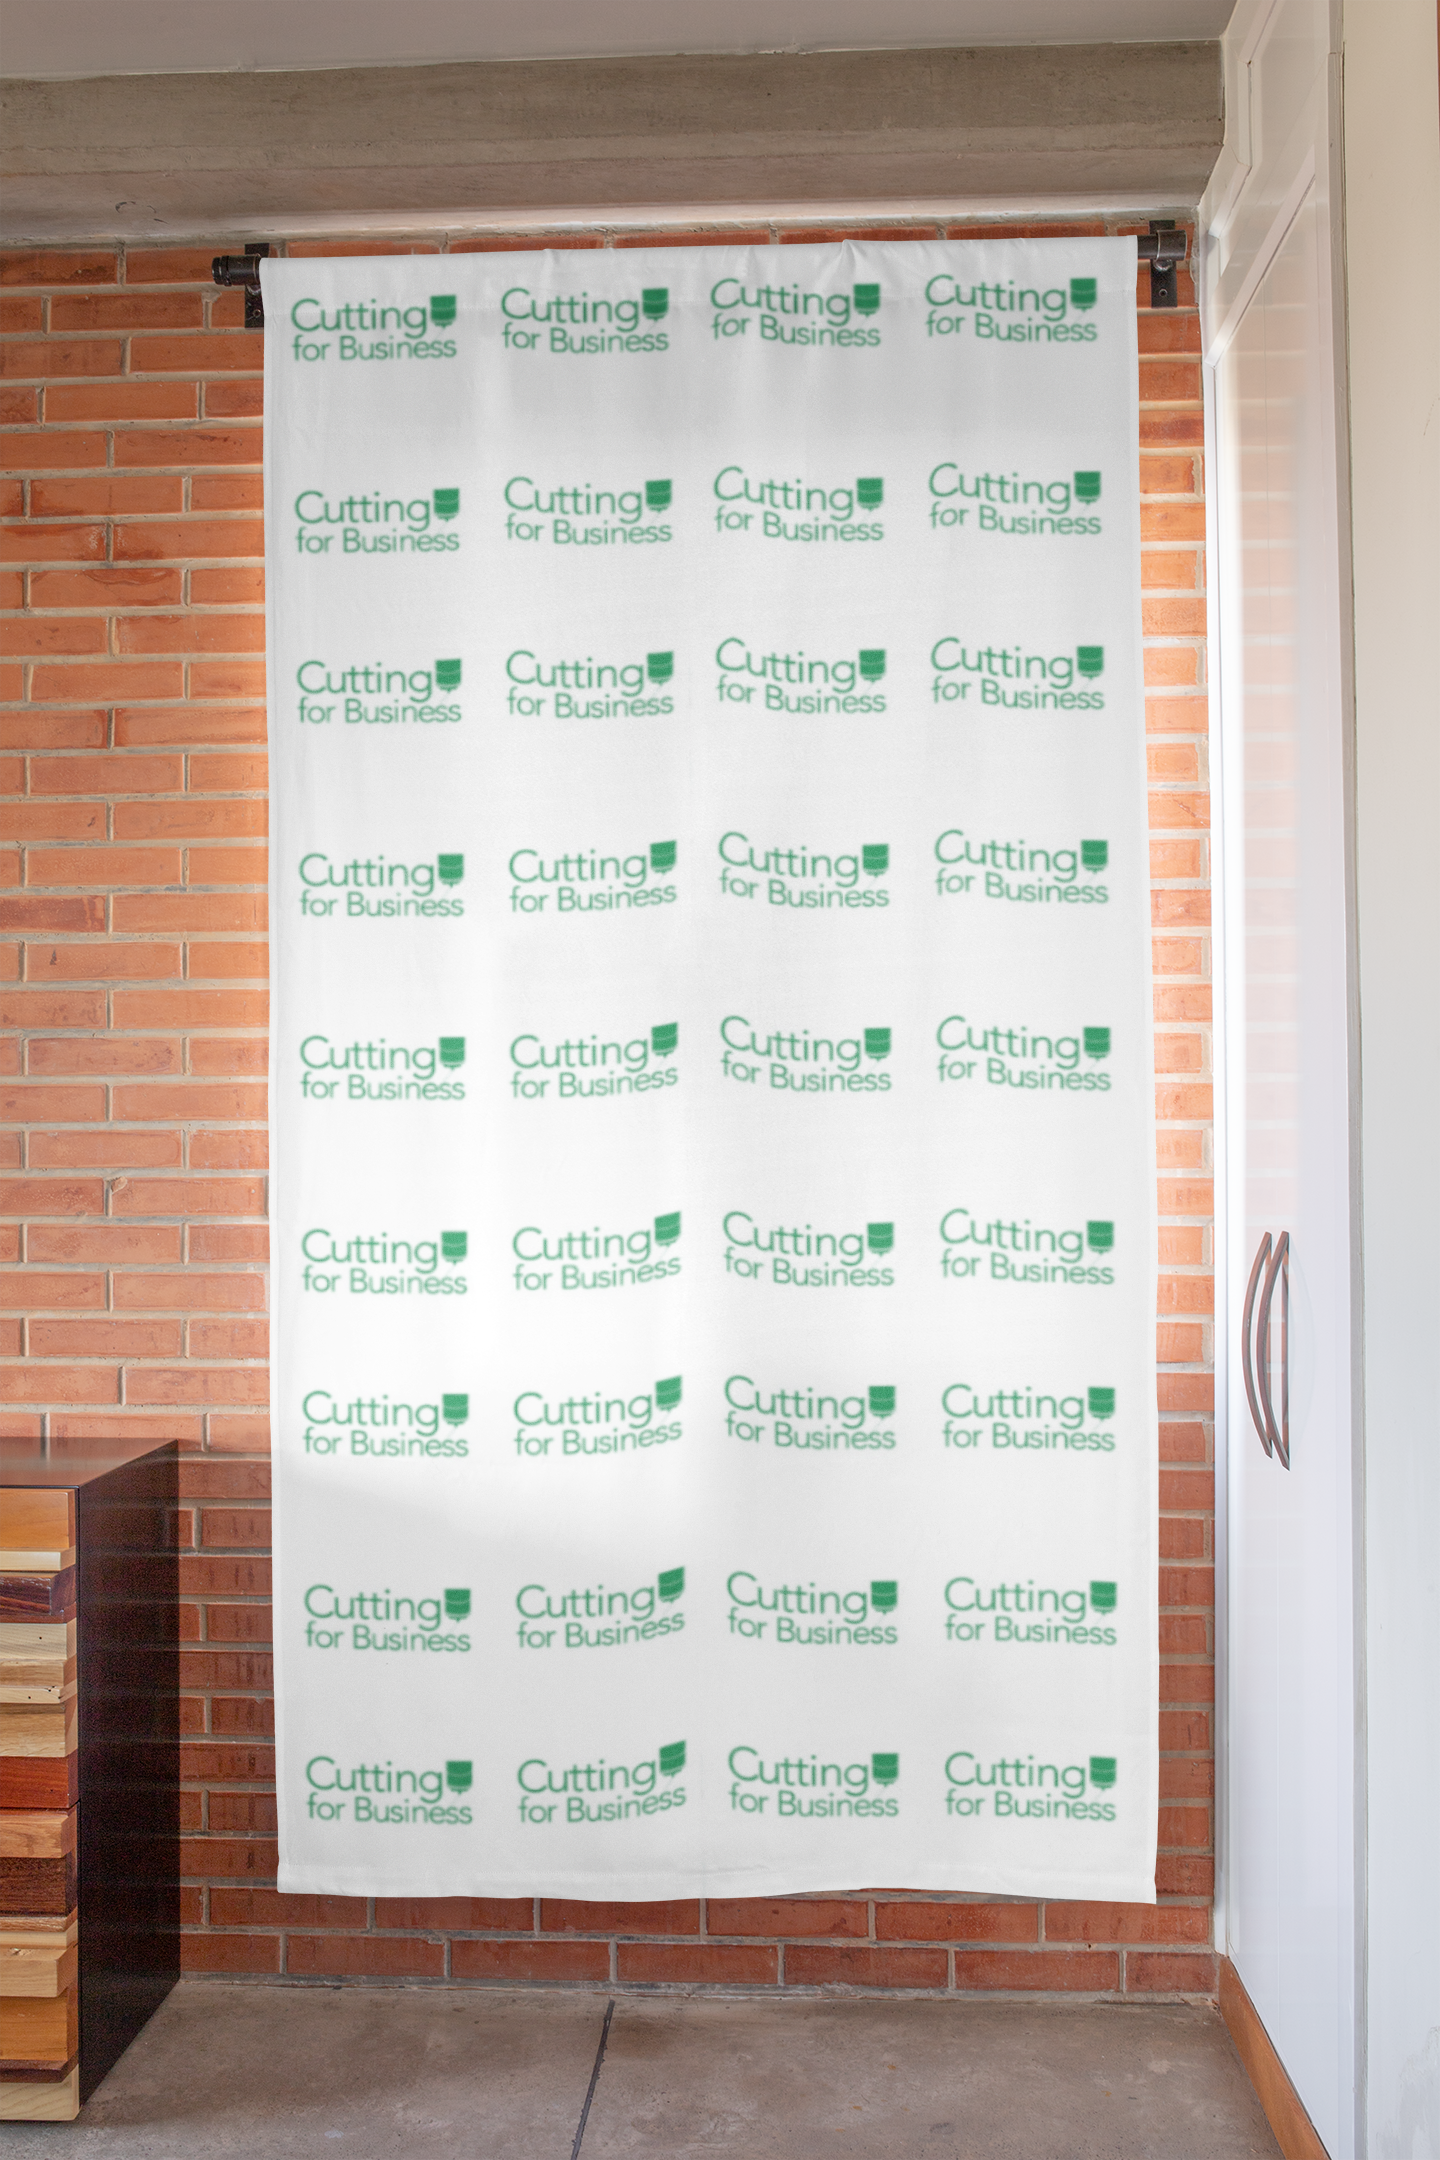
    Use a Custom Printed Background

    You can create your own branded background by ordering custom fabric with your logo on it. I’ve previously used Spoonflower, but you can order custom fabric online from several vendors.

    Then, photograph your products in front of the background.

    How to Protect Your Product Photos without a Watermark - Example 2 - cuttingforbusiness.com.

    Example 2 – Use a Business Card or Branded Bag

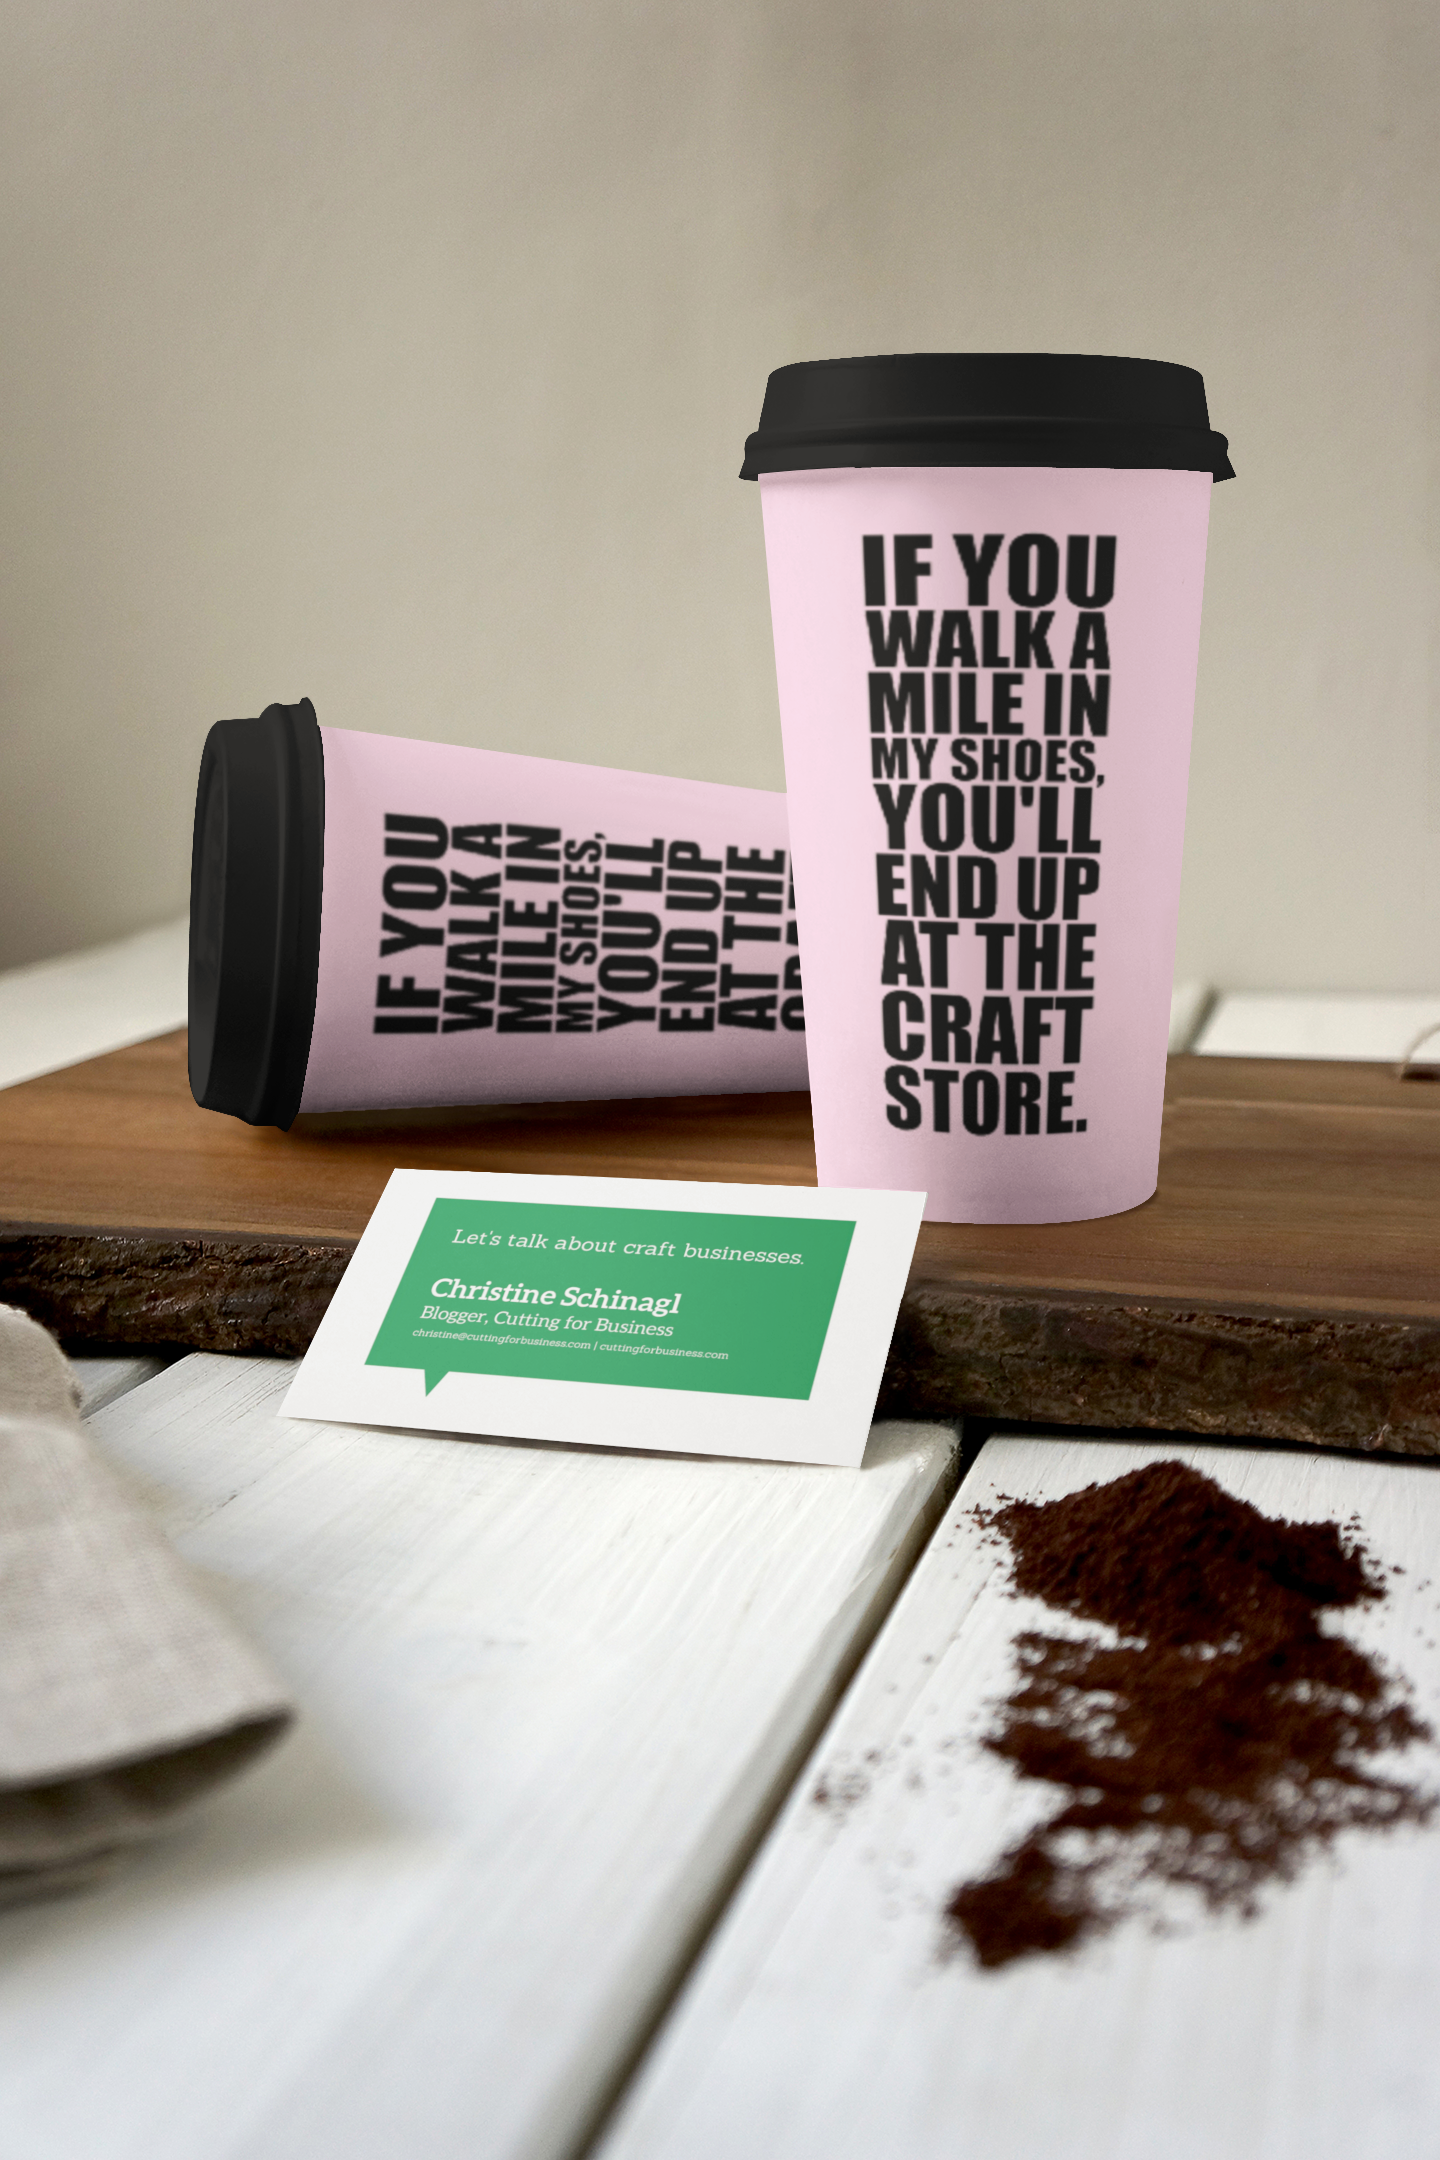
    Another way to protect your product photos without a watermark is to put a business card or branded bag into your product photo.

    How to Protect Your Product Photos without a Watermark - Example 3 - cuttingforbusiness.com.

    Example 3 – Using a Branded Product

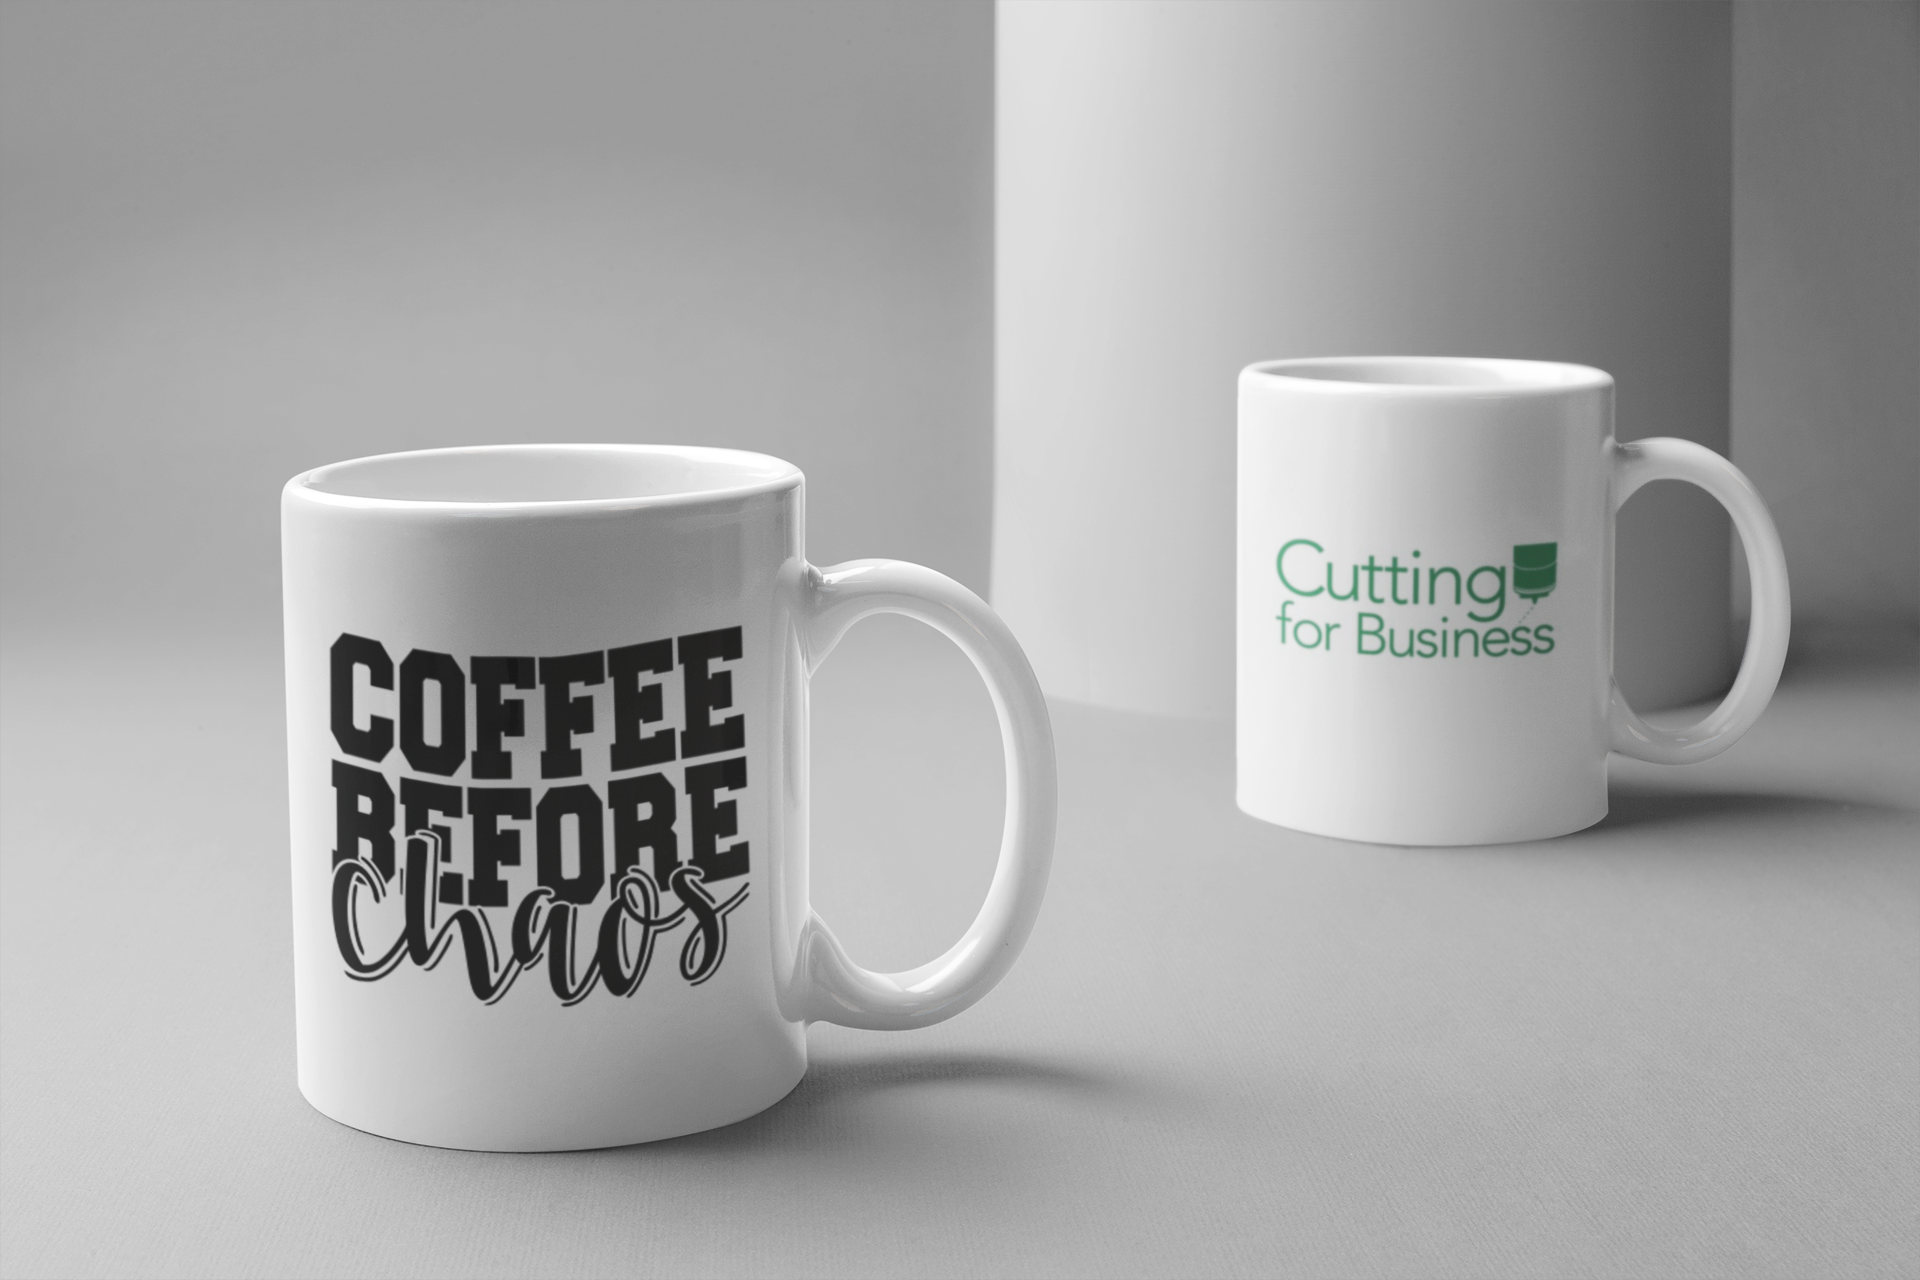
    If you make and sell similar products often, make a product with your logo on it and put it behind your product for sale. For example, in the photo below, I’m selling the coffee mug in front but have my logo on the coffee mug in the back.

    How to Protect Your Product Photos without a Watermark - Example 4 - cuttingforbusiness.com.

    Do’s and Don’ts of Watermarking Product Photos

    If you’d prefer to watermark your products, read this article: Do’s and Don’ts of Watermarking.

    In case you are wondering, many of the mockup examples shown above were made with a generator called Placeit.

  • How to Create Professional Quality Photo Mockups (No Photoshop Needed!)

    Before we get back to business on the blog; myself, Will, and the kids wanted to extend an extra thank you for all the prayers, well wishes, and donations our family has received for our dog Ollie. If you missed the news, our rescue dog, Ollie, was hit by a car at the start of our kid’s birthday celebration on Saturday. To read the whole story, or make a donation click here. Now, onto business as usual.

    I’ve shared how to do mockups on the blog using your own photos, and I’ve covered how to use stock photos in your small business. Today, I’m sharing an awesome website that I recently stumbled upon to create professional quality mockups – without Photoshop or fancy software.

    Here’s an example I made:

    This is a Silhouette Studio mockup. Mockups like these are used all over Etsy. This mockup is good, but it is stale and the design is clearly laid onto the shirt in a photo program.
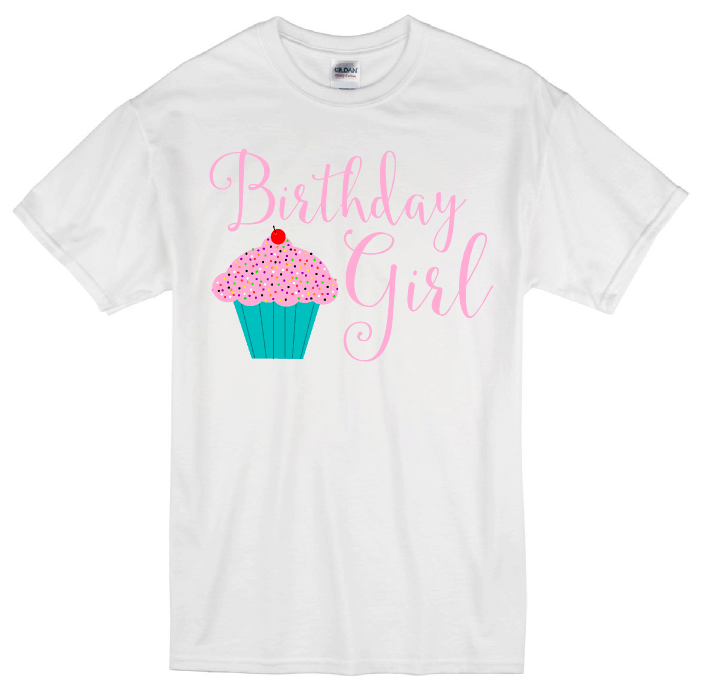
    How to Create Professional Quality Photo Mockups (No Photoshop Needed!) - Great for Silhouette Cameo or Cricut small business owners - by cuttingforbusiness.com

    Here’s a mockup I made using Place It. The design looks like it was naturally placed and there’s nothing better to sell your product than a live person wearing it.

    How to Create Professional Quality Photo Mockups (No Photoshop Needed!) - Great for Silhouette Cameo or Cricut small business owners - by cuttingforbusiness.com

    Don’t want a plain white shirt and need more color options? You got it – this photo is offered in 36 different colors!

    Here’s one of them:

    How to Create Professional Quality Photo Mockups (No Photoshop Needed!) - Great for Silhouette Cameo or Cricut small business owners - by cuttingforbusiness.com

    And a screenshot of more color options (right hand side):
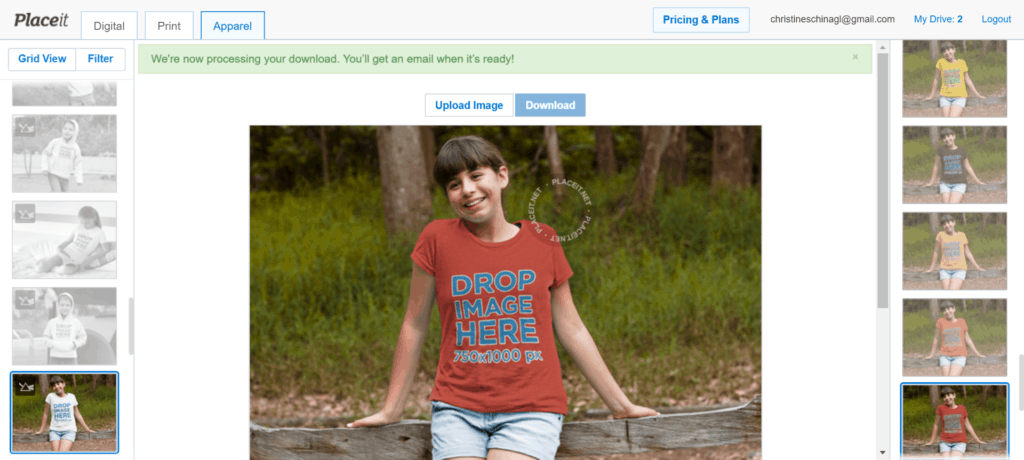
    How to Create Professional Quality Photo Mockups (No Photoshop Needed!) - Great for Silhouette Cameo or Cricut small business owners - by cuttingforbusiness.com

    Pretty awesome, huh? I don’t know about you, but I am pretty sure that the photo realistic mockup will look better in an Etsy listing photo! Place It offers mockups for a wide variety of products including: tee shirts, sweatshirts, aprons, hats, leggings, phones, computers, banners, beer bottles, coffee mugs, posters, wine bottles, and much more.

    What’s the Cost of Place It?

    Cost varies for different sized photos and inexpensive plans are available ranging from $12 and up.

    Wait, one more thing you need to know!

    Now, you are going to need a hack if you design in Silhouette Studio. Ideally, you will want a photo with a transparent background in .png format. Unfortunately, Silhouette Studio will not allow you to save as .png. I’m not one to pull out expensive software, so here is what I’ve been doing:

    1. Design and save as a .studio3 file in Silhouette Studio.
    2. Visit this link and convert your .studio3 file to .svg, then download it. (I’ve done a previous post on this converter that you can read here.)
    3. Visit this link and convert your .svg file to .png, then download it. You are ready to head to Place It and create your mockup!

    If you use another method to convert to .png, feel free to use it.

    I can’t wait to see your professional quality mockups!

    Save this post to Pinterest so you can try it out:
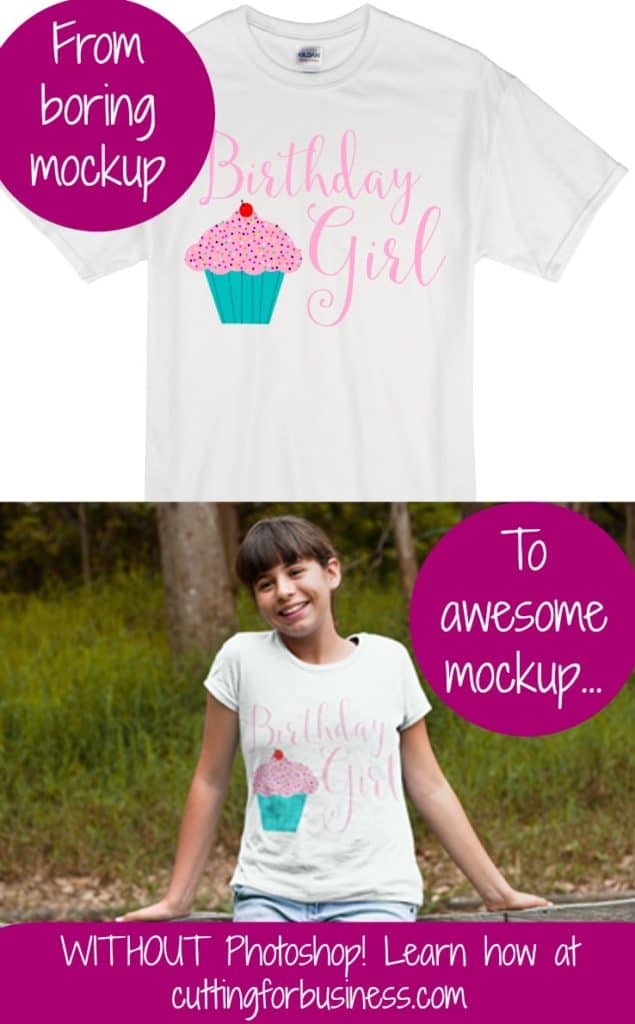
    How to Create Professional Quality Photo Mockups (No Photoshop Needed!) - Great for Silhouette Cameo or Cricut small business owners - by cuttingforbusiness.com

  • Printable Wholesale Supplier List for Silhouette Cameo and Cricut Small Businesses

    Silhouette Cameo and Cricut small business crafters need blank items to create amazing products to sell. Regular Cutting for Business blog readers know that I highlight my favorite suppliers through various #supplierspotlight posts on the blog. With all the posts on the blog, I know some people have difficulty finding the posts. Today, I’ve rounded up all the suppliers into one printable to save you time! I’ve also added quick keywords to these posts to help you find them quickly.

    Download the supplier printable here.

    Then, save this post to Pinterest:

    Printable Wholesale Supplier List for Silhouette Cameo and Cricut Small Businesses - by cuttingforbusiness.com

  • FAQ About Facebook Page Messaging

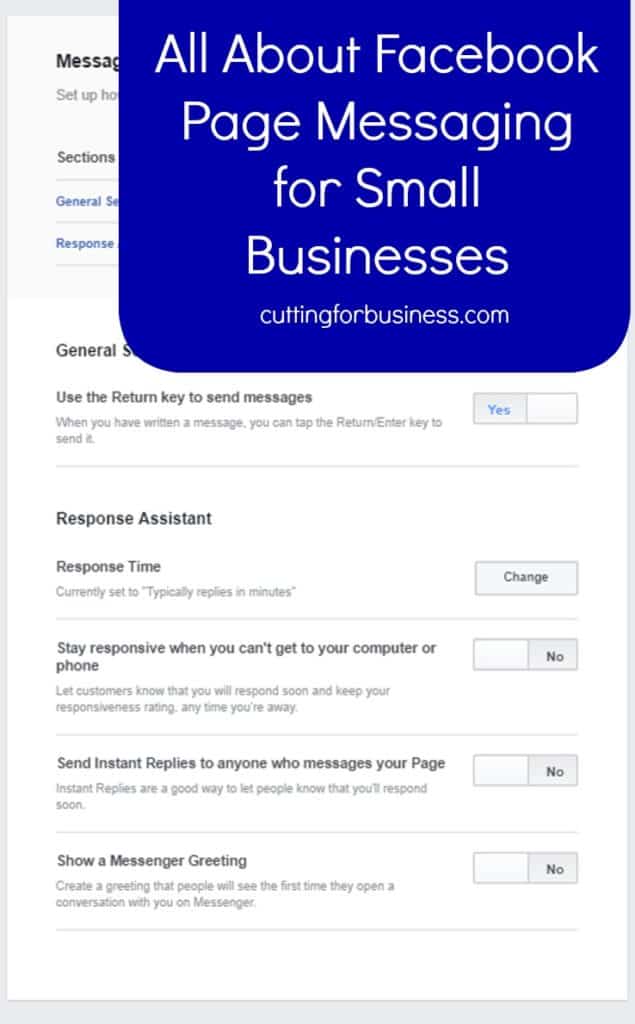
    Love it or hate it – your Facebook business page is a great tool to keep in touch with your customers. Facebook’s Messenger feature is a popular way for customers to ask questions. Today, we are going to look at some of the features hidden away in Facebook’s messenger. Did you know that it is incredibly easy to change your displayed response time, turn off messaging all together, or set up autoresponders? Let me show you how with these 10 second tutorials:

    How to Turn Off Messaging for Your Facebook Business Page

    1. Log into your Facebook Business Page.
    2. Click “Settings” at the top of the page (near the right hand side).
    3. From the “General” section, click on “Messages”.
    4. Check or uncheck the box next to “Allow people to contact my Page privately by showing the message button”. (If unchecked, people can’t message you – if checked, your page will be abe to receive messages.)

    How to Change Your Facebook Message Response Time

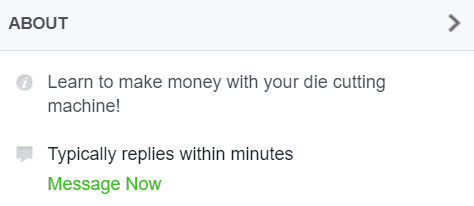
    On the left hand side of your Page profile, under the About Section, your typical message response time is noted. It looks like this:

    FAQ About Facebook Page Messaging (Great for Silhouette Cameo or Cricut small business owners) by cuttingforbusiness.com

    You can change what is displayed in here by following these steps:

    1. Log into Facebook.
    2. Click “Settings” at the top of the page (near the right hand side).
    3. Click on “Messaging” on the left hand side.
    4. Under “Response Assistant”, change the “Response Time” setting. Your choices include:

    I recommend choosing the setting that most accurately describes how often you reply to messages.

    How to Set up Autoresponders to Facebook Messages

    1. Log into Facebook.
    2. Click “Settings” at the top of the page (near the right hand side).
    3. Click on “Messaging” on the left hand side.
    4. Under “Response Assistant”, you can set up automatic messages to be sent as soon as someone messages your page.
      1. The “Send Instant Replies to anyone who messages your Page” setting will send a message to anyone who messages your page. You can customize the message by clicking the “Change” button after turning it on.
      2. The “Show a Messenger Greeting” setting will send a message to anyone who messages your page for the first time. Again, you can customize the message by clicking the “Change” button after turning it on.
      3. The “Stay responsive when you can’t get to your computer or phone” setting will send a message to anyone who messages your page while it is set to away. You can think of this as a mini vacation responder – lasting for 12 hours. Of course, you will be able to customize this message after you change the setting to “Yes”.
        1. If you would like to set your Facebook page to away, follow these steps:
          1. Click “Messages”.
          2. In the bottom left hand side of the screen, flip the button to “Away”. This will set your page as away for up to 12 hours. (Look closely, it is grayed out and kind of hard to see!)

    Facebook’s Responsiveness Badge

    Facebook displays a badge to pages who respond to at least 90% of the messages they receive within an average of 15 minutes. The badge looks like this:

    FAQ About Facebook Page Messaging (Great for Silhouette Cameo or Cricut small business owners) by cuttingforbusiness.com

    A few things about the Facebook badge:

    1. It is only displayed to page visitors when you meet the 90%/average 15 minute response time.
    2. When you are outside of those times, the response percentage and times are only visible to page admins.
    3. The averages that count are for the last 7 days.
    4. The response time is only calculated on the first reply in the series of messages.
    5. If your page is set to “Away”, the calculations will start from the time that you page comes back from the away status.

    Whew, who knew there were so many settings within Facebook’s messaging? There’s actually one more that I will talk about in depth tomorrow to help you get (and keep) your messages organized – labels.

    Save this post to Pinterest so you can find it when you need it:

    FAQ About Facebook Page Messaging (Great for Silhouette Cameo or Cricut small business owners) by cuttingforbusiness.com

  • 4 Best Places to Buy Blank Can Koozies

    Looking for a quick and easy product to make and sell with your Silhouette or Cricut? Grab some heat transfer vinyl, your heat press, and some can koozies. Today, I’m sharing the best places to buy blank can koozies.

    4 Best Places to Buy Blank Can Koozies - cuttingforbusiness.com.

    Sewn vs Unsewn Can Koozies

    Before you start shopping, you’ll need to decide whether you want sewn or unsewn can coolers. Unsewn can coolers are shipped flat and require sewing after embellishing them; while sewn can coolers lay flat to embellish but are ready to use.

    Are sewn or unsewn can koozies better? Honestly, it’s up to you. Sewn can koozies can be difficult to heat press, but unsewn can koozies require extra hours and labor.

    Places to Buy Blank Can Koozies

    24 Hour Wristbands

    • Pricing
      • Pricing varies will number ordered. An order of 100 blank can holders costs $0.31 each; while an order of 2500 costs $0.28 each.
    • Colors Available
      • Black, brown, burgundy, camel, camo, camo (pink), champagne, charcoal, coral, dusty rose, eggplant, fuschia, grey, hunter green, kelly green, mint, navy, neon blue, neon green, orchid, placid blue, purple, raspberry, red robin egg blue, royal, sandstone, tangerine, Texas orange, white, yellow, neon orange, neon pink
    • Shop Now: 24 Hour Wristbands

    Quality Logo Products

    • Pricing
      • Pricing varies depending on the number of products you order. 55 to 99 are $1.02 each, but orders of 500+ are $0.52 each.
    • Colors Available
      • 26 colors to choose from: Black, royal blue, neon blue, robins egg blue, turquoise, red, burgundy, white, neon orange, Texas orange, kelly green, forest green, lime green, mint, gray, charcoal, camo, purple, yellow, neon yellow, khaki, neon pink, coral, fuchsia, chocolate brown, navy blue
    • Shop Now: Quality Logo Products

    Wholesale Coolies

    • Pricing
      • Pricing varies based on the style and number of units ordered.
    • Colors available
      • 21 different colors: Black, bright orange, burgundy, charcoal, forest green, fuchsia, gray, green camo, kelly green, khaki, navy blue, neon blue, neon green, neon pink, pink camo, purple, red, royal blue, turquoise, white, yellow
    • Shop Now: Wholesale Coolies

    Amazon

    Outsourcing Bulk Can Koozie Orders

    In my opinion, it is not worth it to use your Silhouette or Cricut to make bulk order of can koozies, because it is tie consuming. When you factor in your labor rate, you likely won’t be able to sell the can holders for enough money to cover the time weeding and pressing.

    So, should you decline a bulk order? Absolutely not! Instead, outsource it to a screen printer. Let’s look at a couple of examples.

    Wedding Favor Bulk Order Example

    • Customer Wants: 100 navy blue can holders with a yellow design that reads: “To Have and To Hold… and keep your drink cold. Will & Christine, 20XX”
    • Pricing with 24 Hour Wristbands: At the time I checked the pricing, there was a 10% coupon code at the top of the site and free shipping. My order total was $63.
    • Profit: You charge the customer $150 and you make $87 for designing the product and having it printed.

    Event Bulk Order Example

    • Customer Wants: 500 white can koozies with their company logo in blank. They will provide the logo.
    • Pricing with 24 Hour Wristbands: Again, using 24 Hour Wristbands for this order, you would pay $165.
    • Profit: You could charge your customer $1 each and make $335 for uploading their image and having it printed.

    Trademark Concerns: Koozie is Trademarked

    As a reminder: When selling koozies, be sure to not use the word “koozie” in your sale listing. Why? It’s trademarked to Norwood Promotional Products, who is very aggressive with trademark violations.

    Good alternatives include: can holder, can cooler, sleeve, or coolie.

    Need another easy to personalize product? Popsicle sleeves! Read my list of where to buy popsicle sleeves.