TGIF! It’s been a long week, and I am thrilled it’s Friday! Before I sign off for the weekend, I wanted to not only give you a free St. Patrick’s Day SVG, but walk you through the steps to create it.
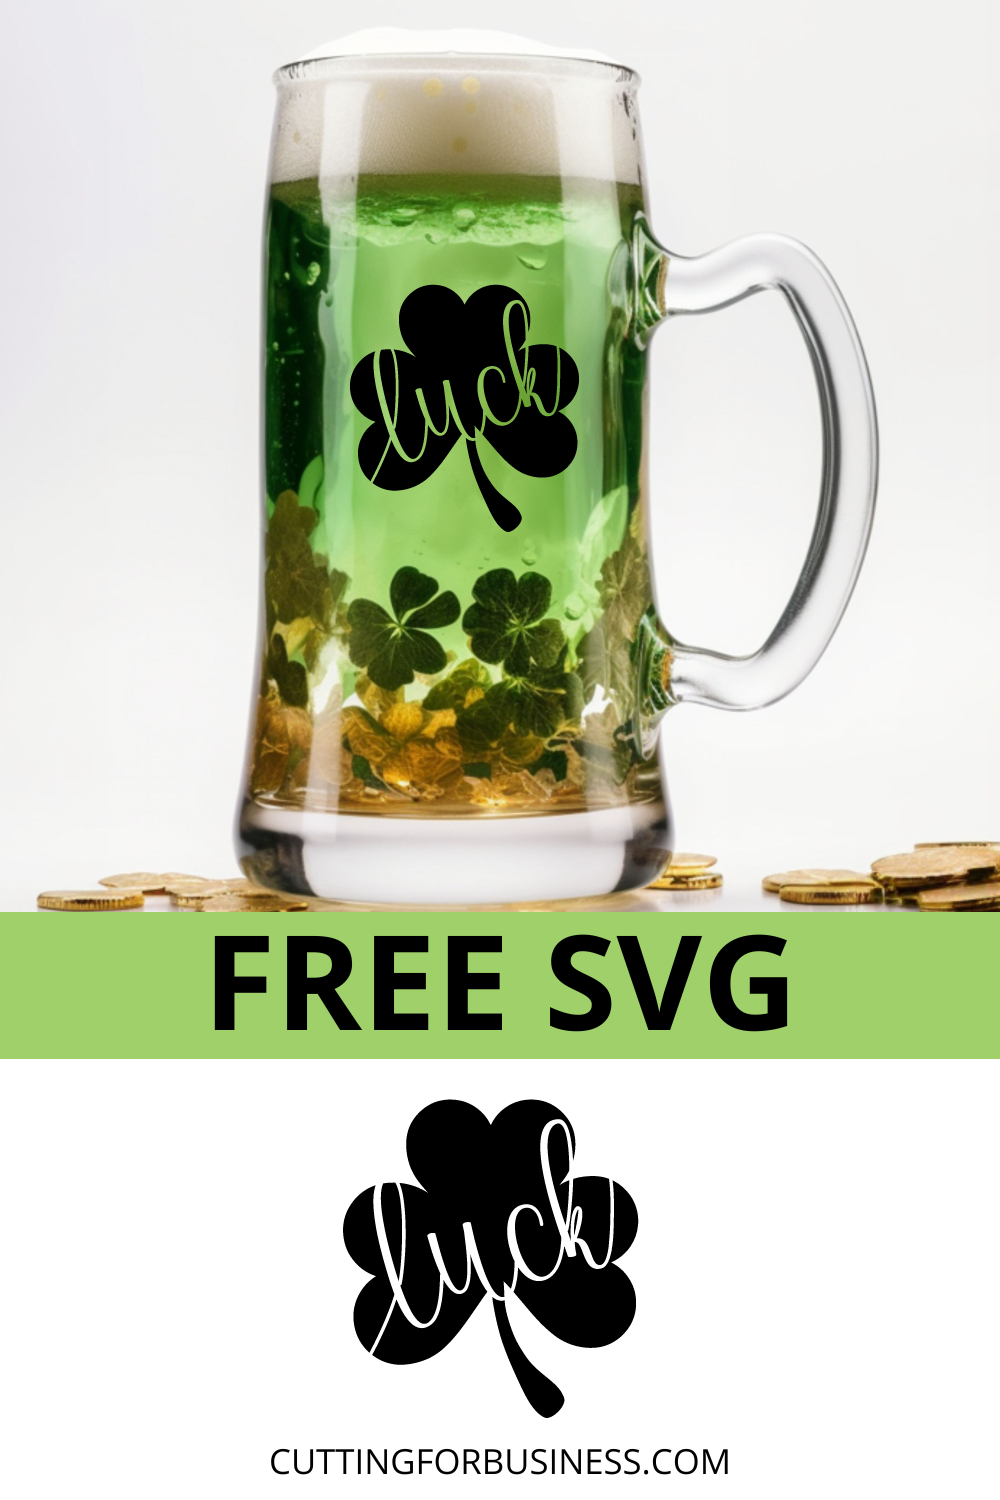
Tutorial: Shamrock SVG in Silhouette Studio
Note: This is an older tutorial. You can also use Silhouette Studio’s Flexishapes to create hearts. And thankfully, I’ve gotten much better at writing tutorials. View newer tutorials: Design with Me tutorials.
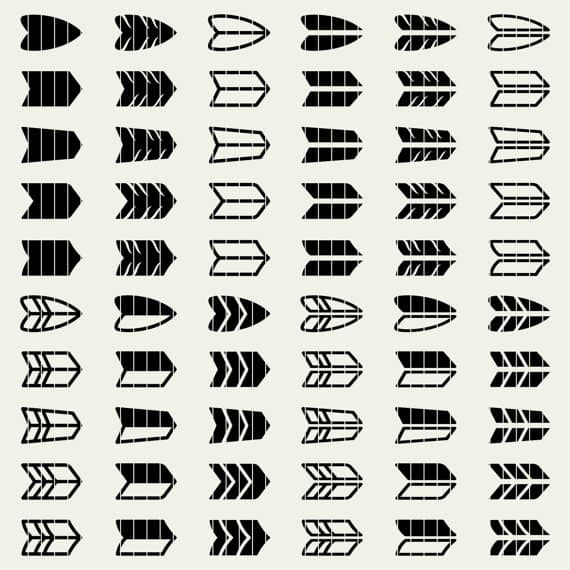
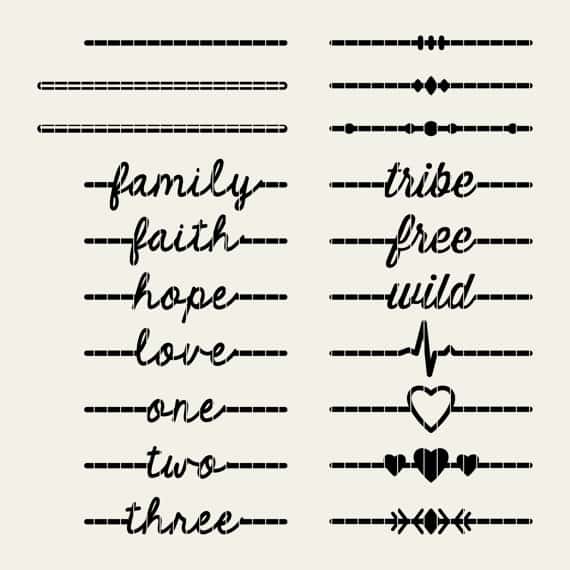
Before you get started, you’ll need Border Bits – a free font from Clever Someday and your favorite script font.
- Type the number 9 using the Border Bits font. It will display as a heart shape.
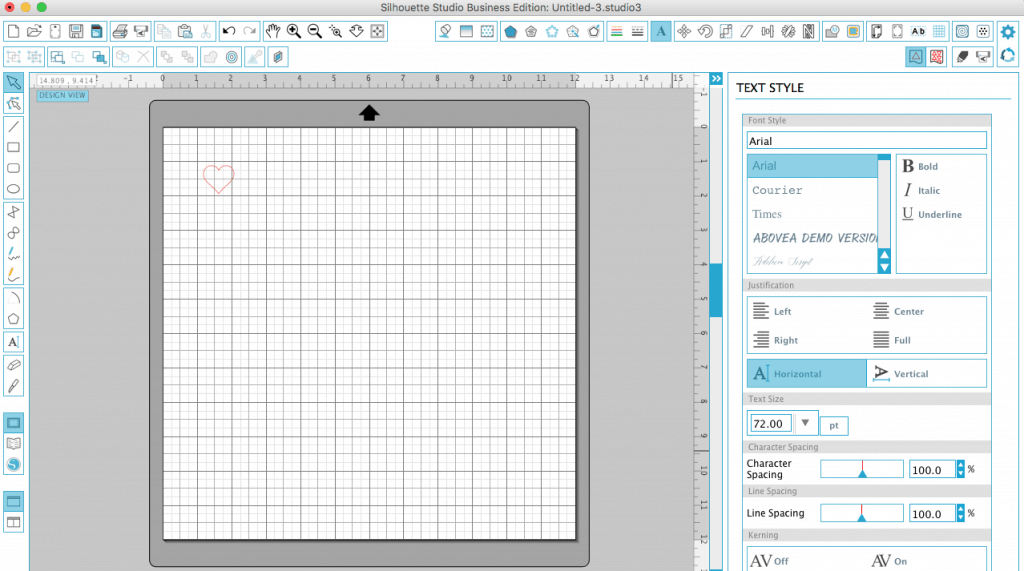
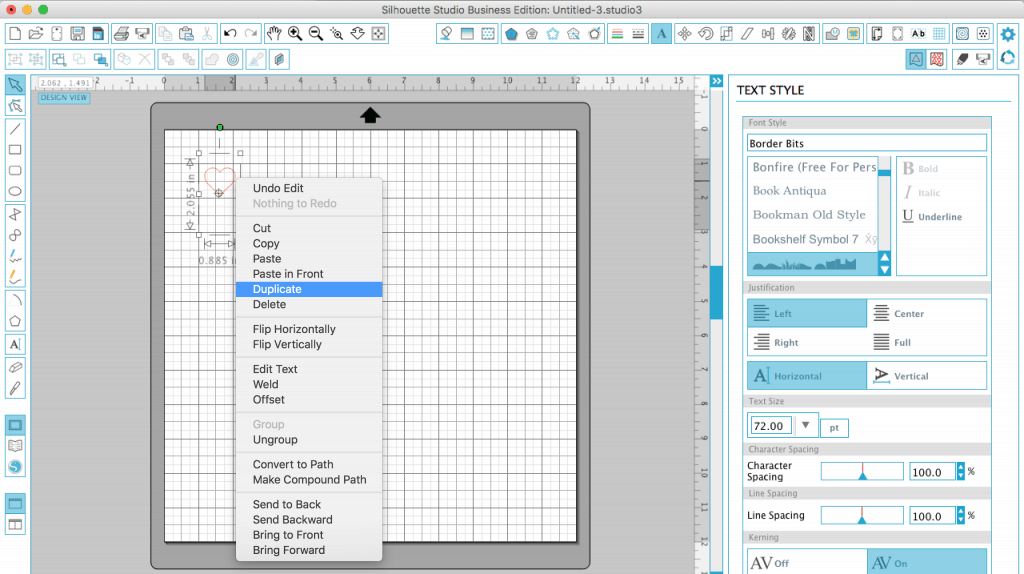
- Right click the heart and duplicate the heart two times for a total of 3 hearts.
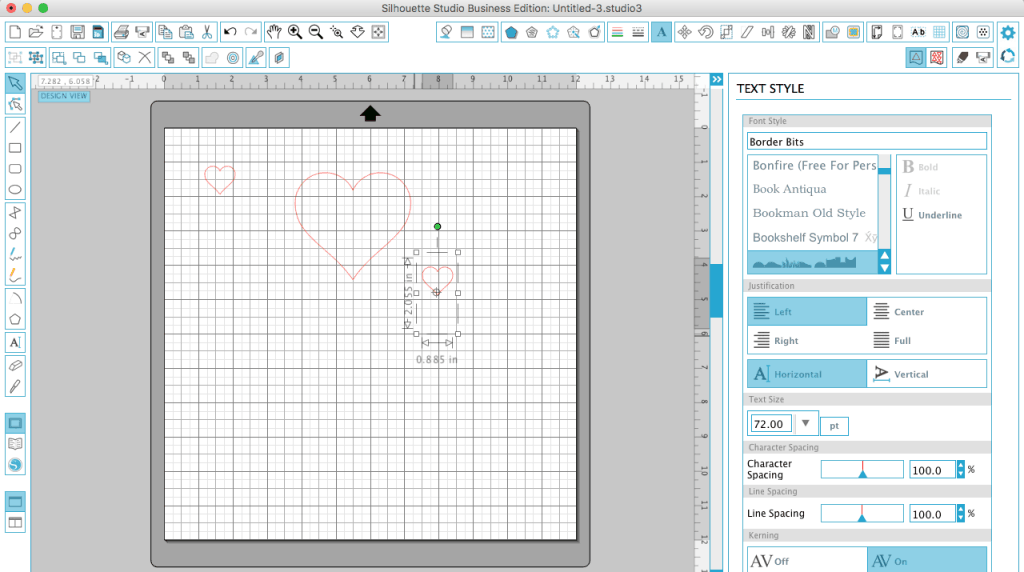
- Drag one of the hearts to the center and make it bigger. Drag the next heart to the side and rotate it clockwise using the green dot on top.
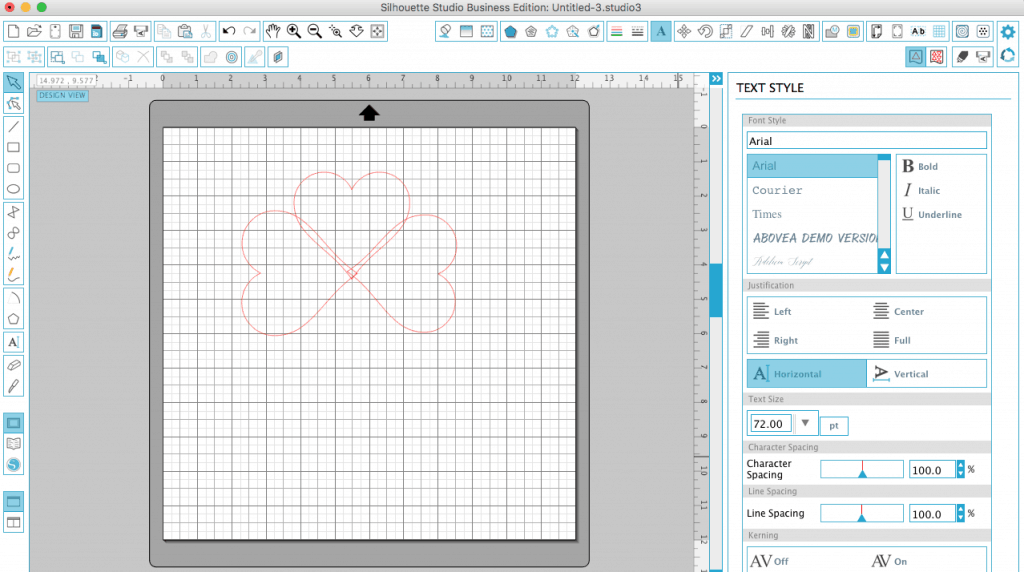
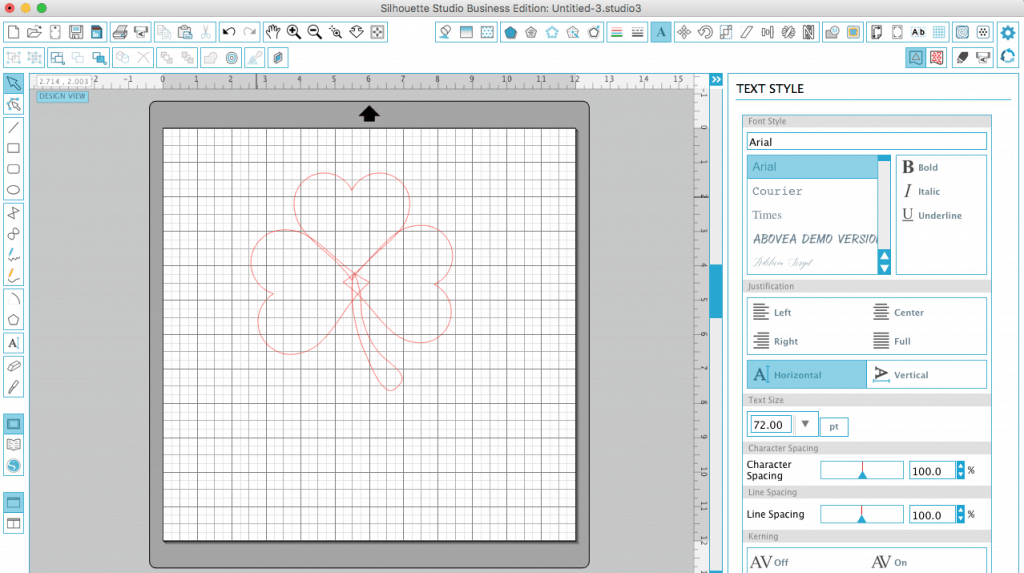
- Arrange the hearts as shown below so that they are all slightly overlapping.
- Use the ‘Draw a Curve Shape’ tool and draw a stemlike shape.
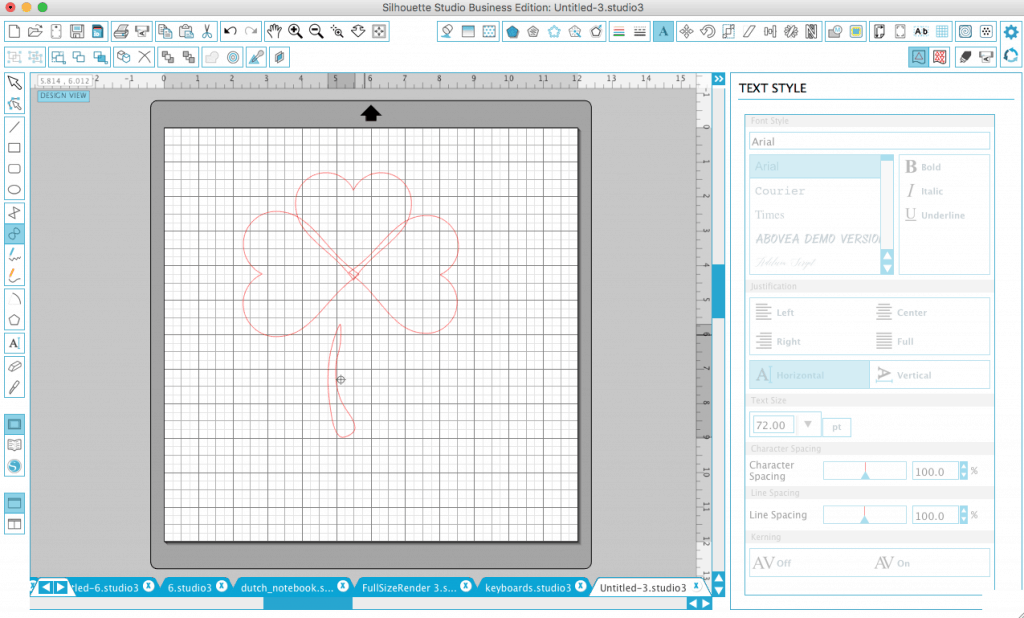
- Drag the stem into place so that it is slightly overlapping the hearts. Fine tune any placement of your hearts or stem.
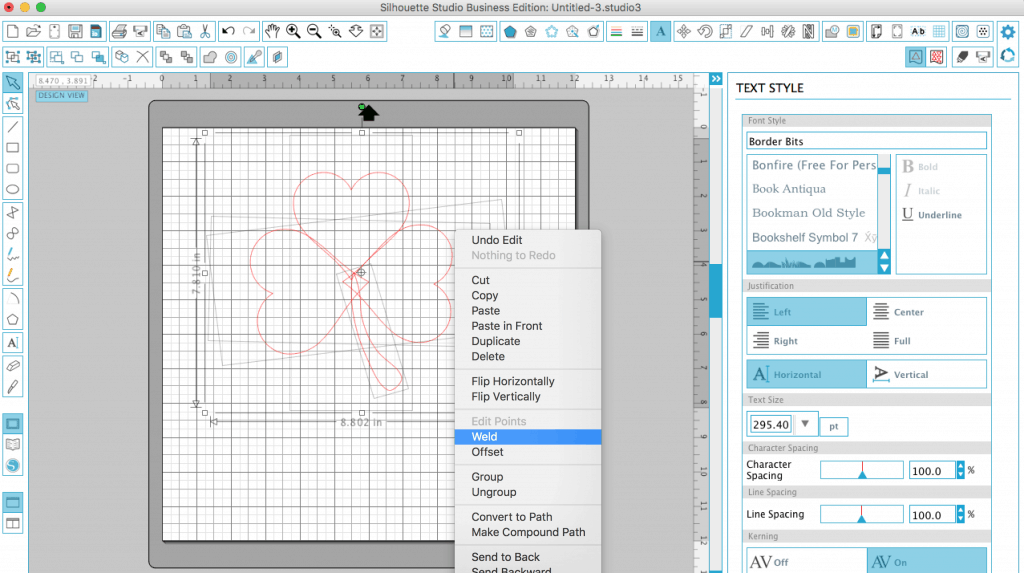
- Select all shapes (“Edit” then “Select All”) and right click, then “Weld” them together.
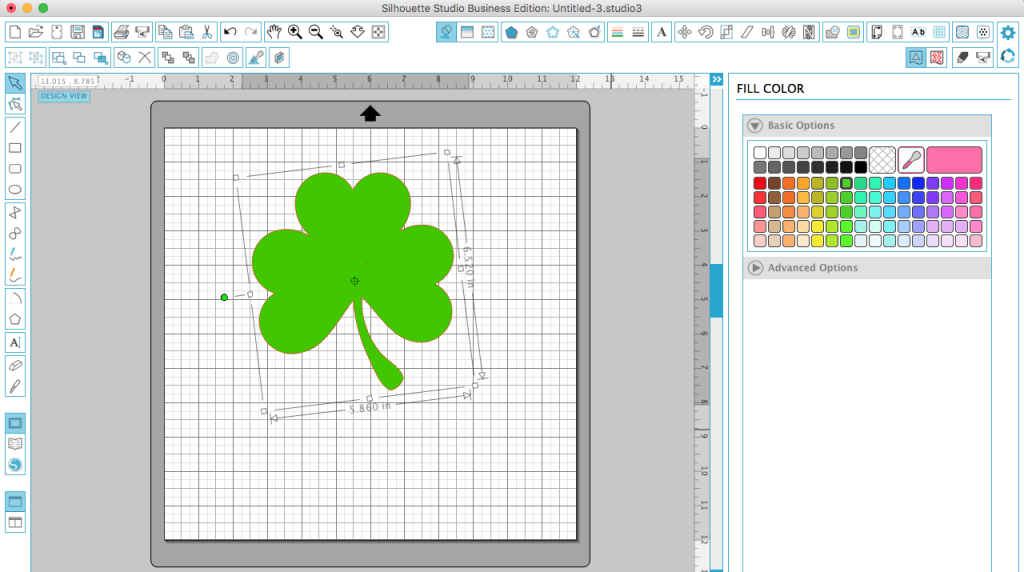
- Fill your shamrock shape with green.
- Write the word “luck” in your favorite script or swirly font. If you have letters that overlap, be sure to weld the letters together.
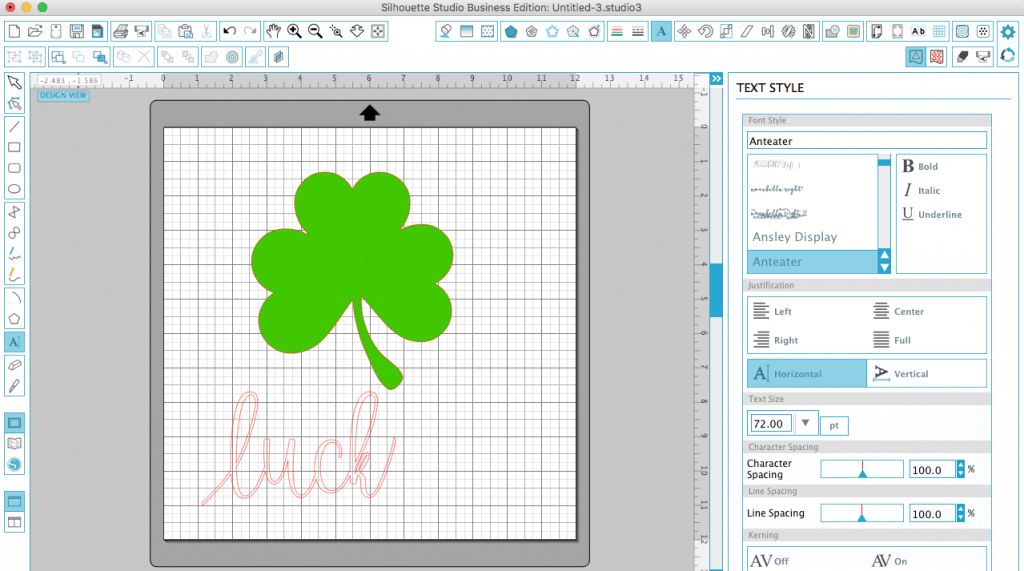
- Drag the word onto your shamrock shape and rotate it slightly to angle it. It’s okay for your word to be larger than the shamrock shape.
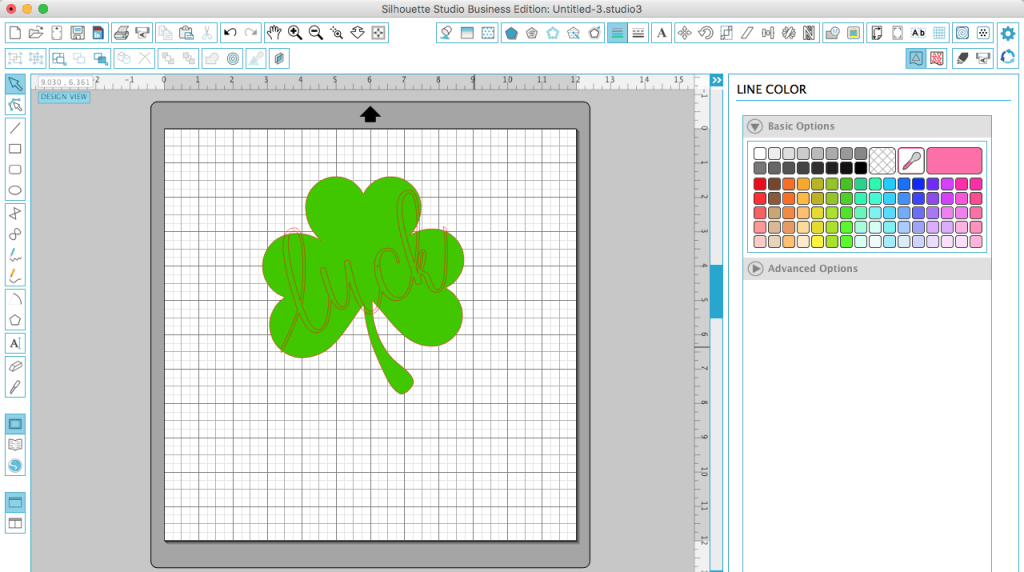
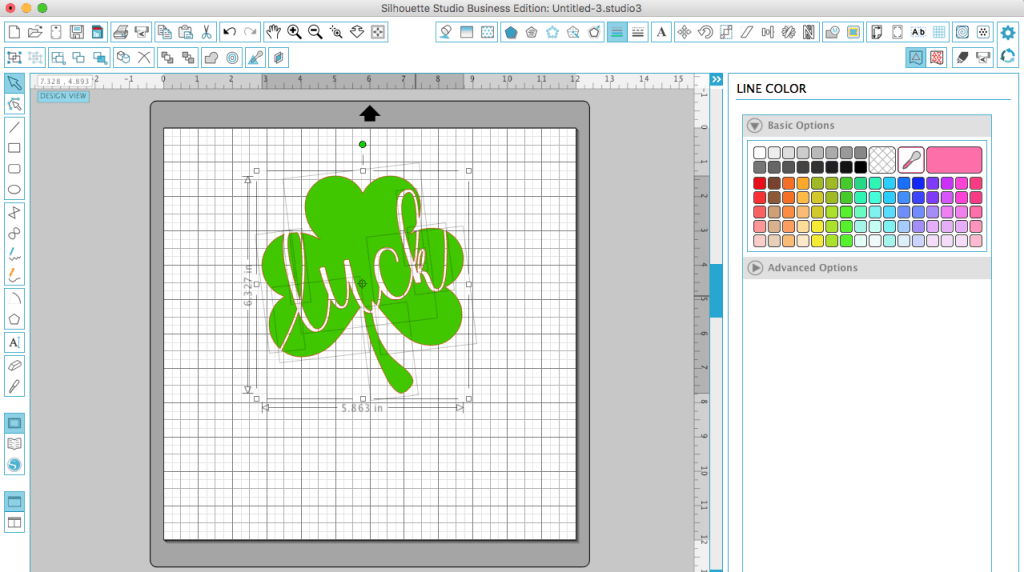
- Select all the shapes. Go to “Object”, then “Modify”, and “Subtract”. This will subtract the text from the shamrock like shown below.
- Group all shapes back together (right click, then “Group”).
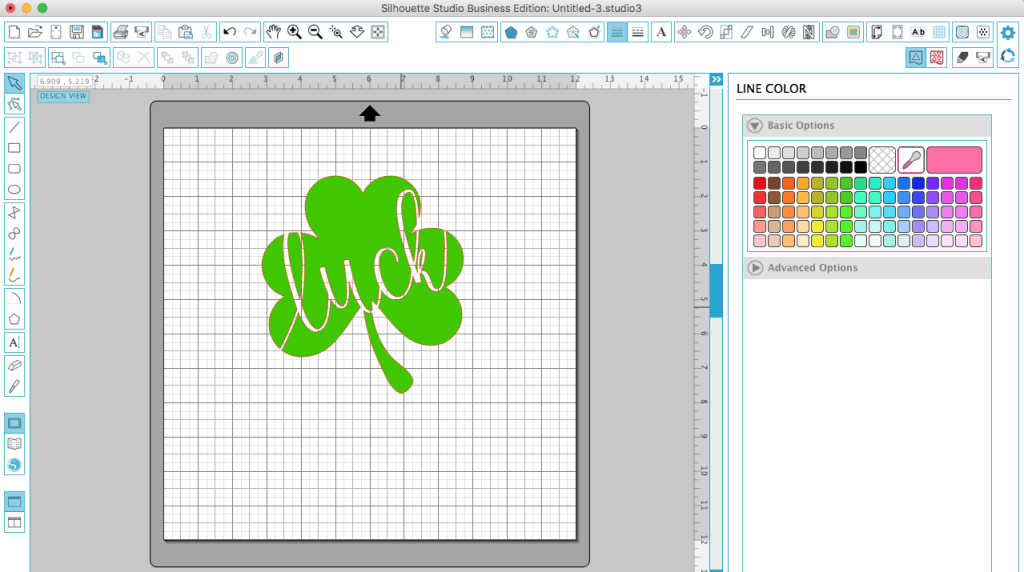
That’s it! You are ready to cut your newly designed shamrock! Looking for more design tutorials? Check out Design with Me.