Design with Me is a new regular feature on Cutting for Business! Each Friday, I’ll bring you a new Silhouette Studio tutorial featuring how to design an SVG.
Today, let’s make a stretched letter Christmas ornament SVG. In general, it’s not a good idea to stretch fonts. However, if you use the right font, you can bend the rules a little bit.
So what font should you use? I find that fonts advertised as “hand lettered”, “hand drawn”, and “skinny” can be usually be stretched and not look weird. Let’s take a look.
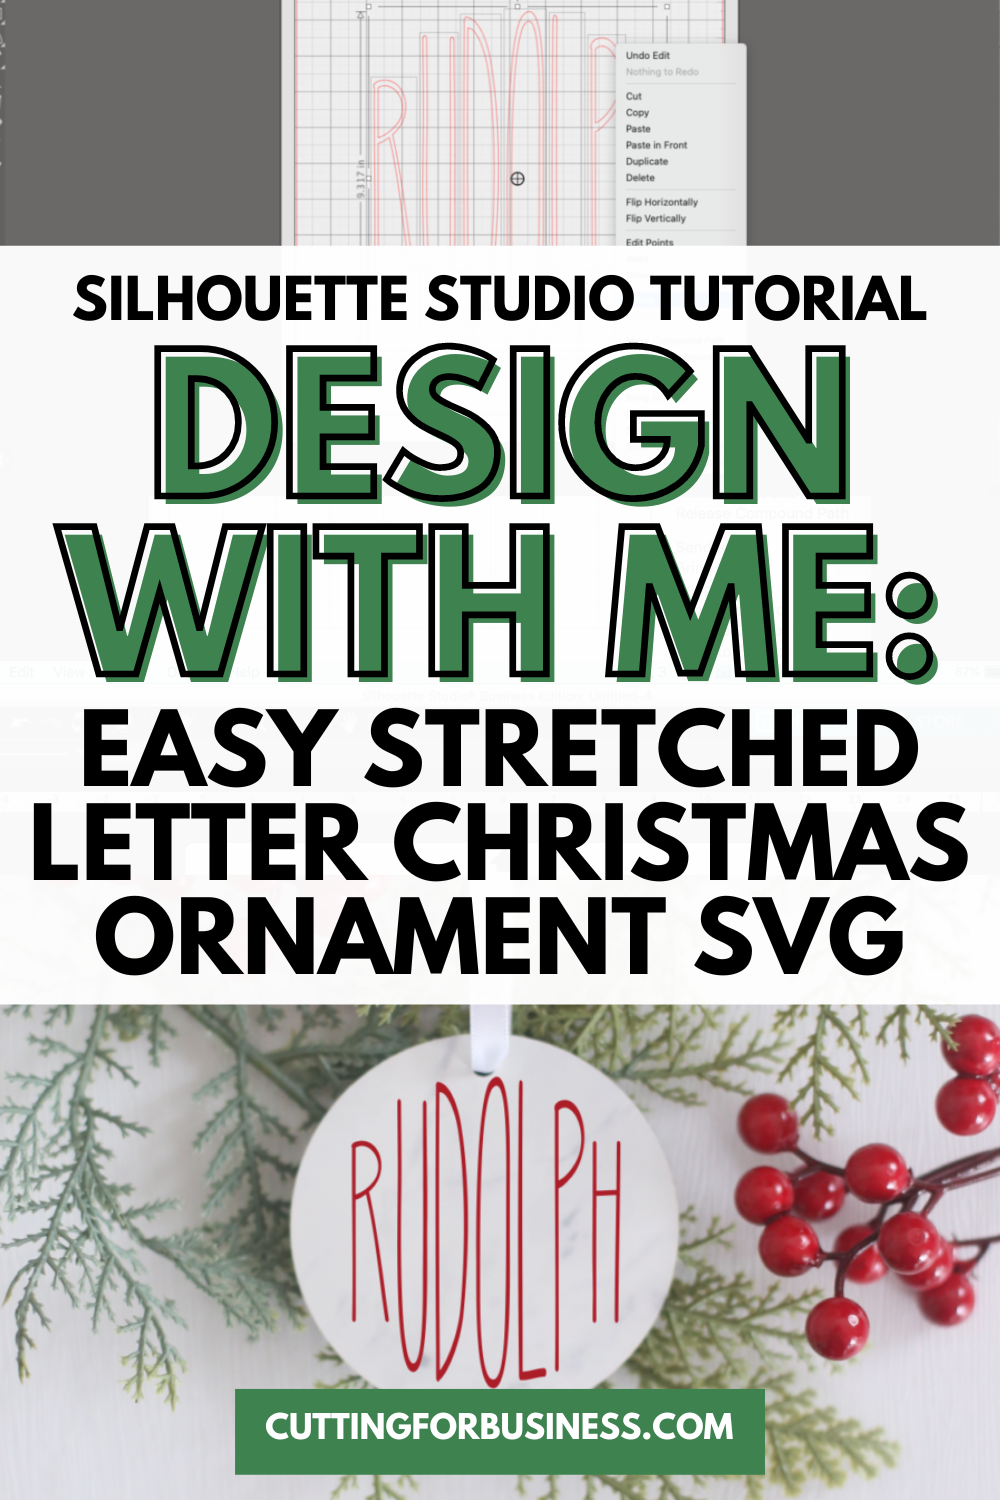
Silhouette Studio Tutorial: Easy Stretched Letter Christmas Ornament SVG
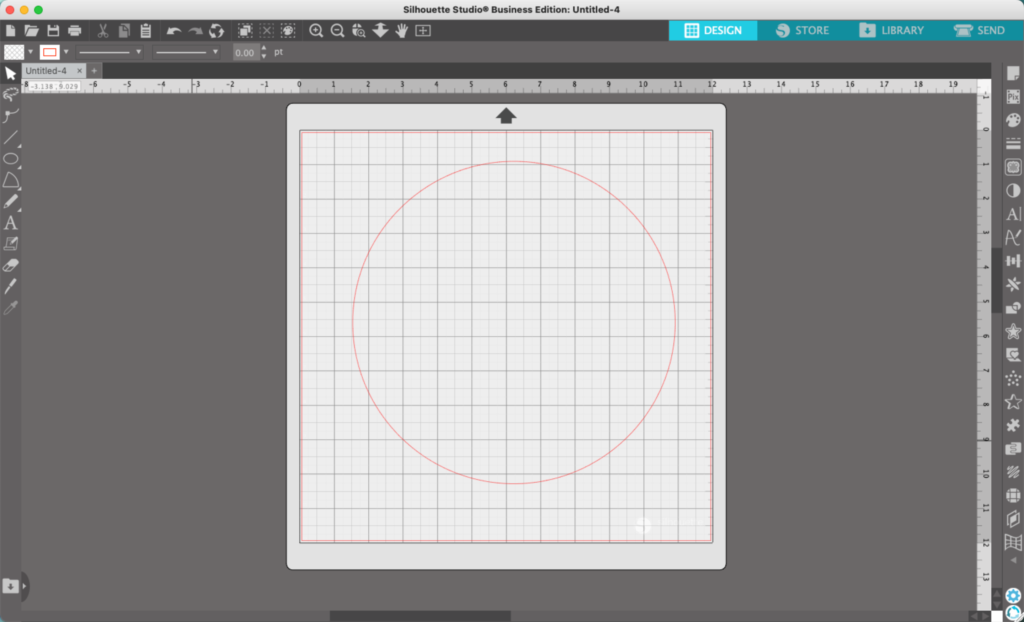
- Draw a large circle in Silhouette Studio. We will end up deleting this at the end, it is just going to be a guideline.
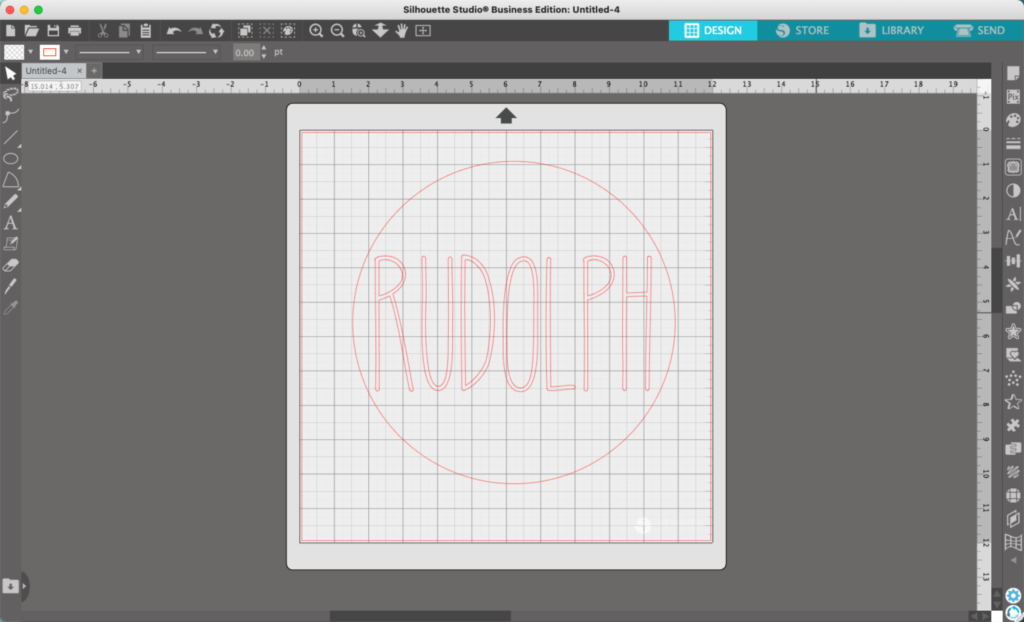
2. Write a single Christmas-y word in the circle. Use a font style that I talked about at the beginning. In this tutorial, I’ll use Rudolph – my favorite reindeer.
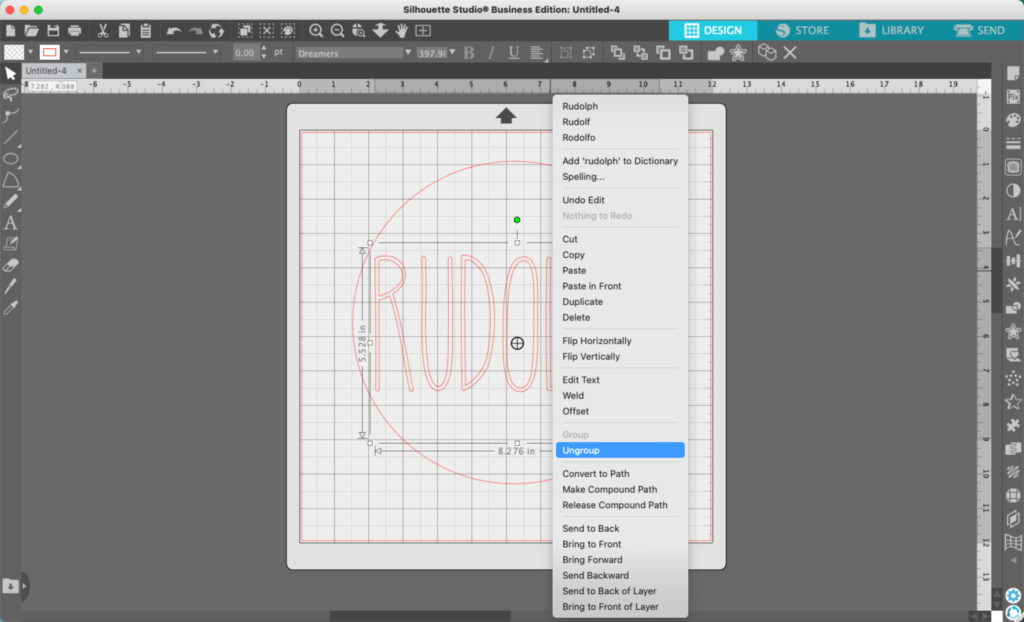
3. Right click on your text and select ‘Ungroup’.
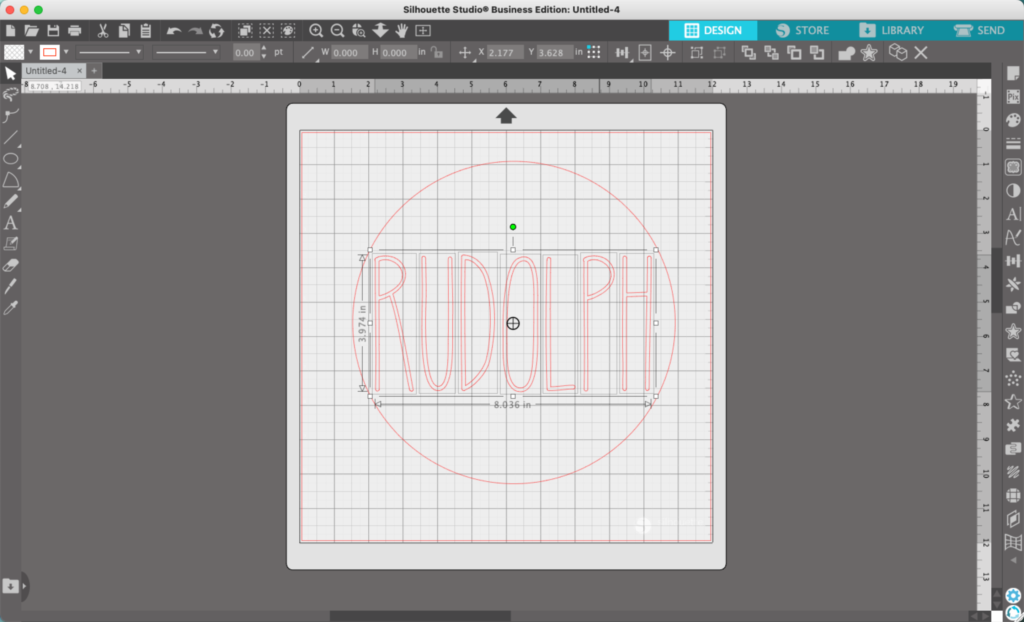
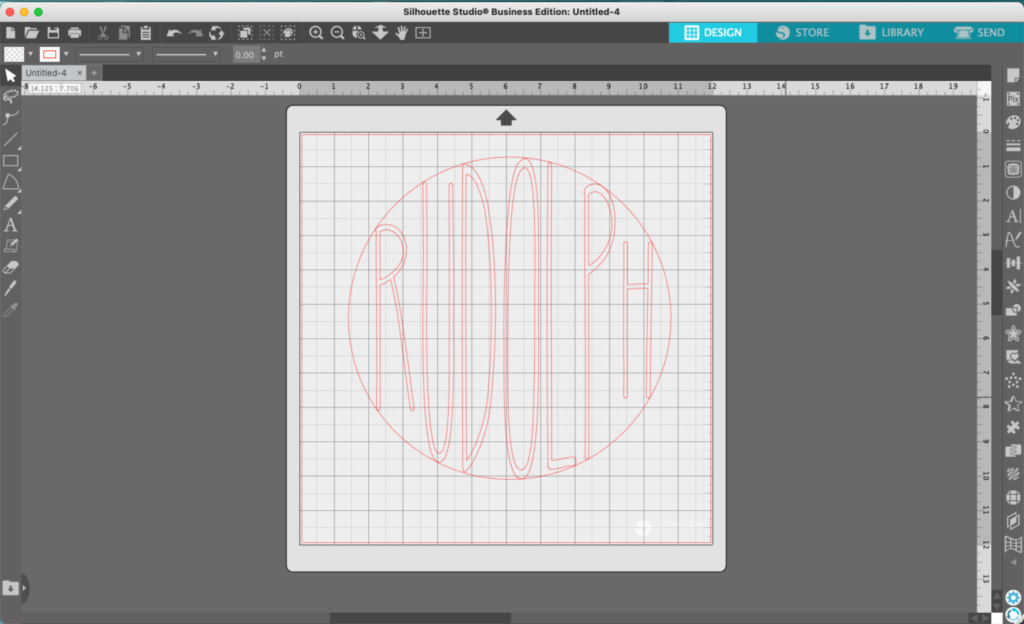
4. Drag each letter so that it is touching both the top and bottom of the circle.
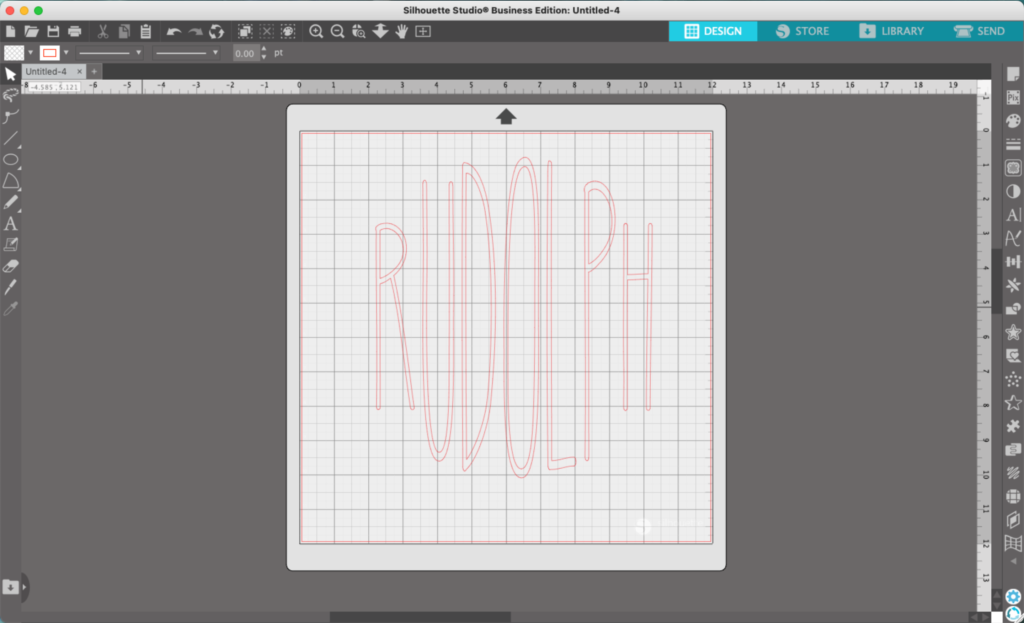
5. Delete the circle.
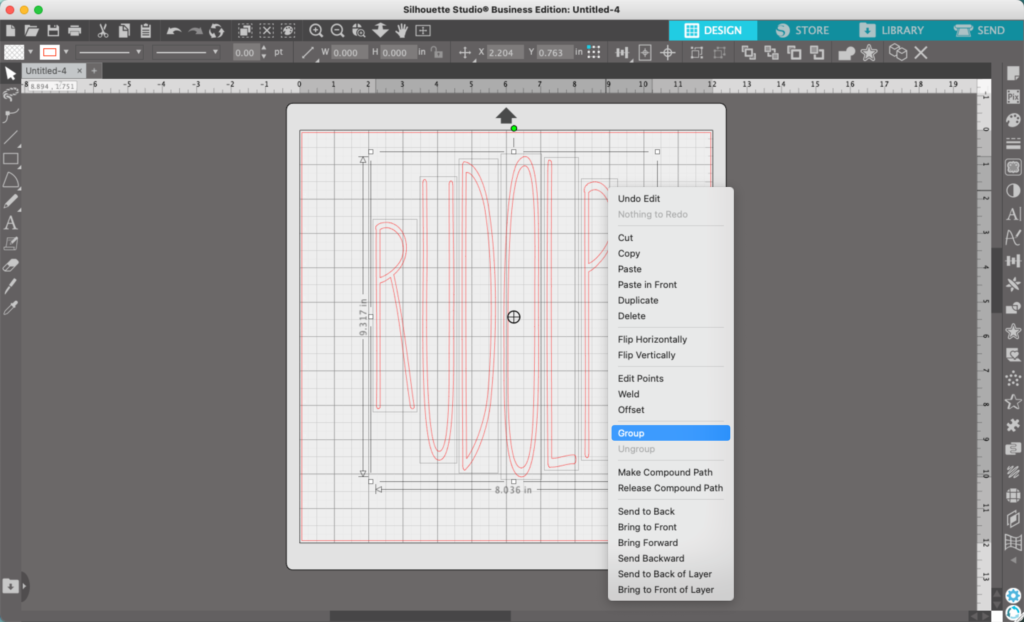
6. Select all the letters and group them back together.
7. Add color to finish the design. My finished project looks like this:
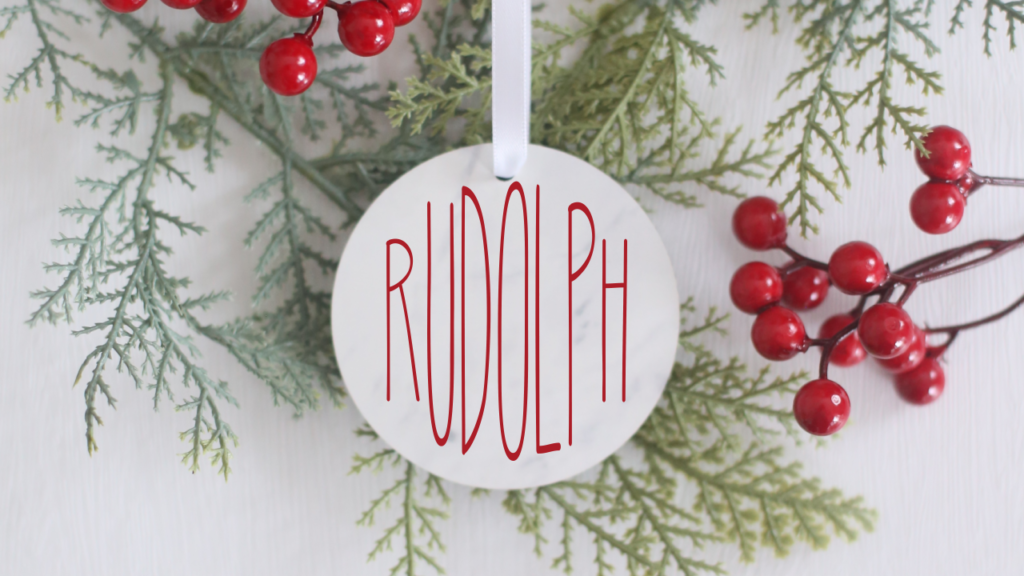
Font used: Dreamers.
Don’t Forget to Save!
To save your new SVG creation, head to ‘File’, ‘Save As’, ‘Save to Hard Drive’, name the file, then select ‘SVG’ from the dropdown menu.
Want More SVG Tutorials?
View more Design with Me SVG tutorials.
Leave a Reply