Design with Me is a new regular feature on Cutting for Business! Each Friday, I’ll bring you a new Silhouette Studio tutorial featuring how to design an SVG.
Spacing is so important in design, and it can have such an impact on the feel of the design overall.
While I normally keep my spacing tight, it’s fun to do something s p a c e d o u t once in a while, too.
Let’s take a look with this spring-y design tutorial for a simple floral SVG:
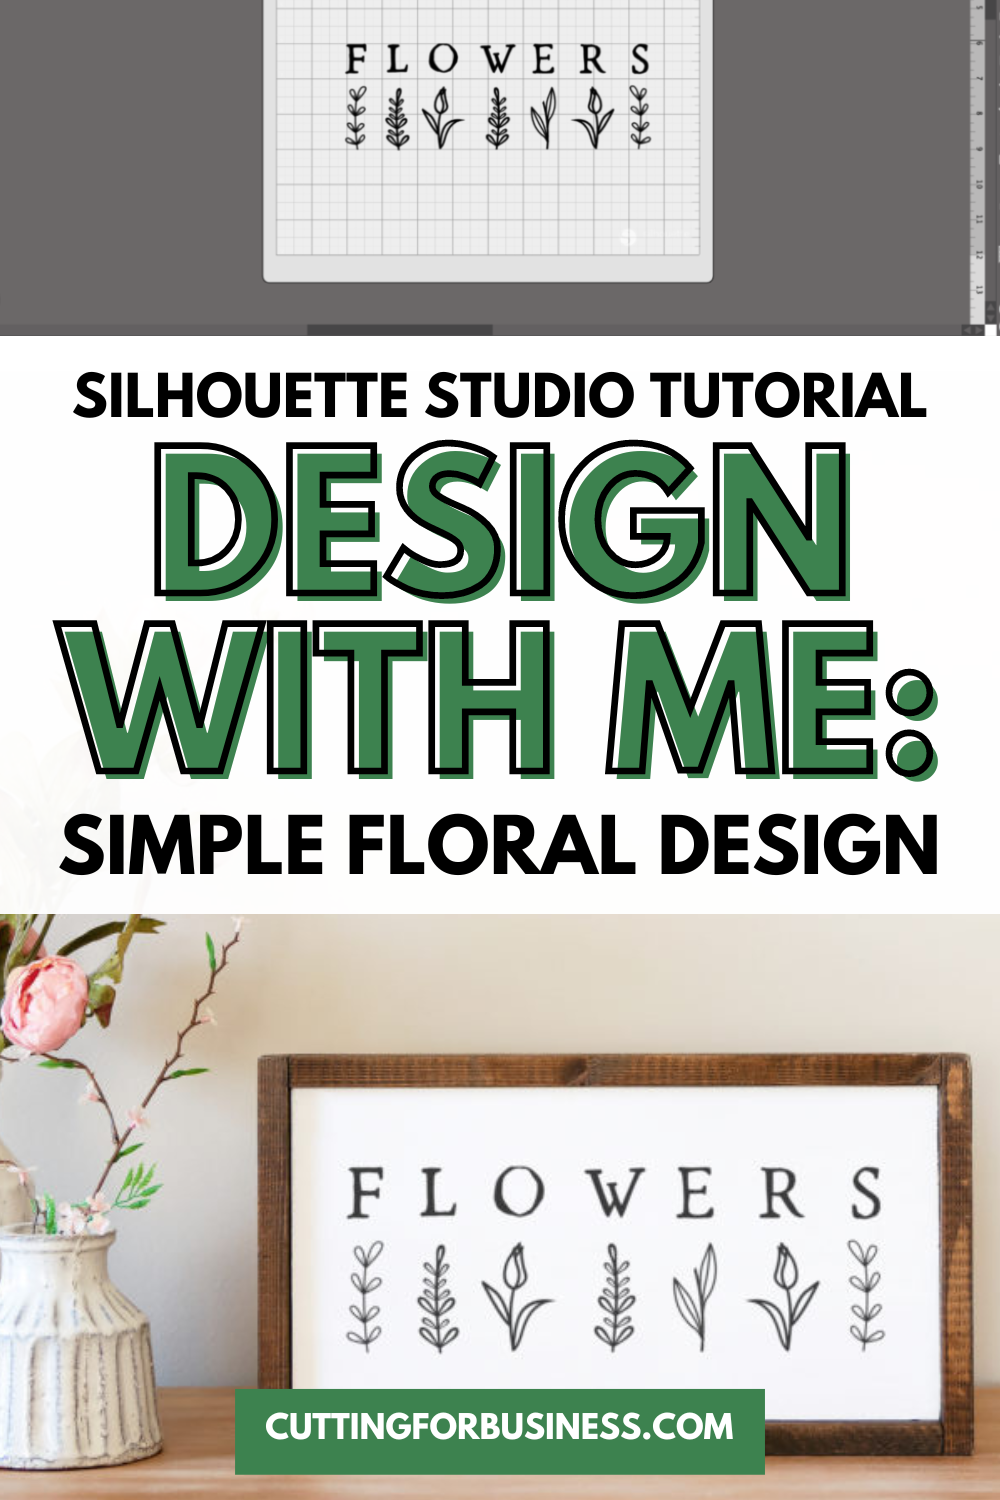
Silhouette Studio Tutorial: Simple Floral SVG
- In Silhouette Studio, type a word. In this tutorial, I’m using the Spring Market font.
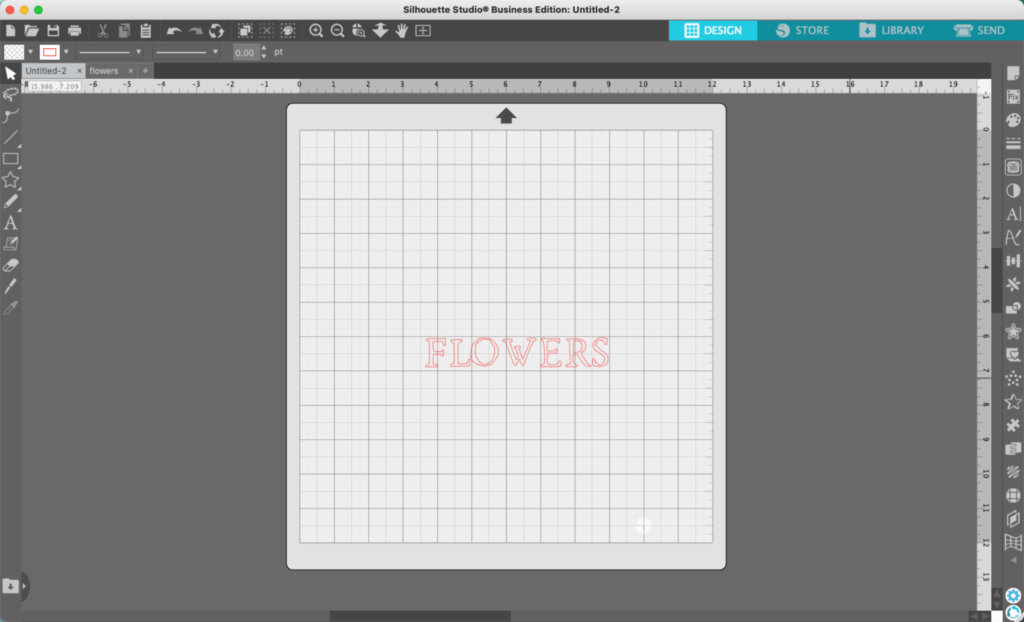
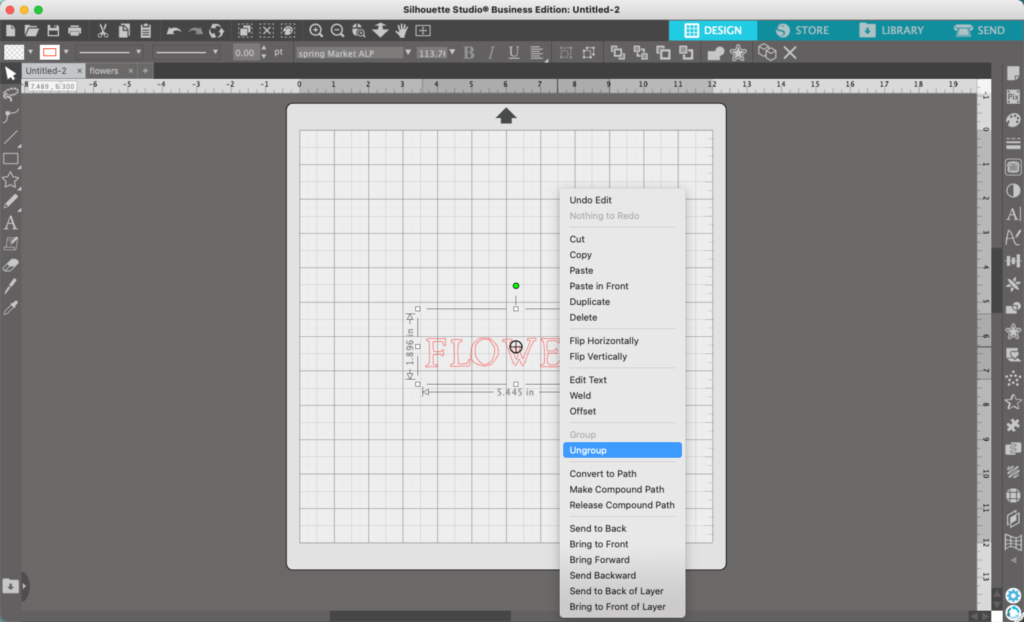
2. Right click on the word and ‘Ungroup’ it.
3. Drag the letters apart. I just eyeballed this, so they aren’t evenly spaced.
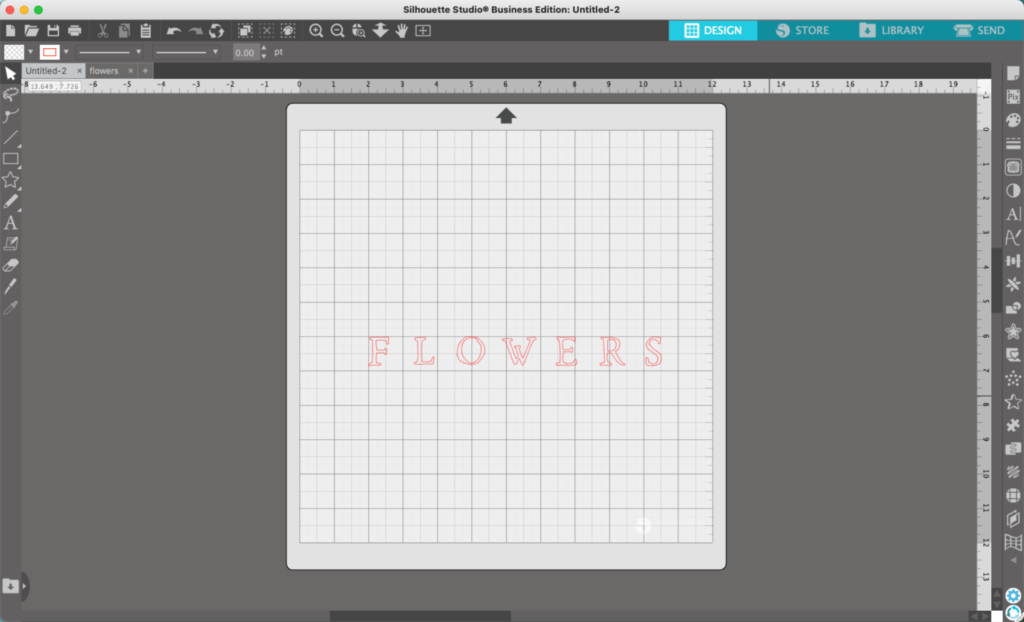
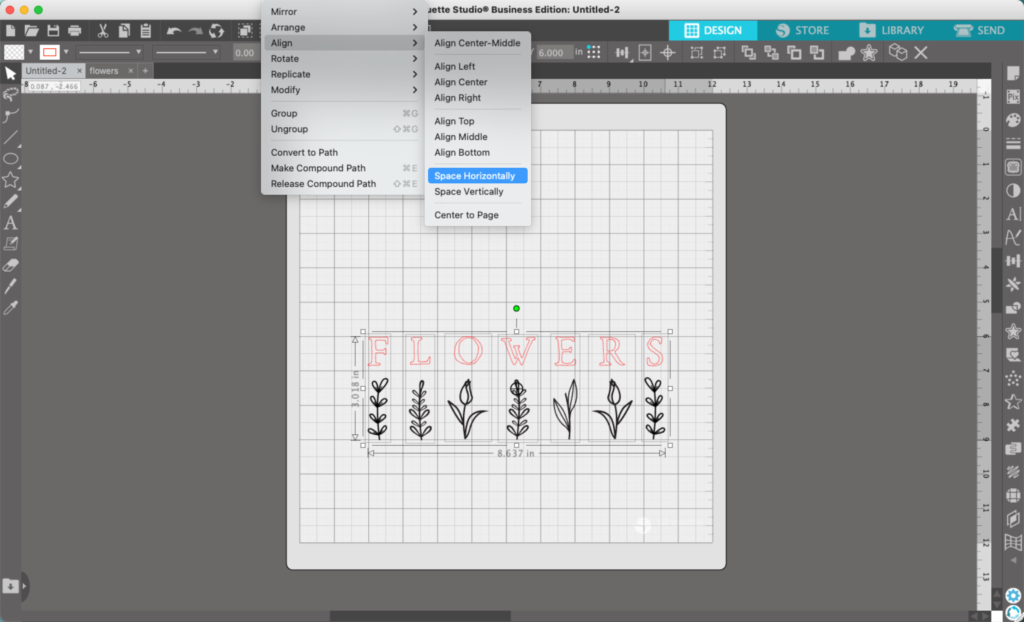
4. Select all the letters, then navigate to ‘Object’, ‘Align’, ‘Space Horizontally’.
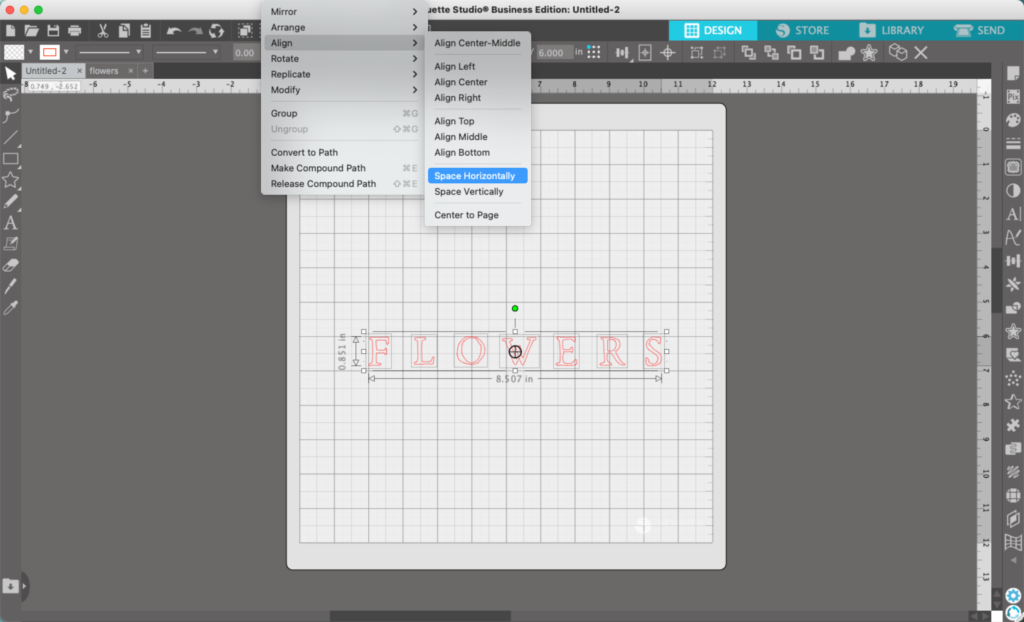
5. Grab your flowers (either drawn or purchased clip art) and place one flower on top or below each letter. There is a free set of floral dingbats right now on Font Bundles.
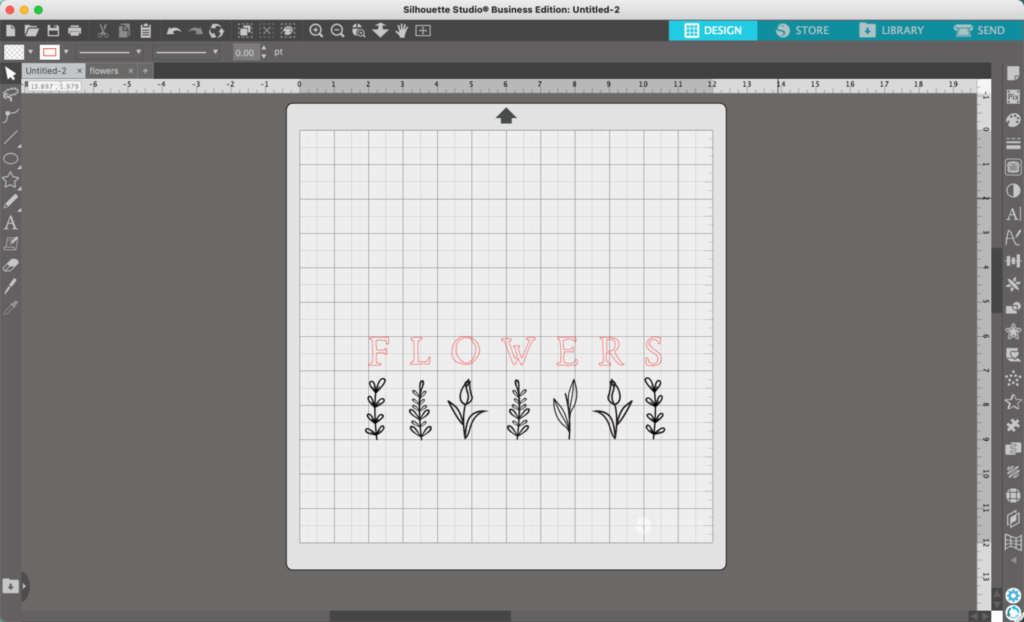
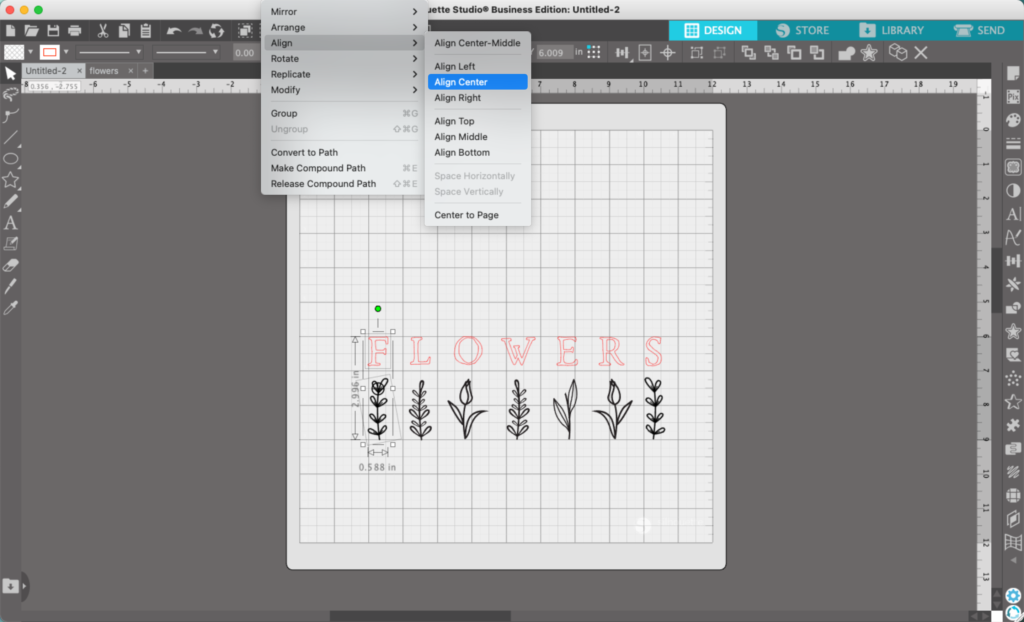
6. Select each letter and flower partner and navigate to ‘Object’, ‘Align’, ‘Center’. Repeat this process for each letter and flower partner.
7. Select each letter and its partner again and right click, then ‘Group’ them together. Repeat for all the letters.
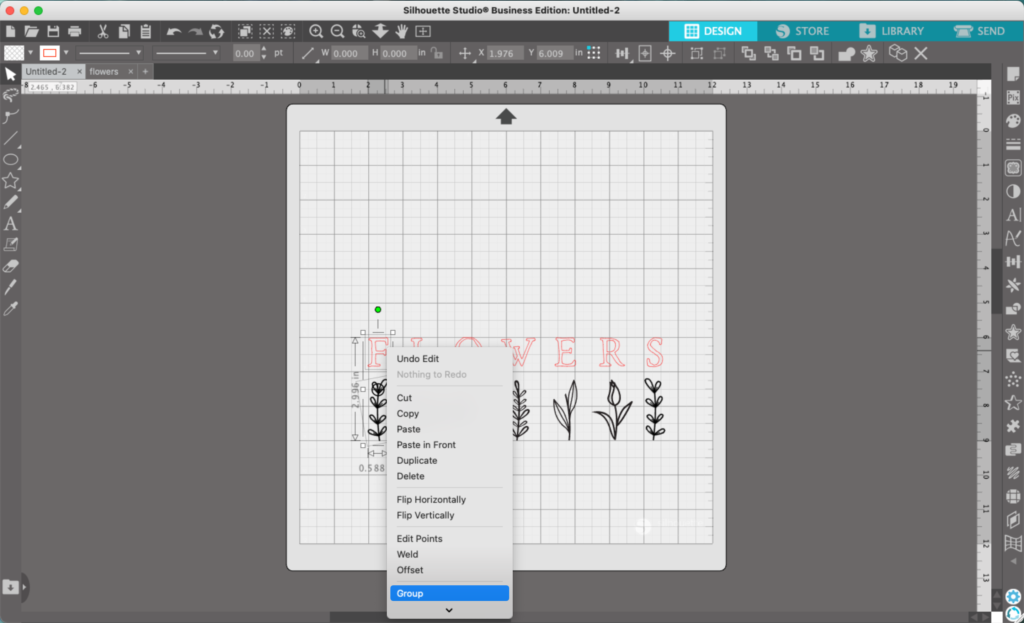
8. Now, the spacing between each group needs tidied up. Select everything and navigate to ‘Object’, ‘Align’, ‘Space Horizontally’.
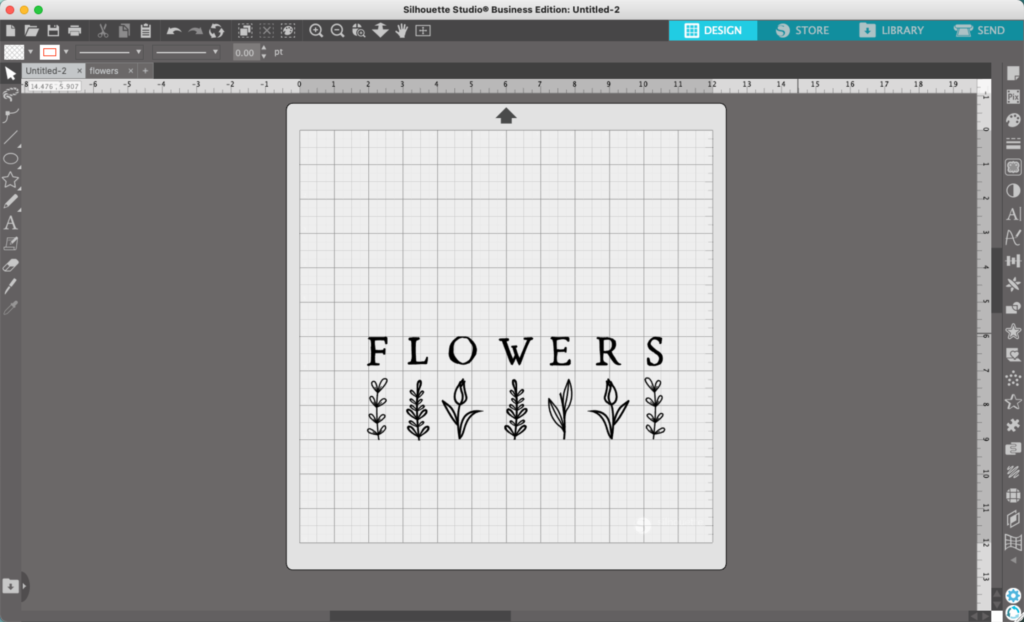
9. Add color to the design. My finished design looks like this:
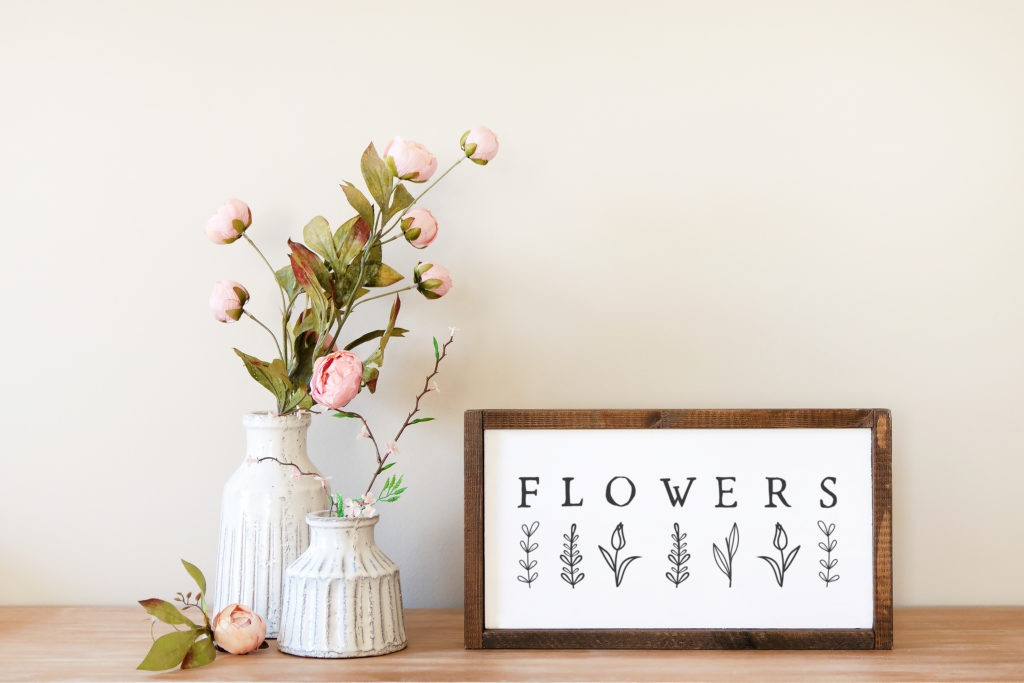
That’s it! Your design is ready to go!
Don’t Forget to Save!
To save your new SVG creation, head to ‘File’, ‘Save As’, ‘Save to Hard Drive’, name the file, then select ‘SVG’ from the dropdown menu.
Want More SVG Tutorials?
View more Design with Me SVG tutorials.
Leave a Reply