Welcome to another Design with Me on Cutting for Business! Each week, I’ll bring you a new Silhouette Studio tutorial featuring how to design an SVG.
Wavy retro text designs are in! Let’s take a look at them today.
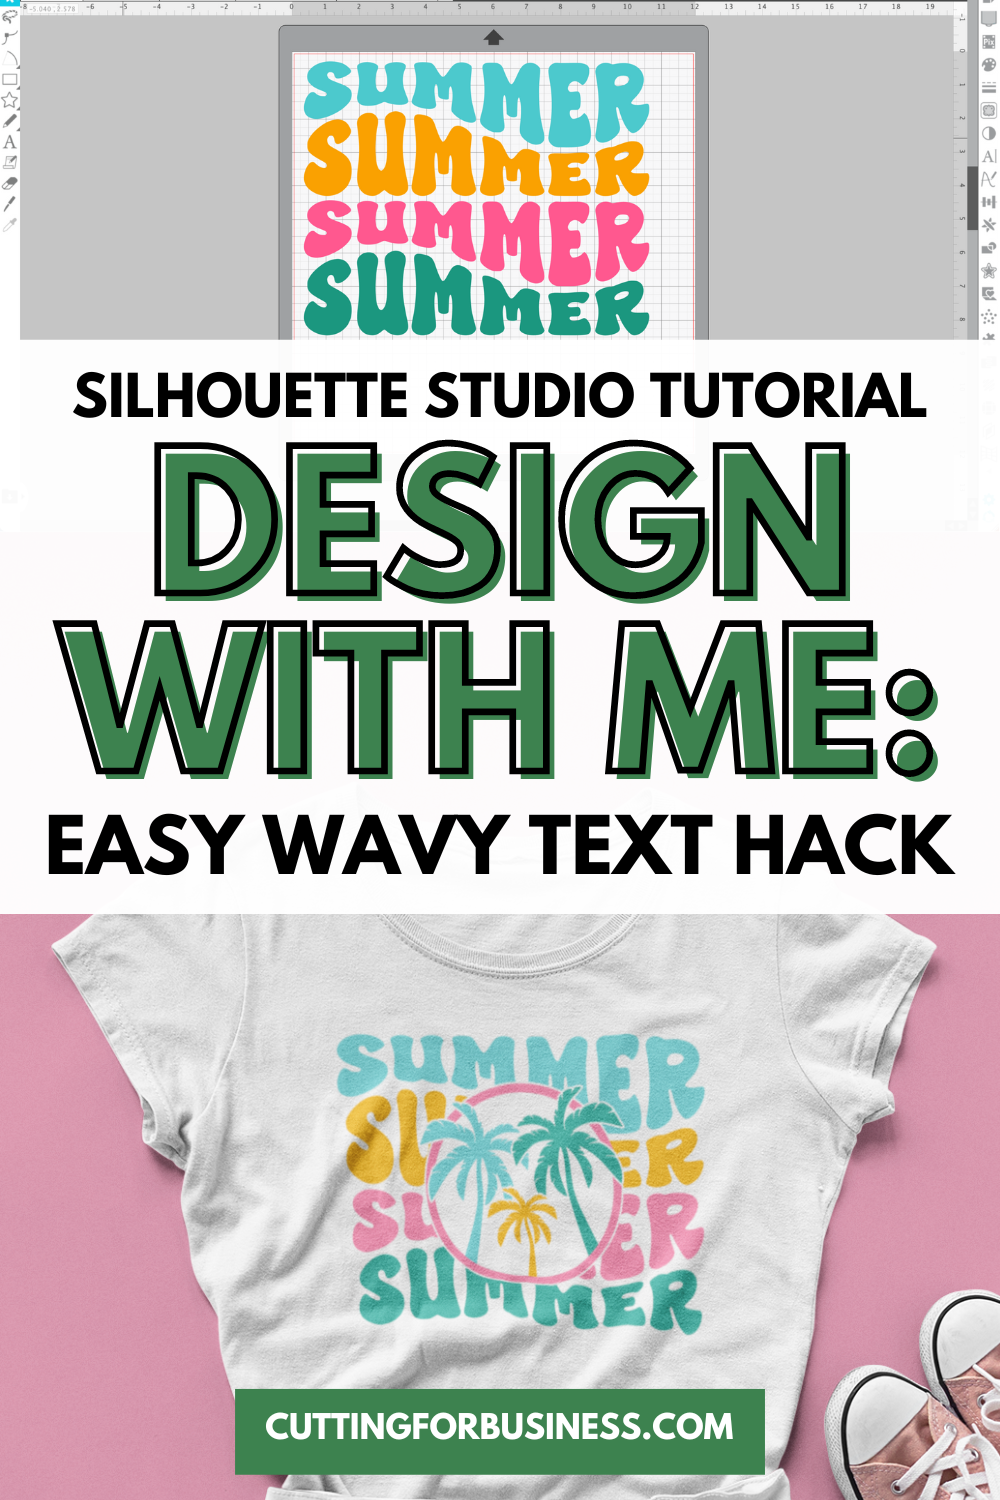
Silhouette Studio Tutorial: Wavy Retro Text SVG
Most of my tutorials are done completely in Silhouette Studio. And, this wavy retro text design can be made entirely in Silhouette Studio, but the warp tool is clunky and takes a long time. Today, let’s look at the fastest, easiest way to create a wavy text design.
First, you’ll need the perfect bubbly retro font. These are a few of my favorites: Abstract Groovy, Gentry, Super Spicy, and Super Funky.
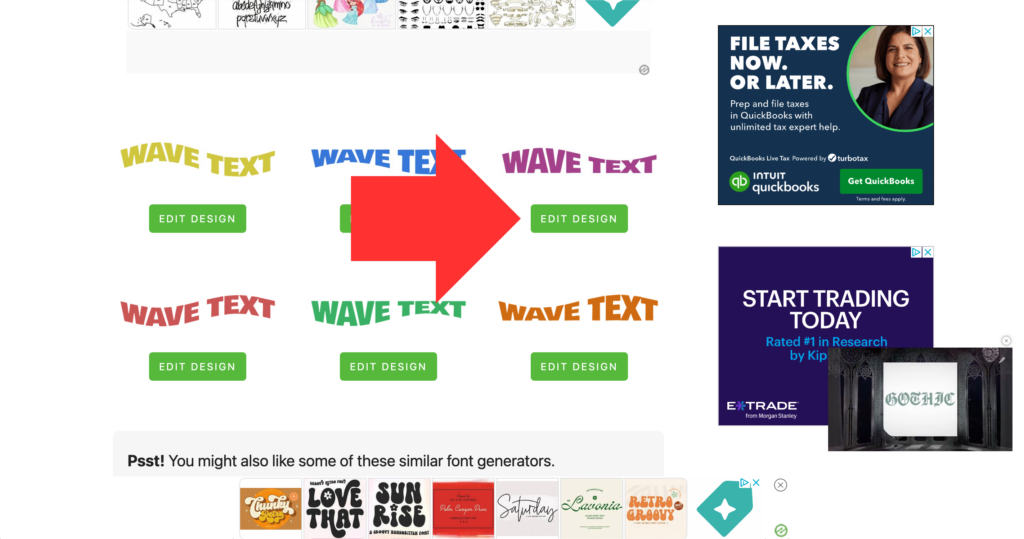
- Head over to Vector Dad’s free Wavy Text Generator. Now, the resource is free – but there are a lot of ads. The ads likely help pay Susrut’s (Vector Dad’s owner) site expenses and provide a small income. After you arrive on the site, scroll down until you find this section:
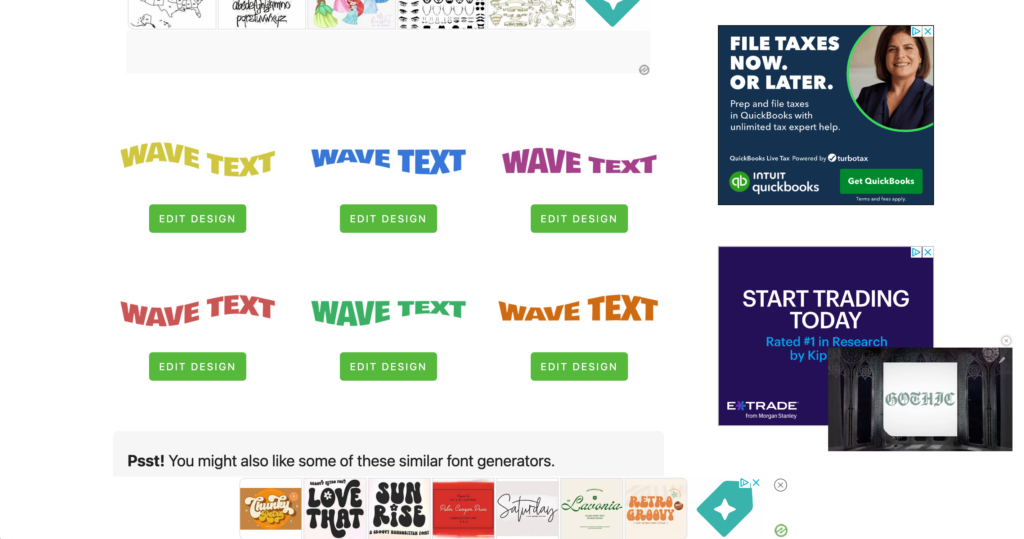
2. Click on the ‘Edit Design’ button under the blue wave text.
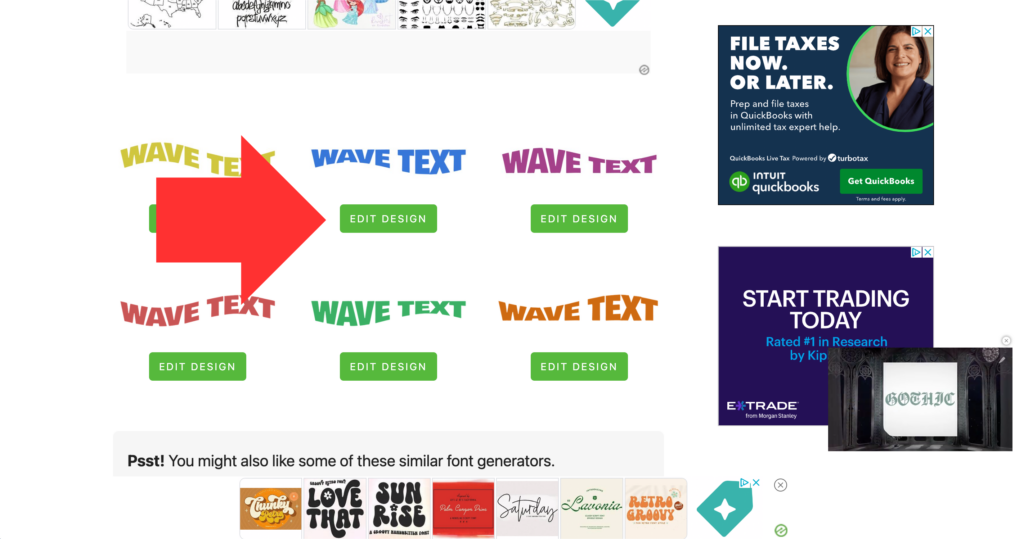
3. Once the editor loads, click the ‘BROWSE FONT’ button and upload the .ttf version of the font you’d like the generator to use. I’m using the Super Spicy font.
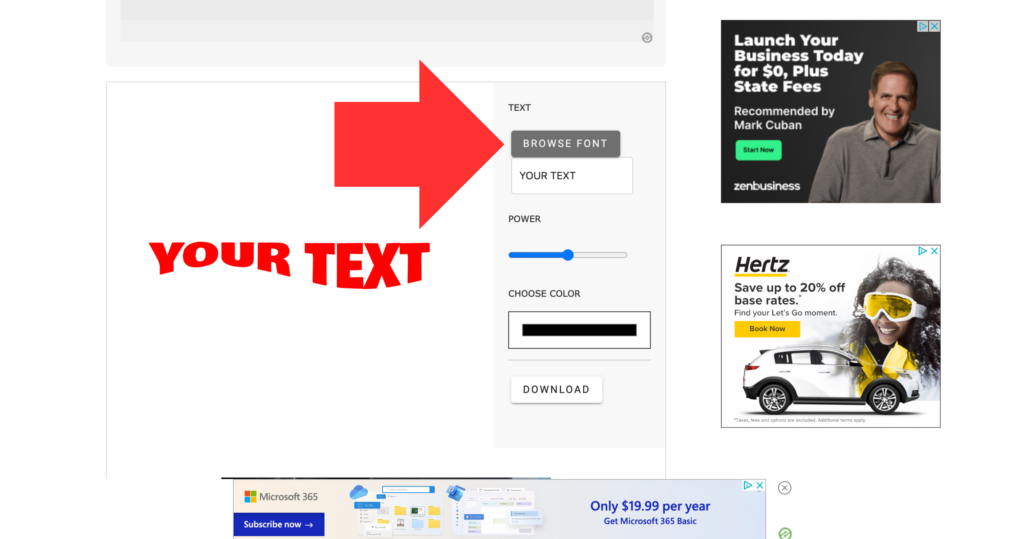
4. Then, enter your word into the ‘YOUR TEXT’ box. I’m using the word ‘summer’.
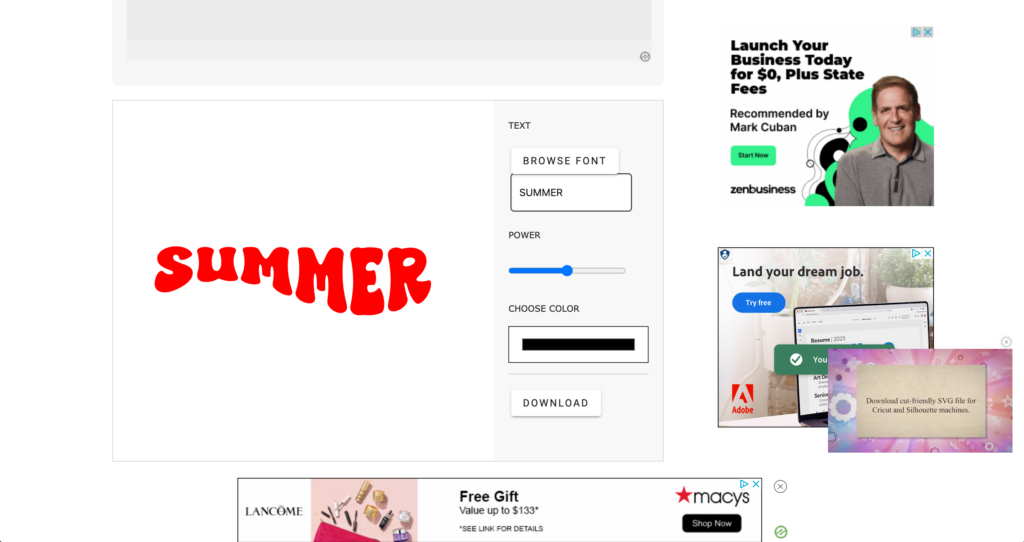
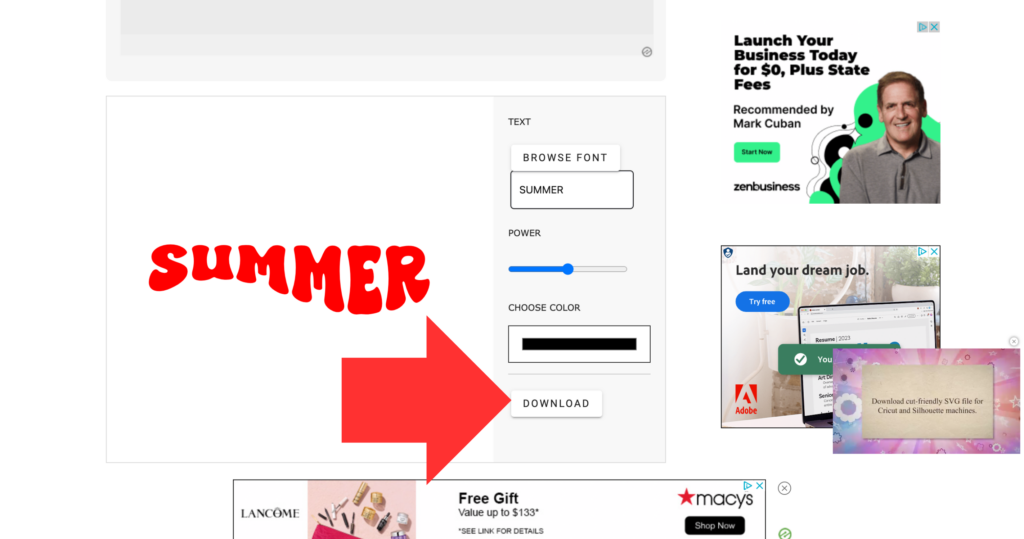
5. Click the ‘DOWNLOAD’ button and download as an SVG.
6. Return to the generator and this time, click the ‘EDIT DESIGN’ button under the purple text.
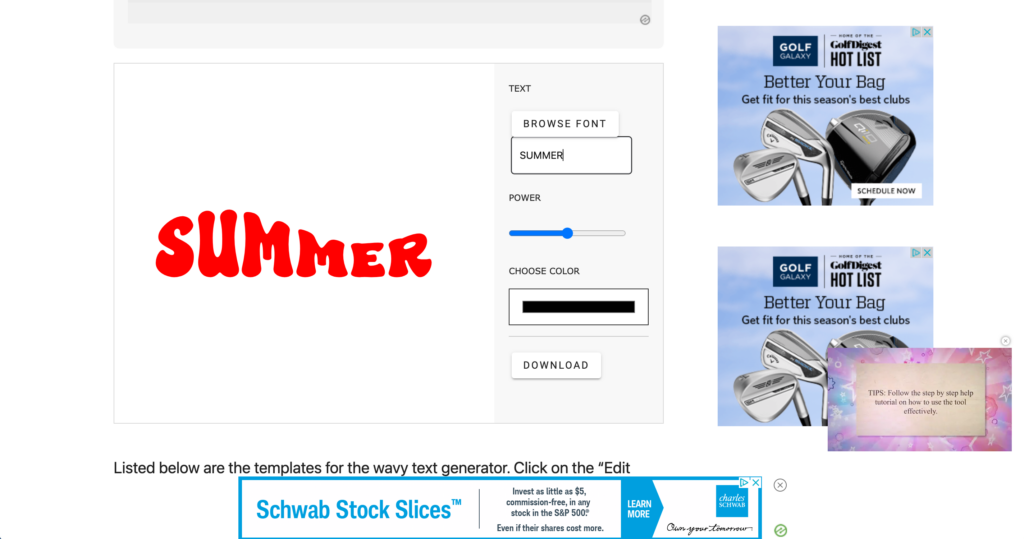
7. Add your font, and word. Again, I’m still using the Super Spicy font and the word ‘summer’. Then, download the word as an SVG.
8. Head to Silhouette Studio and open both files you just created.
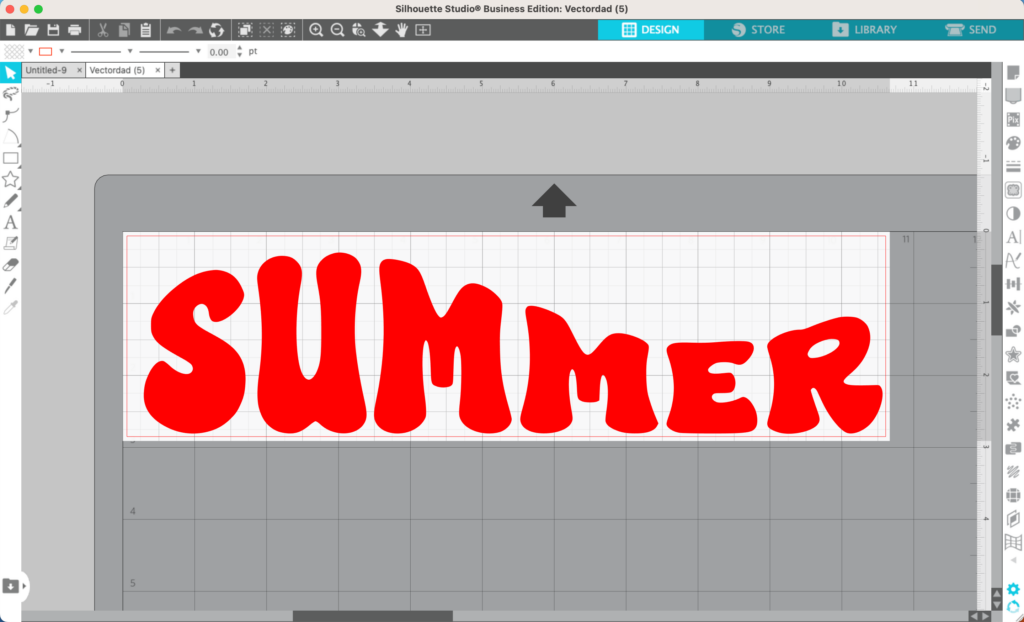
9. Copy and paste both words you created onto one mat. (And admire how nicely they fit together!)
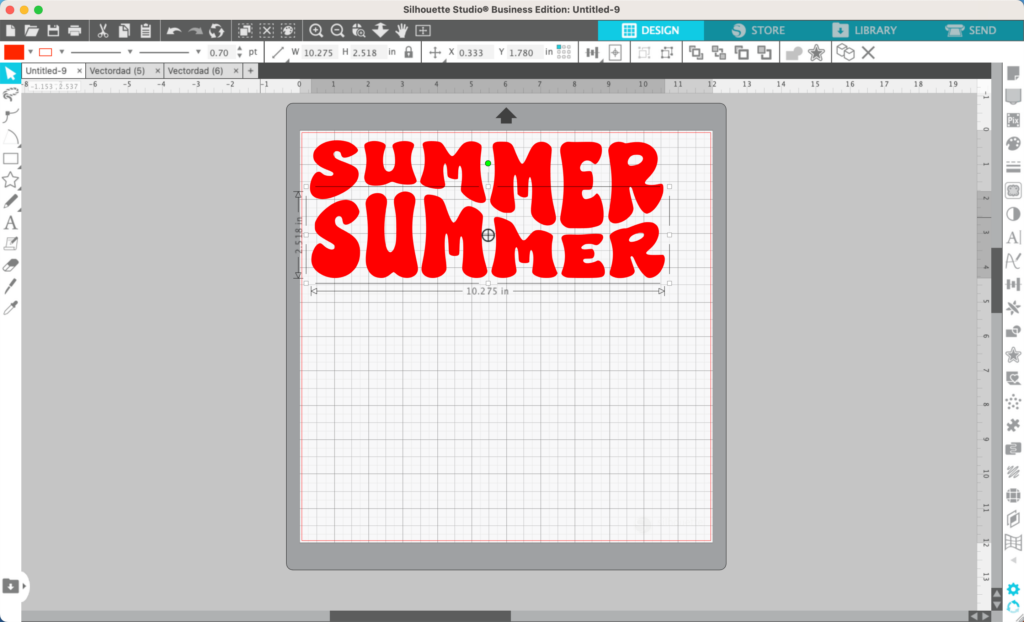
10. Duplicate both words until you’ve got your word four times.
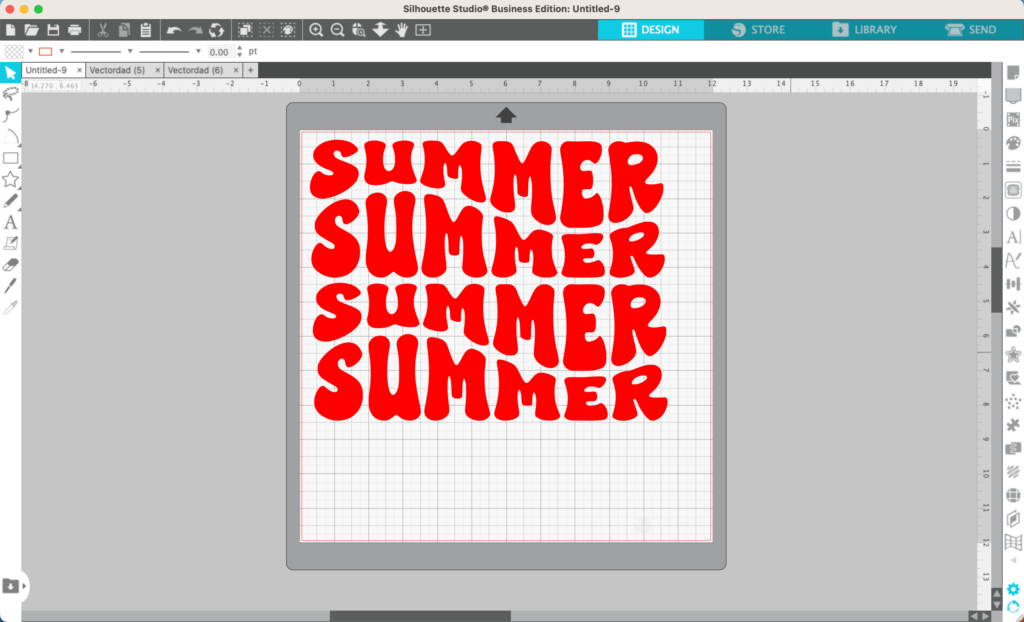
11. Adjust the spacing (Object – Align). Then, add color.
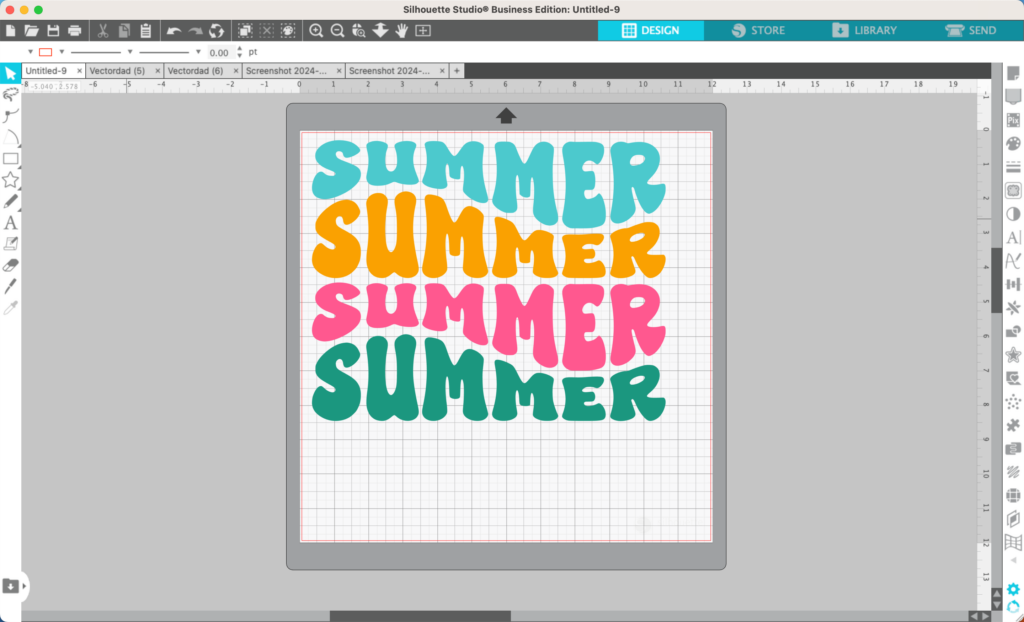
12. Now, you can group everything together and your SVG design is done.
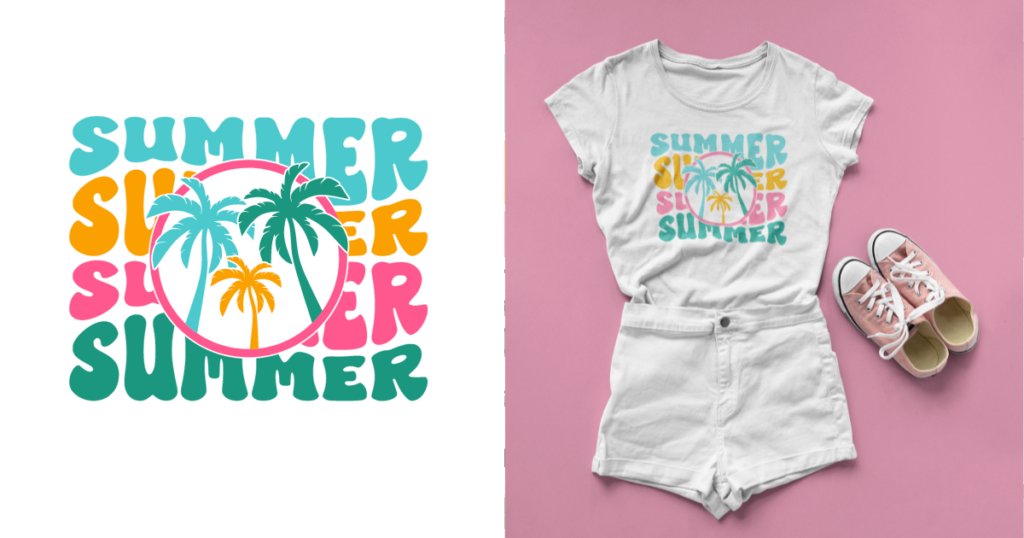
Or, you can add some additional details. To complete my design, I added a knocked out circle in the middle with some palm trees. If you’d like to download it, it’s available on my Buy Me a Coffee page.
Don’t Forget to Save!
To save your new SVG creation, head to ‘File’, ‘Save As’, ‘Save to Hard Drive’, name the file, then select ‘SVG’ from the dropdown menu.
Want More SVG Tutorials?
View more Design with Me SVG tutorials.
Leave a Reply