Blog

  • All Things Silhouette Conference in Pictures

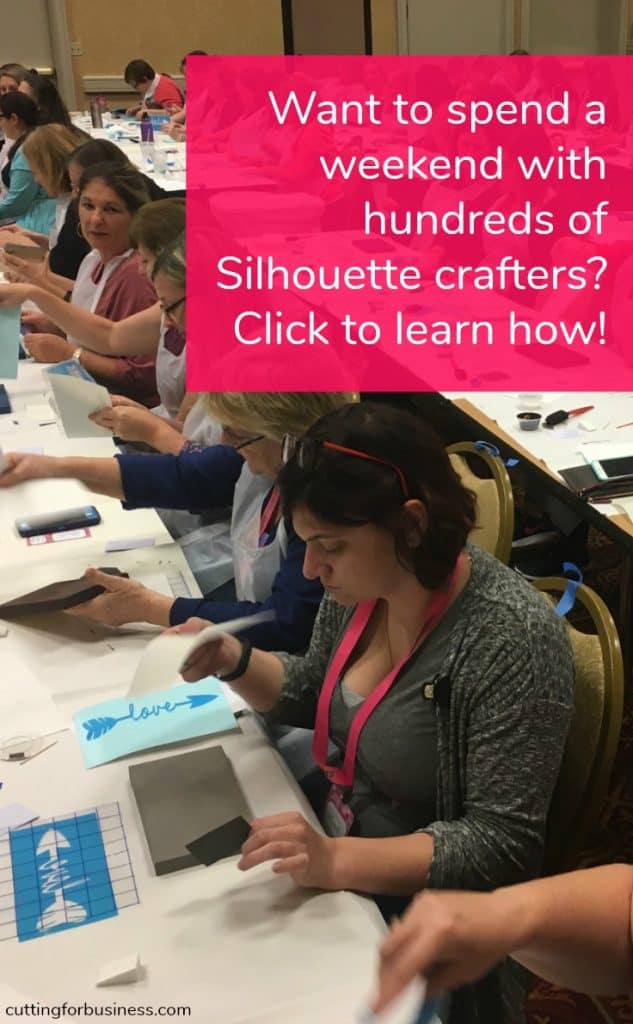
    I’m home from the All Things Silhouette Conference – and I had a blast. Since pictures tell a thousand words, I’m sharing the conference in pictures with you today:

    Interested in attending a future conference? Visit Terri Johnson Creates to learn more or register.

    Share on Pinterest to let other Silhouette lovers know about the conference:

    All Things Silhouette Conference in Pictures - A weekend long event for Portrait, Cameo, Curio, Mint, and Alta enthusiasts - by cuttingforbusiness.com

  • Real Silhouette and Cricut Business Owners Share their Advice

    Here on the Cutting for Business blog, I share a lot of advice for both new and seasoned Silhouette Cameo and Cricut Explore small business owners. Recently, I asked members of the Cutting for Business Insider’s Club what advice they had for new or soon-to-be small business owners. I was blown away with both the genuineness and the quality of the advice they shared; so today, I’m sharing it with you.

    Question: What one piece of advice do you have for a new owner of a Silhouette or Cricut who wants to start a business?

    Advice given:

    Shanel from Shanel’s Creations: “Take time to learn your craft and find out what you like and are good at making before starting a business.”

    Sabine from Sprotty Design: “Be passionate about what you do … means drive into passion even if there are unpleasant things that accompany your work.”

    Lenise from Neese’s Creations: “Be patient – if you’re selling on an online platform take time in the beginning to understand the ins and outs before you jump right in, then be patient with your expectations.”

    Beau from Beau Lindsly Designs: “Others doing what you do aren’t your enemy. Friendly competition, is what pushes us to innovate, be creative in a different way, grow as artisans and do our best. Don’t be afraid to talk to, know, befriend your competition. Each others’ successes will encourage both, and their comradery spurs growth and you’ll have someone talk to when sales fluctuate. There is room for everyone.”

    Gina from Re-Find and Design: “Have fun…”

    Cassie from Purple Pixie Creations: “Learn the program and materials you are working with BEFORE you start selling.”

    Erica Long Gordon Erica from Trudy’s Vinyl CreationsAfter learning your machine and capabilities, find what YOU are good at! Doesn’t matter what the market it like if your skills don’t match, but finding your niche will serve you well.

    Cindy says: “Research, practice, find your niche, keep your bought fonts and files organized and separate from everything else. Emphasis on the latter because you can do that even while you are learning. The one thing I waited too long to do.”

    Linda from Paper Home & Garden: “Many of us have moved from personal hobby to business. There are significant shifts in how you’ll approach every step of whatever you’re creating when you stop doing something just for fun and start doing it for a living. Be prepared for that. There have been some things in my life that I loved doing as a personal hobby and would never try to do for a living – it would wreck it for me. With my current business, I actually enjoy the work more now than when it was just a personal hobby – surprise! (To me at least!) That’s how I knew it was a good fit for the long run.”

    Catharine from Authentically Beautiful Creations: “Be sure to make everything yourself first before selling to know that you can do it…then start posting pictures of what you can sell…not everything you make will work for your market.”

    NJ says: “Research “starting a business” and make a checklist of everything you need to do to start/have a business and keep the checklist indefinitely. And everything that you cross off the checklist should have a paper trail, either digitally or printed. Years down the road, you’ll be glad you did.”

    Becky Davenport Grattan Becky from ColorLove Studio: “…find out how to legally start a business in your area. Become registered, learn about collecting sales tax, etc. There are plenty of resources available to help!”

    Andrea from The Personalized Peacock: “Be original!”

    Are you an experienced Silhouette or Cricut small business owner? Share your advice in the comments?

    Looking for a Facebook discussion group for meaningful, daily craft and business talk? Join us in the Cutting for Business Insider’s Club.

    Save this post to Pinterest:

    Real Silhouette Cameo and Cricut Explore Small Business Owners Share their Advice - by cuttingforbusiness.com

  • Custom Button Tutorial with Silhouette Cameo and Button Maker

    Several years ago, I found myself attending a conference and needing an inexpensive product to trade with other crafters during a swap.

    If you aren’t familiar with craft swaps, it’s a fun activity where crafters create a project and trade their project with other crafters.

    I decided to create buttons to trade at the swap. They worked out great, and I’m happy to share a custom button tutorial today.

    Custom Button Tutorial with Silhouette Cameo and Button Maker - cuttingforbusiness.com.

    Why Did I Choose Buttons for the Swap?

    Of all the projects I could have done for the swap, why did I choose buttons? Well, buttons are fast to make and great for small businesses.

    I also chose buttons so I could give you ideas on how to use them in your own small business.

    4 Ways to Use Buttons in Your Craft Business

    • Great inexpensive impulse items at craft shows and fairs.
    • Perfect for kids. Imagine this – you have a basket of assorted buttons at your table at a craft show. A mother is trying to have a conversation with you as her child is at her side. She can hand him/her the basket of buttons to dig through and you can finish the conversation quietly. (She will likely buy one as well!)
    • Branded buttons make great giveaways to put in orders because they are cheap to make.
    • While not directly business related, buttons make for great fundraisers for kids. My eldest child recently had to make and sell goods at school – and buttons were our go to.

    Custom Button Tutorial

    Supplies Needed

    Custom Button Tutorial

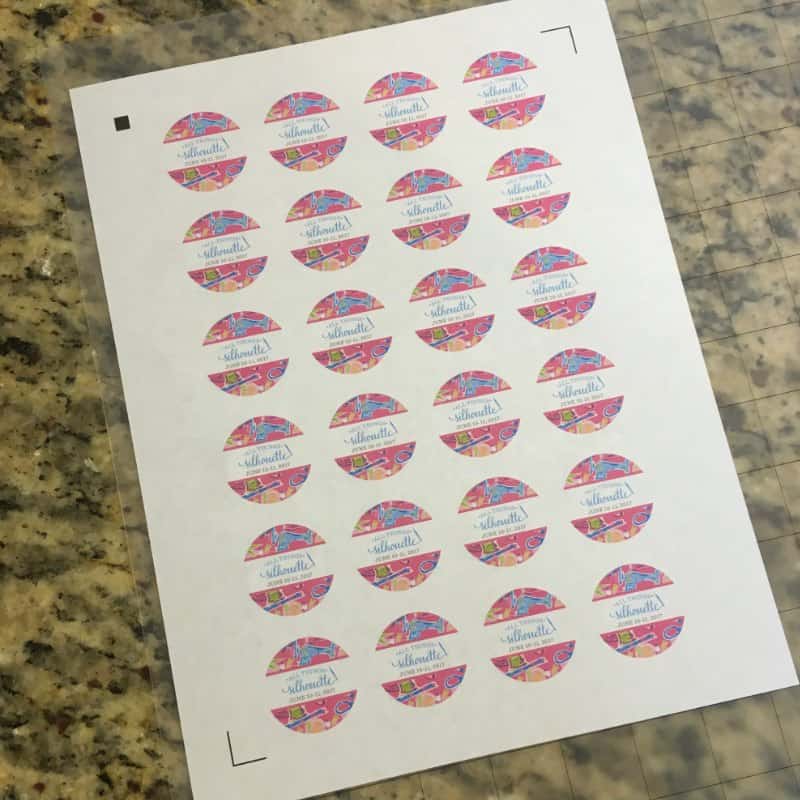
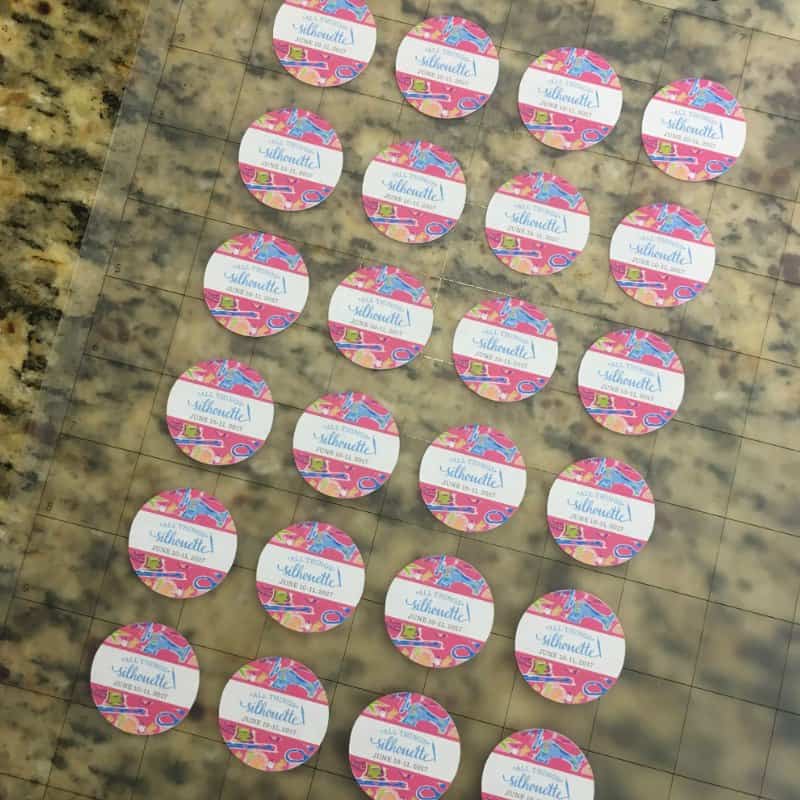
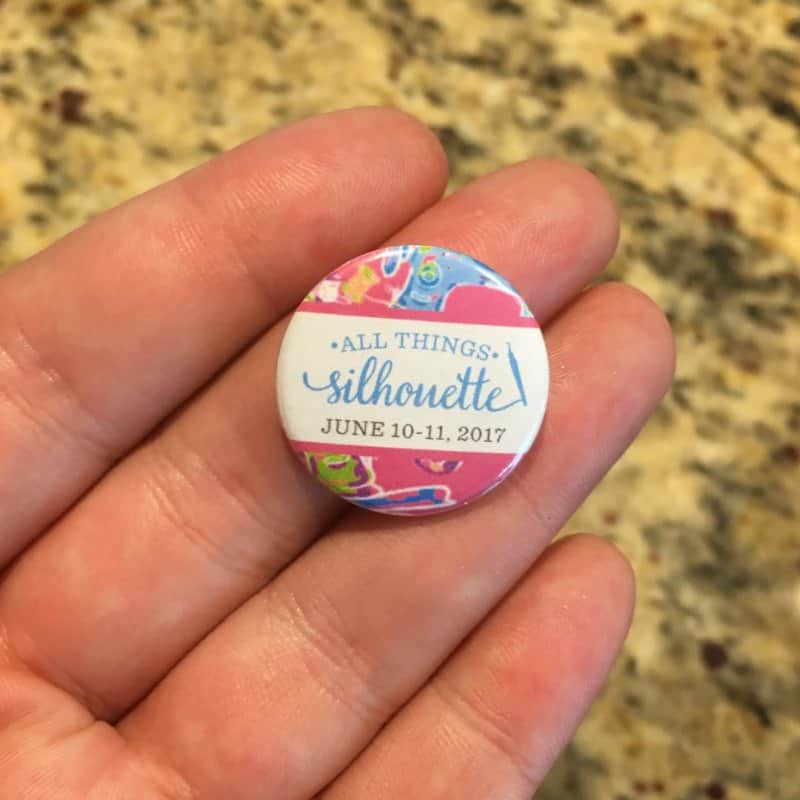
    1. Using Print and Cut (Silhouette) or Print then Cut (Cricut), create your button designs and print them on copy paper. I created the design using Silhouette Studio.
       Tutorial: Custom Buttons with Silhouette Cameo and Button Maker - by cuttingforbusiness.com
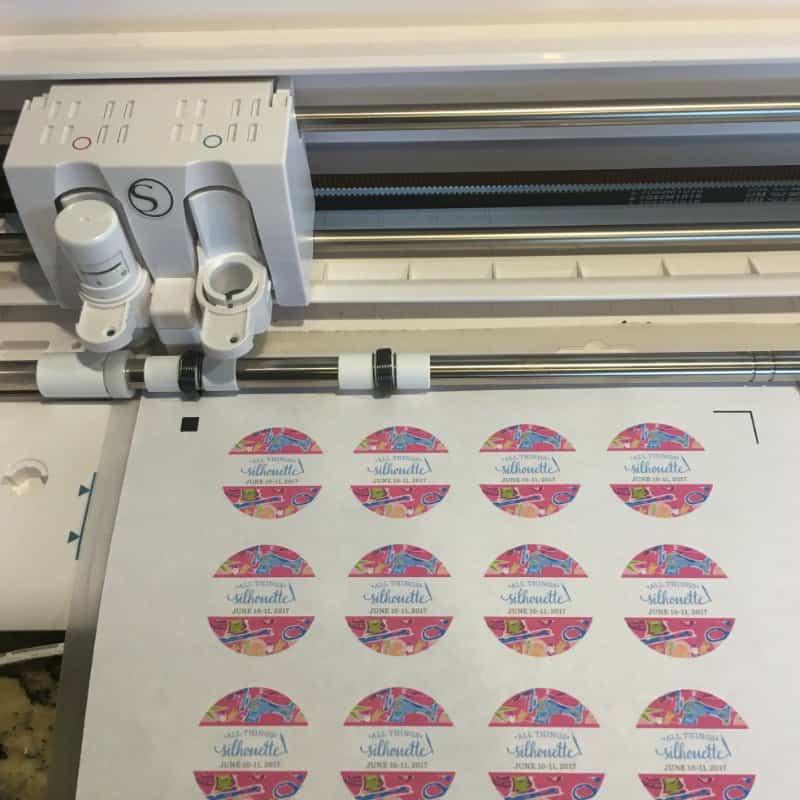
    2. Cut them with the Silhouette or Cricut.
       Tutorial: Custom Buttons with Silhouette Cameo and Button Maker - by cuttingforbusiness.com
    3. Remove the excess paper.
       Tutorial: Custom Buttons with Silhouette Cameo and Button Maker - by cuttingforbusiness.com
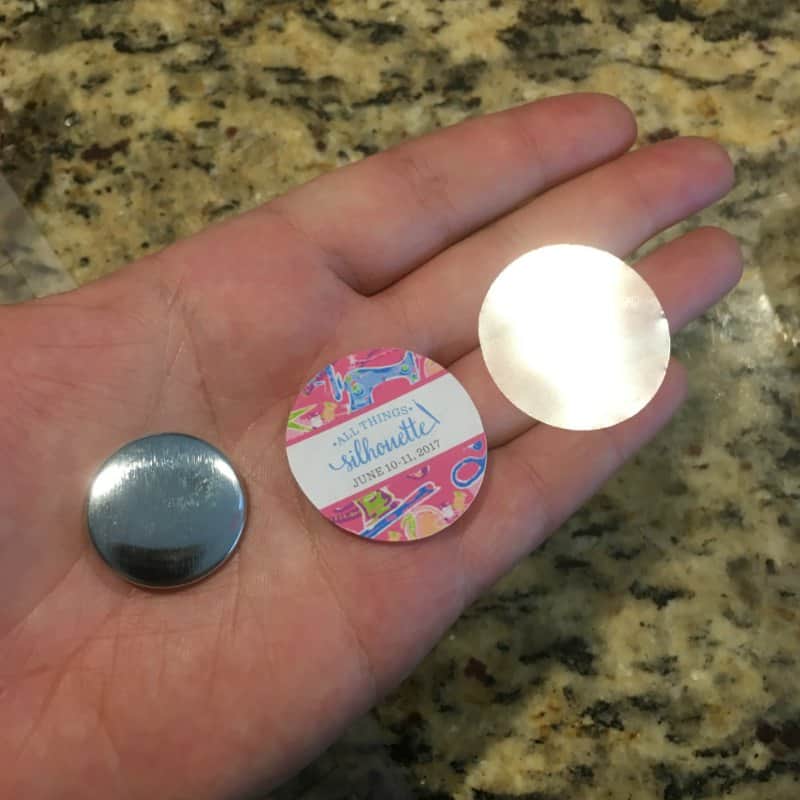
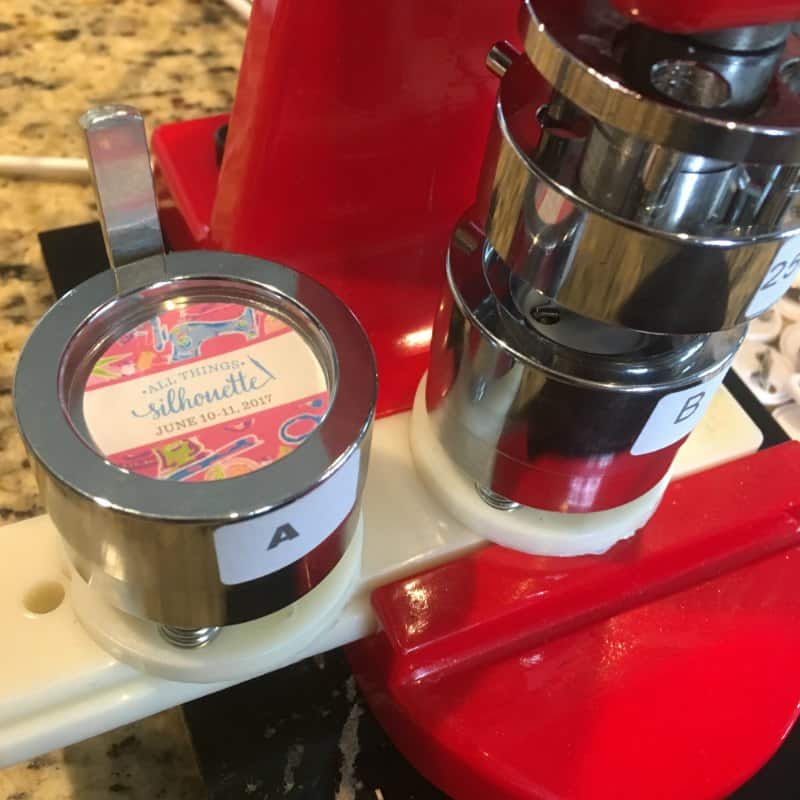
    4. Now, use the button maker to quickly put them together. My button maker has two steps. Quickly, here is how it works. Take the flat metal portion, the circle paper, and the mylar film and place them in that order into the first hole in the button maker. Then, pull the lever down. Tutorial: Custom Buttons with Silhouette Cameo and Button Maker - by cuttingforbusiness.com
      Tutorial: Custom Buttons with Silhouette Cameo and Button Maker - by cuttingforbusiness.com
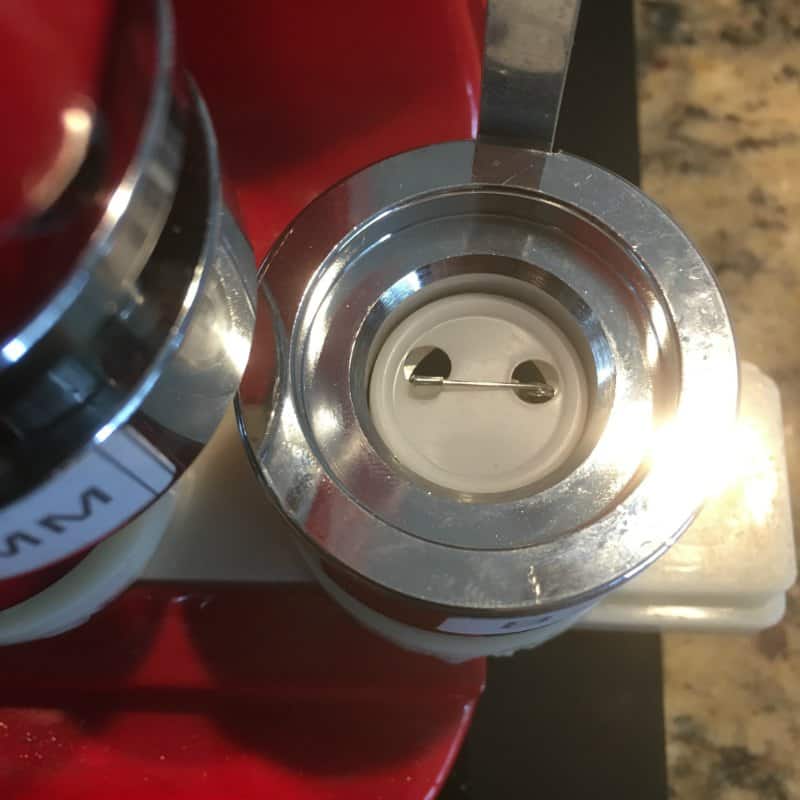
    5. Place the button back in the second space, and pull the lever down. Tutorial: Custom Buttons with Silhouette Cameo and Button Maker - by cuttingforbusiness.com
      Tutorial: Custom Buttons with Silhouette Cameo and Button Maker - by cuttingforbusiness.com

    In less than an hour, I cut and assembled 120 buttons.

    What if You Don’t Have a Silhouette or a Cricut?

    If you don’t have a Silhouette or a Cricut, you’ve got two options: 1) You can cut the circles for the buttons using scissors. 2) You can use a circular craft punch.

    Magnets Instead of Buttons

    For another project alternative, you could remove the pin from the backing and glue a magnet back instead.

    Tell me in the comments: Have you ever made buttons?

  • Bounce Back Offers in Your Silhouette or Cricut Business

    Ever heard the saying that the cheapest customer to get is a repeat customer? It’s an old saying – and it is entirely true. Today, we are looking at bounce back offers, an easy way to get a repeat customer in your Silhouette or Cricut small business. And one that is used a lot in the corporate world – but not as much in the small business world.

    What is a Bounce Back Offer?

    A bounce back offer is a discount given to customers who place an order in your Silhouette Cameo or Cricut Explore small business. It differs from other sales or promotions, because the customer must purchase something to receive the offer.

    What is the Goal of a Bounce Back Offer?

    The goal of a bounce back offer is to get your current customer to place another order in the future by giving them a discount.

    How Do You Give a Customer a Bounce Back Offer?

    There are a number of ways to offer a bounce back coupon to your customer:

    • For in person sales (craft shows or fairs): Simply put a card with a discount code in the customer’s bag during checkout.
    • For online sales (your website or other marketplace): Email your customer a coupon code immediately after placing their order online. If you are selling on Etsy, go to “Promote”, “Coupon Codes”, then select the “Thank You Coupon” option.

    That’s it – a simple way to turn a customer into a repeat customer. Thinking of adding a customer loyalty program to your business? Head to this post for an easy to implement one.

    Save this post to Pinterest:
    Bounce Back Offers to Get Repeat Customers in Your Silhouette Cameo or Cricut Explore Small Business - cuttingforbusiness.com

  • Everything You Need to Know About Shipping for Craft Businesses

    I’ll be honest, shipping products is a huge stumbling block for new Silhouette and Cricut small business owners. I’ve got something to tell you: Once you get over the mental block – shipping products from home is no big deal.

    Everything You Need to Know About Shipping

    There’s a lot of Silhouette and Cricut business owners on Pinterest, save this so they see it:

    Everything You Need to Know About Shipping for Craft Businesses - Silhouette & Cricut Explore - by cuttingforbusiness.com
  • 5 Ways to Stop Multitasking in Your Craft Business

    Multitasking is defined as the behavior of doing more than one task at a time. Since small business owners wear so many hats, they often fall into the pitfalls of multitasking!

    Today, let’s first look at some published articles about the downfalls of multitasking – then I’ll share my tips of how I quit multitasking.

    5 Ways to Stop Multitasking in Your Craft Business - cuttingforbusiness.com

    Great Articles About Multitasking

    Ok, I think you’ve got the point – now let’s look at how I quit multitasking.

    How I Stopped Multitasking

    Time Blocking

    Just like you, I have a full schedule. I work full time on this blog, Cutting for Business. I also shoot photography jobs several nights a week. I have four kids – who each have extracurricular activities most nights of the week.

    The only way I can accomplish everything each day is through time blocking.

    This means that I write out my day in time blocks. For example, I block out an hour for laundry, an hour to check emails, an hour to create cut file designs, and so on. When the hour is over – I stop the task and move to the next. All of my block times have singular, specific tasks in them.

    I’ve written more about time blocking.

    Scheduling Make Up Time

    This was a mistake I made when I first started time blocking. block scheduling – I didn’t leave time to catch up on anything that I didn’t get done in the scheduled block. I now block off make up time daily.

    Turn Off the TV

    I’m guilty of having the tv on if I’m home by myself. However, when I’m working, I turn the tv off so I am not trying to focus on more than one thing at a time.

    Put the Phone Away

    During my work time, I turn on Do Not Disturb on my phone. My phone settings allow phone calls from each of my kids cell phones, schools, and immediate family members to get through – but everything else is sent to voicemail.

    I also find it helpful to let immediate family members know my working hours and ask them to contact me outside of those hours.

    Sign Out of Social Media

    Let’s face it: Social media is easily to get sucked into. First, it’s a cute video of a cat. Then, some dance viral dance videos, then an ad for Amazon. Without realizing it, you look down and you’ve spent 45 minutes mindlessly scrolling.

    To prevent wasting time on social media, I routinely sign out and only stay signed in when I am actively on a network.

    If you are finding it tough to sign out of social media, use your phone’s settings to put a limit on social media apps like Facebook or Instagram.

    These 5 things have made it easy for me to stop multitasking. I’ve noticed that by focusing only on one task at a time, I get more done in less time.

    Tell me in the comments, are you a multitasker?

  • Marketing: How to Donate Handmade Wall Decor for Free Advertising

    Remember that post from a few weeks ago about a creative way to promote your business while wishing your friends a happy birthday on Facebook? (If you missed it – read it here.) Today’s post is similar because I’m sharing another sort of sneaky way to get free advertising by donating wall decor. I have to say, this isn’t my original idea – I’ve seen it in action at my children’s doctors office!

    What’s the Idea and How Does it Work?

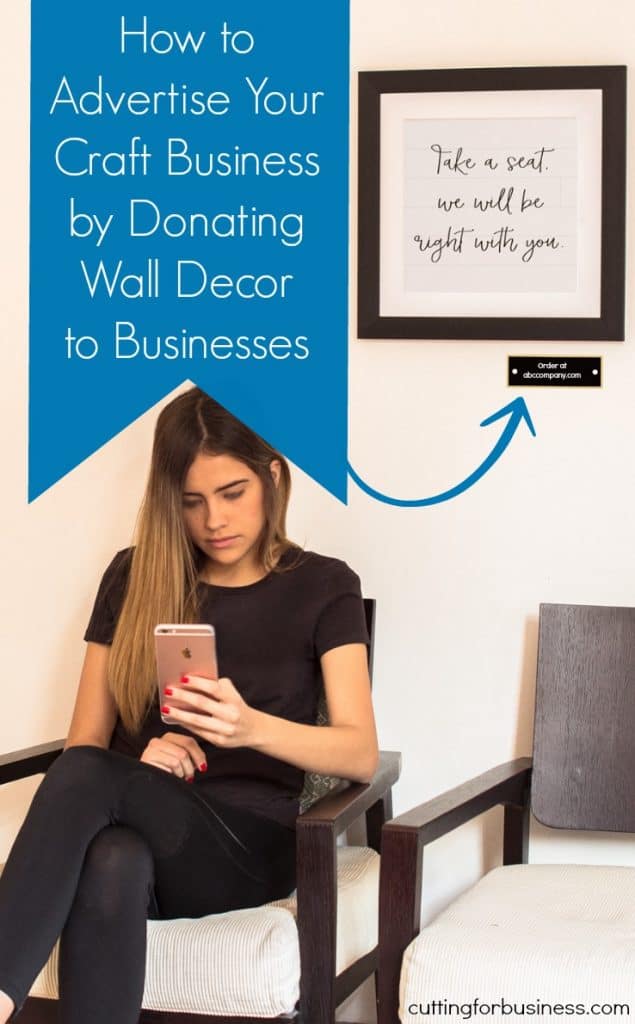
    The general idea is that you find a small business that you can create wall decor to fill their walls. In exchange for donating the decor, a small plaque is placed below or beside the decor with your business name and website information. When customers of the small business admire your decor, they have the option of reaching out to you and purchasing.

    What Businesses Might be Ideal?

    For this kind of marketing, it’s best to stick with “mom and pop” type shops. Think restaurants, barber shops, salons, real estate offices, lawyers, tax preparation offices, and anywhere else where customers physically visit the location. Once you locate a good space, reach out to the owner, let them have say in the design, create the products, and hang them with pride along with a small sign or plaque for customers to reach you or order.

    Love this marketing idea? Share it on Pinterest:

    Creative Marketing Idea for Silhouette Cameo and Cricut Small Business Owners - How to Donate Handmade Wall Decor for Free Advertising - by cuttingforbusiness.com

  • How Partnering With a Charity Can Help Your Craft Business

    If you are looking for a way to boost your sales or get your Silhouette or Cricut small business out of a sales rut, consider partnering with a charity. A relationship with a charitable organization can get your small business in front of new customers while doing good in your community or the world. Let’s look at how this works.

    Ways to Partner for a Craft Business to Partner with a Charity

    • Donate a portion of your sales to the charity.
      • You could donate a portion of your sales on all products for a specific time period.
      • You could donate a portion of your sales of a specific product for a specific time period.
    • Donate products to the charity to resale for profit or use in their facility.
    • Sponsor an event hosted by the charity. Be sure that your business name is used in marketing materials for the event.
    • Volunteer at events hosted by charities. (You may even be able to wear shirts with your business name!)

    How to Find the Right Charity

    • While some experts will advise you choose a charity related to your business, this can be harder for a craft business. If you can’t find something directly related, I’d recommend that you choose something close to your heart. When you choose a meaningful charity, you’ll be more into the process and you’ll likely get better results. Plus, choosing a charity that personally affects you allows you another way to connect with customers.
    • After you’ve browsed and chosen several charities, do research on them. See where their funds come from and how they use donations. I recommend Charity Navigator or Charity Watch as great tools to research potential charities.
    • If you’d prefer to support a specific cause, sites like Kiva (my favorite!), Global Giving, YouCaring, or GoFundMe can help you find one.

    Tips for Getting the Most from Your Charity Partnership

    • Time, supplies, and money donated for charity can all be written off in your small business taxes. Consult your accountant for instructions on how to do this.
    • Since you are a small business, consider partnering with a small or local charity. Ideally, you can promote each other through social media posts and local efforts.
    • Be sure to advertise your charitable donations on social media and in your online listings for customers to see. To make a connection with customers, explain why you have interest in the charity.
    • Have a policy for future partnerships. Before you go, I wanted to leave you with this last tidbit: Once your business is seen as a charitable partner; you may get more and more requests to work with charities or events. Having written policies or information sheets on how you work with charities can save you a lot of headaches in the future.

    If you are looking to fundraise after a tragedy or disaster – head to this post. Does your small business support a charity? Share it in the comments!

    Save this post to Pinterest:
    How Partnering With a Charity Can Help Your Silhouette Cameo or Cricut Explore Craft Business - by cuttingforbusiness.com

  • Heat Press

    The absolute number one question I get from new Cutting for Business readers is about heat presses. I understand why – you’ve just spent a few hundred dollars on a new Silhouette Cameo or Cricut Explore, bought the supplies, and you are ready to get creating. You dig up some tutorials online and everyone mentions a heat press. You are off to Amazon to look at the cost of a shiny new new heat press – only to find out they cost hundreds of dollars. So, you send me an email asking – “Do I really (I mean, really) need a heat press in my Silhouette or Cricut business? Unfortunately, New Silhouette Cameo and Cricut

  • Shipping Internationally: What You Need to Know

    If you are looking for an easy way to expand your Silhouette or Cricut small business, consider shipping your products worldwide. It isn’t difficult, so let’s look at what you need to know before you dive in!

    Checklist Before You Start Shipping Internationally

    • Choose your shipping provider. The USPS, FedEx, and UPS all ship internationally. Do research on what it costs to ship your products with each carrier, then decide which one is a best fit for your business.
    • The USPS offers flat rate International Priority Mail boxes. They are usually a good deal if your items will fit inside.
    • Research prohibited items. All countries have lists of items that are prohibited to be shipped to their country. Additionally, there may be specific labeling requirements.
    • Understand estimated shipping times. Obviously, the farther a package has to travel; the longer it will take. You’ll need to be sure to advertise correct shipping estimates to your international buyers.
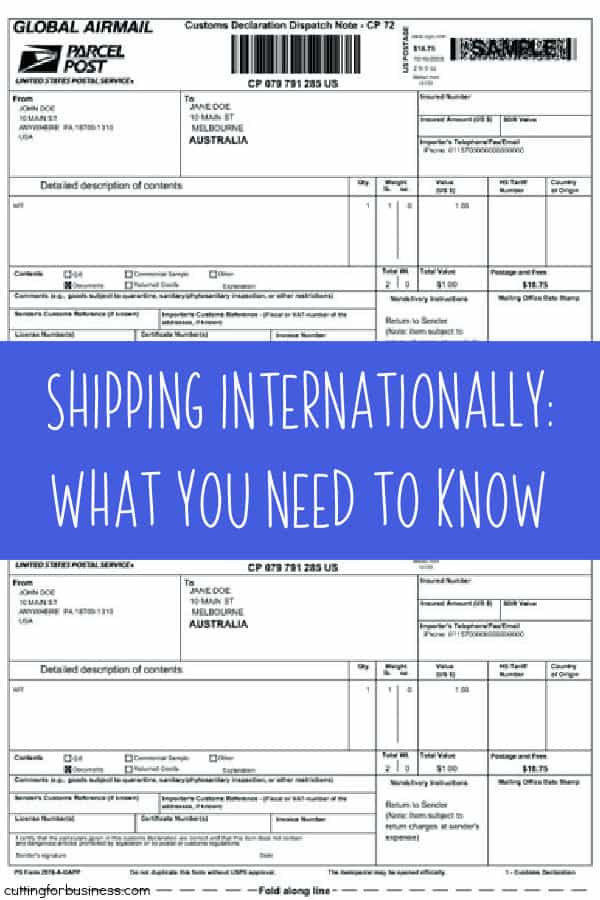
    • Understand customs paperwork. Customs paperwork must be completed. The good news? When you ship online through USPS, FedEx, or UPS – there is a online wizard that walks you through the paperwork.
    • Understand the customs process. When packages arrive in a foreign country, they will be subject to a search. This could mean x-ray or physically being opened and looked at. Fragile items may be unwrapped and not rewrapped in the same manner.
    • Familiarize yourself with import/duties fees. Know the estimated fees for the country you are shipping to. The buyer will pay these fees when their package arrives in their country. You should advertise that the buyer is responsible for import duties and fees.

    Great! That’s a lot of information, now how exactly do you get started? If I were starting out with shipping Internationally, I would choose 3 to 5 countries to add to my “ship to” countries. For example, in addition to the USA – I could also add United Kingdom, Australia, and Canada. I’d then research the costs and prohibited items, then add these countries to my listings. As time goes on, I’d add new countries or continents.

    Tell me in the comments, do you ship internationally? Why or why not?

    Looking for more shipping information? Head to this section of the blog.

    Save this post to Pinterest:
    Shipping Internationally: What You Need to Know for Silhouette and Cricut Craft Business Owners - by cuttingforbusiness.com.