Blog

  • NAICS and SIC Codes – What are they?

    Lately, I’ve gotten a lot of emails and messages about NACIS and SIC codes. This is great, because it means that more and more Cutting for Business readers are incorporating their business in their state. (Still need to incorporate yours? Get information about whether you have a business or a hobby in this post and how to get started in your state in this post.) Now, onto these codes!

    What are NAICS and SIC codes?

    NAICS stands for North American Industry Classification System and was launched in 1997 to replace the SIC, or Standard Industrial Classification System. The purpose of the system is for the US Federal government is to categorize businesses for the purpose of publishing statistical data.

    How do you find codes for your business?

    There is a searchable database located at this link. It is important to note that businesses are not assigned an NAICS code. Instead, the business owner chooses the code that is most relevant to their primary business activity. (In plain English – if you do more than one thing in your business – choose the code that represents what brings in the most money.)

    Where would you use the NAICS code?

    When completing official paperwork, some forms will ask for the NAICS code.

    Popular Codes for Silhouette and Cricut Businesses

    • 454111 – Electronic Shopping
    • 454110 – Electronic Shopping and Mail-Order Houses
    • 454390 – Other Direct Selling Establishments
    • 315990 – Apparel Accessories and Other Apparel Manufacturing

    Save this post to Pinterest so it is handy when you need it:
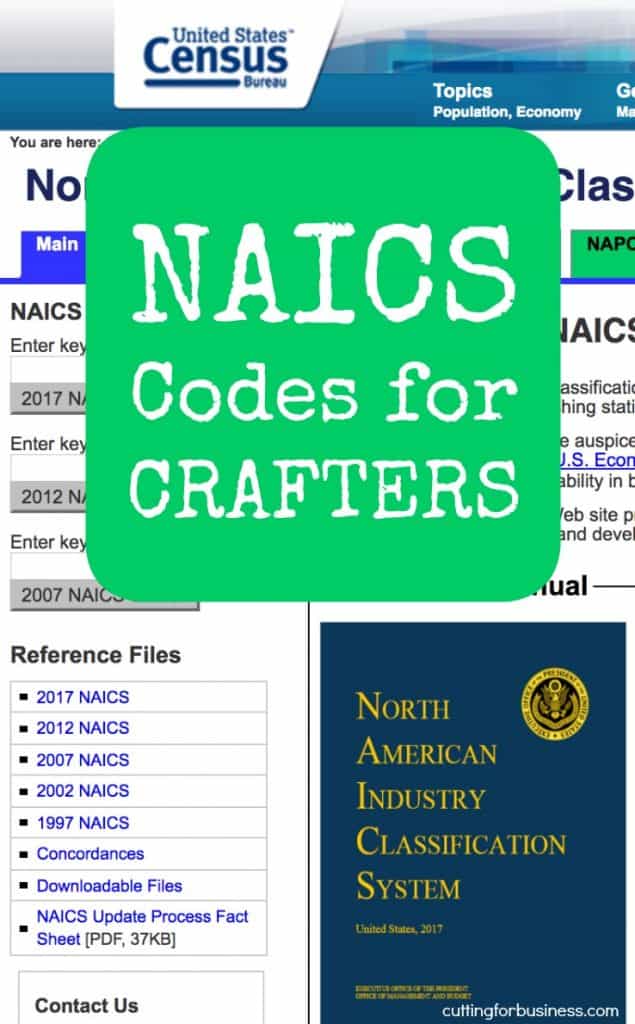
    NAICS and SIC Codes - For Silhouette Cameo or Cricut Explore Crafters - by cuttingforbusiness.com

  • 30 Customer Service Tips to Make Your Craft Business Thrive

    I strongly believe that the factor behind whether or not your Silhouette or Cricut business will succeed is more about the owner than the actual products you choose to create and sell. There’s one thing that customers cannot be guaranteed when they shop in a retail store – amazing customer service. Luckily, a one man or woman business can always give amazing customer service.

    Here’s 30 Tips to Good Customer Service

    1. Be timely. This means responding to customer inquiries, comments, and messages in quick manner. It also means keeping your turnaround times as fast as possible and always meeting deadlines. Remember, an awesome product delivered late is defective.
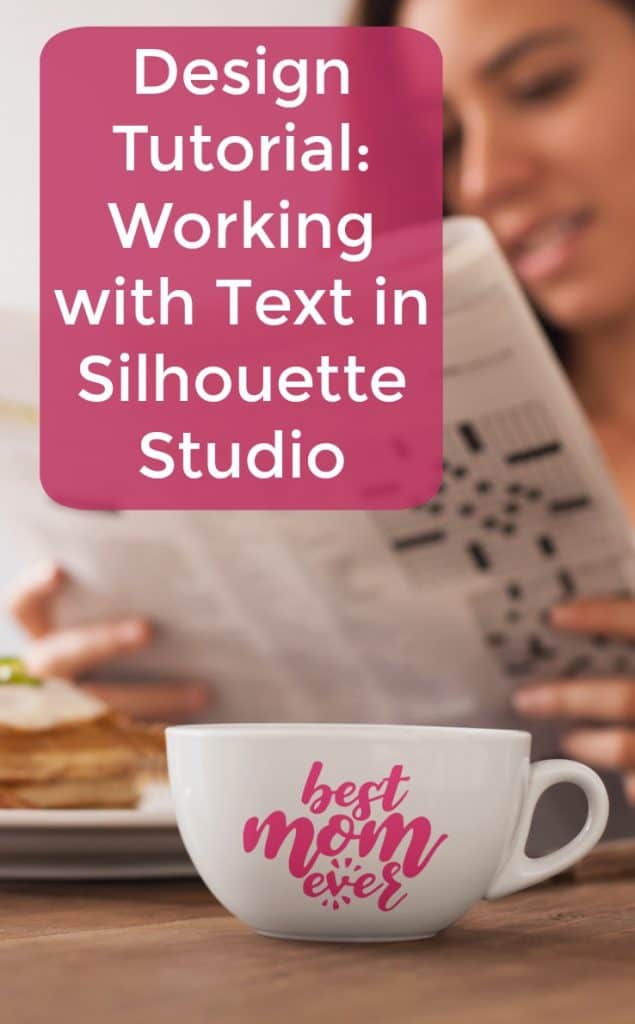
  • Design Tutorial: Working with Text in Silhouette Studio

    I’ve said it many times before, and I’ll say it again: I think that craft businesses that create their own designs have an advantage over shops who purchase all of their designs premade. Why? It’s no secret that unique designs make you stand out.

    Today, we are going to look at creating text based designs. Honestly, there is no reason that you would ever need to buy a text based design from a designer. Why? Even the most uncreative Silhouette and Cricut owners can create text based designs!

    Here’s how I create text based designs (tutorial shown in Silhouette Studio – version 4 beta release):

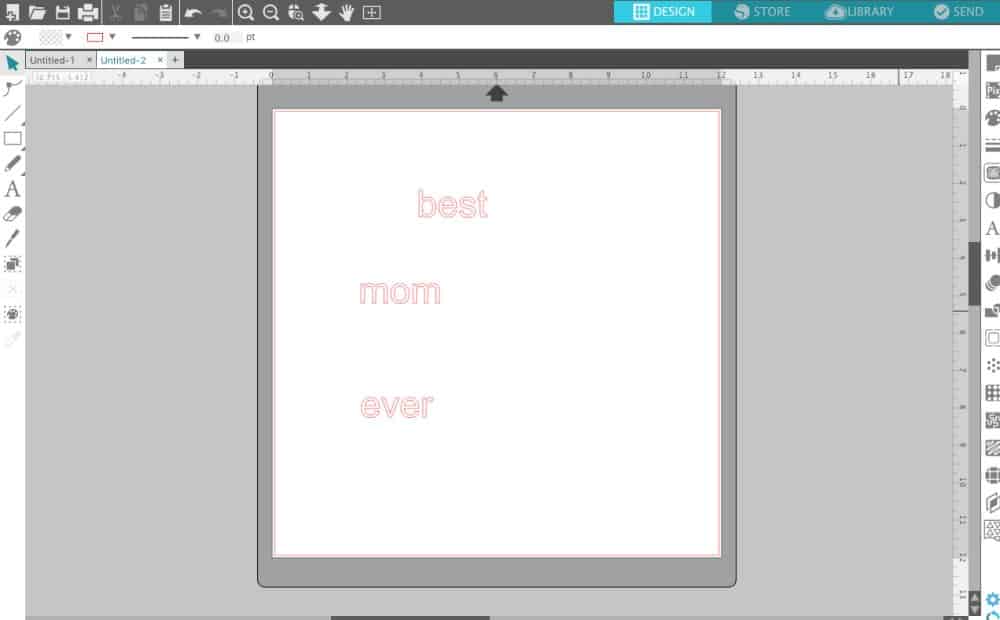
    1. Start by writing out the text to include in your design. You’ll notice that I typed each word in a separate text box. This is the key to be able to arrange the words in a pleasant looking way. Design Tutorial: Working with Text in Silhouette Studio or Design Space by cuttingforbusiness.com
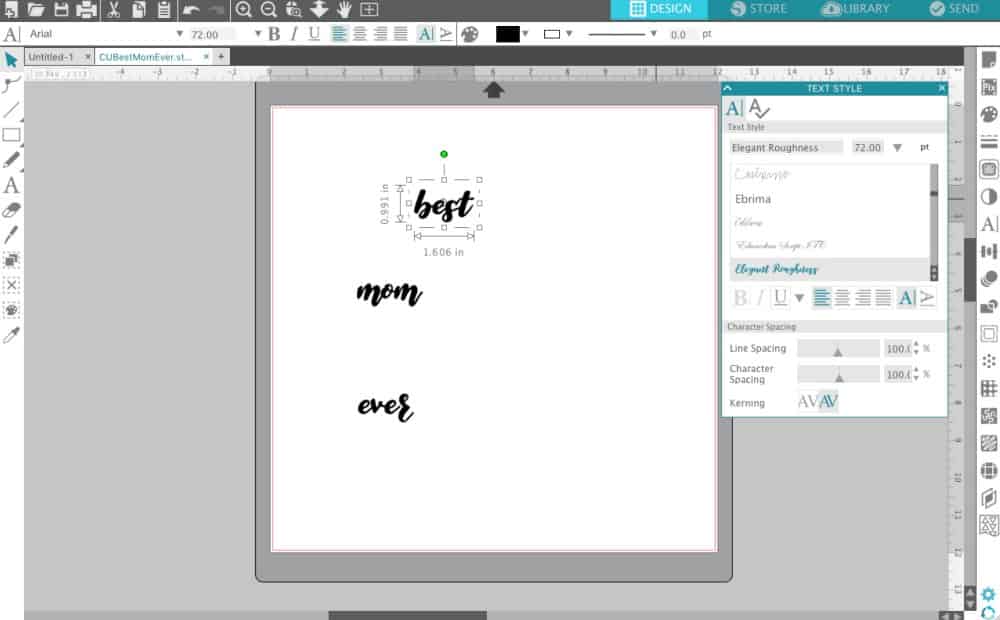
    2. Next, choose a font and change all the words to your desired font. The font I used in this tutorial is Elegant Roughness – and it is free for a limited time! I also fill my words with color to make the design easier to see.Design Tutorial: Working with Text in Silhouette Studio or Design Space by cuttingforbusiness.com
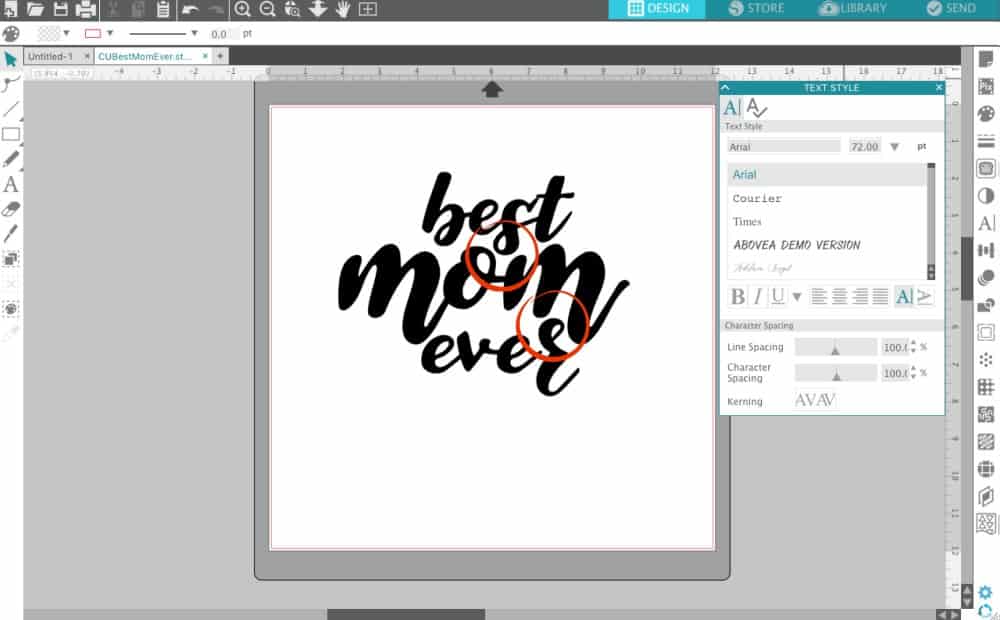
    3. Now, you will arrange the words however you’d like them. All I’ve done is drag the words around and resized some of them. When I arrange them, I look for nooks and crannies where letters will “fit” into each other. I circled the nooks – the “s” fits nicely into the nook above with “om” and the “r” fits nicely into the nook in the “m”.Design Tutorial: Working with Text in Silhouette Studio or Design Space by cuttingforbusiness.com
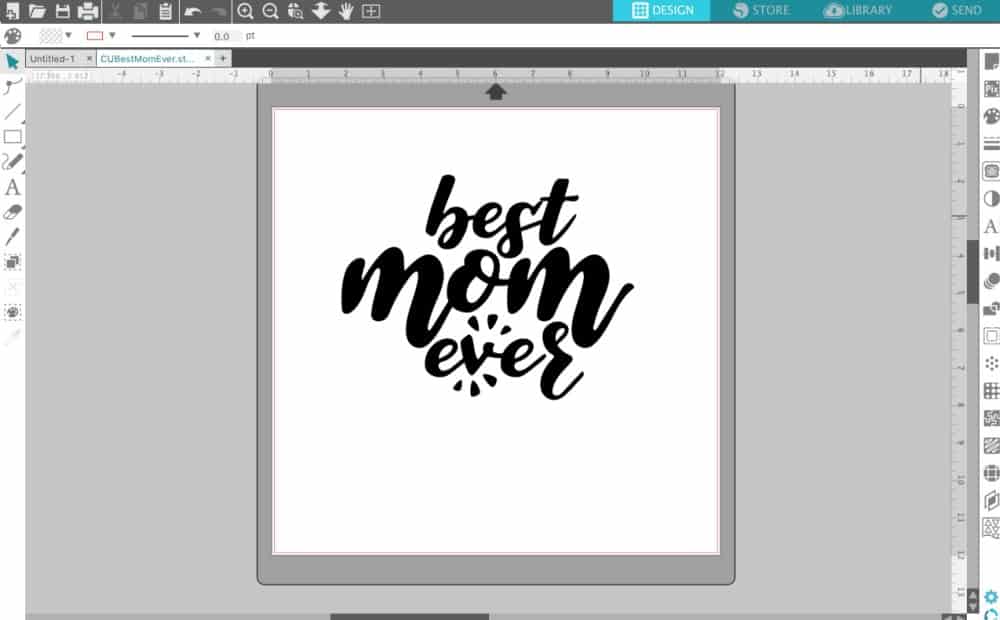
    4. The design looks good but I don’t like the big space below “mom” and above “ever”. I draw a few teardrop shapes using the smooth freehand tool and place them to fill the space. To balance the design and add emphasis on “ever” I add the same teardrops below “ever”. If you don’t like the teardrops, you could substitute with lines or a heart.Design Tutorial: Working with Text in Silhouette Studio or Design Space by cuttingforbusiness.com
    5. Now, you’ll just want to finish up the design by welding the letters if needed.

    Additional Posts to Help You with Text Designs:

    Now, get out there and start playing with text in Silhouette Studio or Design Space – it’s not as hard as you’d think!

    Download the file I created in this tutorial – free with commercial use license included at this link.

    Share this post on Pinterest:

    Design Tutorial: Working with Text in Silhouette Studio or Design Space by cuttingforbusiness.com

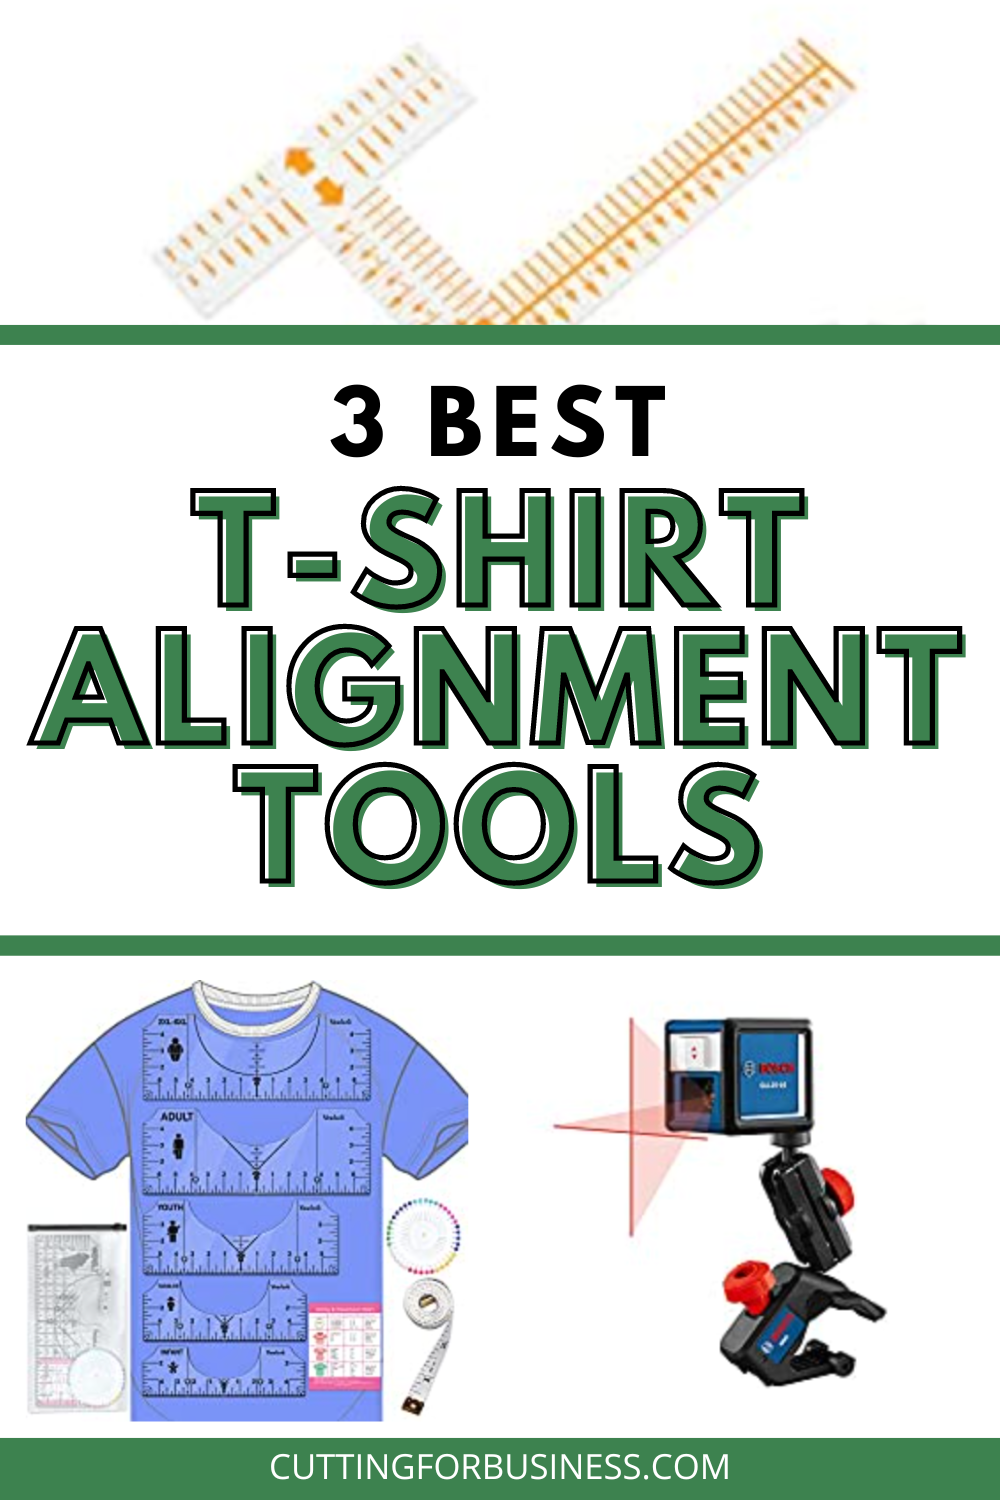
  • 3 Best T-Shirt Alignment Tools

    Cutting for Business readers know that I am a stickler for quality products. Just because you made it yourself in your home, doesn’t mean that you should not be worried about product quality.

    When I make and sell t-shirts, I use alignment tools to line up heat transfer vinyl (HTV), rhinestones, and transfers.

    Today, let’s look at various t-shirt alignment tools currently on the market.

    3 Best T-Shirt Alignment Tools - cuttingforbusiness.com.

    3 Best T-Shirt Alignment Tools

    Tee Square It

    Tee Square Its are one of the original products designed to help crafters and shirt makers create products.

    Pros: There is a learning curve. I have a step-by-step tutorial to use a Tee Square It.

    Cons: Expensive. Approximately $50.

    Buy It: Shop Tee Square It

    Laser Alignment Systems

    Laser alignment systems use lasers to project a guide onto your blank product. While some heat press manufacturers offer heat press alignments, many crafters have had good luck using off brand ones. These typically attach to your heat press or work table using a clamp.

    Pros: Easy to use, easy to set up.

    Cons: Some can costs hundreds of dollars if you buy a specialty one for your heat press.

    Buy It: Shop Laser Alignment Systems

    T-shirt Guides

    T-shirt guides are plastic guides that crafters can use to line up t-shirt designs. You can pick them up for under $10.

    Pros: Cheap, easy to use.

    Cons: You need different ones for different sized shirts.

    Buy It: Shop T-shirt Guides

  • Hours of Operation Decals – A Way in with Small Businesses

    I’ve talked before about wholesaling on the Cutting for Business blog – see here and here. In fact, working with other small businesses is my favorite type of arrangement for Silhouette and Cricut owners, because it eliminates a lot of headaches of customer service. Also, wholesale orders tend to be for larger dollar amounts – and everyone loves that!

    One issue I hear about from Silhouette and Cricut business owners is that they don’t know how to approach small stores to get orders from them. While visiting stores and pitching sales ideas can work well, I’m going to tell you about another today.

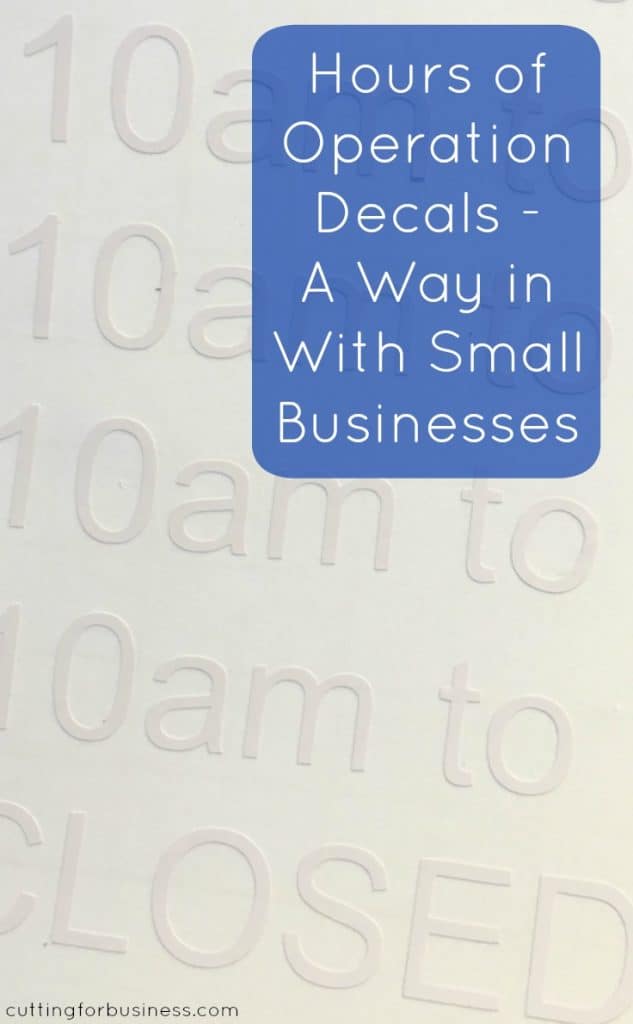
    One thing that nearly all brick and mortar stores have in common is that they need a sign with their business hours. In my area, some small businesses don’t have signs with their hours on the front of their store; while others have handwritten signs on blanks from the hardware store or old peeling vinyl decals. Here’s where you come in – you can offer to create and install a vinyl decal with their store hours. You’d charge a reasonable amount ($15 to $25) – and start building your relationship with the store. Be sure after you apply the vinyl that the store owner knows what else you can create – and how to reach you. This simple project could lead to more window signage, or various other creations for small business. If it doesn’t lead to anything else, you’ve made a profit from a simple vinyl decal install.

    Tips for Hours of Operation Decals

    • Use easy to read fonts that can be read at a distance.
    • Cut samples ahead of time and give store owners a choice of only two or three fonts.
    • Keep it simple – no need for flourishes or images.
    • White adhesive vinyl works well on tinted store windows.

    Now, get out there and talk to your local florist, real estate company, attorney, notary, clothing boutique, and more!

    Save this post to Pinterest:

    Hours of Operation Decals - A Way in with Small Businesses - For Silhouette Cameo or Cricut Explore Owners - cuttingforbusiness.com

  • Tutorial: Craft Perfect Heat Transfer Vinyl on Leather

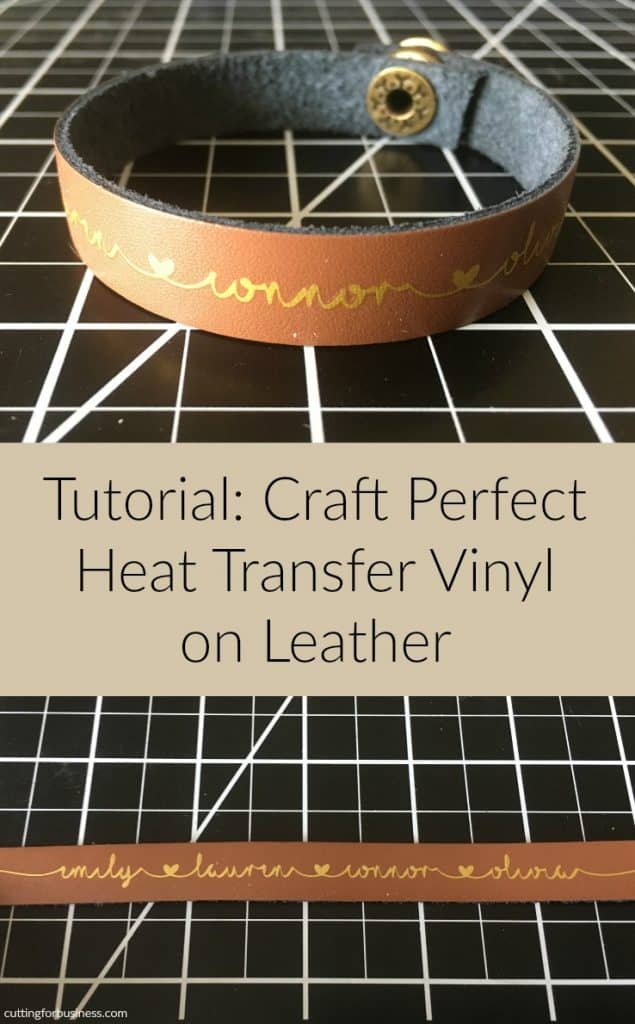
    Yesterday when I was doing research on my post about Happy Crafter’s new heat transfer vinyl product, Craft Perfect, I noticed that it was advertised as “works on leather”. Since I had some leather laying around, I put it to the test by making a leather bracelet.

    Using Craft Perfect on Leather

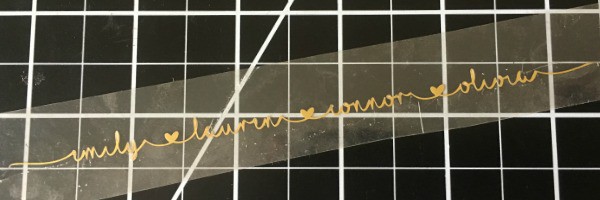
    1. First, create your design in Silhouette Studio or Cricut Design Space. I used Silhouette Studio (version 4 beta) and the MF I Love Glitter font: Tutorial: Craft Perfect Heat Transfer Vinyl on Leather - by cuttingforbusiness.com
    2. Mirror the design, cut the Craft Perfect on your machine, and weed it: Tutorial: Craft Perfect Heat Transfer Vinyl on Leather - by cuttingforbusiness.com
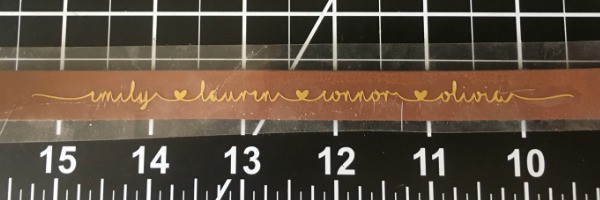
    3. Lay the weeded Craft Perfect on your leather blank. In this tutorial, I’m using a half inch wide leather strip that I have cut to size for a bracelet. You can pick up the same leather hereTutorial: Craft Perfect Heat Transfer Vinyl on Leather - by cuttingforbusiness.com
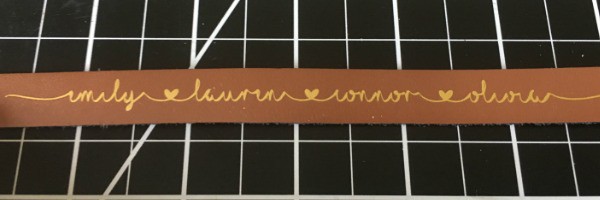
    4. Using a heat press at medium pressure and 300 degrees for 15 seconds, press the Craft Perfect onto the leather. Mine turned out perfect: Tutorial: Craft Perfect Heat Transfer Vinyl on Leather - by cuttingforbusiness.com
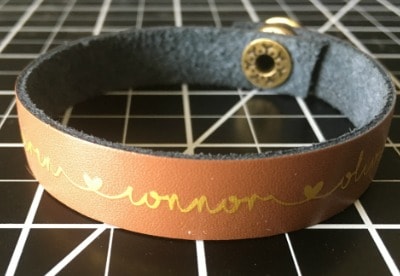
    Now, you can finish your bracelet off by adding any kind of closure you’d like. For me, I finished it off with a simple snap: Tutorial: Craft Perfect Heat Transfer Vinyl on Leather - by cuttingforbusiness.com

    Interested in learning to set snaps in leather? Tandy Leather has a wonderful video tutorial here. It’s pretty easy once you do a few, but you’ll need to have a few tools on hand: 1) Snap setter and anvil. I own this one. 2) A mallet – any will do – like this one. 3) A leather hole punch. 4) And, snaps for leather!

    Ready to try out Craft Perfect on leather? Before you do, save this post to Pinterest:

    Tutorial: Craft Perfect Heat Transfer Vinyl on Leather - by cuttingforbusiness.com

  • Review: Craft Perfect Heat Transfer Vinyl

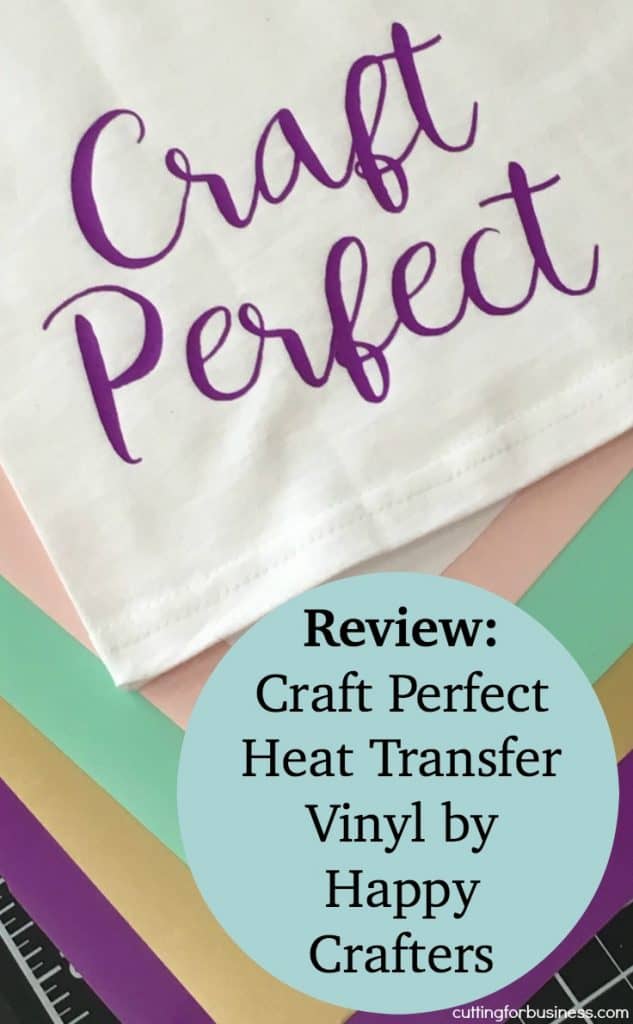
    Happy Crafters recently launched a new heat transfer vinyl product called Craft Perfect. They sent me a few samples so that I could share my opinions with you.

    What is Happy Crafter’s Craft Perfect?

    It is a heat transfer material that adheres to cotton, polyester, blends, spandex, and performance wear (but not nylon!). It has a matte finish and is priced at as low as $2 per 12″ by 12″ sheet if you order in bulk! Single sheets run $3 each.

    What Colors are Available for Craft Perfect?

    There’s a wide array of colors available: Lilac, marine blue, mint, neon purple, pineapple, pink champagne, razzmatazz, seafoam, silver plate, tomato, coral reef, gold crown, grassy field, henna, blueberry pie, jet black, and cloud white.

    My Sample Pack

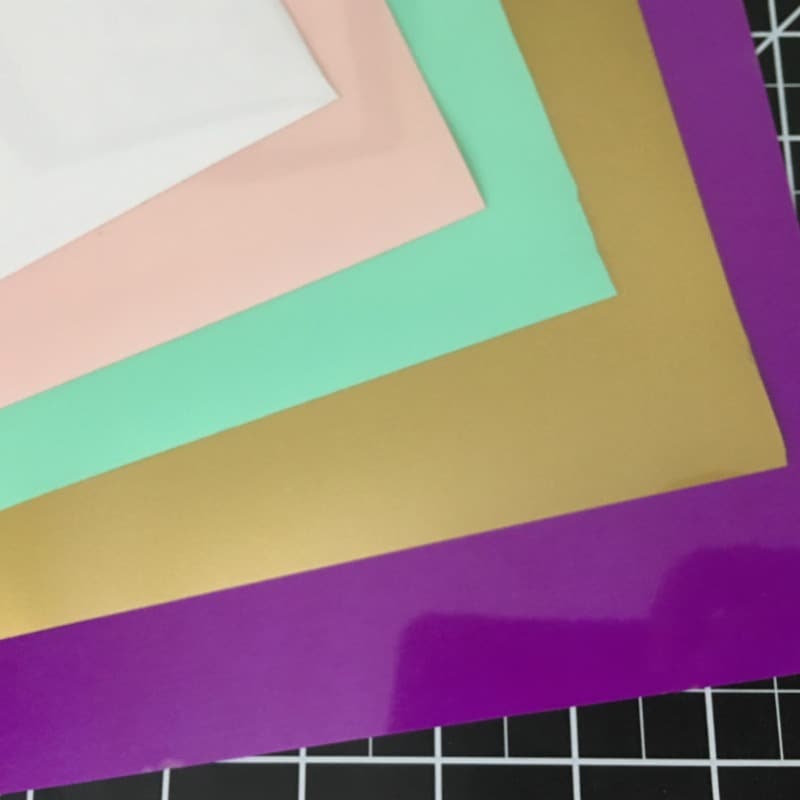
    My sample pack of Craft Perfect included cloud white, pink champagne, neon purple, mint, and gold crown.

    Review: Craft Perfect Heat Transfer Vinyl - by cuttingforbusiness.com

    Cutting Craft Perfect

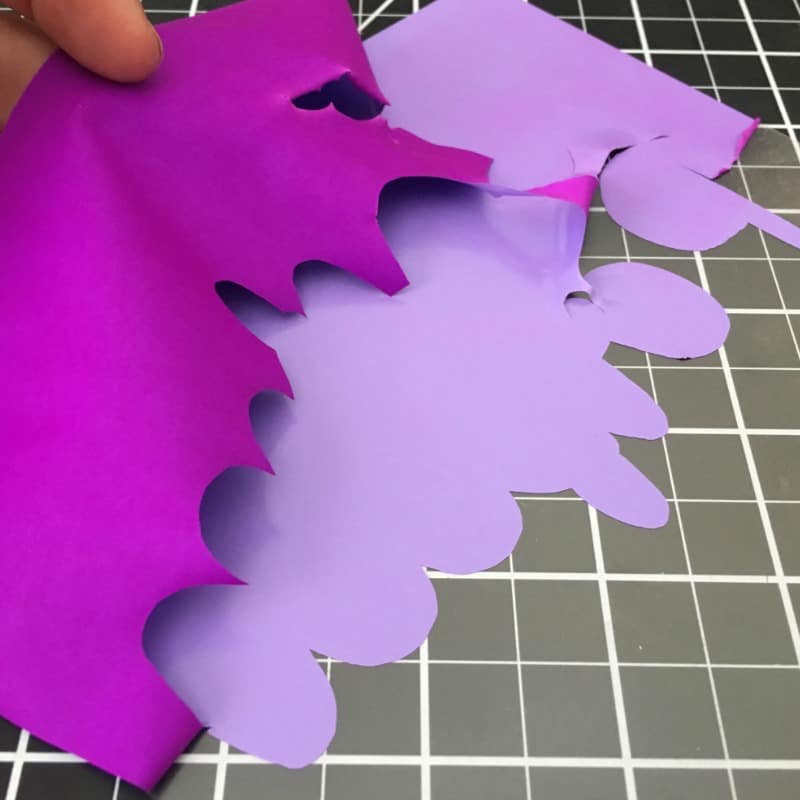
    Like many heat transfer materials, Happy Crafter’s Craft Perfect comes with a built in carrier sheet. This means that you will mirror your image and cut it shiny side down. I used the preset for heat transfer vinyl (smooth) with my Silhouette Cameo 3. Weeding the material was also easy:

    Review: Craft Perfect Heat Transfer Vinyl - by cuttingforbusiness.com

    Applying Craft Perfect

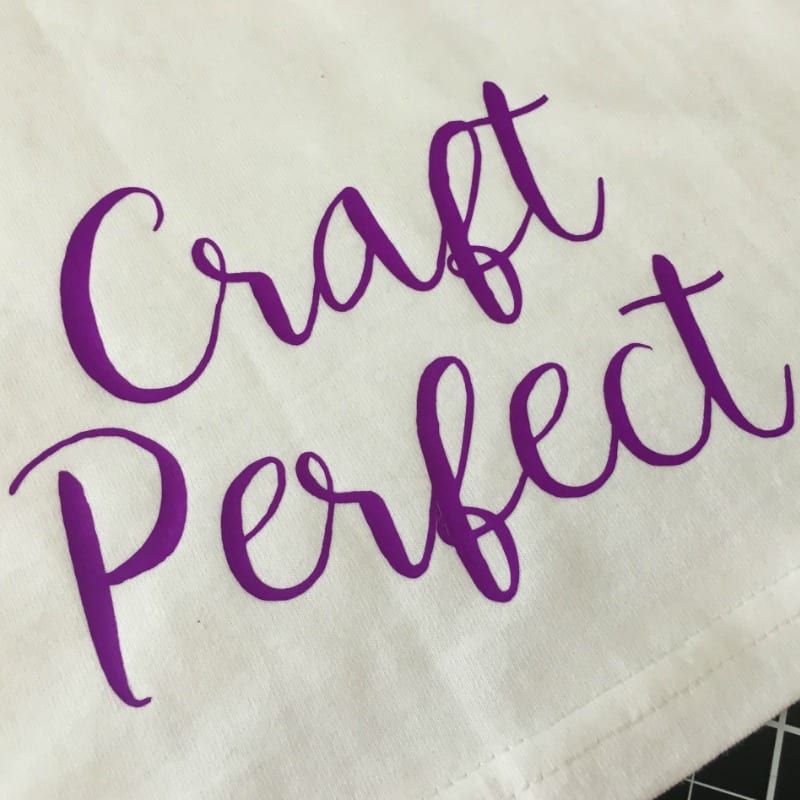
    There were no instruction sheets included in my sample and no heat press times listed on Happy Crafters – so I pressed with medium pressure at 300 degrees. The application was perfect! Craft Perfect can also be applied with an iron.

    Review: Craft Perfect Heat Transfer Vinyl - by cuttingforbusiness.com

    Overall Thoughts on Craft Perfect by Happy Crafters

    I thought the material was easy to work with and was very thin – which I liked! Also, I noticed there was quite a bit of stretch to the material!

    I’d recommend Craft Perfect and hope to see the line expand to other colors in the future! Shop for Craft Perfect at Happy Crafters at this link.

    Save this post to Pinterest:

    Review: Craft Perfect Heat Transfer Vinyl - by cuttingforbusiness.com

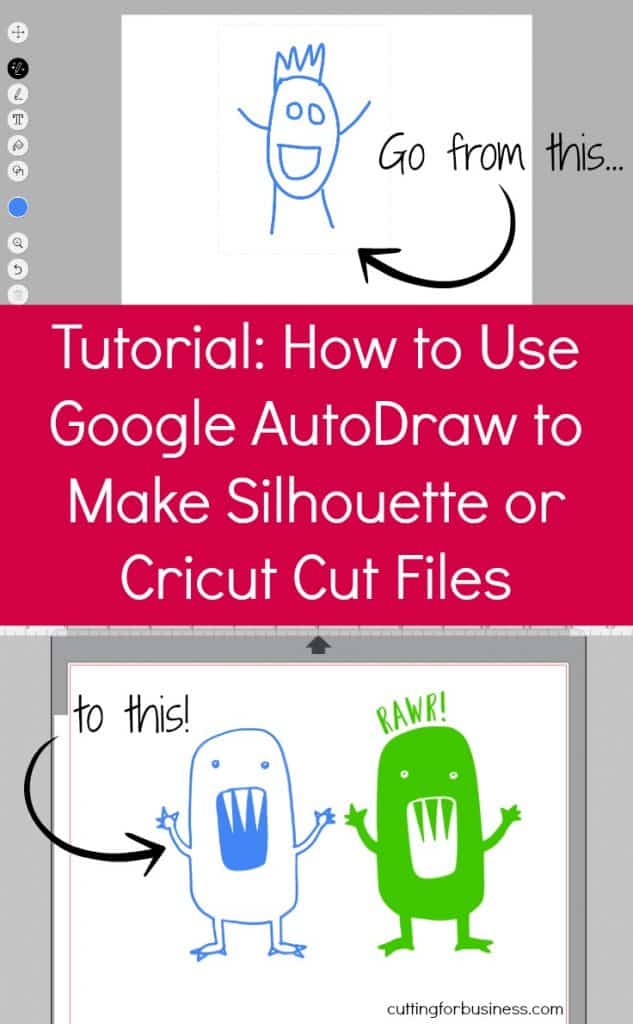
  • How to Make Cut Files with Google AutoDraw

    I’ve been watching speculation in the tech world about this tool for months, and am thrilled that Google recently released their AutoDraw experiment. Let me tell you, if you aren’t an artist – this is for you. Google AutoDraw is a machine led tool that recognizes what you are drawing as you draw it and turns your doodle into something – recognizable! It’s free and works on phones, tablets, and computers. Let’s take a look at how to use this up and coming technology to make cut files for Silhouette or Cricut:

    How to Make Cut Files with Google AutoDraw Experiment

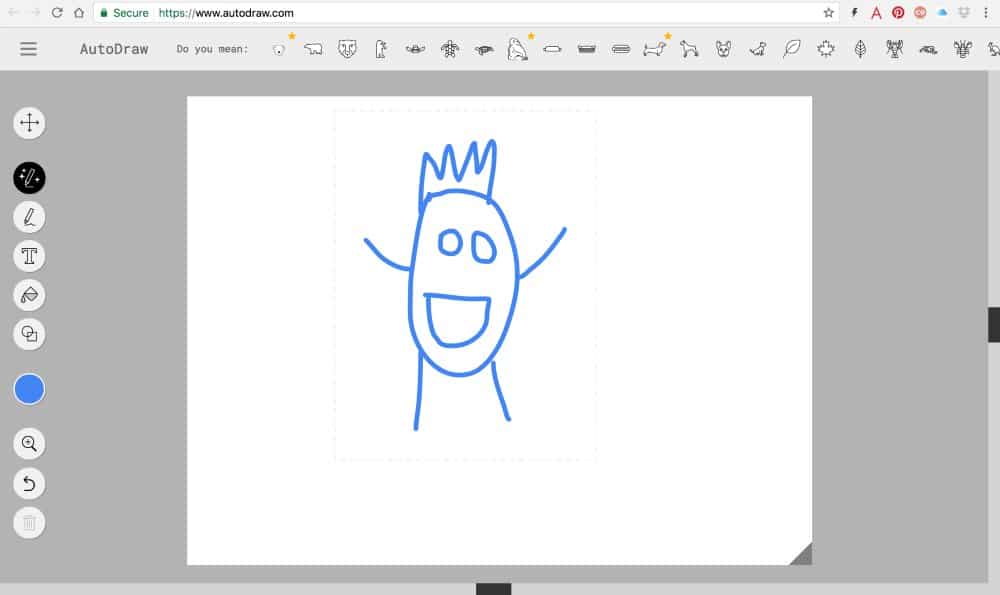
    1. Click here to visit AutoDraw. Then, click the “Launch Experiment” button. How to Make Cut Files For Silhouette Cameo or Cricut Explore with Google AutoDraw - by cuttingforbusiness.com
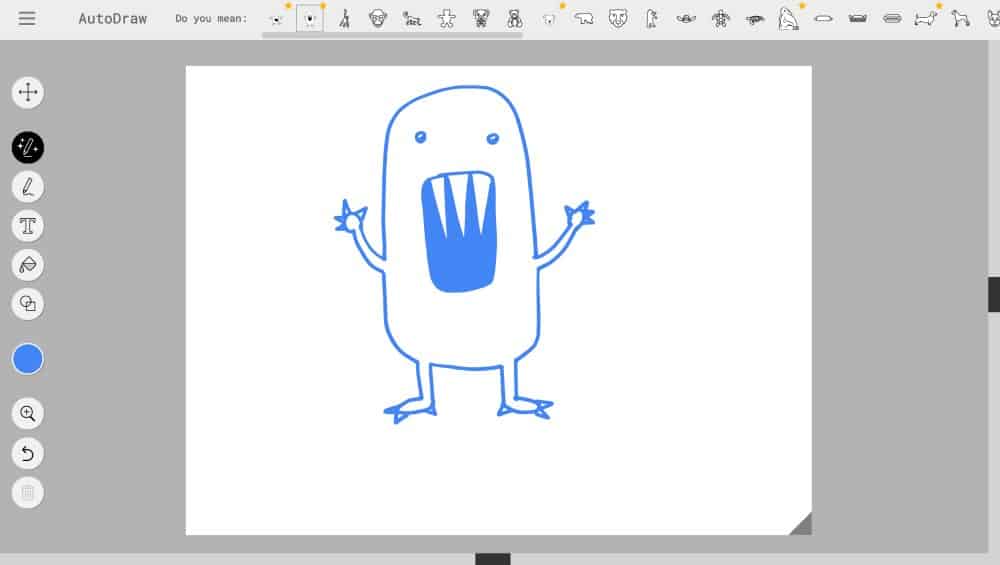
    2. Draw a doodle (Oh, that’s a monster in case you are wondering!):How to Make Cut Files For Silhouette Cameo or Cricut Explore with Google AutoDraw - by cuttingforbusiness.com
    3. Once you complete your drawing, look at the top menu bar and AutoDraw will make suggestions. When you click on one, your doodle will be transformed: How to Make Cut Files For Silhouette Cameo or Cricut Explore with Google AutoDraw - by cuttingforbusiness.com
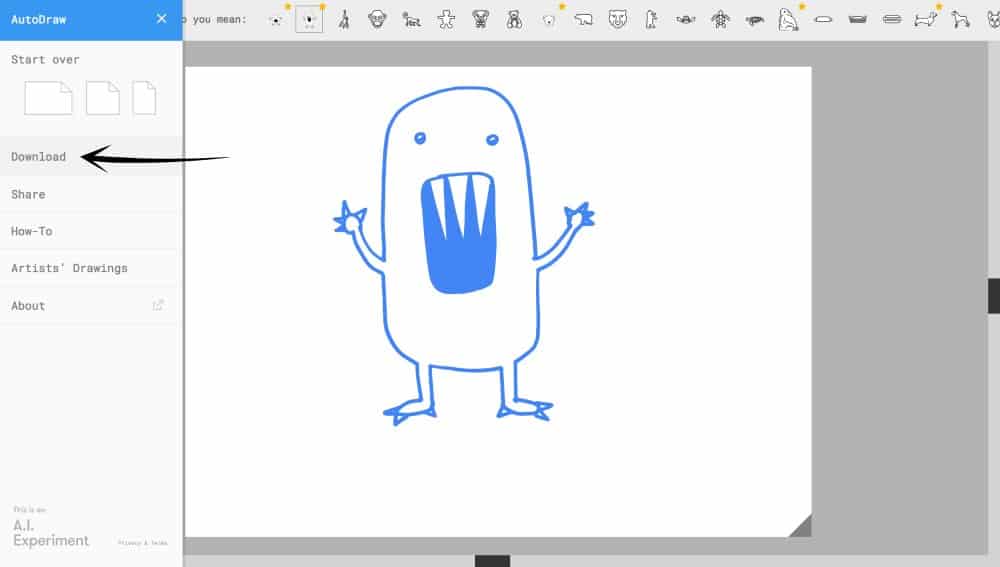
    4. Pretty cool, huh?! Now, you’ll save your image by clicking “Download” on the left hand side and you can bring it into Silhouette Studio or Cricut Design Space. How to Make Cut Files For Silhouette Cameo or Cricut Explore with Google AutoDraw - by cuttingforbusiness.com

    If you are using Silhouette Studio

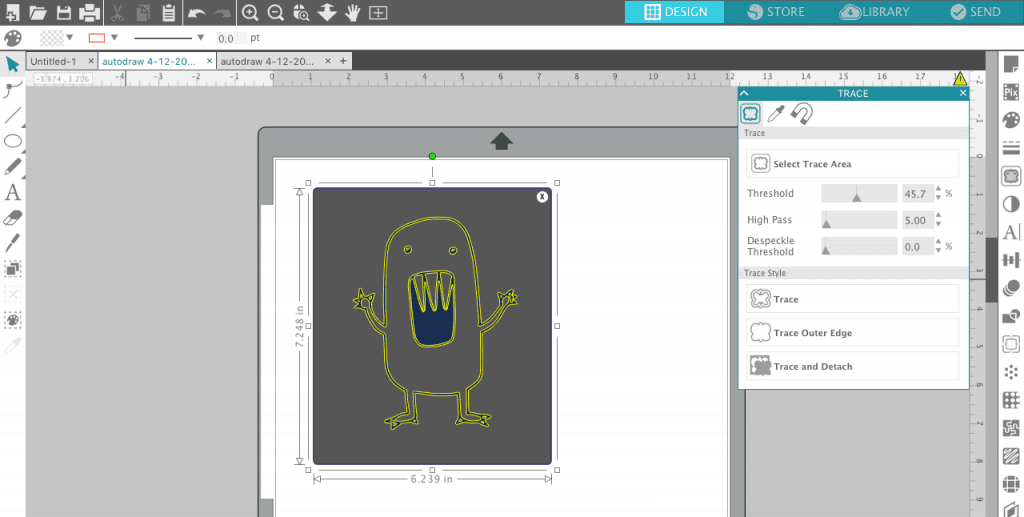
    1. Open the PNG file and trace it. For more information about working with PNG files, see this postHow to Make Cut Files For Silhouette Cameo or Cricut Explore with Google AutoDraw - by cuttingforbusiness.com
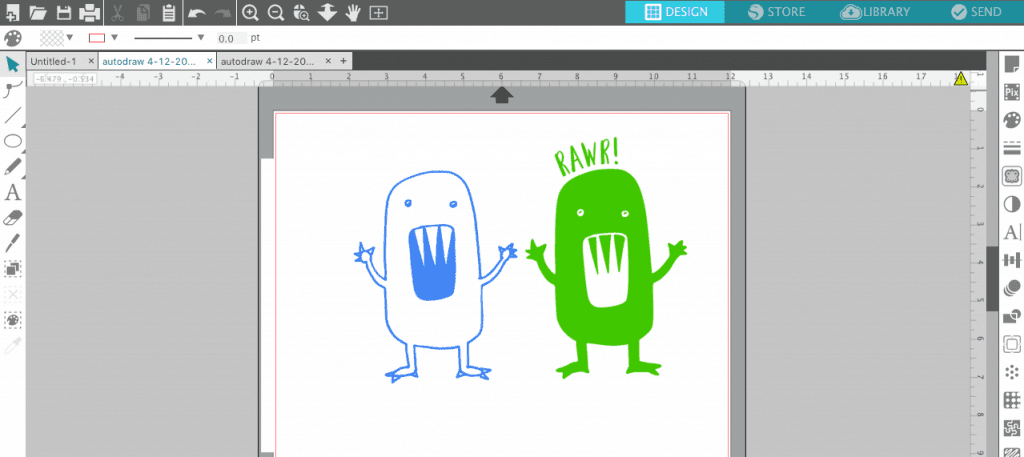
    2. Add additional text or colors, then cut it!How to Make Cut Files For Silhouette Cameo or Cricut Explore with Google AutoDraw - by cuttingforbusiness.com

    Wondering why my Silhouette Studio looks different from yours? I’m using version 4 beta.

    If you are using Cricut Design Space

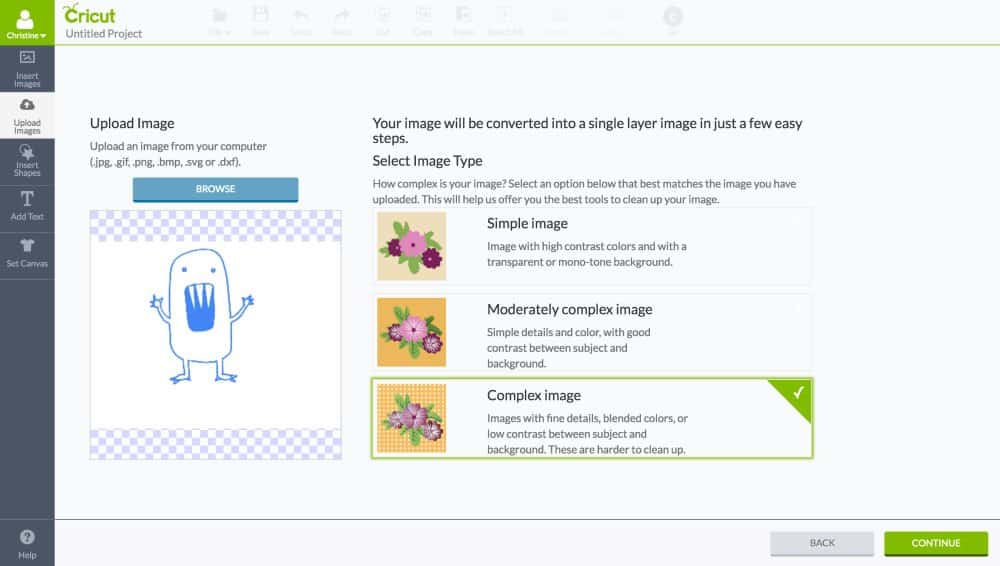
    1. Click “Upload Images” from Design Space.  How to Make Cut Files For Silhouette Cameo or Cricut Explore with Google AutoDraw - by cuttingforbusiness.com
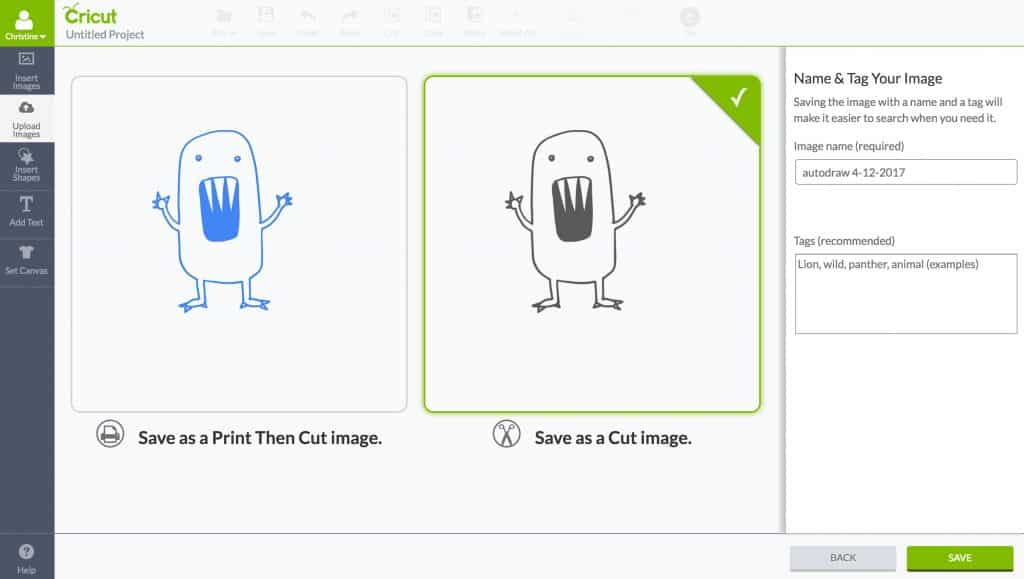
    2. Choose “Save as a Cut image”, then add additional text or details.How to Make Cut Files For Silhouette Cameo or Cricut Explore with Google AutoDraw - by cuttingforbusiness.com

    I can’t wait to see what you create with Google AutoDraw! Before you go, the terms and conditions for the AutoDraw tool are nearly non-existent. It is advertised as “Fast drawing for everyone”. I’m trying to get a solid answer on the commercial use applications – so right now, you may want to stick with personal use. I’ll update this post here if I find out anything else.

    Save this post to Pinterest, then download a freebie cut file below:

    How to Make Cut Files For Silhouette Cameo or Cricut Explore with Google AutoDraw - by cuttingforbusiness.com
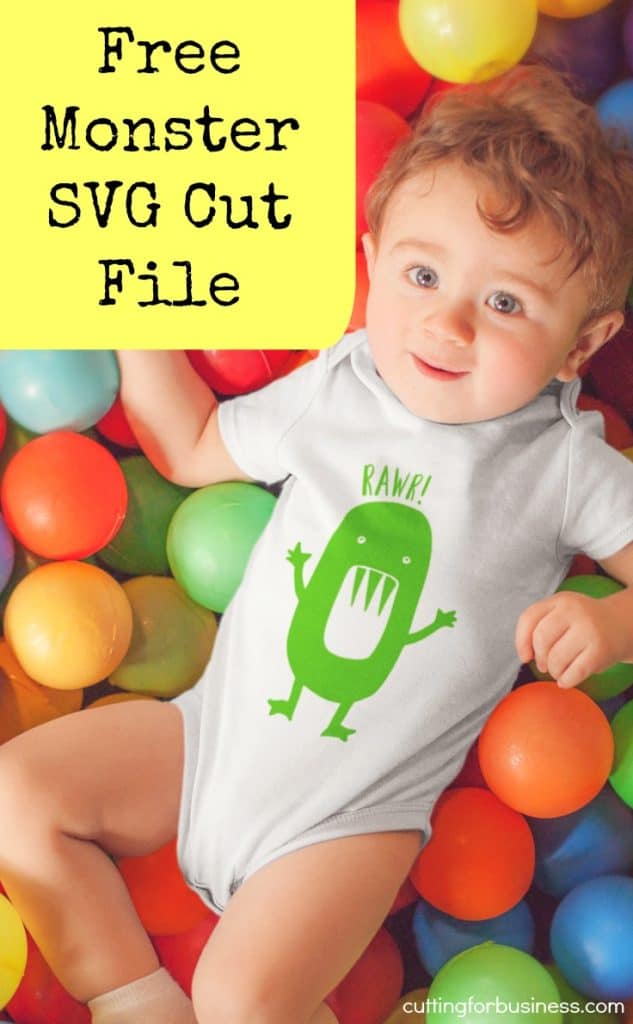
    Free Monster SVG Cut File for Silhouette Cameo or Cricut Explore - by cuttingforbusiness.com
  • Mini Guide: Instagram Boot Camp for Silhouette & Cricut Businesses

    Buy It NowClick here to purchase Instagram Boot Camp for Silhouette & Cricut Businesses.


    More Information

    • Instagram Boot Camp for Silhouette & Cricut Businesses is a 7 day self study guide. Each day I present information about specific tasks, and you should complete the tasks before moving to the next day.
    • You do not have to have an Instagram account to use the guide.
    • This mini guide is geared towards owners of Silhouette and Cricut small businesses.
    • Even if you’ve never seen Instagram before, at the end – you be able to confidently work Instagram for your Silhouette or Cricut small business.

    Buy Now

    • Instagram Boot Camp for Silhouette & Cricut Businesses is a 32 page ebook and costs $10. Click here to purchase. After purchasing, it will be emailed to you automatically. (Please check your spam/junk folder if you don’t see it.)
    Mini Guide: Instagram Boot Camp for Silhouette and Cricut (Portrait, Cameo, Curio, Mint, Explore, Maker, Joy) - by cuttingforbusiness.com.
  • How to Design Smarter on Vinyl on Cups, Tumblers, and Mugs

    I’ve mentioned on the Cutting for Business blog before that I really don’t think that vinyl on a mug is the best product to sell. I know that some sellers have had a great luck doing them – while others get customers complaining that the vinyl is simply a “sticker” or that it peels off easily. Instead, I would rather see everyone doing sublimation on mugs which makes the design permanent, washable, and able to withstand the microwave. If you don’t know how mug sublimation works, head to this post.

    How to Design Smarter on Cups and Mugs

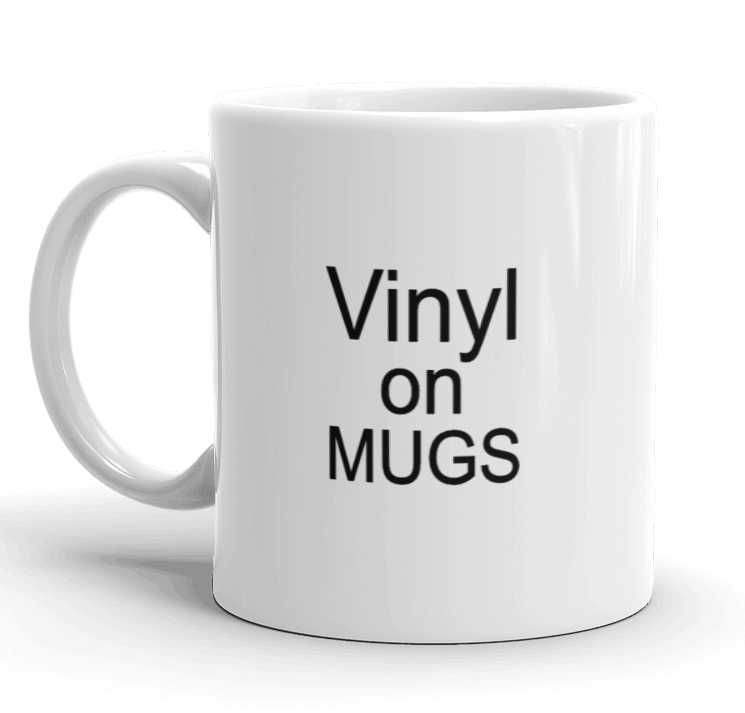
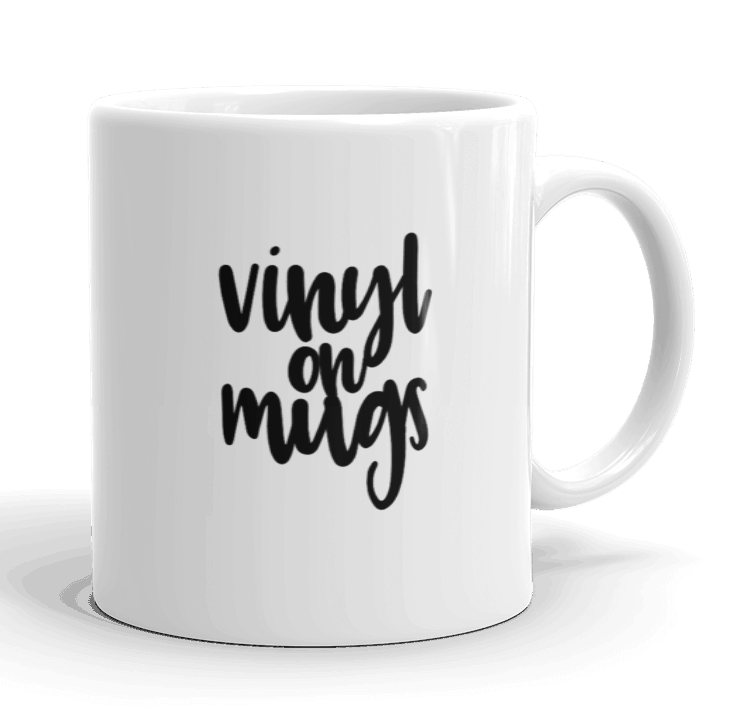
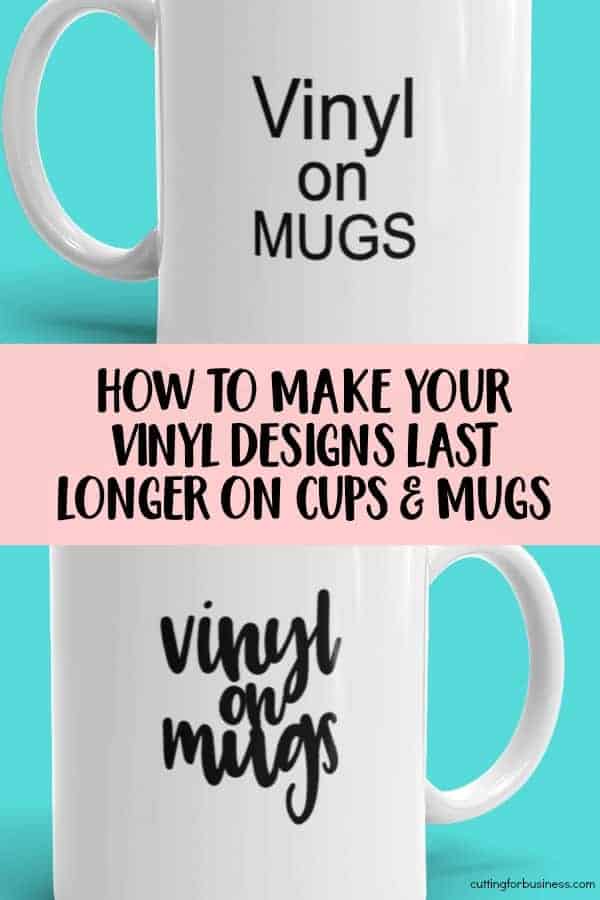
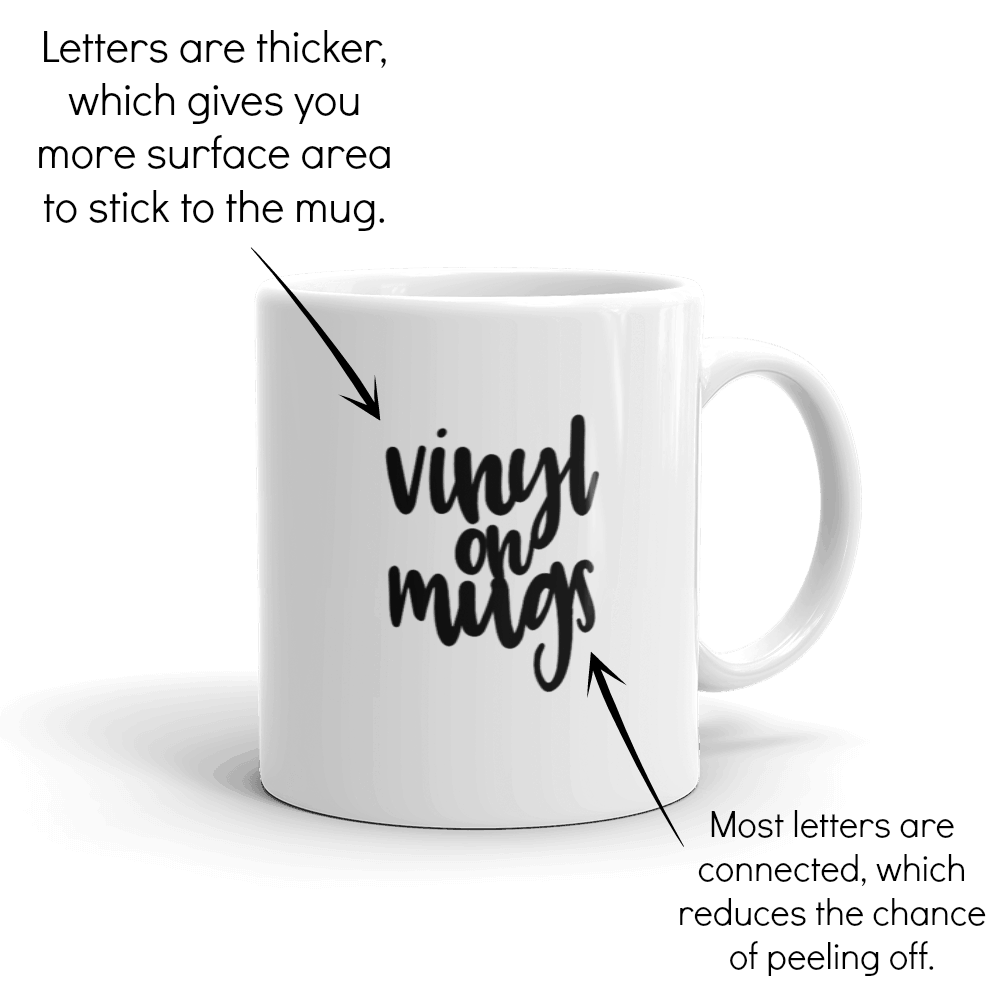
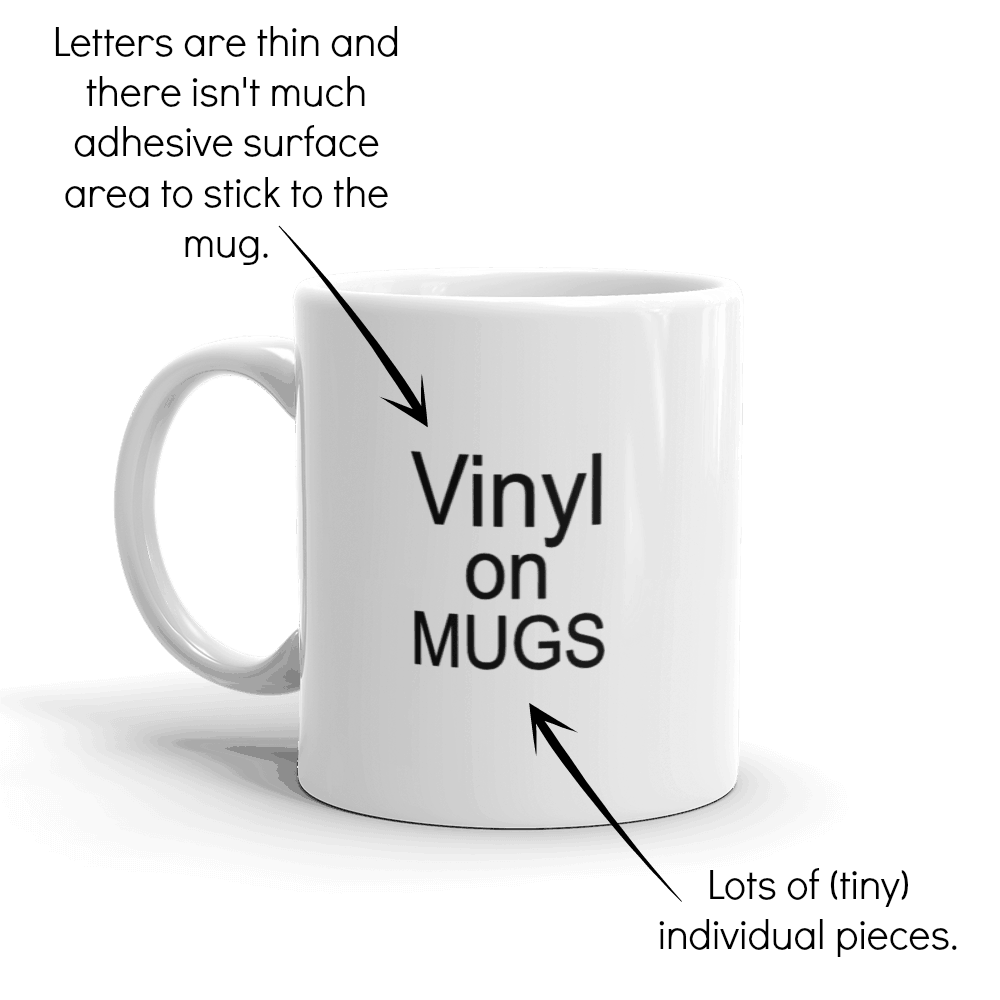
    If you do want to do vinyl on mugs, you just need to learn to design smarter. Let’s look at an example – which mug is a smarter design?Vinyl on Mugs - Designing Smarter with Your Silhouette Cameo or Cricut Explore - by cuttingforbusiness.comVinyl on Mugs - Designing Smarter with Your Silhouette Cameo or Cricut Explore - by cuttingforbusiness.com

    These two sayings are the same, however, there are big differences. Here’s why the second one is a better design choice: Vinyl on Mugs - Designing Smarter with Your Silhouette Cameo or Cricut Explore - by cuttingforbusiness.com Vinyl on Mugs - Designing Smarter with Your Silhouette Cameo or Cricut Explore - by cuttingforbusiness.com

    When designing (or shopping for designs) to put on cups, mugs, and tumblers using vinyl you can make smarter decisions by looking for designs that are one piece and those that have thicker or chunkier letters. When you have more surface area of adhesive against the blank – the better the design will stay on. For maximum design life, don’t forget to follow the vinyl manufacturer’s recommendations for curing time before use.

    Remember, better designed products lead to happier customers – and more money in your pocket!

    Need care cards to include with your mugs, cups, or tumblers? Download them free here.

    Was this information helpful? Save this post to Pinterest:

    How to Make Your Vinyl Designs Last Longer on Cups and Mugs - A great read read for Silhouette Portrait or Cameo and Cricut Explore or Maker - by cuttingforbusiness.com