Design with Me is a new regular feature on Cutting for Business! Each Friday, I’ll bring you a new Silhouette Studio tutorial featuring how to design an SVG.
Today, let’s look at creating a stretched letter filled pumpkin SVG.
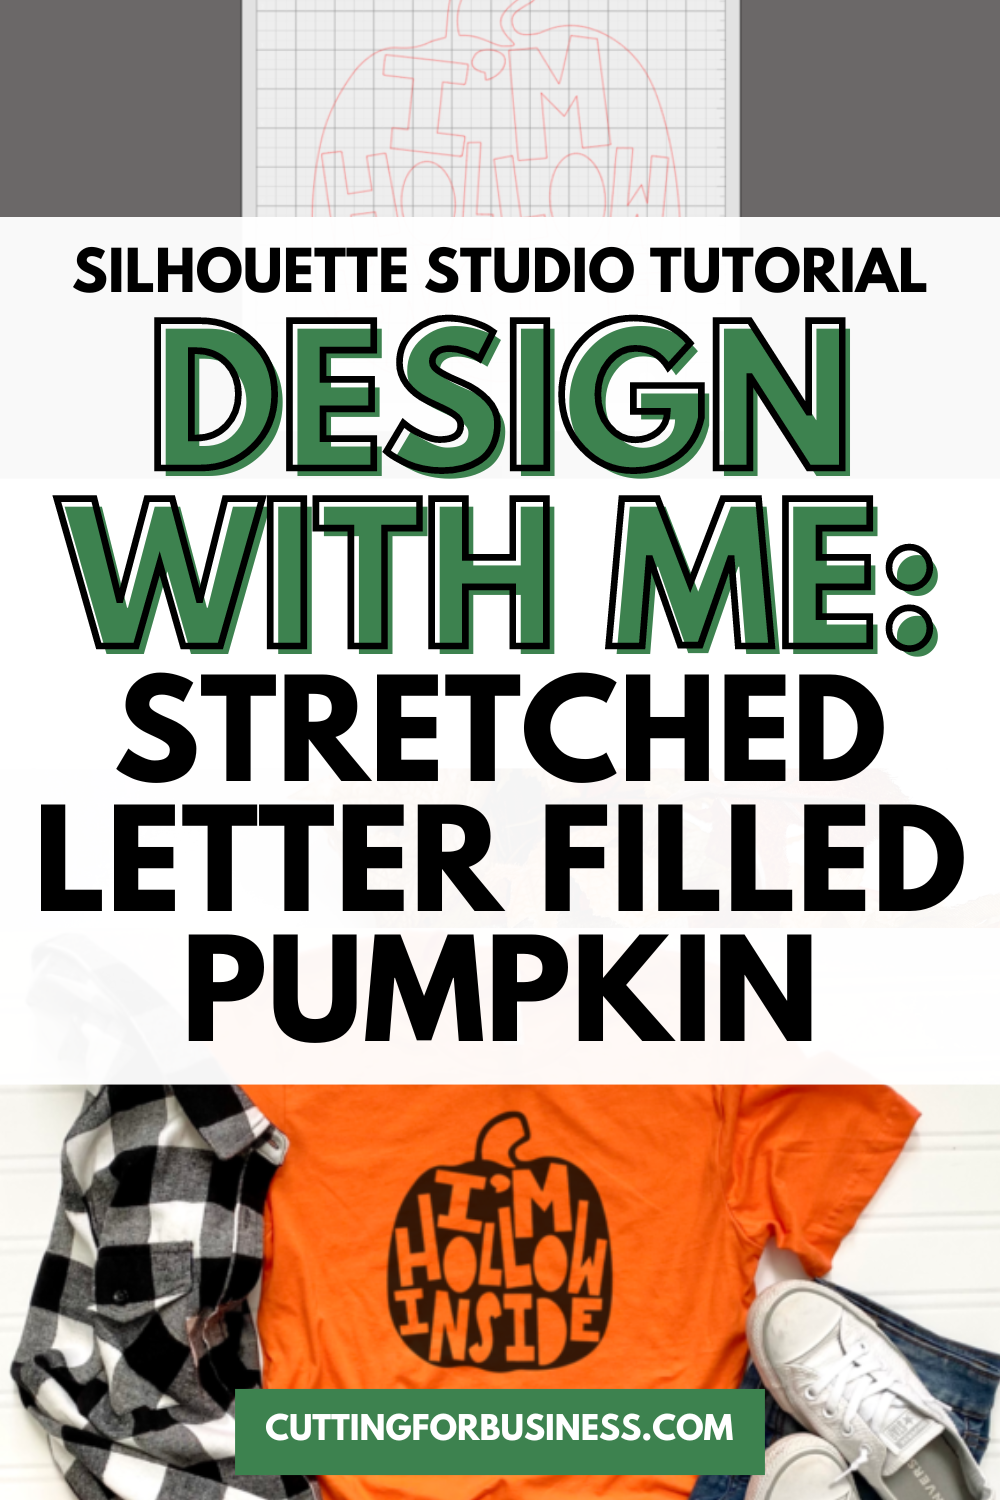
Silhouette Studio Tutorial: Stretched Letter Filled Pumpkin SVG
Ahhh, smell that? That’s the smell of fall! Let’s look at another tutorial. Today, I’ll use a pumpkin pun to make a letter filled pumpkin design.
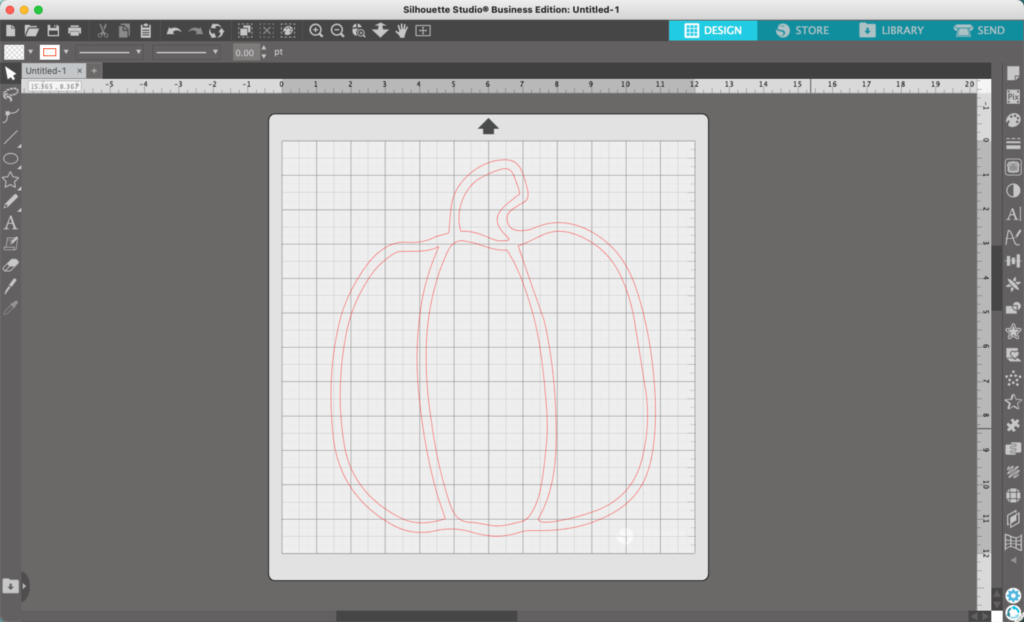
- Start with a pumpkin shape. It can be a dingbat from a font, a pumpkin you designed, or a pumpkin you’ve previously designed (hint, hint – view this tutorial). For this tutorial, I’m using a dingbat from the Fall Feels font.
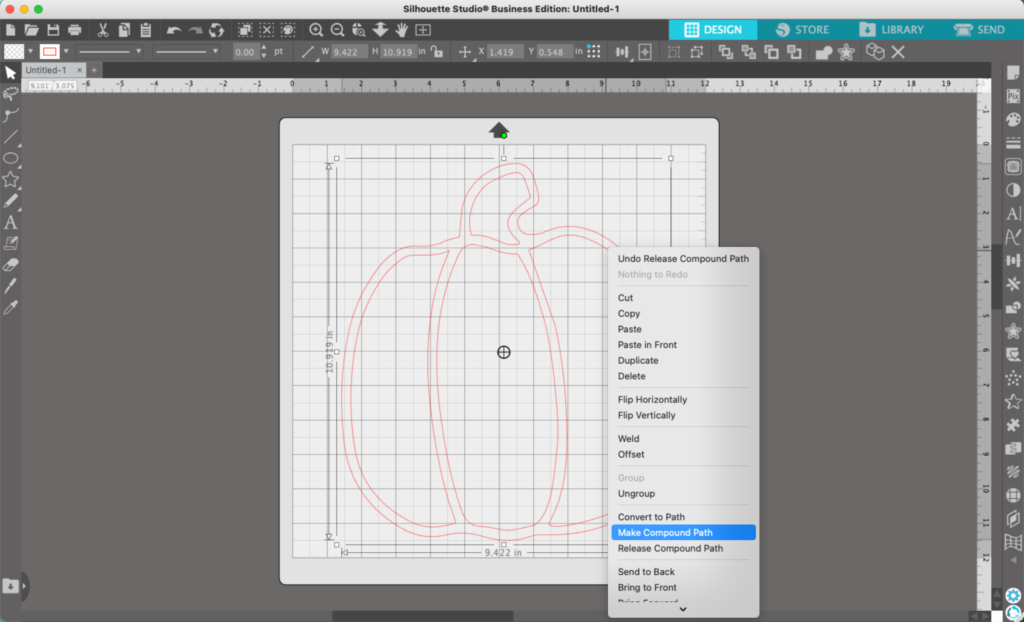
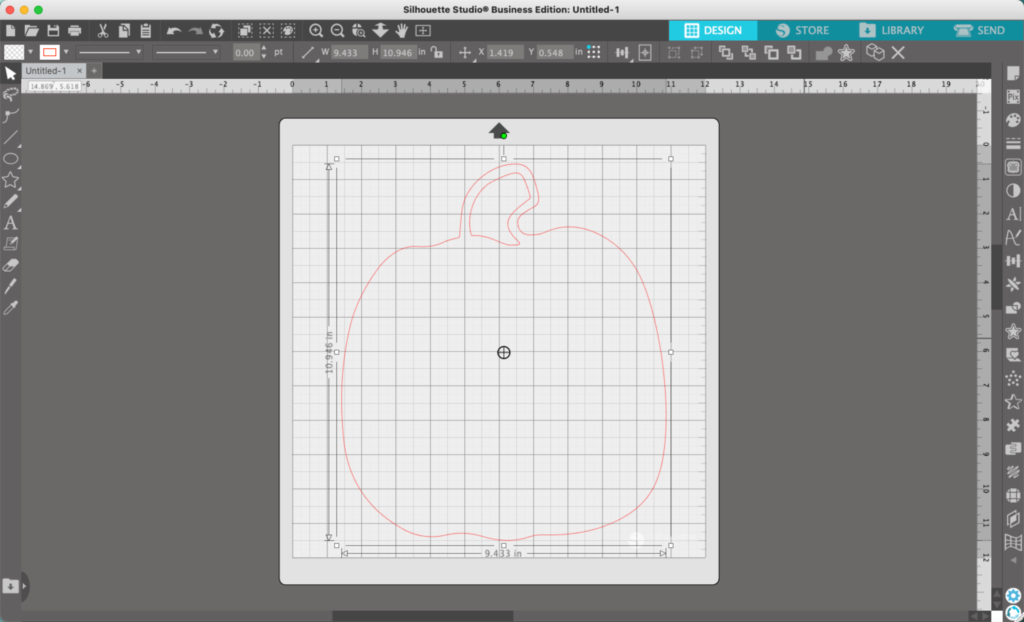
2. (Optional) Right click on the dingbat if needed, then click ‘Make Compound Path’. This will allow you to easily delete anything in the center of your pumpkin. I chose to leave the steam detail inside the pumpkin.
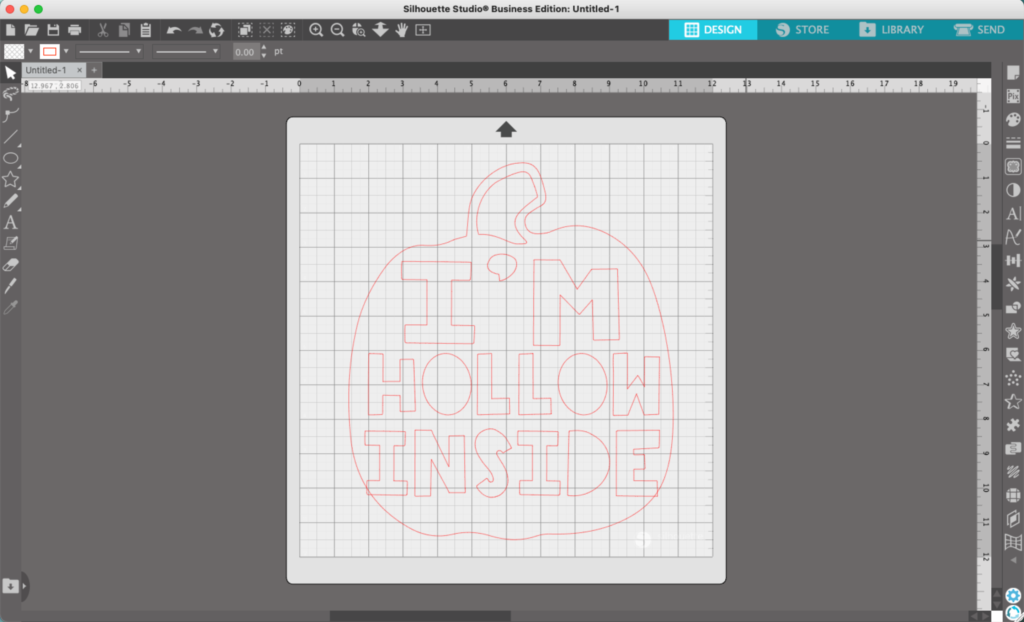
2. Pick a fun or funky font. Something a little different. For this tutorial, I’m using this font. Add your text and put it in place.
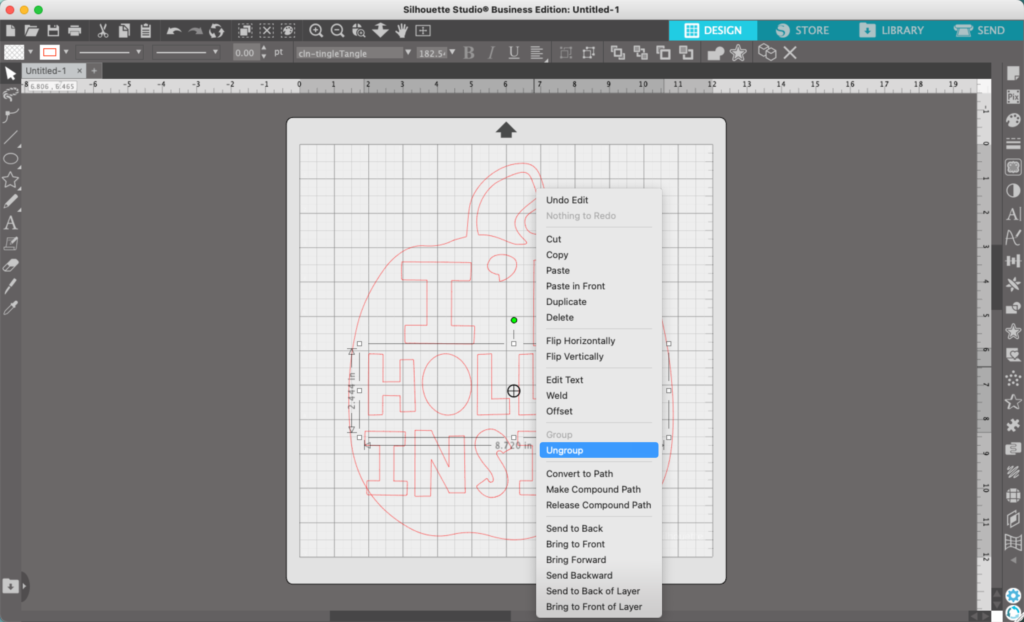
3. Right click on each of the words, then select ‘Ungroup’.
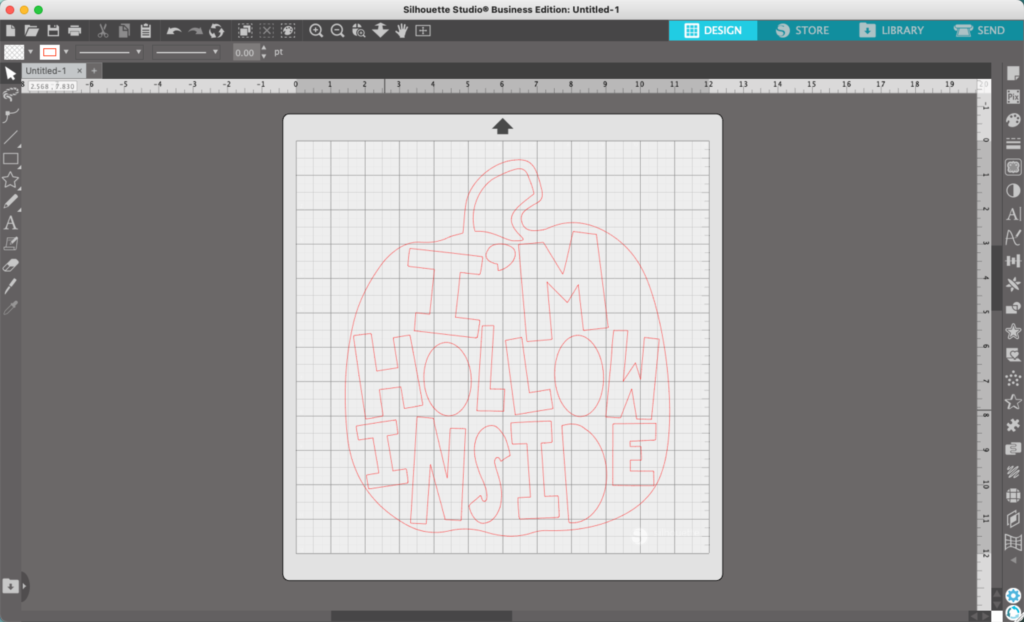
4. You can now rotate, stretch, and move each letter independently. So, move through each word and letter and move it around. Go crazy! The only ‘rule’ is that you cannot go outside the pumpkin outline.
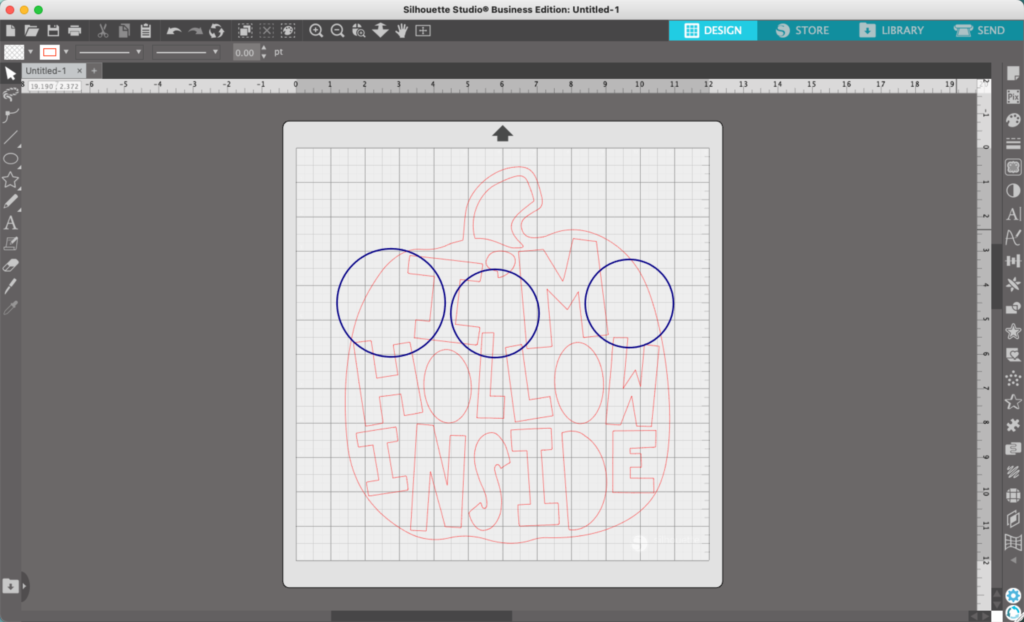
5. After rotating and moving my letters around, I’ve got some empty spaces. I’ve circled them in blue.
6. To fix the spaces, I extended the letters by adding a rectangle to each, then welding the rectangle to the letter. (Reminder: To weld, select both the rectangle and the letter, then right click and select ‘Weld’.)
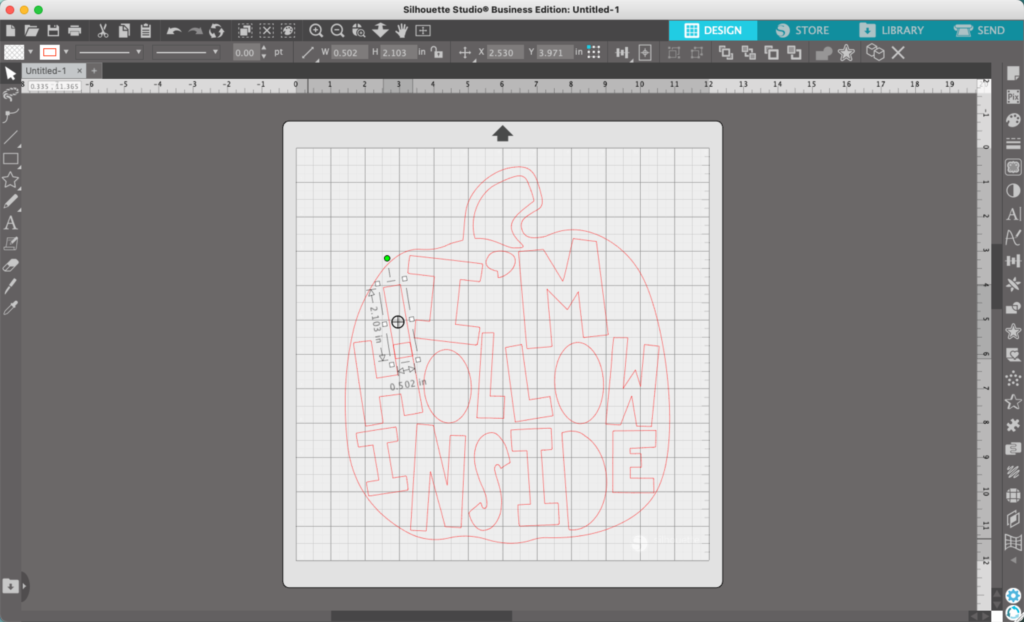
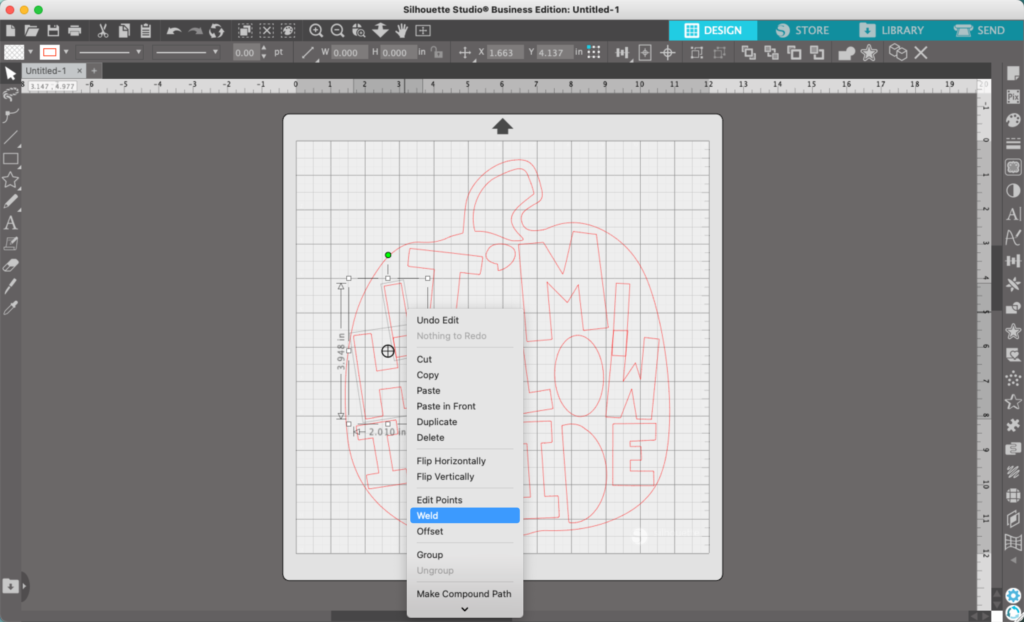
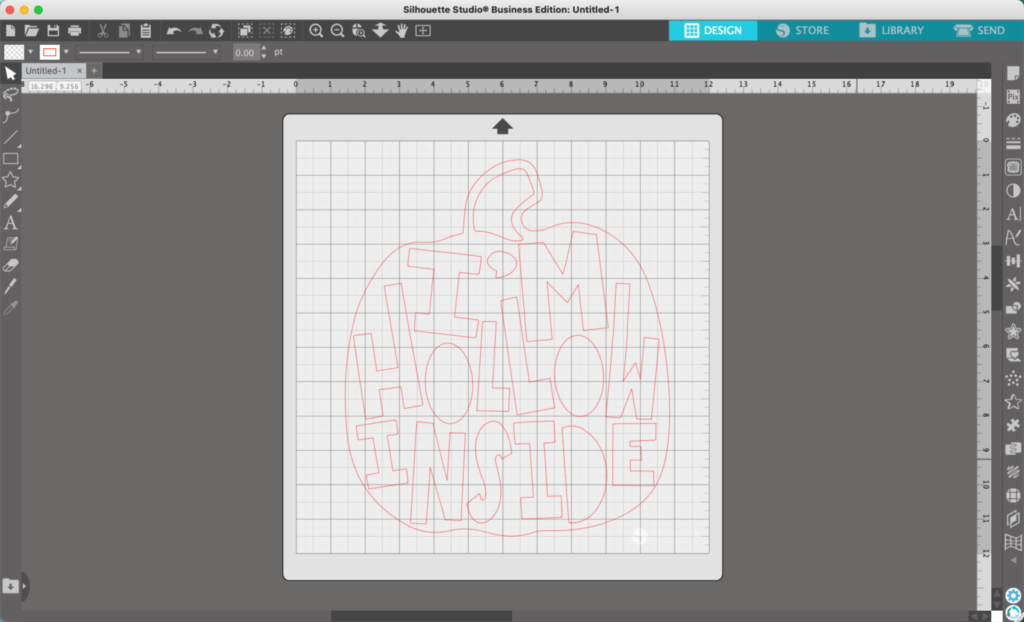
7. Keep fine tuning until you are happy with the final design.
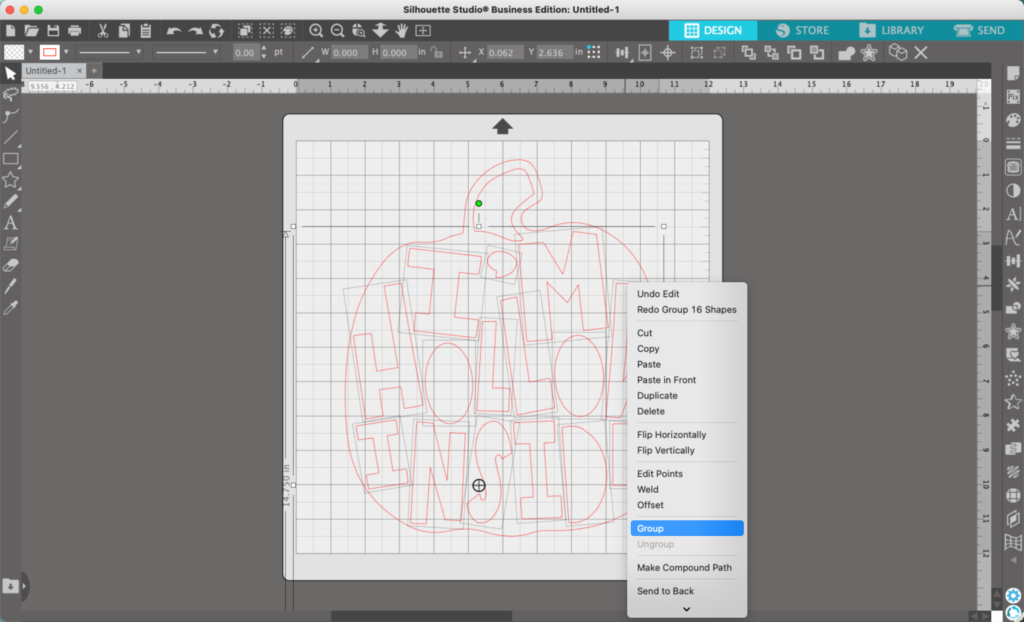
8. Group all the interior letters and pieces together by selecting them all, right clicking, then choosing ‘Group’.
9. Fill the pumpkin shape with color.
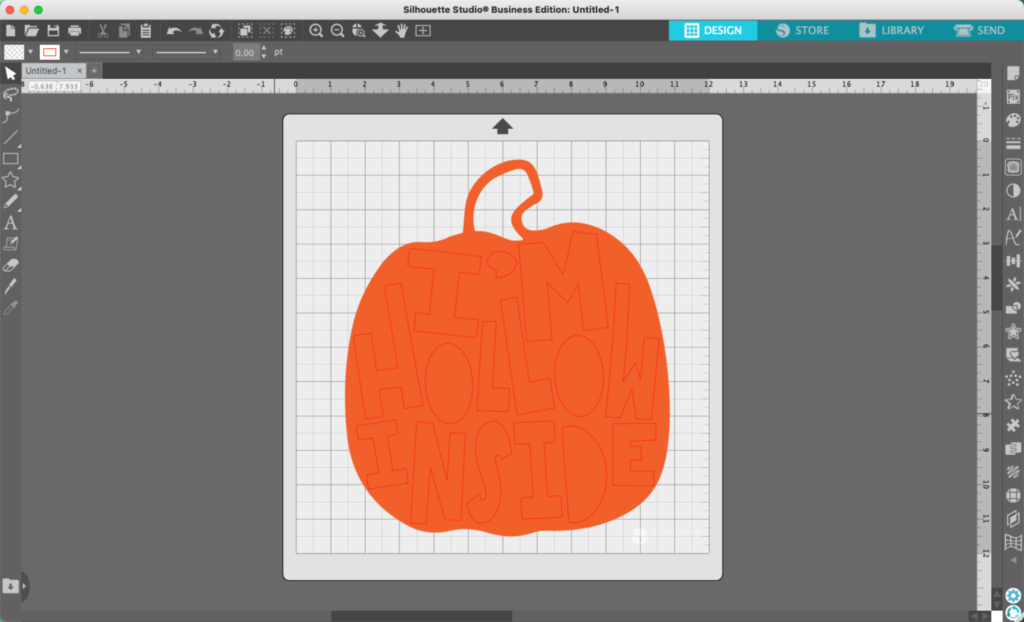
10. Select the pumpkin, then interior letters (and pieces if you have any), and head to ‘Object’, ‘Modify’, ‘Subtract’.
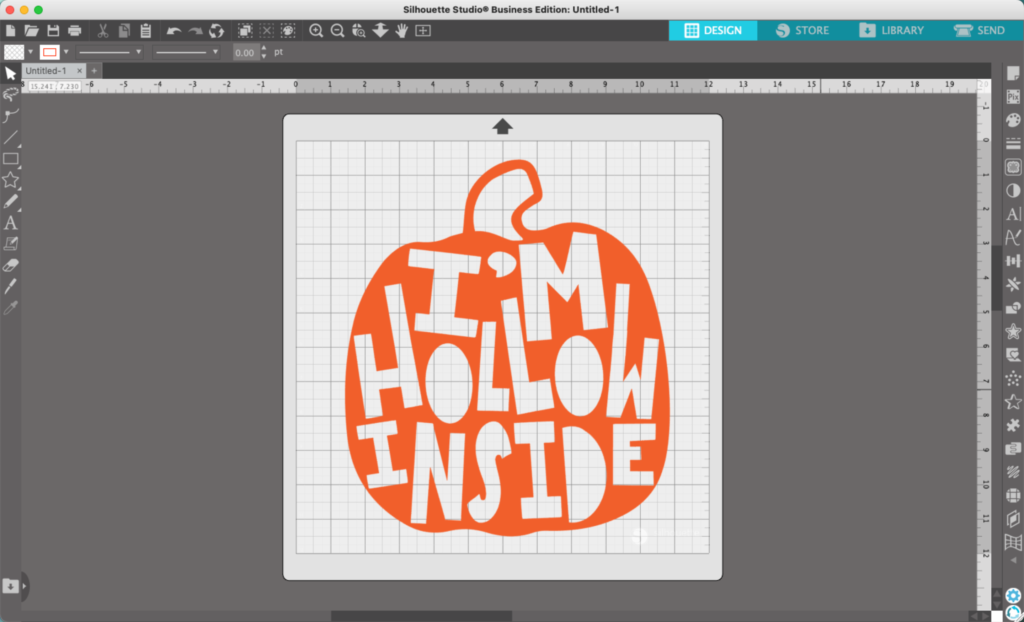
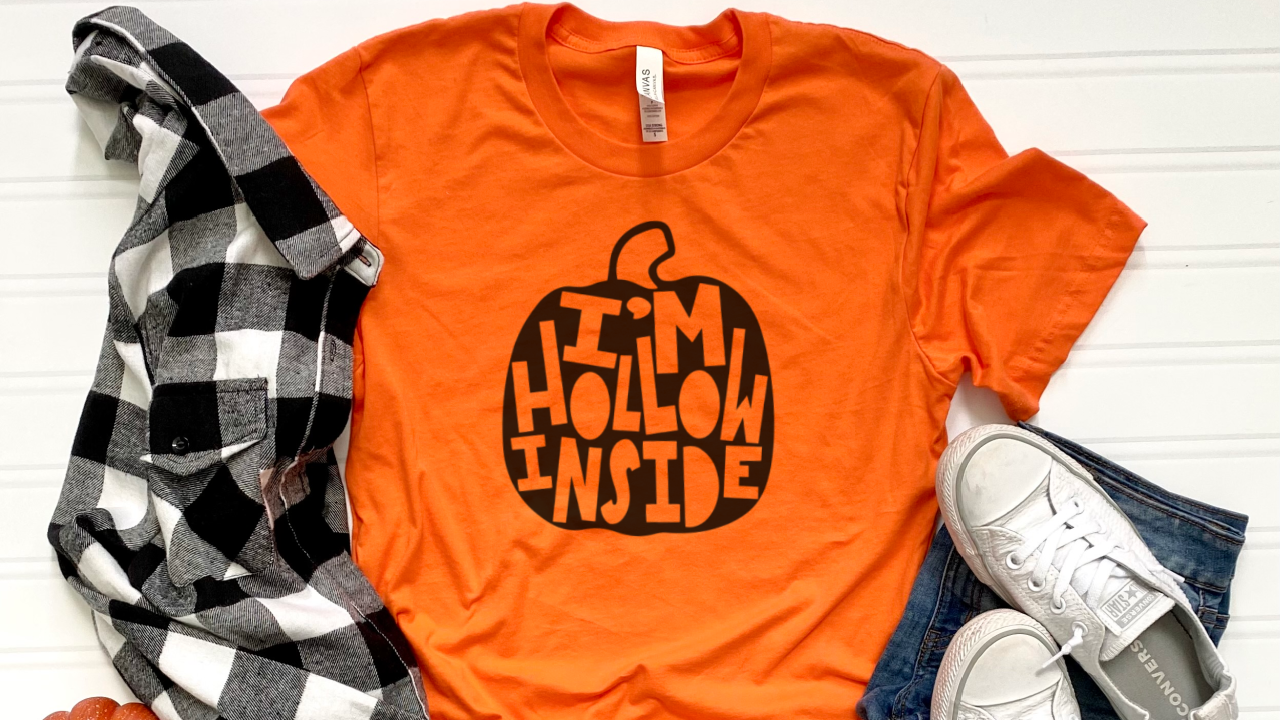
That’s it! You could follow these steps with so many different shapes and fonts for unlimited designs.
To save your new SVG creation, head to ‘File’, ‘Save As’, ‘Save to Hard Drive’, name the file, then select ‘SVG’ from the dropdown menu.
Want More SVG Tutorials?
View more Design with Me SVG tutorials.
Leave a Reply