Design with Me is a new regular feature on Cutting for Business! Each Friday, I’ll bring you a new Silhouette Studio tutorial featuring how to design an SVG.
When I write tutorials, I try to include a mix of in depth tutorials – and quick ones where you can sit down and in 15 minutes you can have an SVG ready to cut.
Today’s Santa’s footprints tutorials is a quick one!
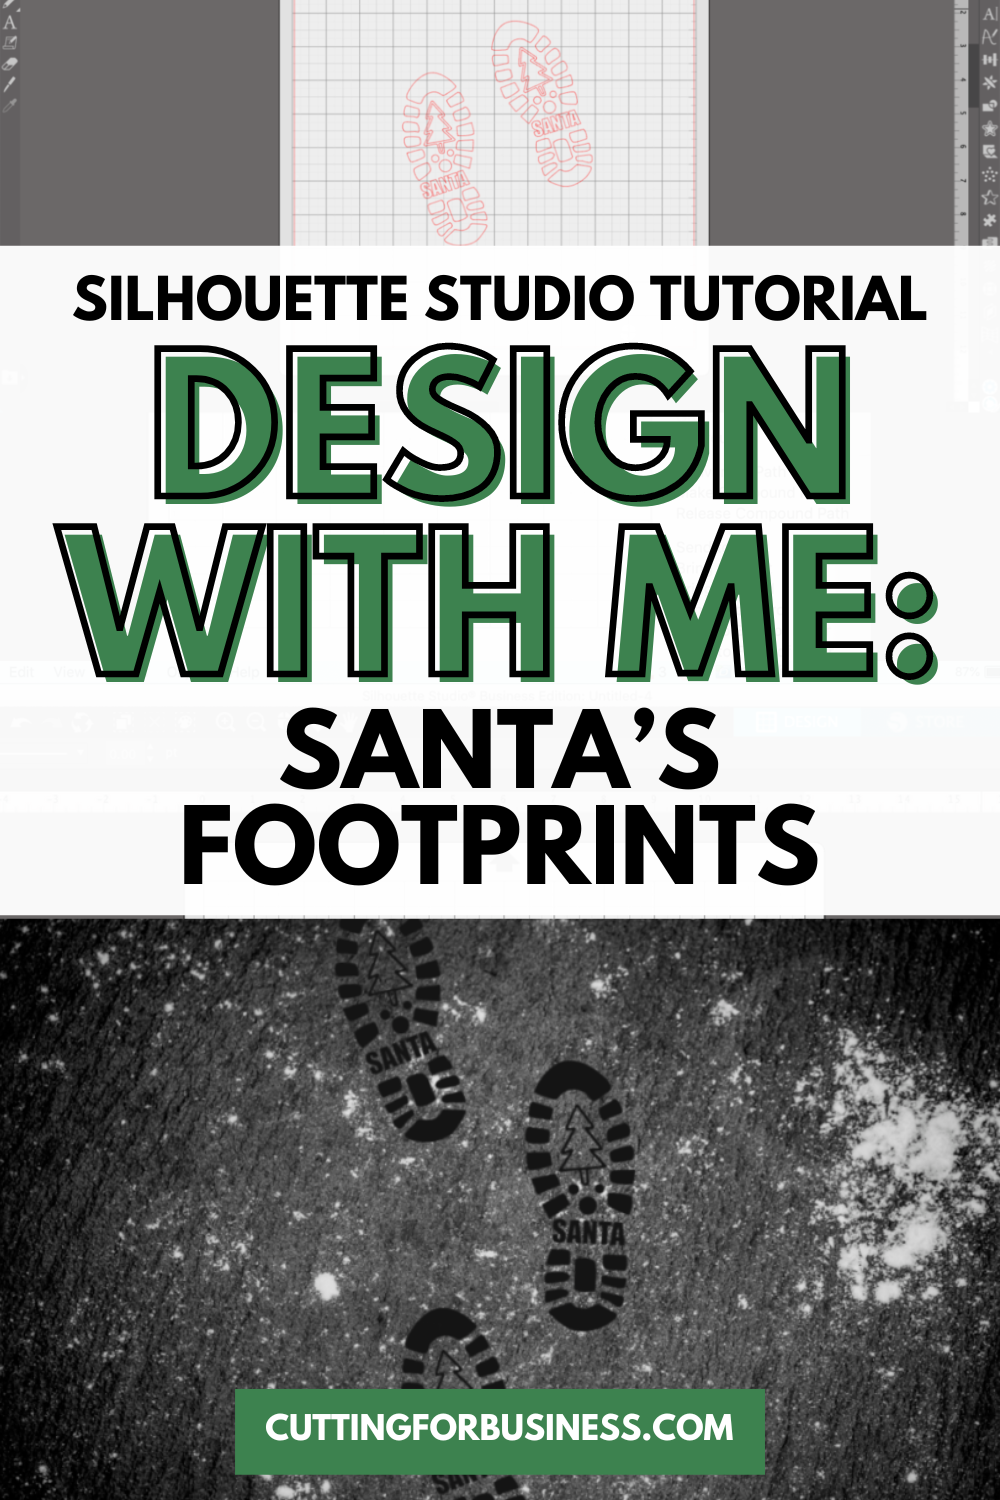
Silhouette Studio Tutorial: Santa’s Footprints
- Grab a boot sole clip art from your favorite source. Double check the license to make sure it has commercial use. I grabbed mine from Adobe Stock.
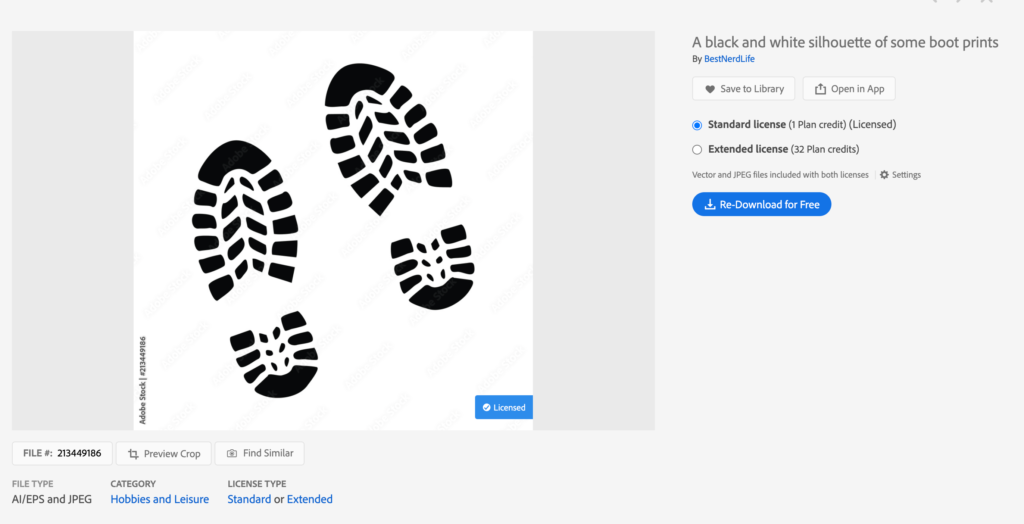
2. Open the image in Silhouette Studio, then navigate to ‘Panels’, ‘Trace’. Trace the image and delete the original.
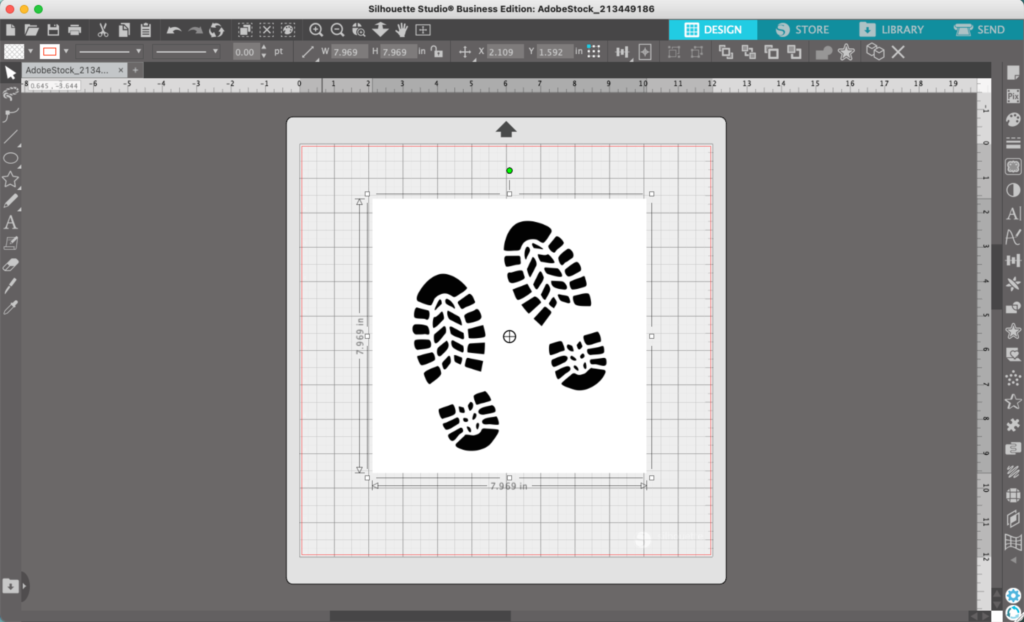
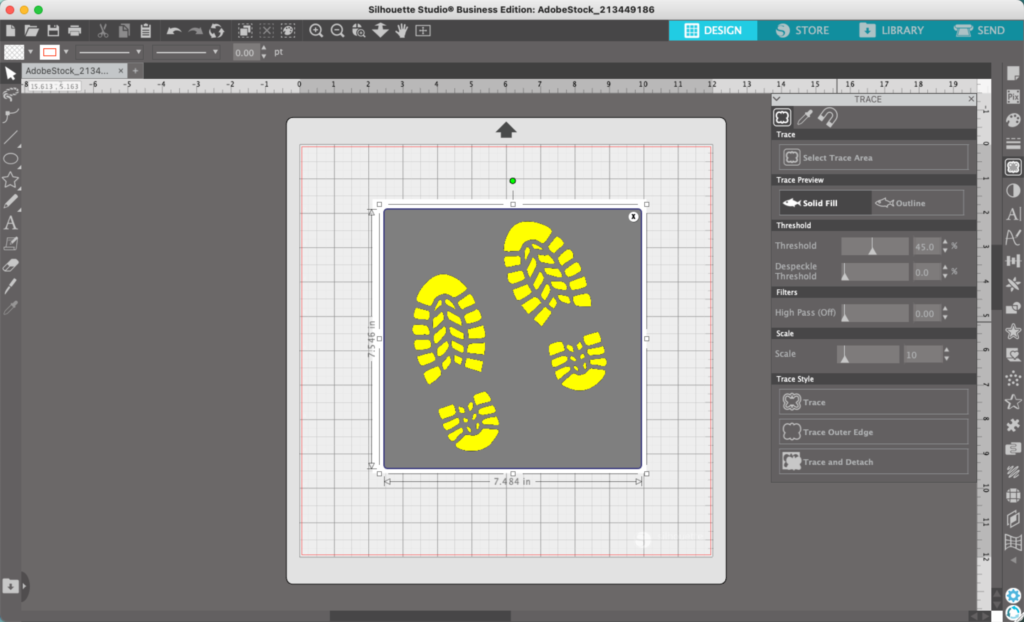
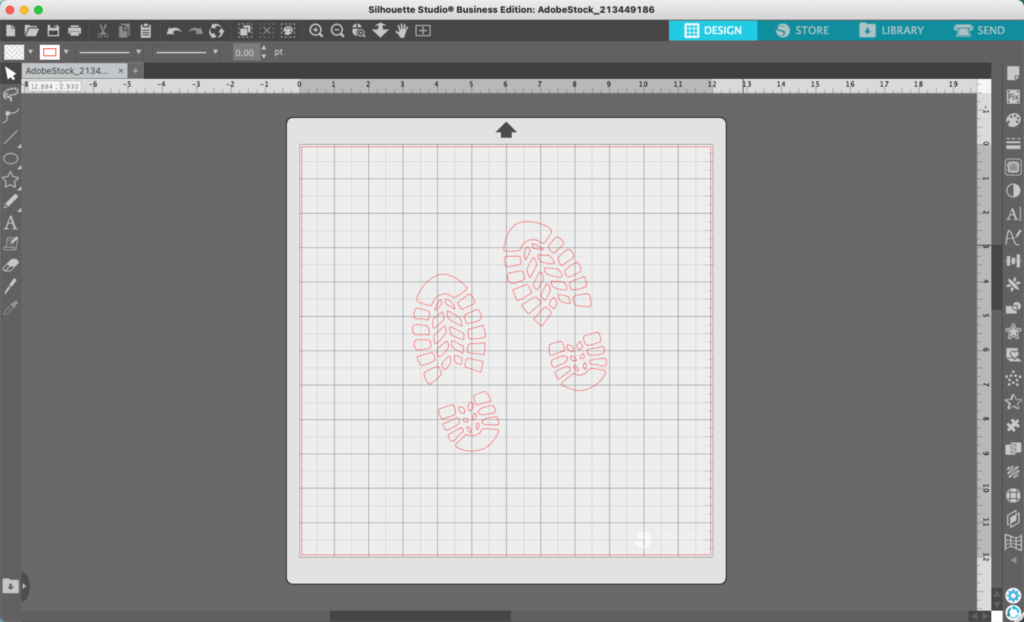
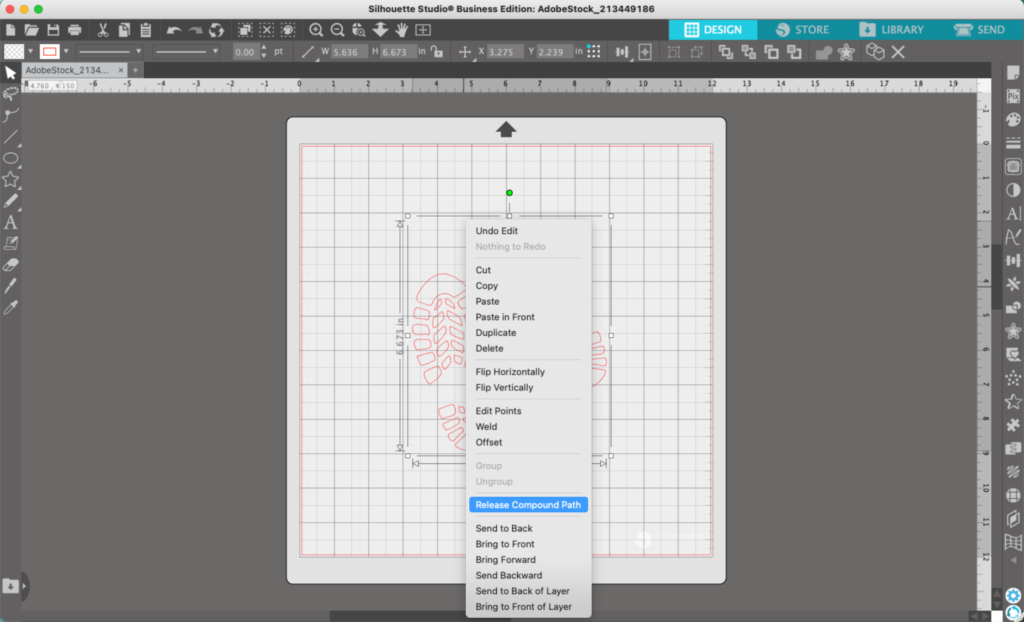
3. Right click the boot soles and select ‘Release Compound Path’. This allows you to manipulate each piece of the boot sole independently.
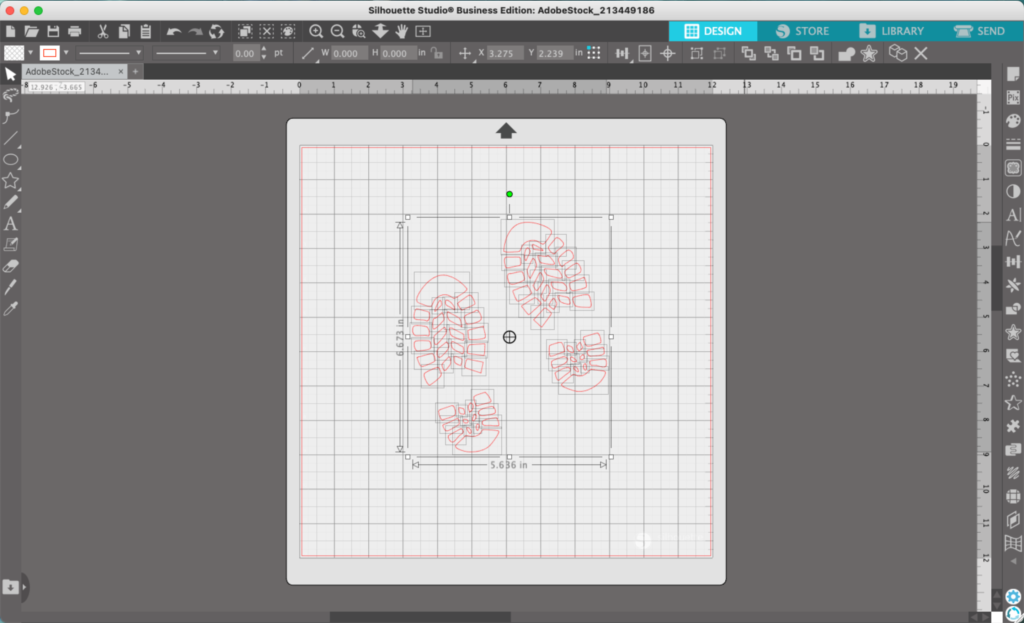
4. Delete all the interior pieces of the boot soles.
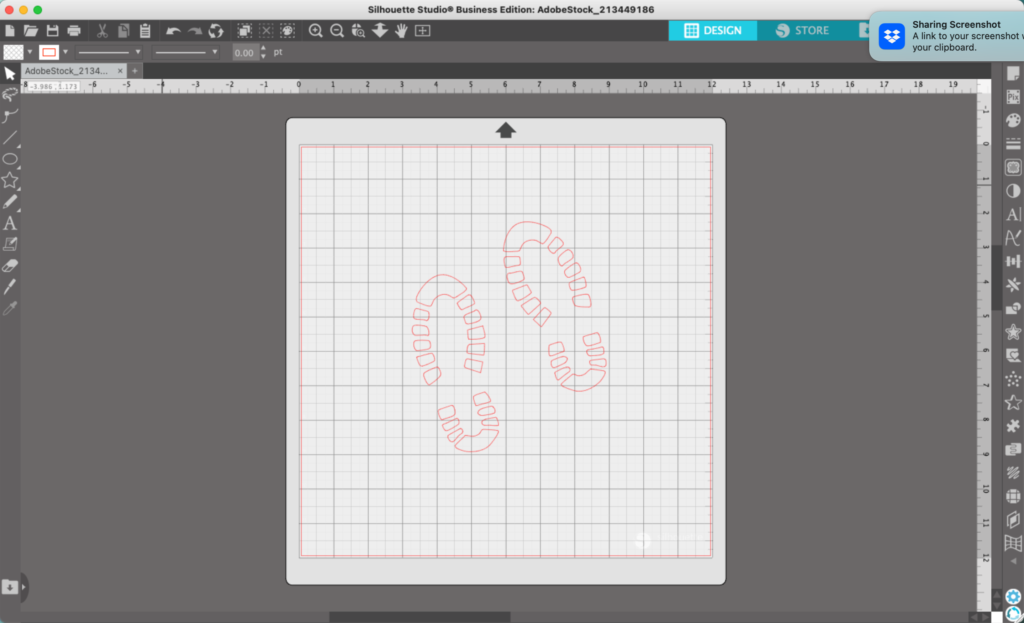
5. Use your favorite Christmas dingbat font and fill the interior of the boot sole with Christmas-y things. For this tutorial, I used the Country Trees font for the tree.
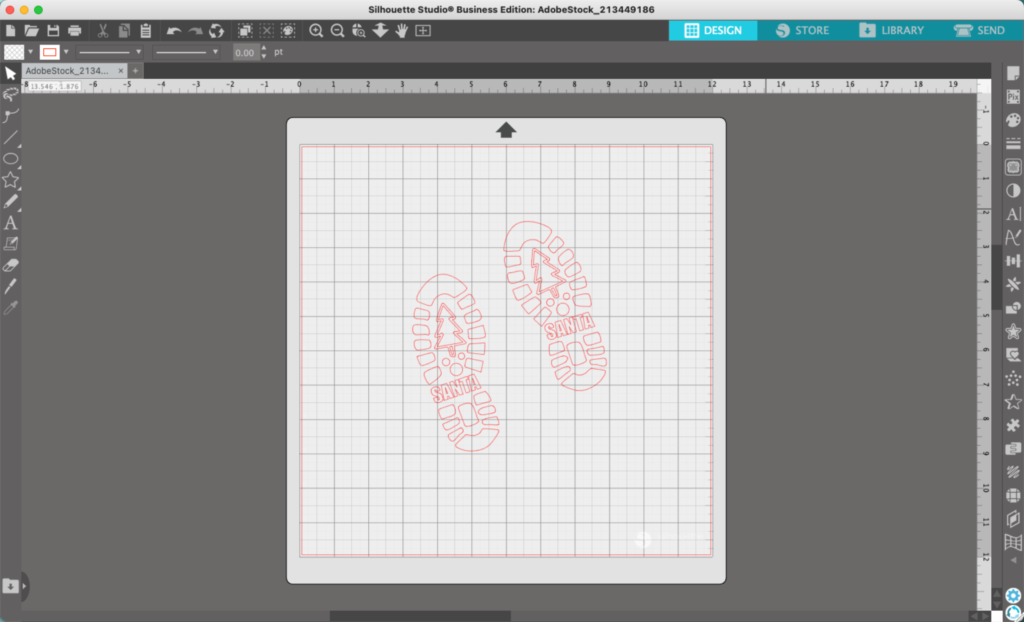
That’s it! Your Santa’s footprints are done!
In a hurry? You can design one sole, then duplicate it and mirror it for a second sole. Don’t forget to reverse your text if you have any in your design.
My finished design looks like this when used with some flour on the floor:

Don’t Forget to Save!
To save your new SVG creation, head to ‘File’, ‘Save As’, ‘Save to Hard Drive’, name the file, then select ‘SVG’ from the dropdown menu.
Want More SVG Tutorials?
View more Design with Me SVG tutorials.
Leave a Reply