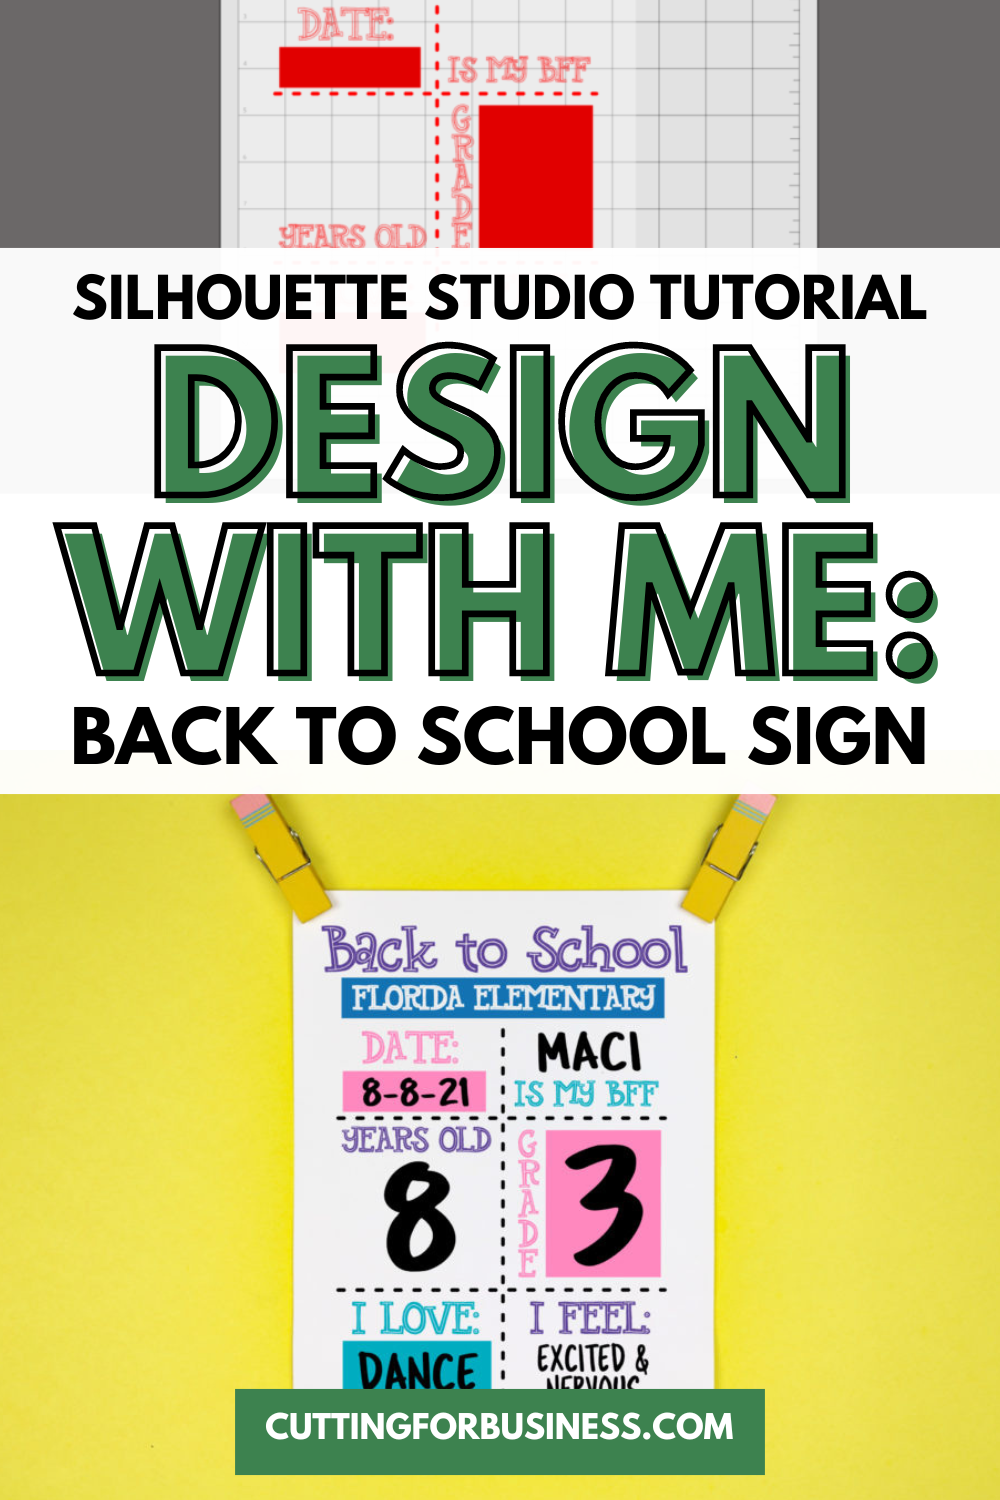
With Back to School just around the corner, I wanted to take a few minutes to show you how to design a Back to School Sign.
Before you start designing, you need to decide how many sections you’ll need on your sign. I’ve seen signs that list the age, weight, height, favorite color, favorite song, new skill, favorite hobby, Teacher’s name, school name, favorite subject or sport, future profession, and so on. You’ll need one section for each question.
Tutorial: Design a Back to School Sign
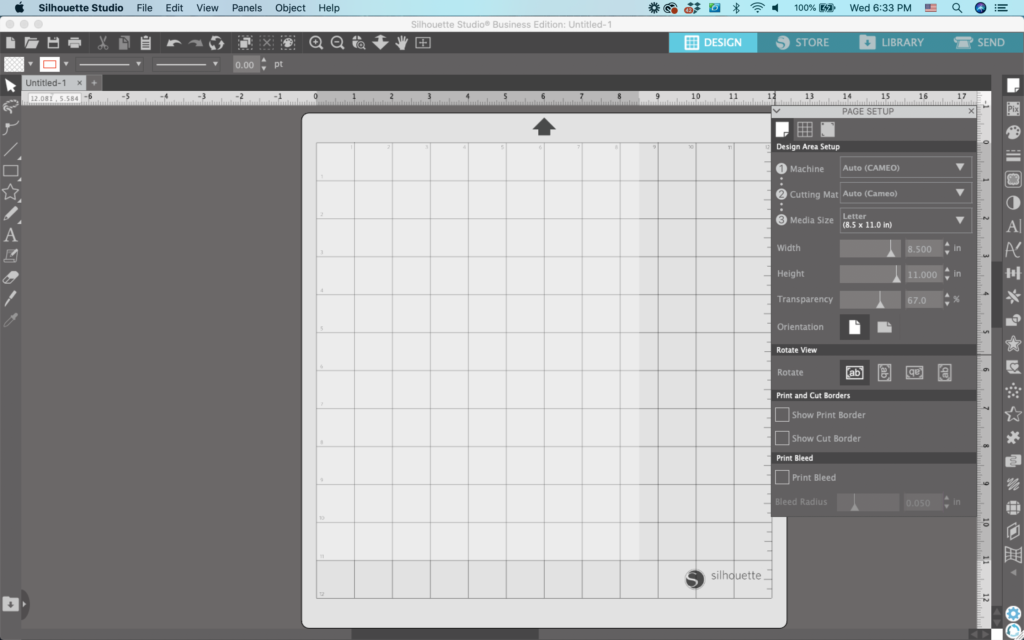
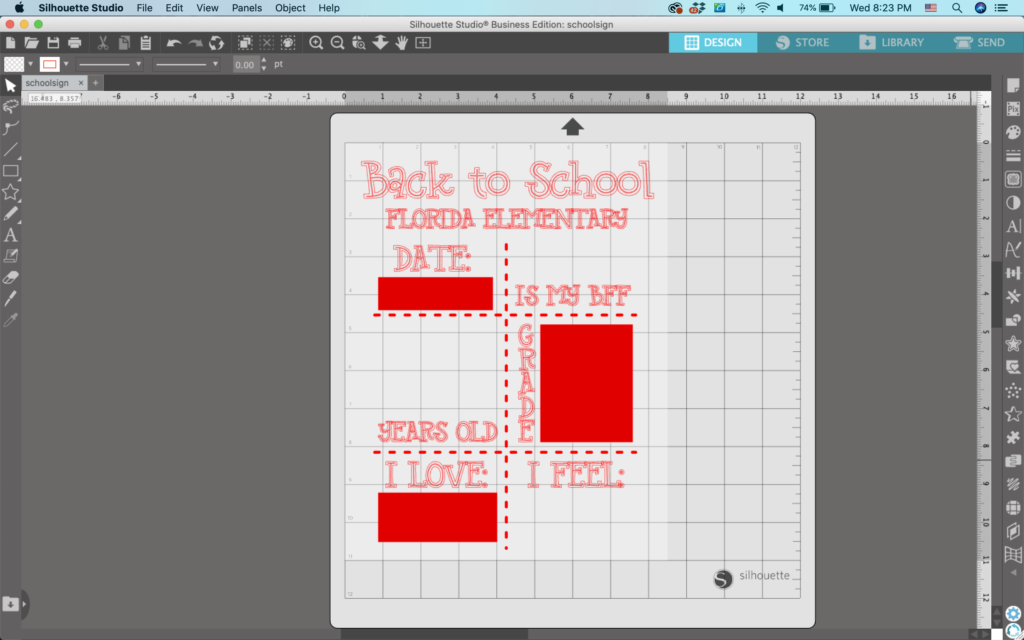
- Open Silhouette Studio and navigate to ‘Panels’, then ‘Page Setup’. Set your page to the same size as your Back to School Sign will be. In this example, I plan to print out the sign on paper, so I set the media size to 8.5″ x 11″.
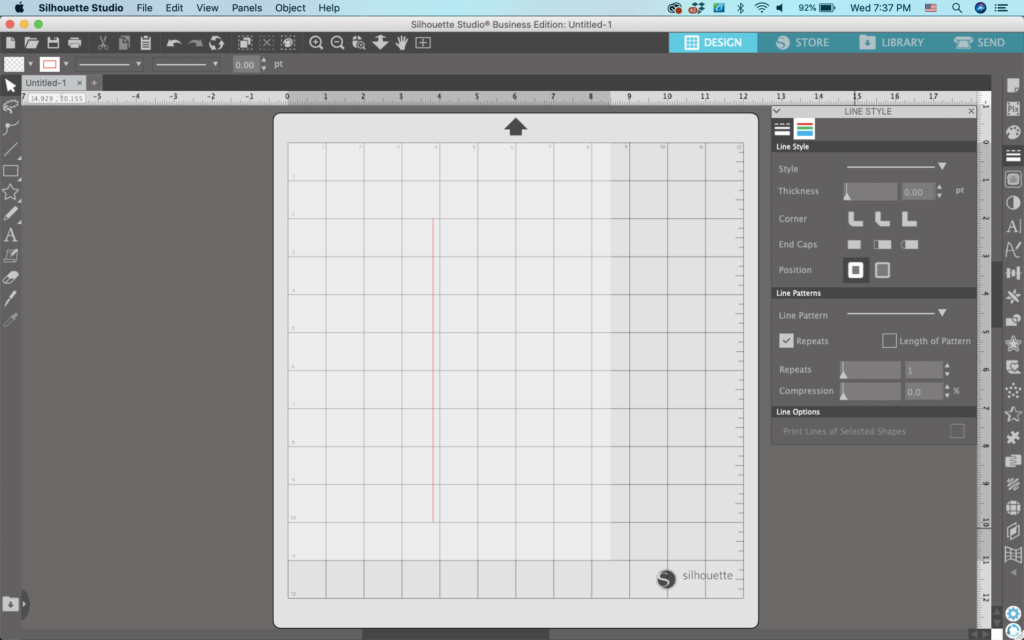
2. Using the ‘Line Tools’, draw a line down the center of the page. You’ll notice I left a space at the top to put text.
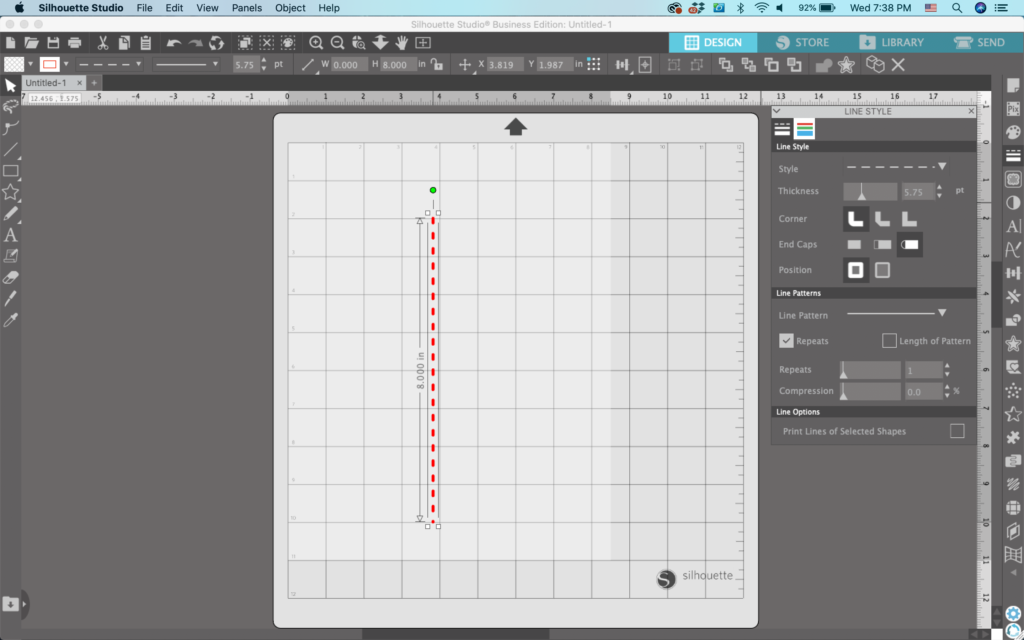
3. Navigate to ‘Panels’, ‘Line Style’. From this panel, you can change the line style to something fancy like dots or dashes. You can also thicken the line or make it into a pattern.
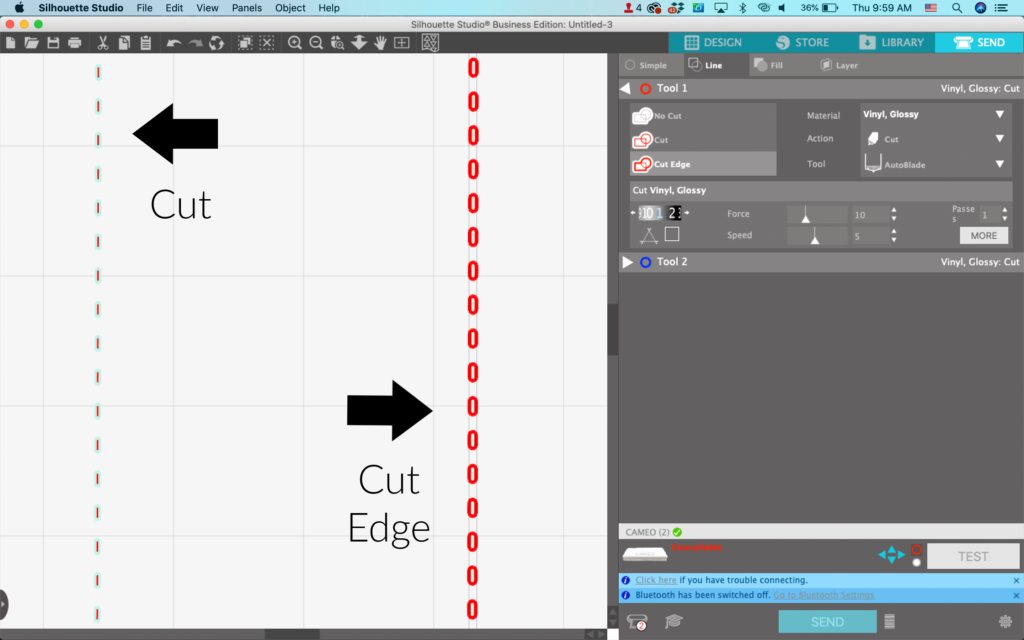
(Note: It’s important to note that if you plan to cut in vinyl, you’ll need to use the Cut Edge command when working with lines. If you don’t you’ll get a single line cut down the middle.) Take a look at Cut versus Cut Edge below on a line of dashes:
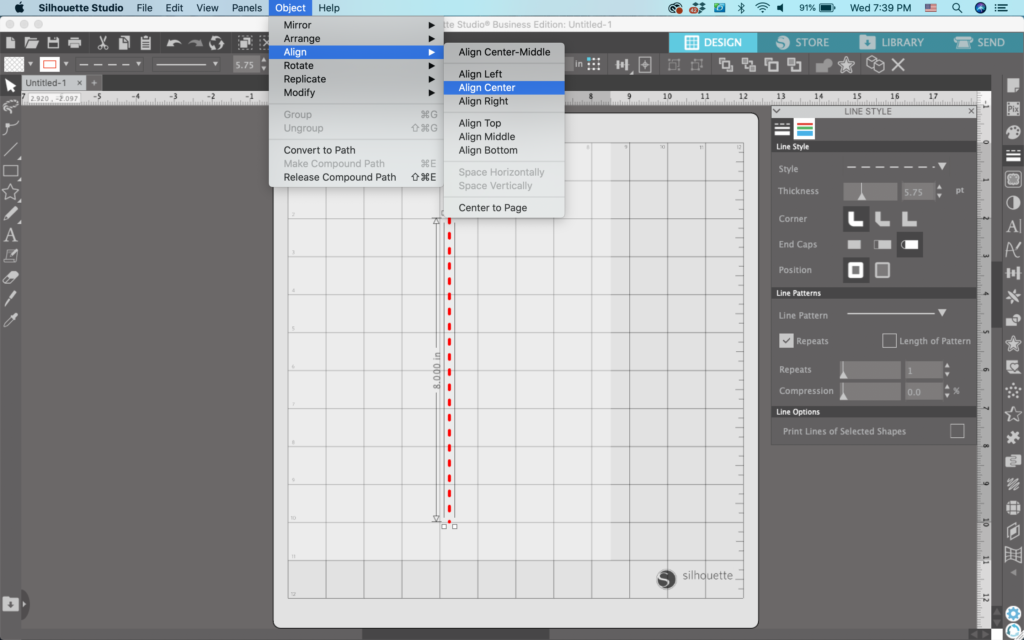
4. Select your line and navigate to ‘Object’, ‘Align’, ‘Center’ to make sure your line is centered.
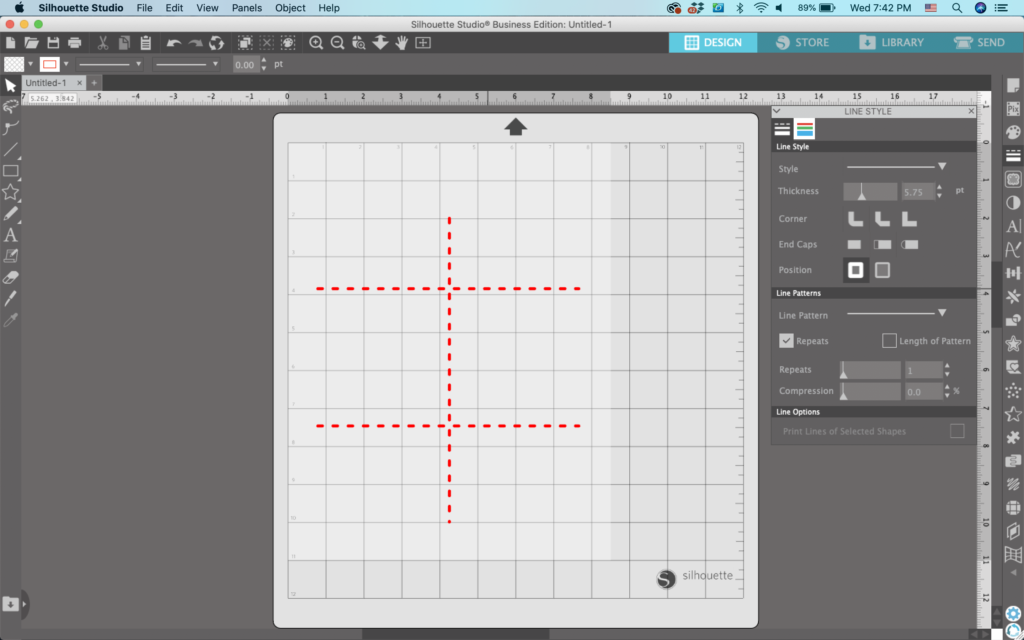
5. Add horizontal lines and style them.
6. Add your text. You could put the name of the child at the top, first day of ___ grade, last day of ___ grade, and so on. Use the ‘Text Styles’ Panel to choose fonts, change character spacing, or line spacing. Don’t forget to use an age appropriate font.
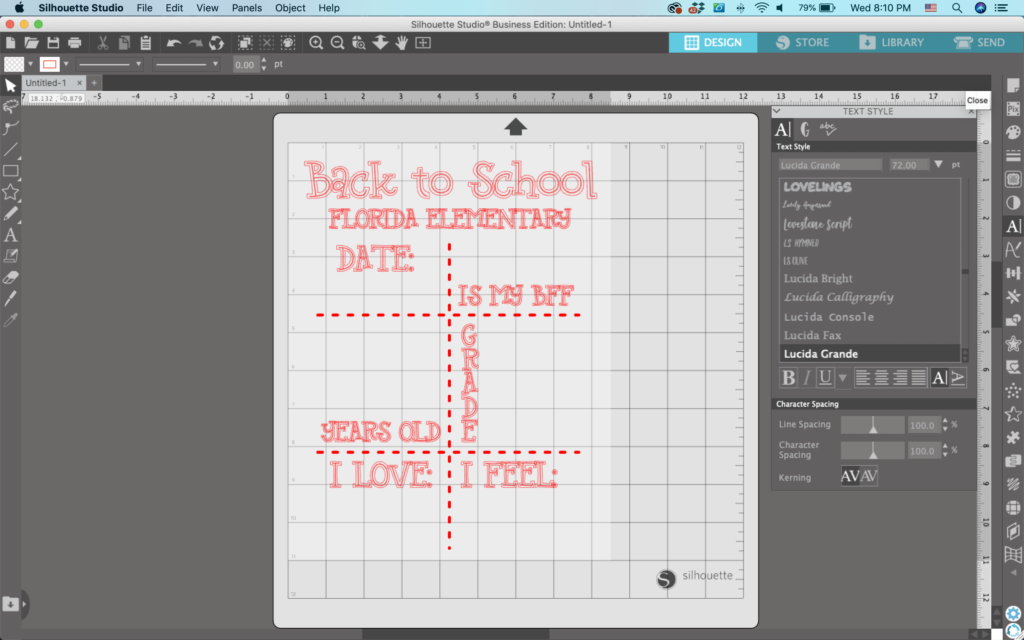
7. Add some ‘flair’. Kids designs should fun and light hearted. Sprinkle in some glyphs or add some shapes. I used the Gab font. I’ve got a list of other kid’s fonts at this link.
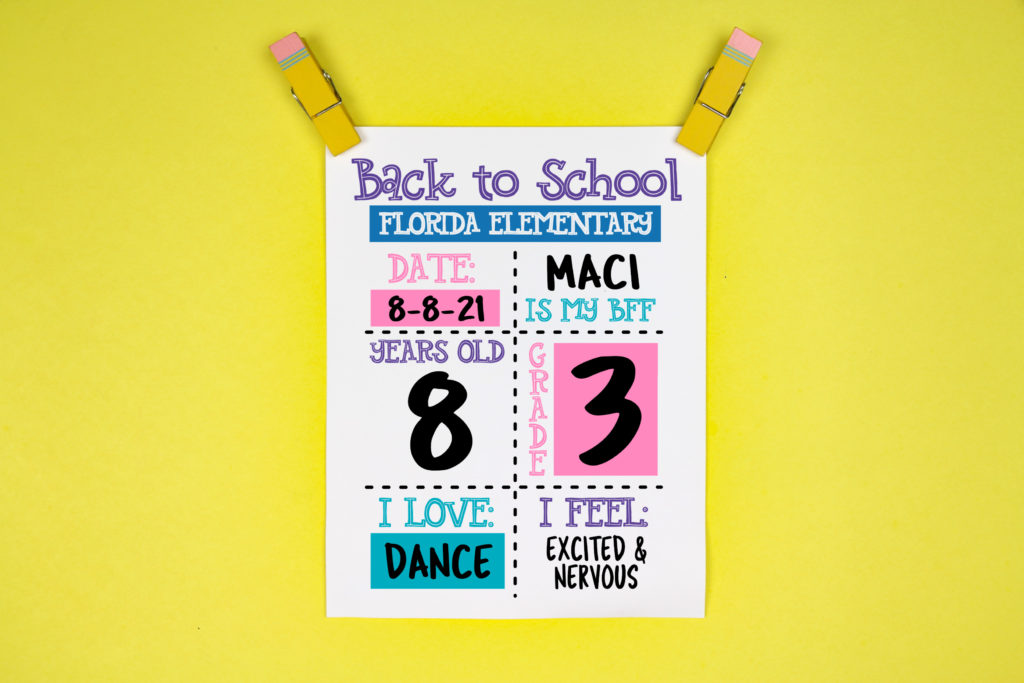
8. Add color to your design. My final design looks like this:
That’s it! Your design is ready to go!
Don’t Forget to Save!
To save your new SVG creation, head to ‘File’, ‘Save As’, ‘Save to Hard Drive’, name the file, then select ‘SVG’ from the dropdown menu.
Want More SVG Tutorials?
View more Design with Me SVG tutorials.
Leave a Reply