There’s a handful of tutorials on how to create product mockups on the Cutting for Business blog. Most of these tutorials are geared towards Silhouette Studio users. Since so many Cricut users have been asking me how to create product mockups in Design Space, here’s a quick tutorial.
How to Create Product Mockups in Cricut Design Space
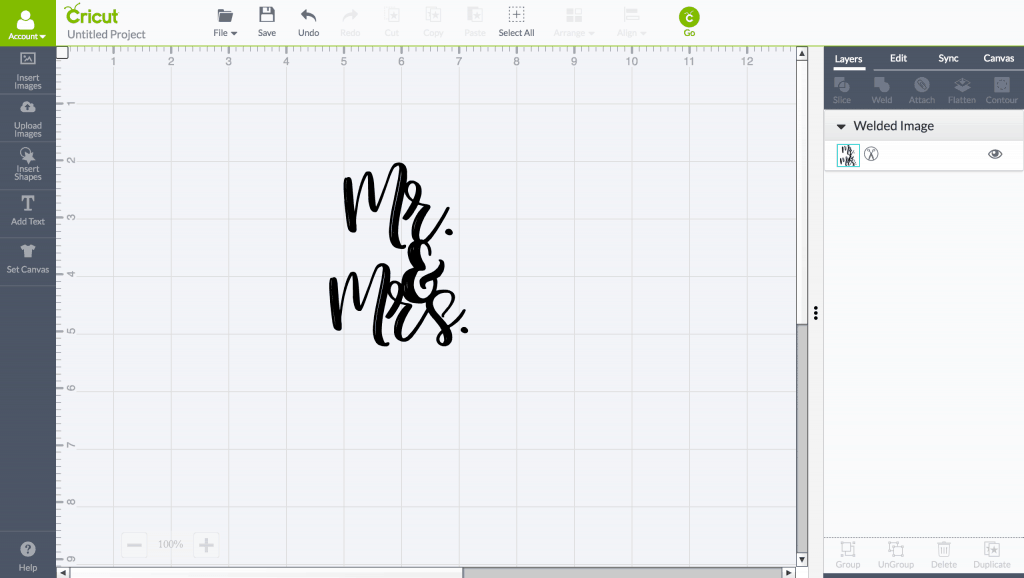
- Create your design in Cricut Design Space.
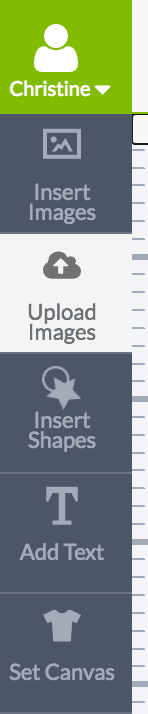
- Either take a photo of your blank item or purchase and download a product mockup. Then, click “Upload Images” on the left hand side.
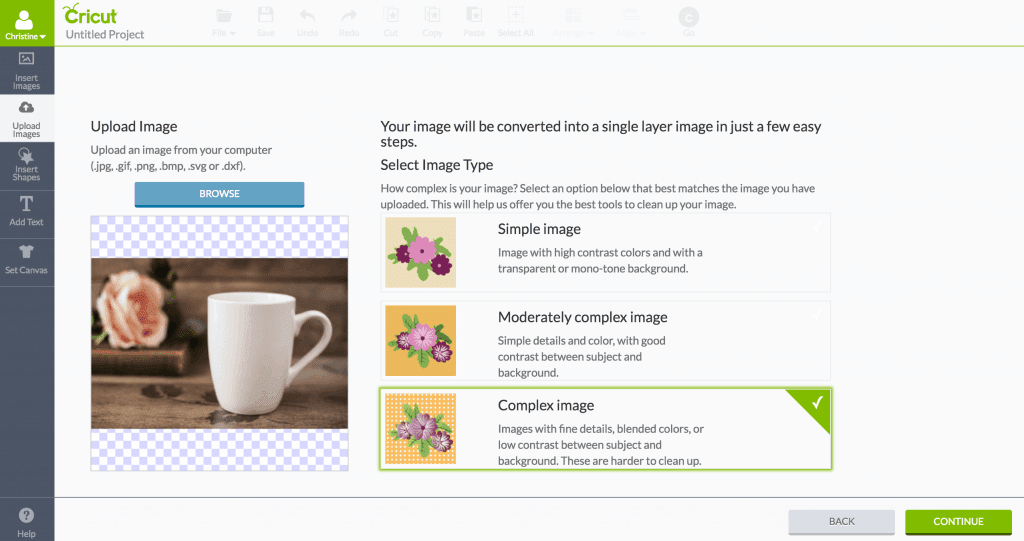
- Choose your image and click the “Continue” button.
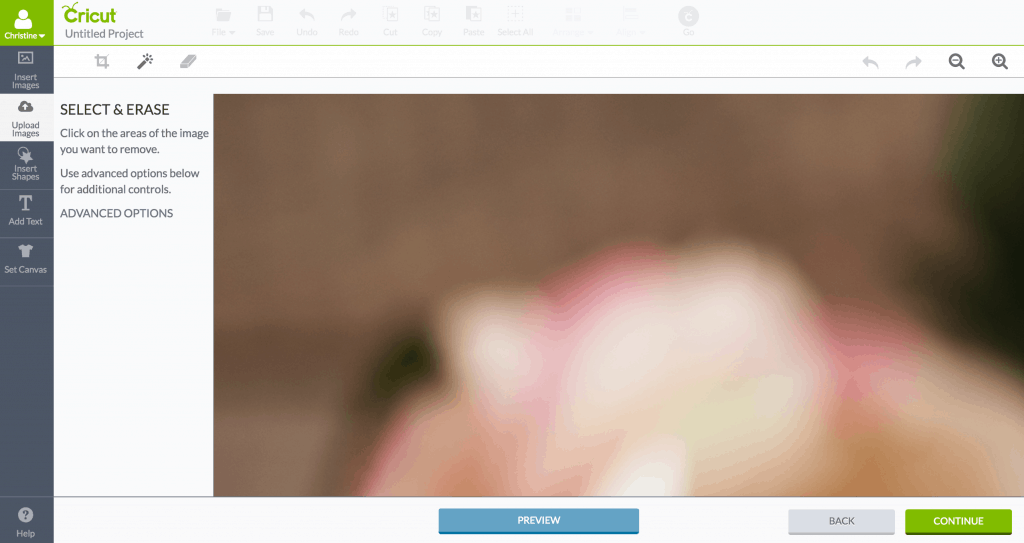
- No need to clean up the image, so just click the “Continue” button again. (Note: My image looks blurry because it is very large.)
- Select “Save as a Print Then Cut image” and click “Save”.
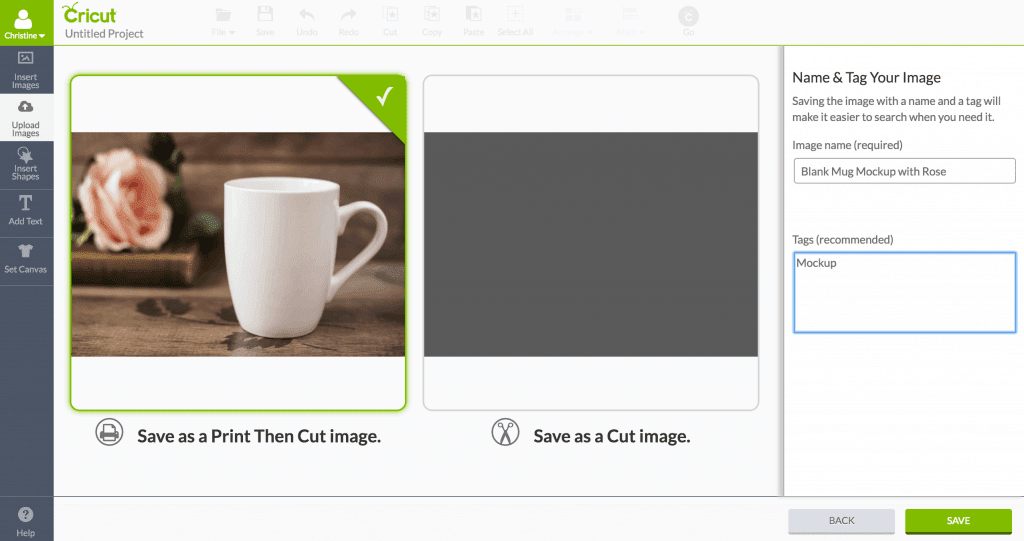
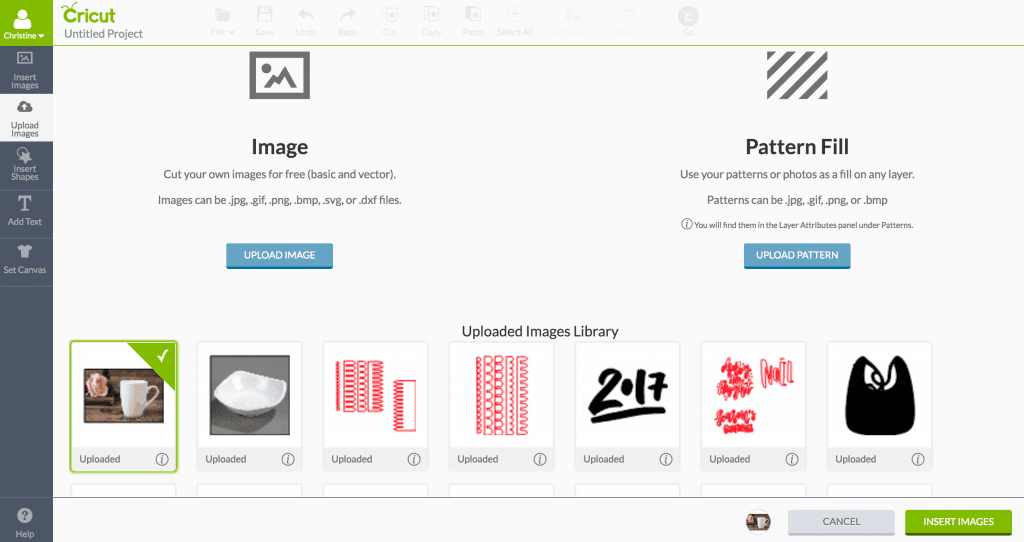
- Select your image and click “Insert Images”.
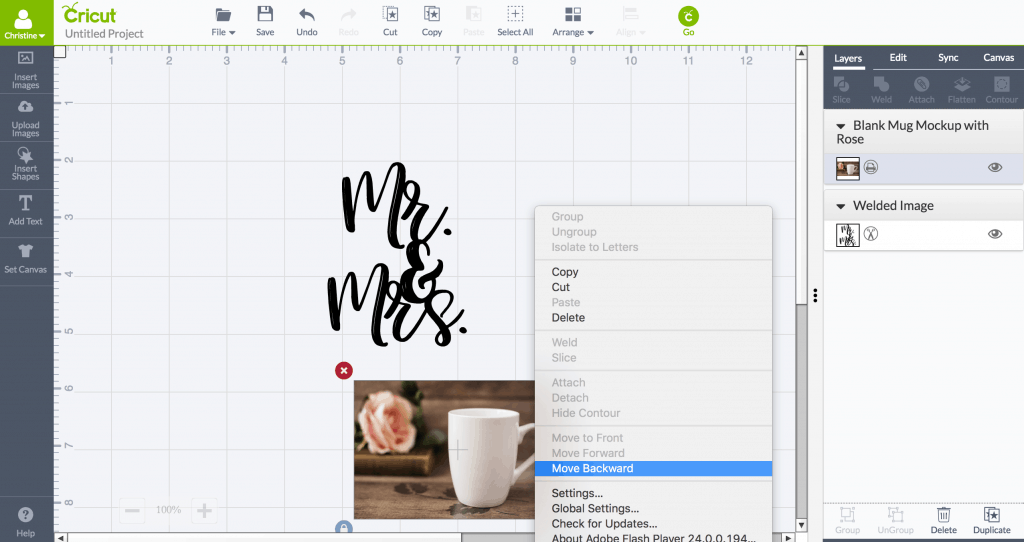
- Right click your image and click “Move backward” to get it behind your design.
- Drag your the image and design around until it looks how you want it to.
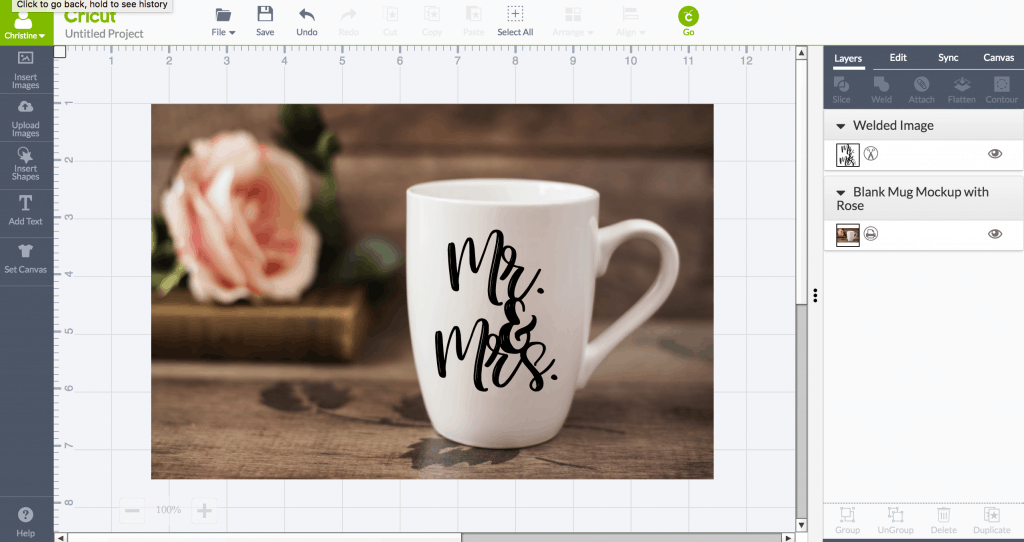
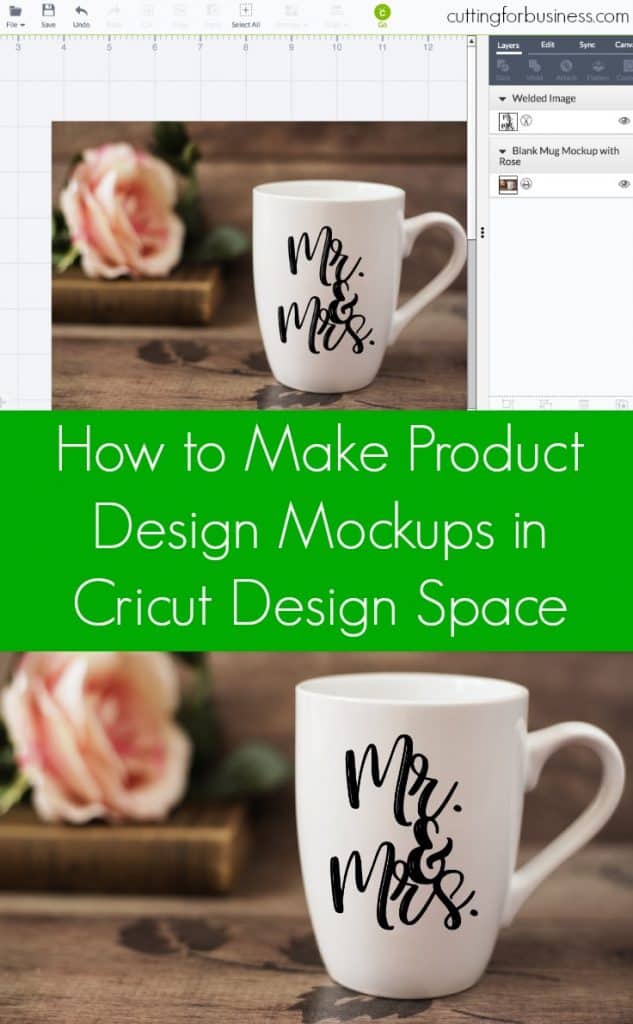
- Now, you’ll save it by taking a screenshot. On Mac, click “Command”, “Shift”, and “4” at the same time, then drag the rectangle around your image to save it. On Windows, use the snipping tool. Here’s my finished mockup image:

Wondering where to get mockup images? You can purchase on Etsy, Creative Market, or stock photo sites.
Save this tutorial to Pinterest:
Leave a Reply